
I was shopping at Paper Source the other week and came across these cute little cardboard letters. I immediately had visions of mod podging them with scrapbook paper to create something along the lines of what Artsy Fartsy Mama did with her adorable monster letters.
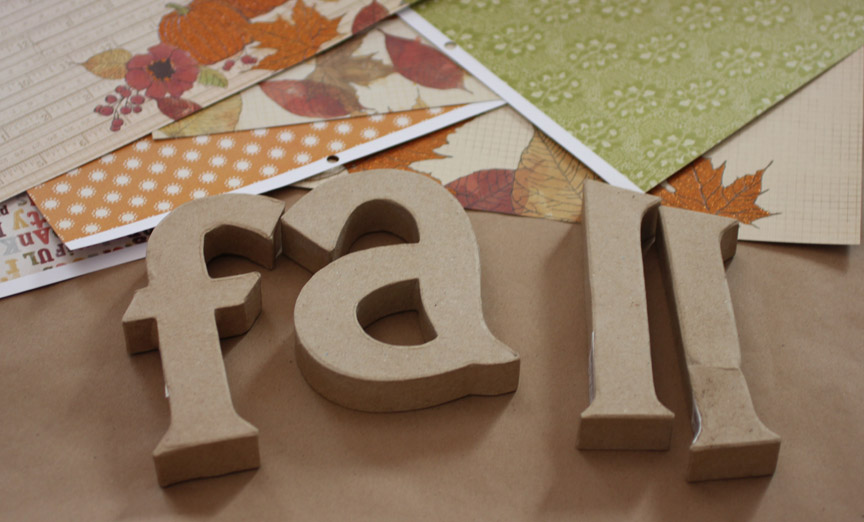
So I set to work. And ended up with this:
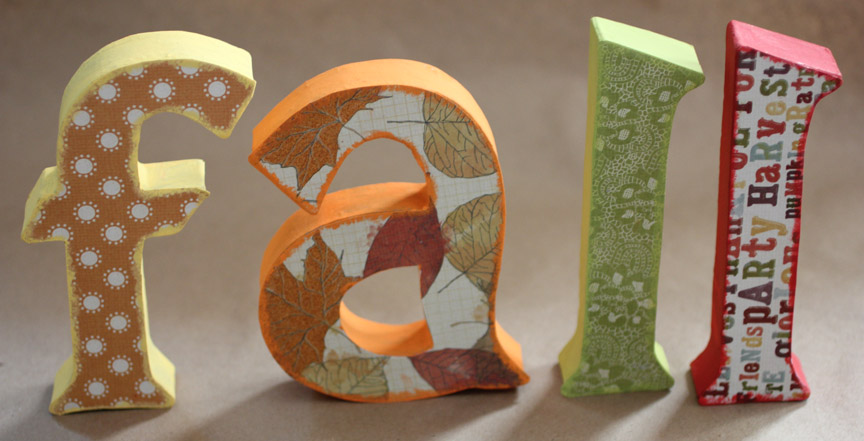
I hated it. It looks tacky and cheap. I didn’t like the paint or the paper and this definitely isn’t something I was going to display in my house. So I asked a couple of my crafty blogger friends how I could spice this up and make it better. Someone suggested using burlap… and thats when my creative juices started to flow!
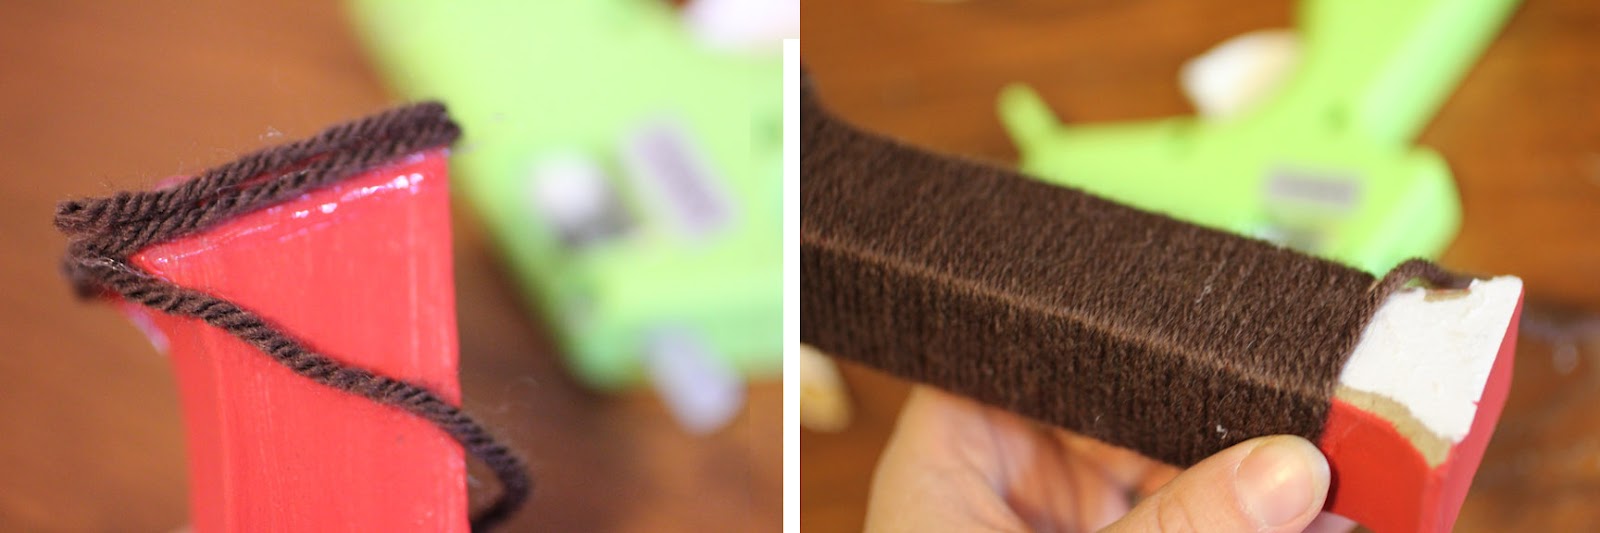
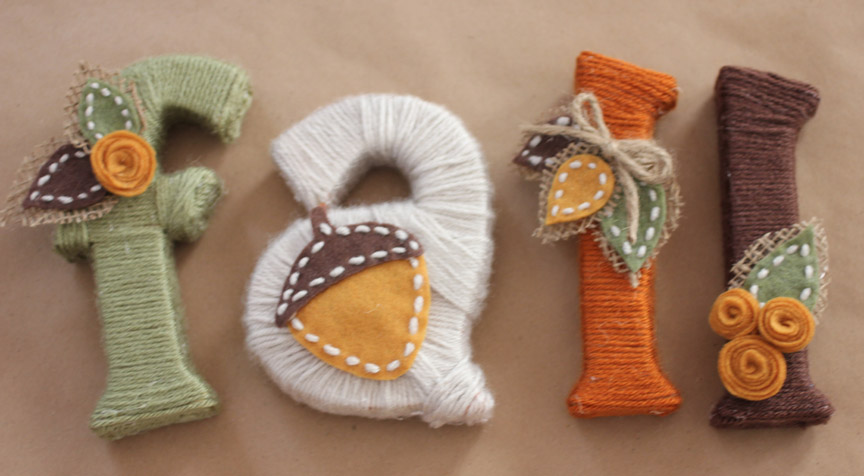
First order of business was to cover up the hideous paint and paper. You know how much I love yarn, and I had the perfect fall colors by Vanna’s Choice on hand. So I got out my hot glue gun and started wrapping the letters in yarn. It helps to hot glue the first couple rows down and then you can start wrapping a couple rows and hot gluing here or there or when needed.
Next, I used felt and burlap to create leaves, rosettes and an acorn embellishment.
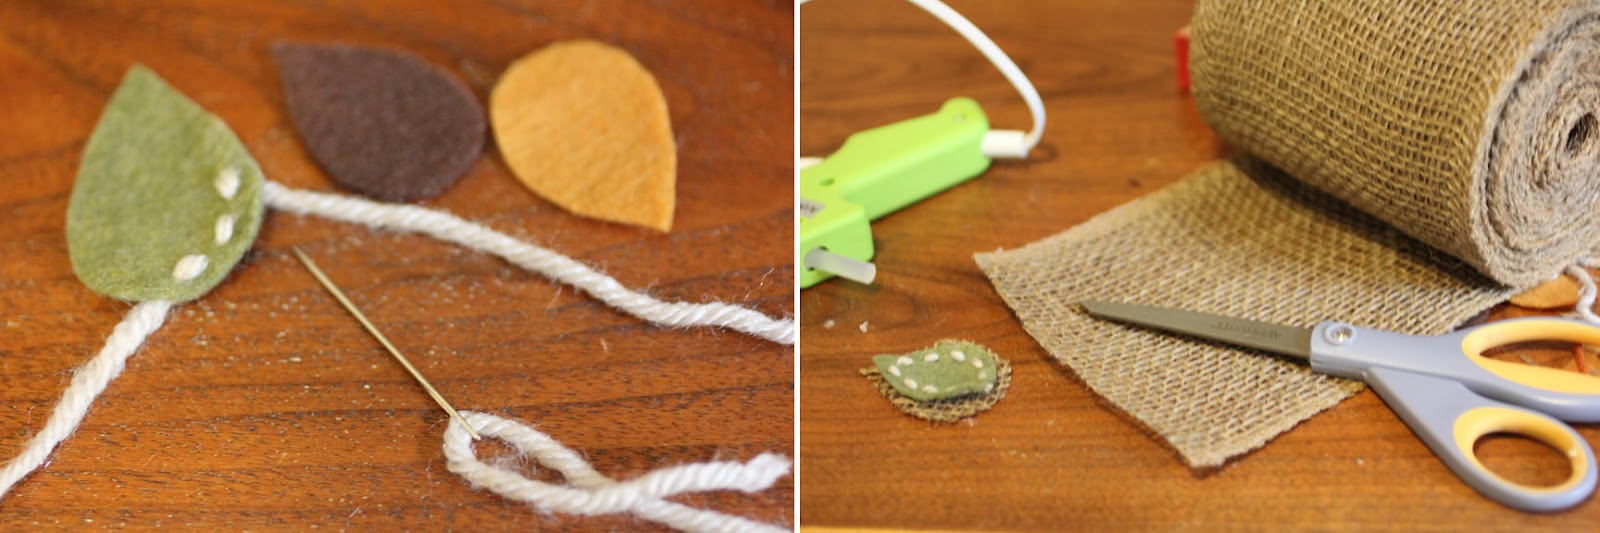
I cut leaf shapes out of felt and stitched around the edges with yarn and a tapestry needle. I cut a piece of burlap in a leaf shape that was slightly larger than the felt leaf and hot glued the two together.
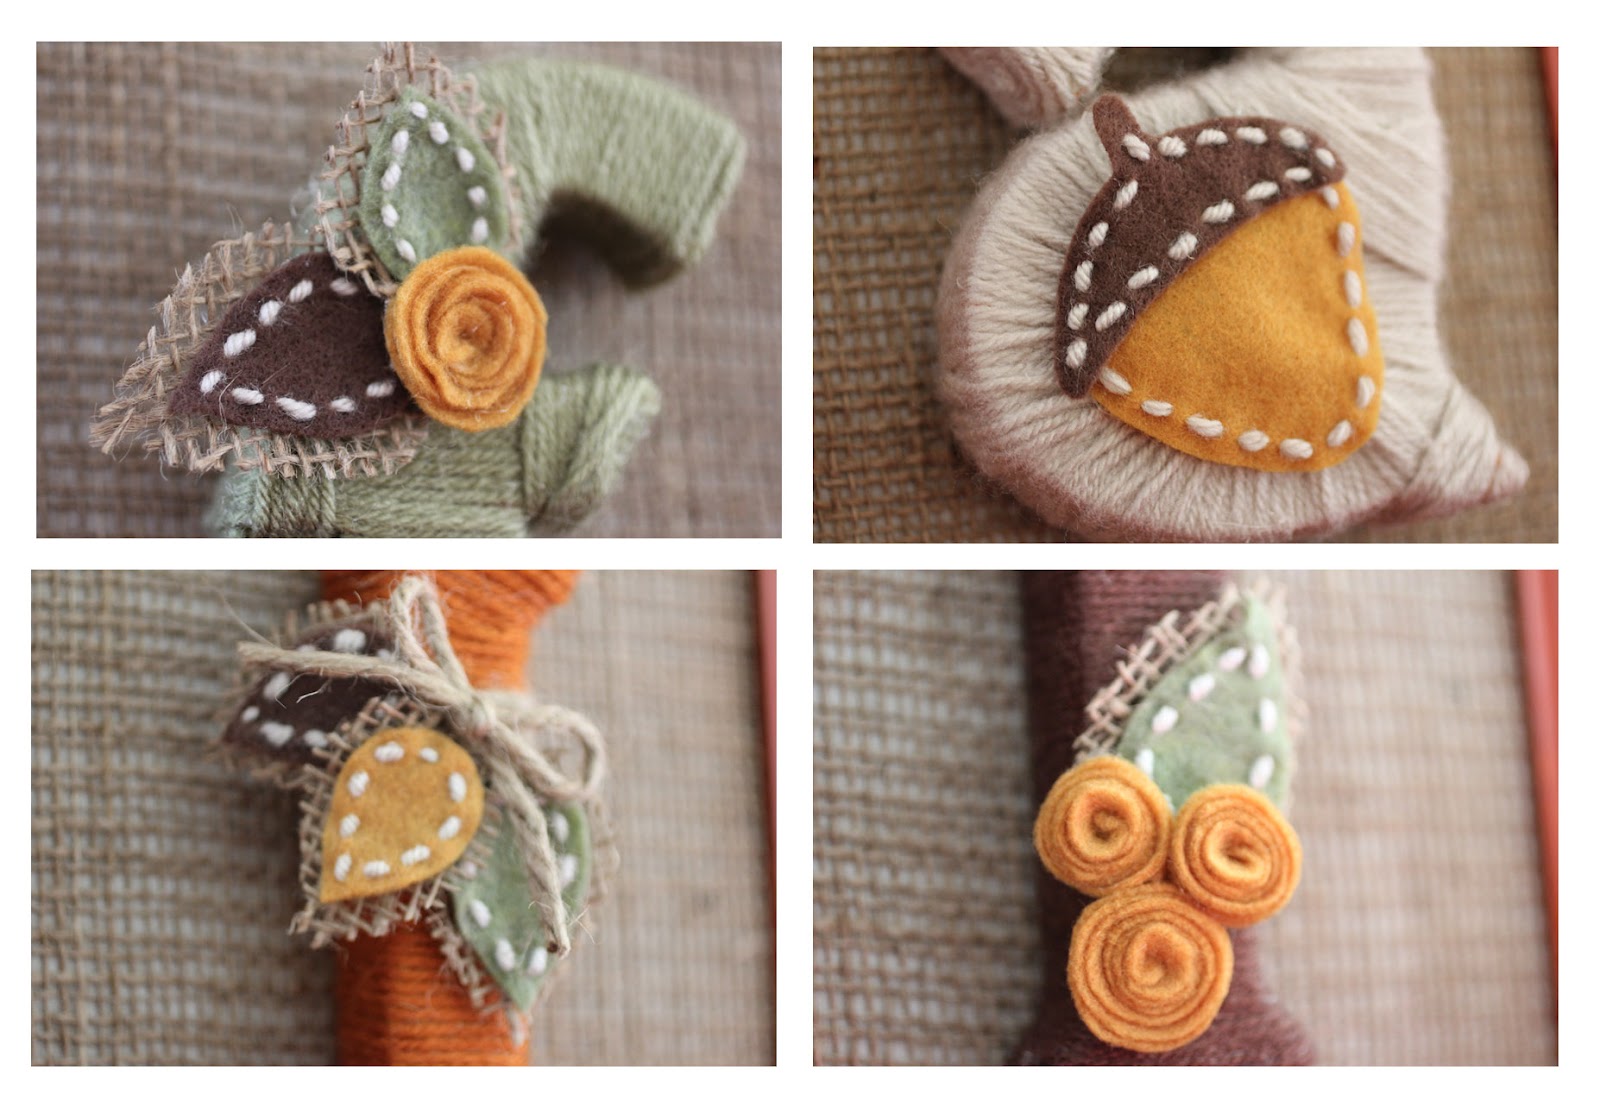
To make the rosettes I cute a 2 inch circle out of felt (don’t worry if the circle isn’t perfect). Then cut it into a spiral. Roll up the spiral felt and use a dab of hot glue here and there to help it all stick together.

Hot glue all embellishments onto the letters (yes this project takes a lot of hot glue!)
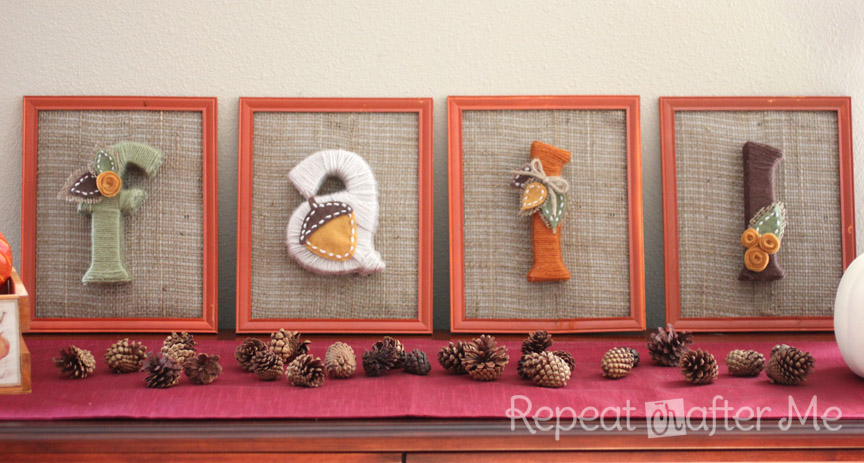
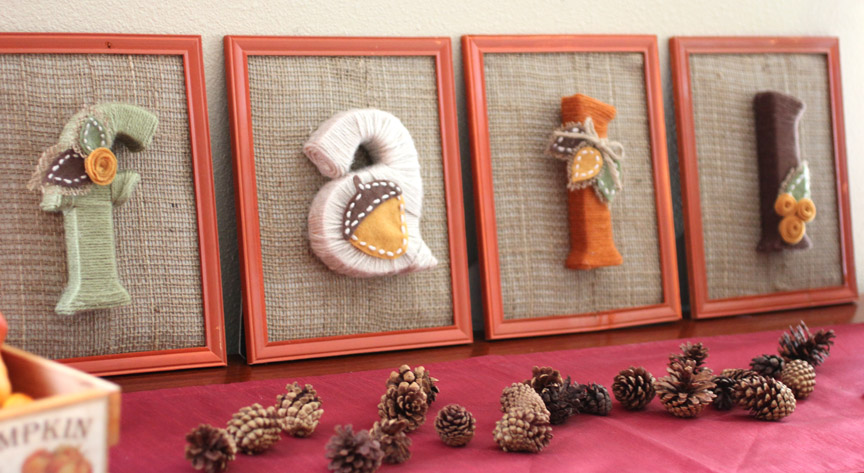
Here are some up close views of the embellishments
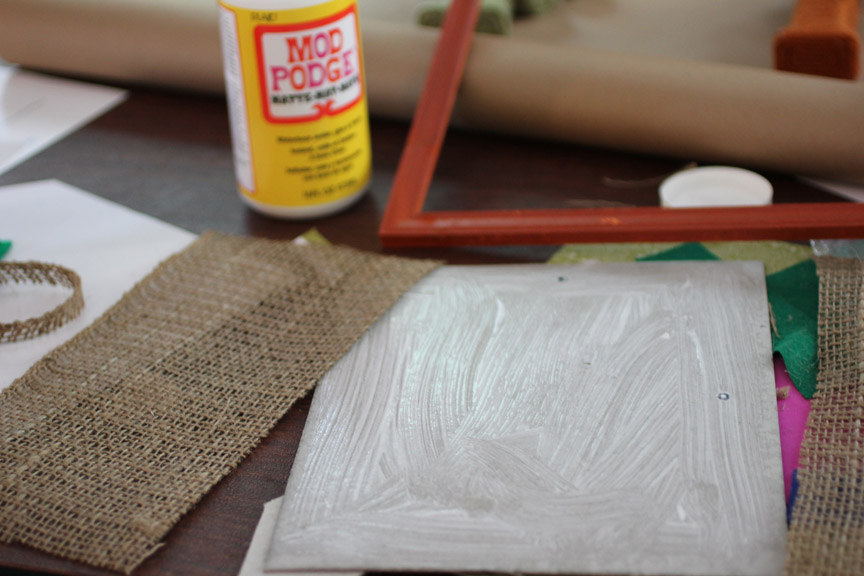
Since the letters have yarn on the bottom, they don’t stand up so well on their own. I thought it would be cute to frame them and that would also give me the option of hanging them or just leaning them on a mantel (or table). I lucked out and found these 8×10 rust colored wood frames at the Dollar Store! When I saw them, I knew they were PERFECT! I took the glass out and mod podged burlap directly onto the backing. Then I warmed up my hot glue gun one more time and glue the letters in the center of each frame.
I went from hating my Fall letters, to absolutely LOVING them! Even my husband commented on how nice they look! I think this was the perfect project to welcome the first day of fall 🙂

 Starbucks Stitch Markers and Bottled Beverages
 Crochet Christmas Tree Pixel Square
 Crochet Santa Pixel Square
 Crochet Daisy Rug with Clover Amour Large Hooks and Giveaway!
I love how you mounted them on the frames! Those are so cute! I would buy those! =)
This is ADORABLE! Craft store here I come!! 🙂
Very nice Sarah…you are sure one crafty girl….love it! Shari
Turned out perfect!! Great Job.:)
These came out adorably 🙂 Luv luv!
Wow. I thought I could maybe just wrap yarn around some letters but your projects puts my sad idea to shame. Those are beautiful.
I LOVE this!! I can't wait to try it…Pinned already! Definiley following your blog!!
~ Darlene
http://www.stork1.blogspot.com
I love how this came out, Sarah!
These are charming little letters!
JoAnn
As you know….I am kinda really in love with these 😉 I usually shy away from anything that uses a needle or yarn because I don't have a clue where to start with such things, but this??! Oh, yeah! I can do it! {well, your tutorial makes me think I can, hehe} Great tutorial and a beautiful outcome too! Thanks for sharing!
Adorable!!! I am in love!! 🙂 You are genius.
I am so in love with these that I featured you on my blog today! Come on over and check it out 🙂
http://www.artsyfartsymama.com/2012/09/pinteresting-features-n-shtuff-50.html
I love finding posts with letters and this is really good – and so seasonal :O)
Thanks for sharing.
This is just too cute! I love the little felt embellishments you created. Perfect fall decoration! Pinning!
Thanks for linking up to this week's Catch a Glimpse Party! I'll be featuring this tomorrow. 🙂
Beautiful!!!! I may have to give this a try tomorrow!
I thought the letters looks fine with paper, but I am totally WOWed at how they look now! Love, Love, Love! The little embellishments add the perfect touch. Pinned! I need to make my own.
Rachel
adventuresofadiymom.blogspot.com
Found you from Busy Monday and I absolutley LOVE THIS! Beautiful!!!
Patty
makeitcozee.blogspot.com
How beautiful! Definitely pinning this gorgeous fall craft!
Wow – they both look good but your final version is better!
This is so cute! Thank you for sharing. Visiting from Project Queen. Would love it if you would share this at my Make it Pretty Monday party at The Dedicated House. http://thededicatedhouse.blogspot.com/2012/09/make-it-pretty-monday-week-16.html Hope to see you at the bash! Toodles, Kathryn @TheDedicatedHouse
This is adorable! Thanks so much for linking up! Love it!
Kim`madeinday
Very sweet.
I would love to invite you to Homa Style's No Orange Autumn Display Link Party going on now. Here's the link… http://homastyle.com/wp/2012/09/25/no-orange-autumn-decor/
Hope to see your fall creation there! Orange is really just find to link up!
You know how much I love these. 😉
Adorable and so perfect for fall! thanks so much for sharing on Craft Schooling Sunday!
LOOOOVE! The embellishments are just perfect!
I love all of the different textures! My weekly linky party–One Creative Weekend–has gone spooky this week in honor of my thirteenth party. If you haven’t already, I hope you’ll visit "One Creative Weekend" on OneCreativeMommy.com (open every Fri-Wed) and link up this idea and anything else you’d like to share. (You can include non-Halloween posts as well, but feel free to link up as many Halloween-themed posts as you like.)
Thank you so much for linking to Homa Style’s No Orange Autumn Display Link Party. Your fall lettering is sweet and I was excited to show it to my readers. Homa Style will be hosting a Simple Holiday Handmade Gift Idea Link Party {Please no sale items} on Oct 31. Hope to see you there. Thanks again!
Wow! You are so creative! Love it! 🙂
http://dixie-n-dottie.blogspot.com/
These are adorable! I thought the paper was fine too, but it all depends on what your style is. Way to salvage a project you didn't like!
Sarah, this is a great tutorial! Your fall letters are adorable. Thank you for sharing them at Project Queen's Link Party last week. I will be featuring them tomorrow night (Monday) at the highlight party!
So cute – and so many great ways to use supplies many people already have!!
Just saw this on craft gawker and had to stop by and tell you how much I love it! Yarn is the perfect texture for fall crafts and i love how you stitched the leaves and acorn. Super cute idea! 🙂
You know I love these, but on the frames they are perfection! Great job Sarah!
Thanks for linking up to the CHQ Blog Hop, best of luck in this week's giveaway!
Barbara at Chase the Star
chasethestar dot net
maybe I'm the only one with this question, but how did you do the ends?
What a great idea!!
That addsrsees several of my concerns actually.
Im honored to obtain a call from my friend as soon as he observed the important suggestions shared on your own site. Reading through your blog post is a real brilliant experience. Many thanks for taking into account readers like me, and I desire for you the best of achievements for a professional topic.
Love these— Can you tell me where you got the letters from? I know I’ve seen them in one of the craft stores before, but I cannot remember which one. Thank you in advance!
admire ur art!
Amazing post you have published here.
เว็บยูฟ่าเบทครบวงจร
Amazing post you have published here.
เว็บยูฟ่าเบทครบวงจร
Thanks for sharing this.
สล็อตเว็บตรงไม่ผ่านเอเย่นต์