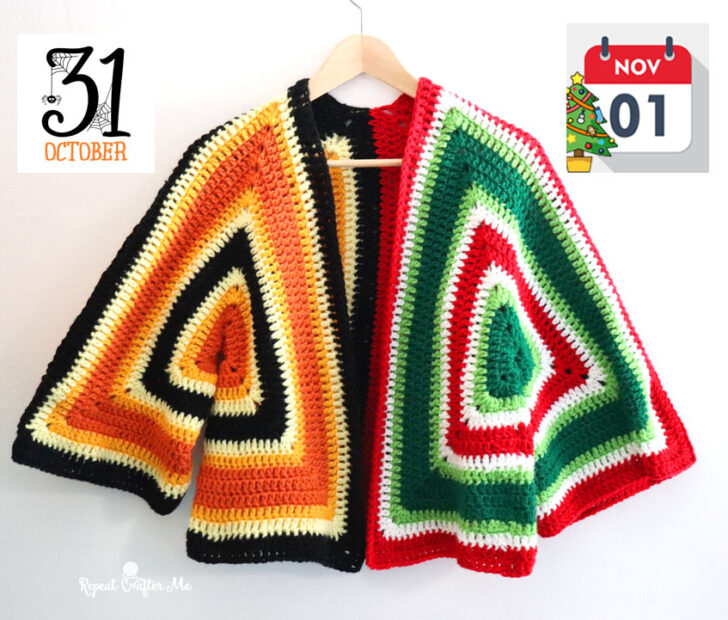
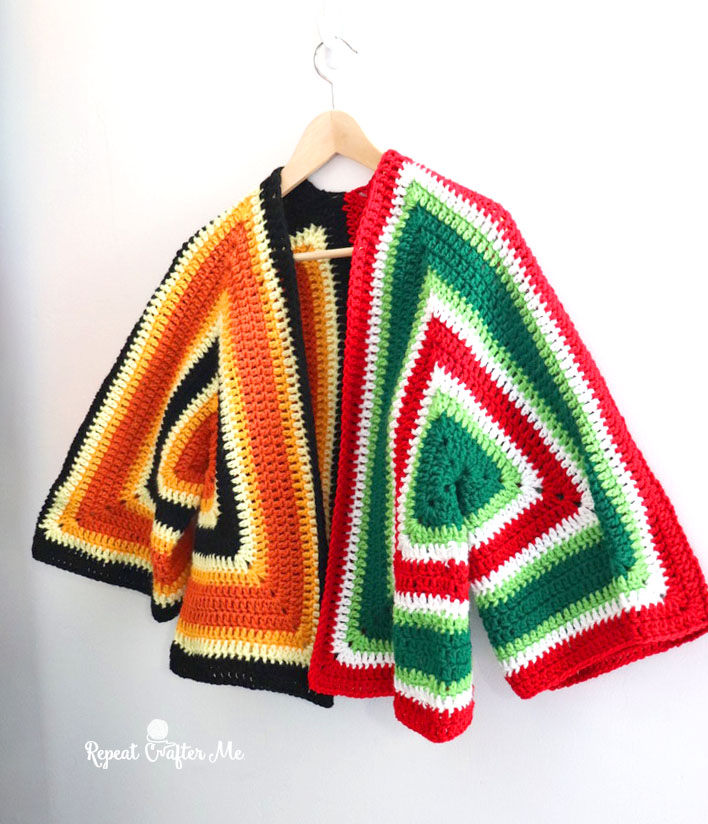
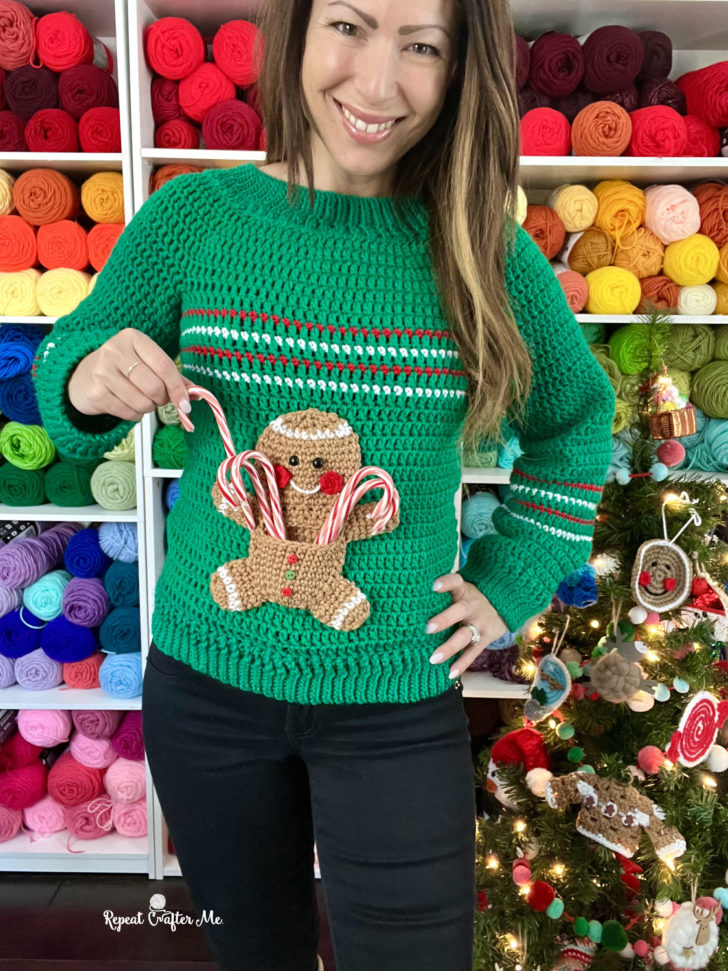
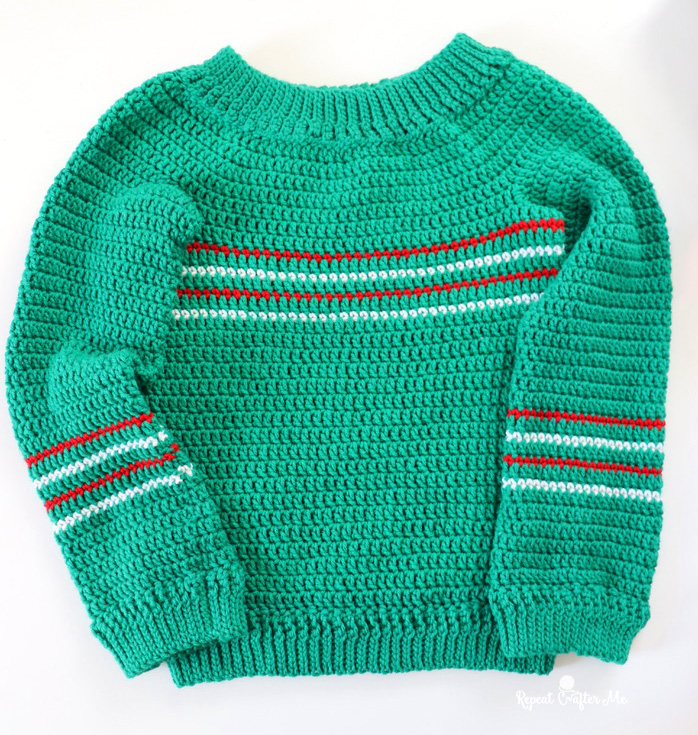
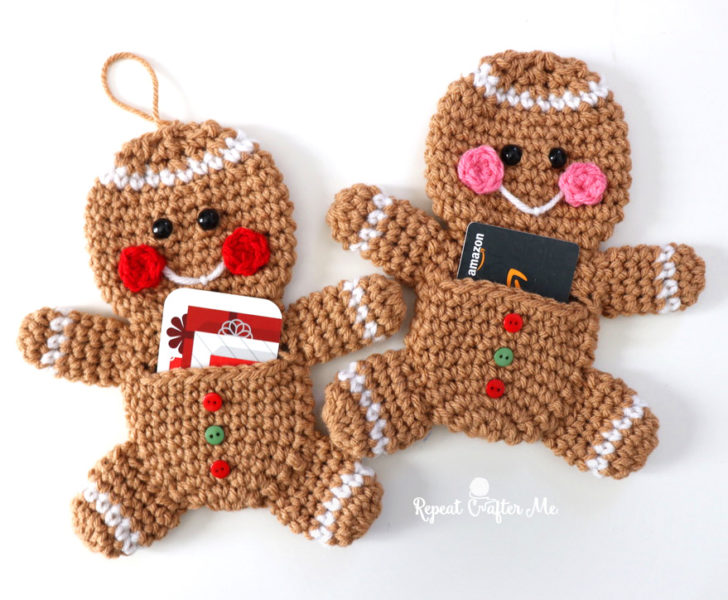
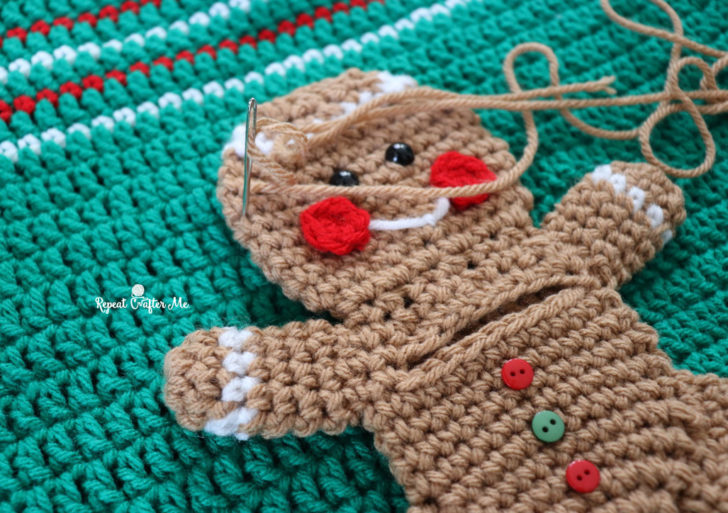
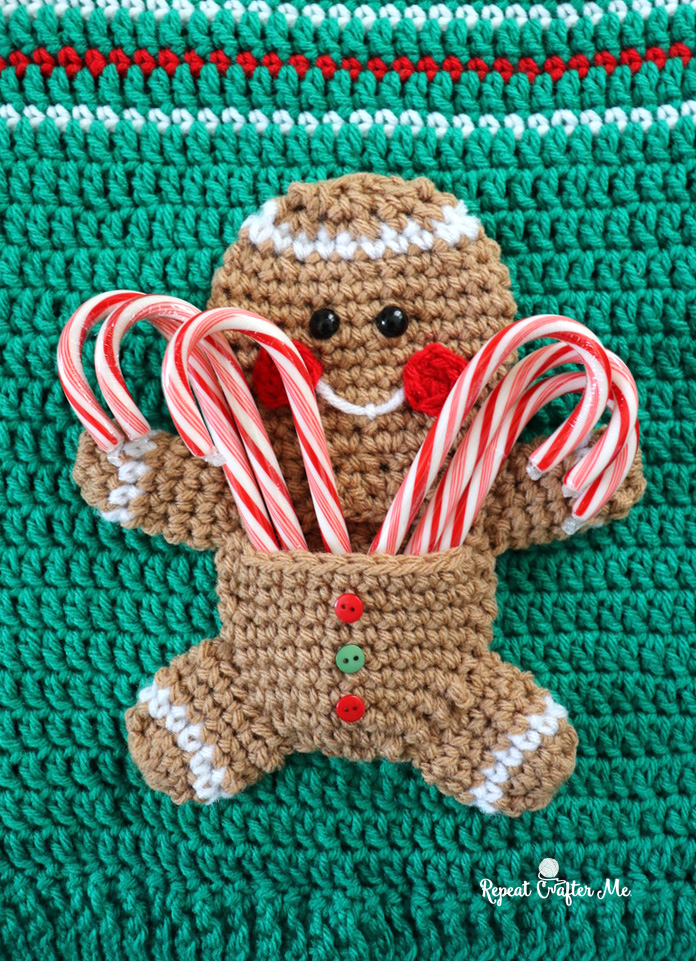
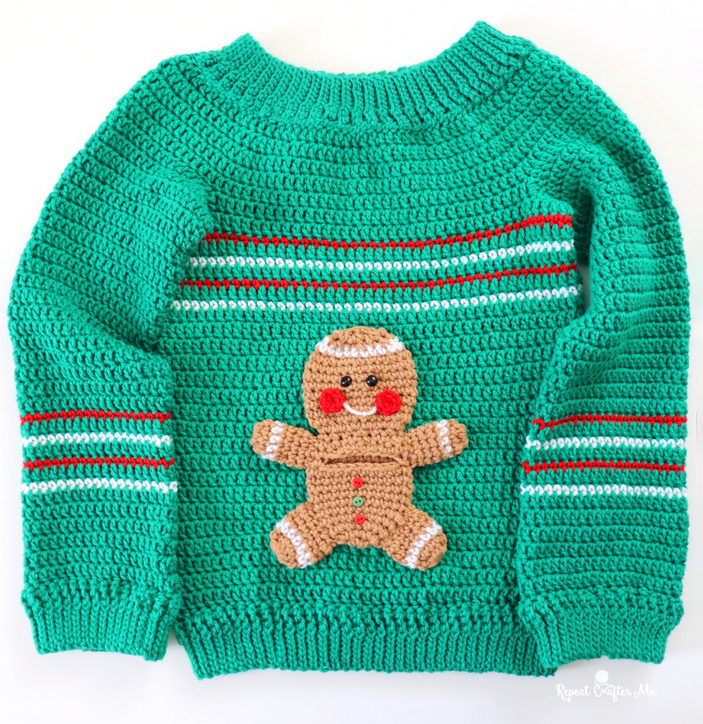
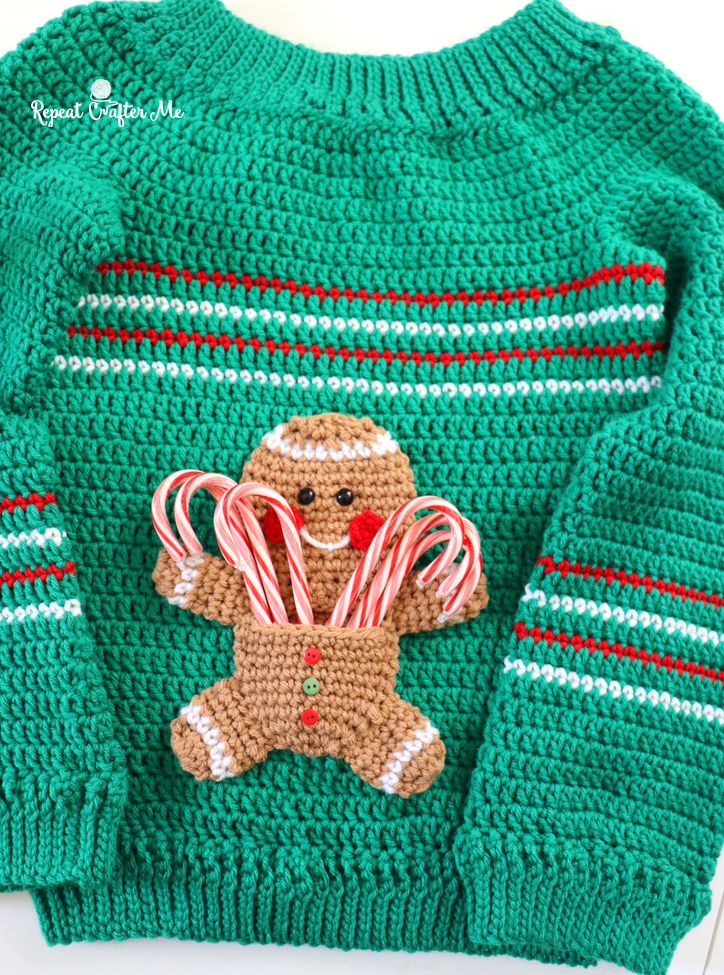
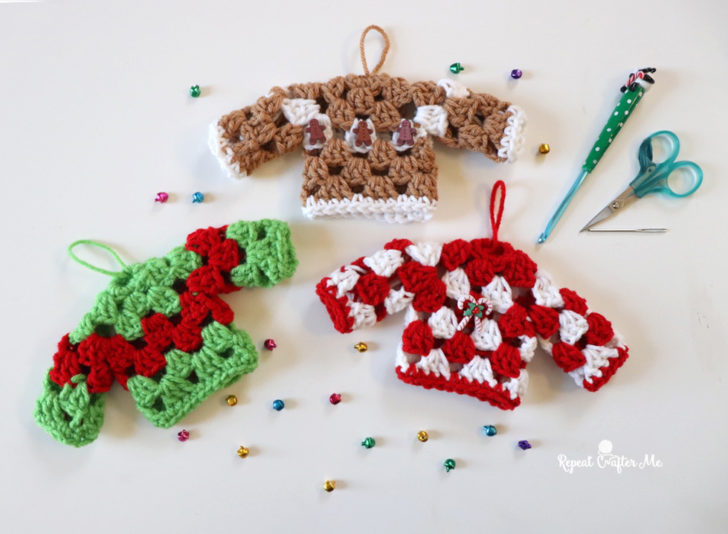
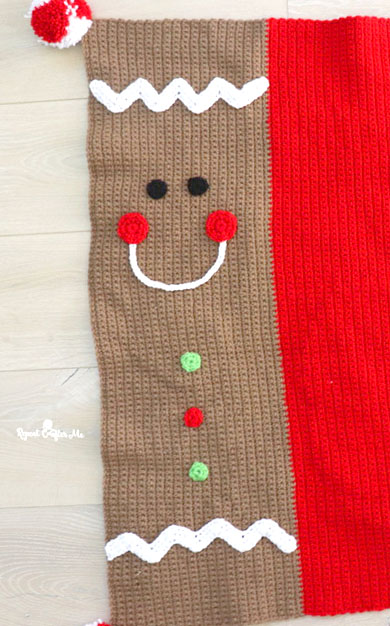
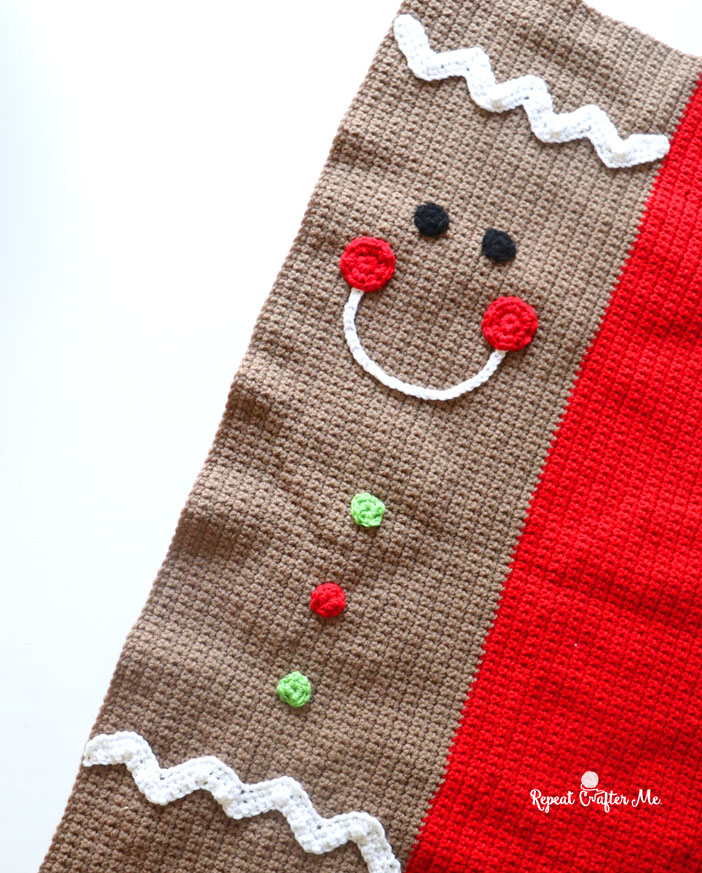
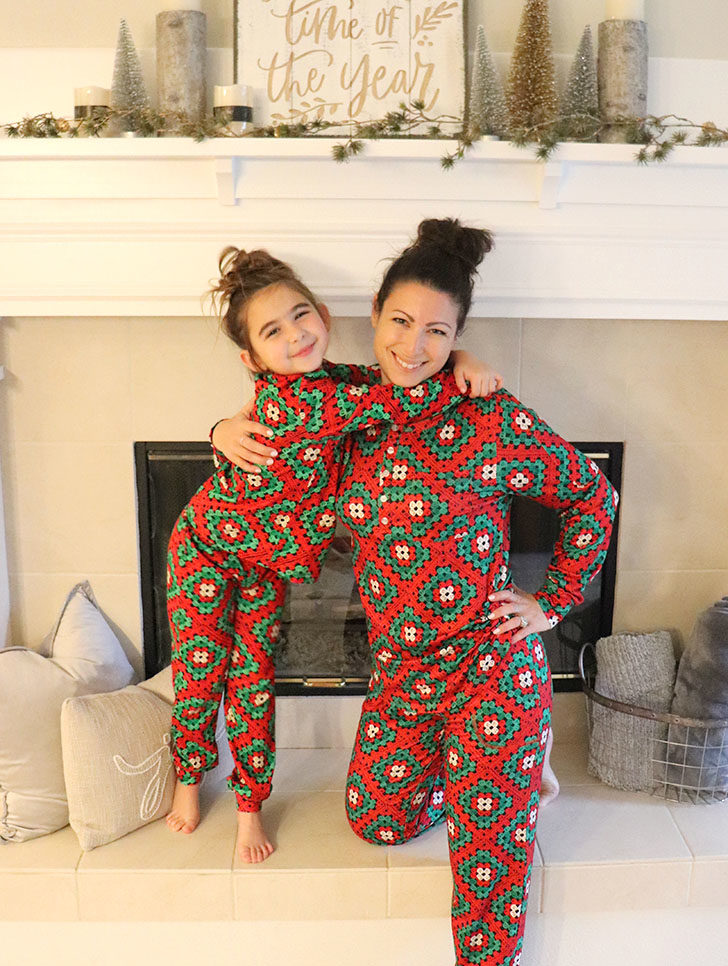
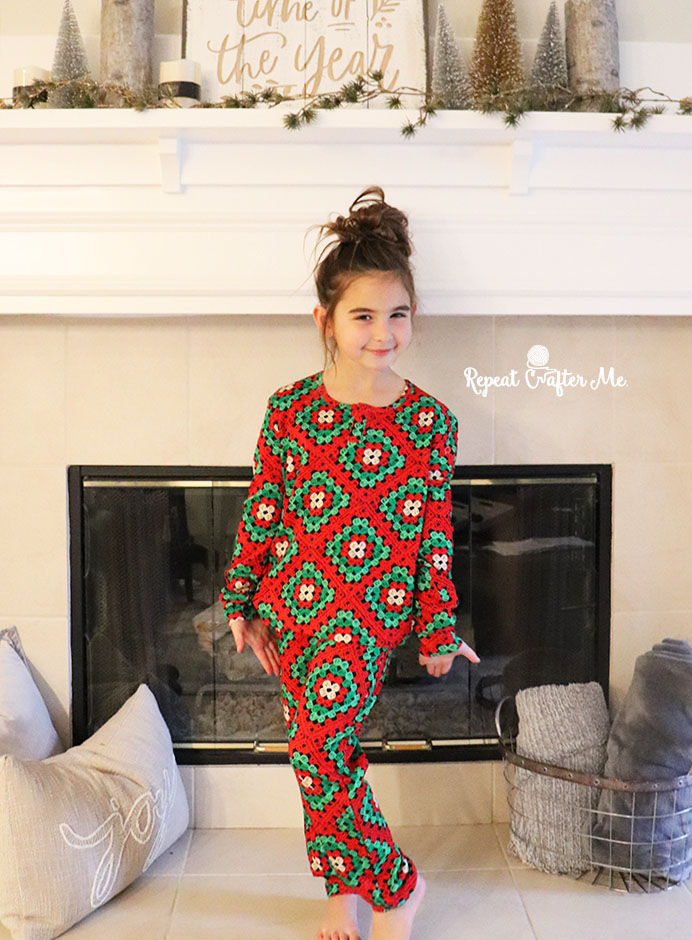
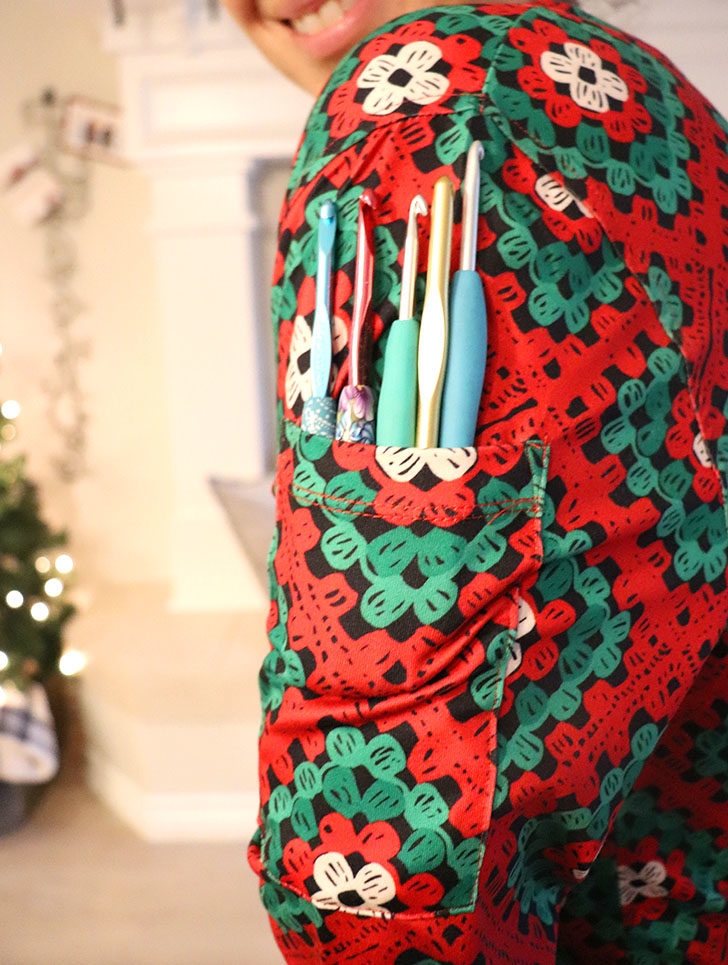
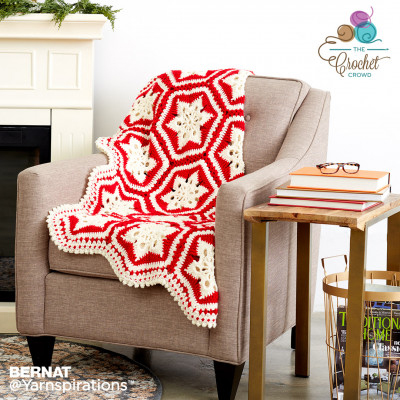
It’s TIME!! Did anyone else make the switch this week from Halloween straight into Christmas?! I made a fun half and half Hexi Cardi to celebrate the holiday seasons! It only took a day to crochet and it’s fun example of how you can switch up the colors on this super simple pattern. I am working on a gingerbread version next and I think its going to need pockets!
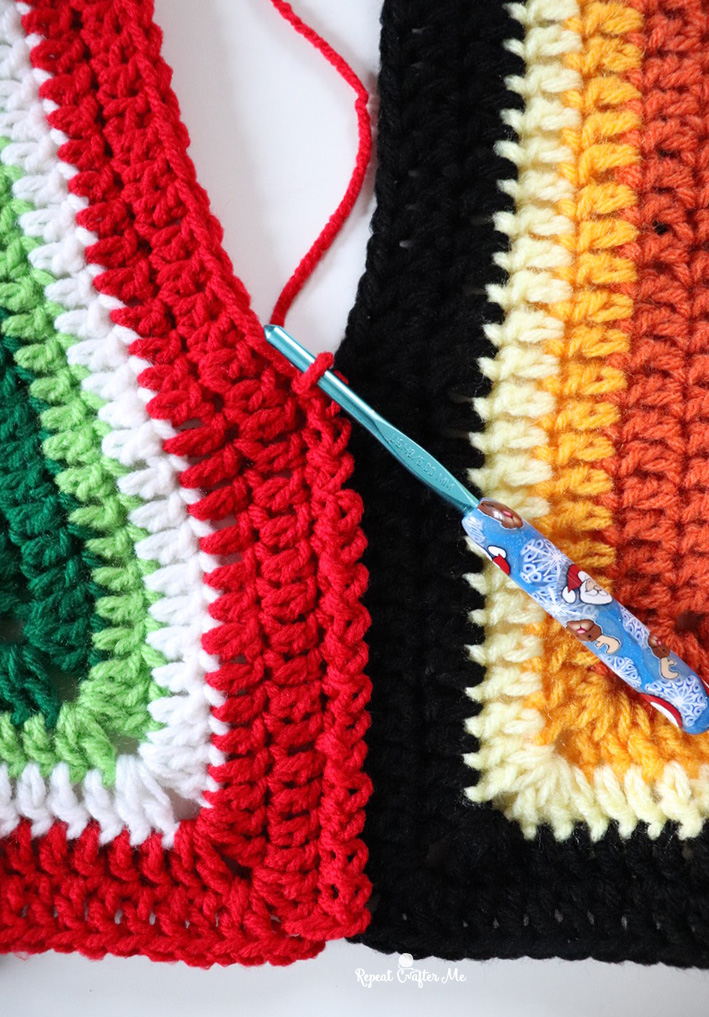
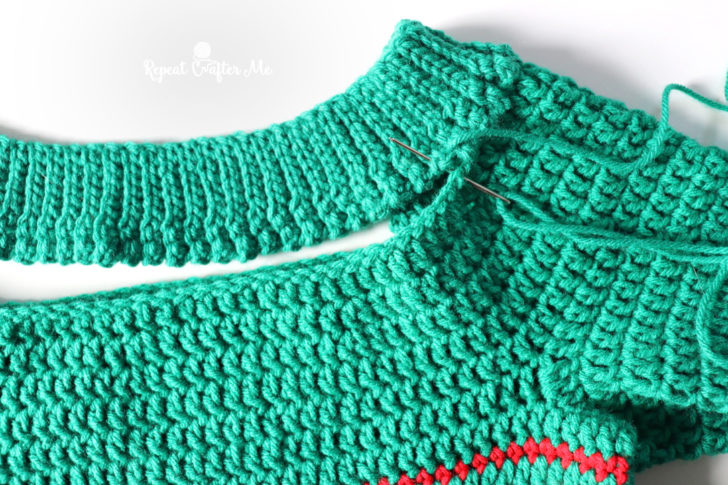
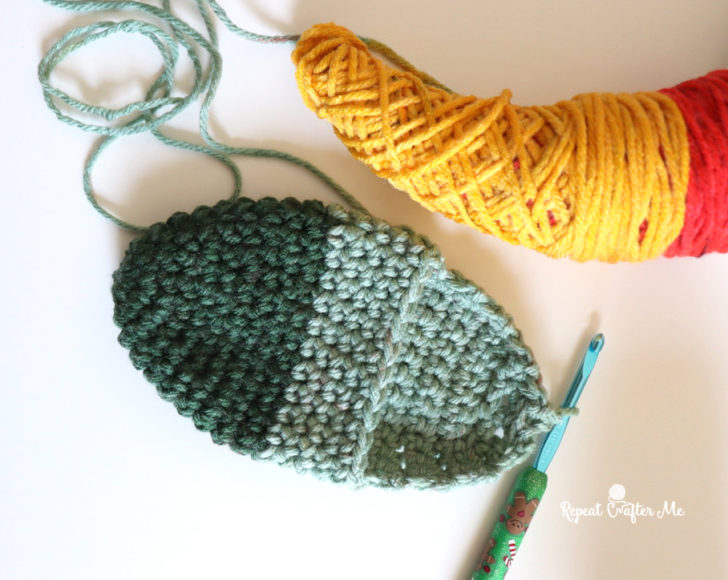
This pattern is honestly so easy and repetitive! Its rounds of double crochet stitches in a hexagon shape. You can make it as big as you want. After you’ve made two hexagon pieces, stitch them together to create a cardigan.
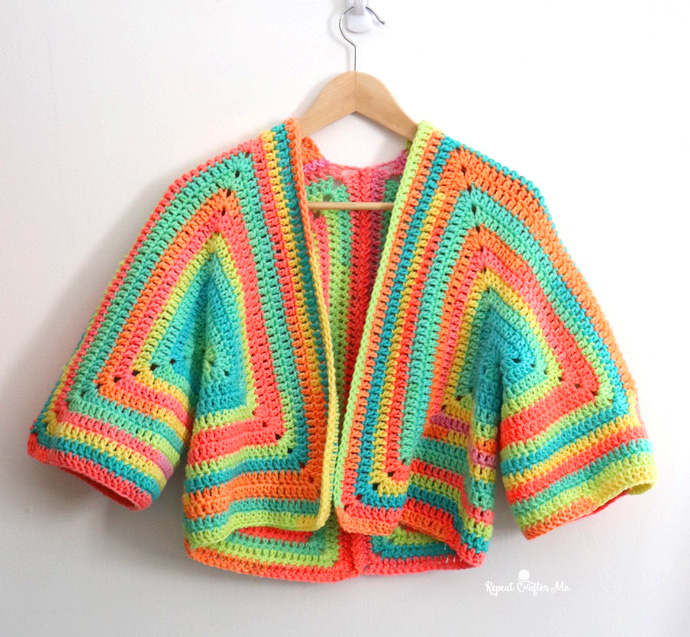
The pattern was originally made using a Red Heart Retro Stripe Yarn and you can find the pattern HERE on Repeat Crafter Me or in a FREE downloadable PDF from Yarnspirations.com.
GET THE HEXI CARDI PATTERN HERE
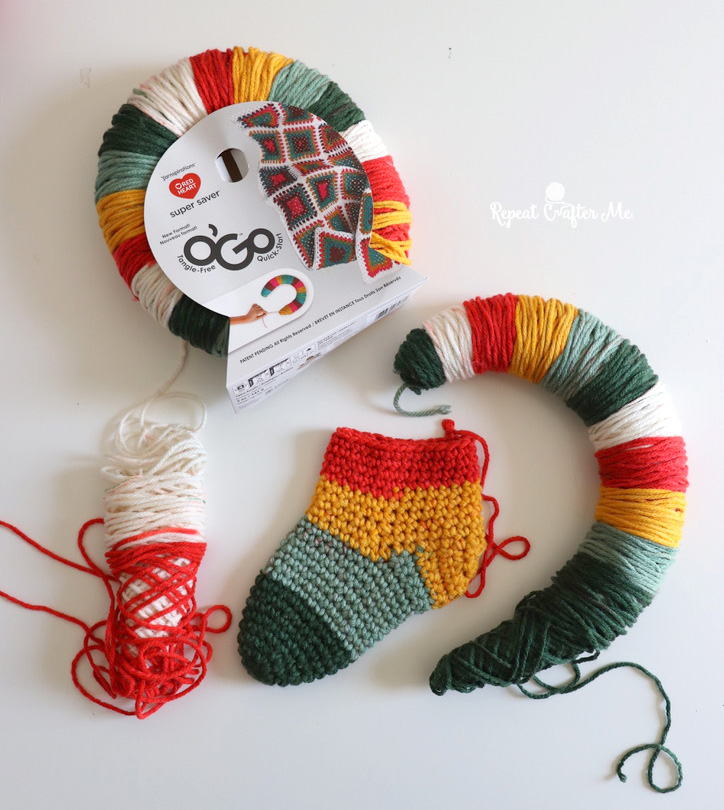
For this version I used Red Heart Super Saver Yarn in these colors:

Halloween Side:
Carrot Orange – 3 rounds
Saffron – 1 round
Pale Yellow – 1 round
Black – 2 rounds
Pale Yellow – 1 round
Saffron – 1 round
Carrot Orange – 3 rounds
Saffron – 1 round
Pale Yellow – 1 round
Black – 2 Rounds
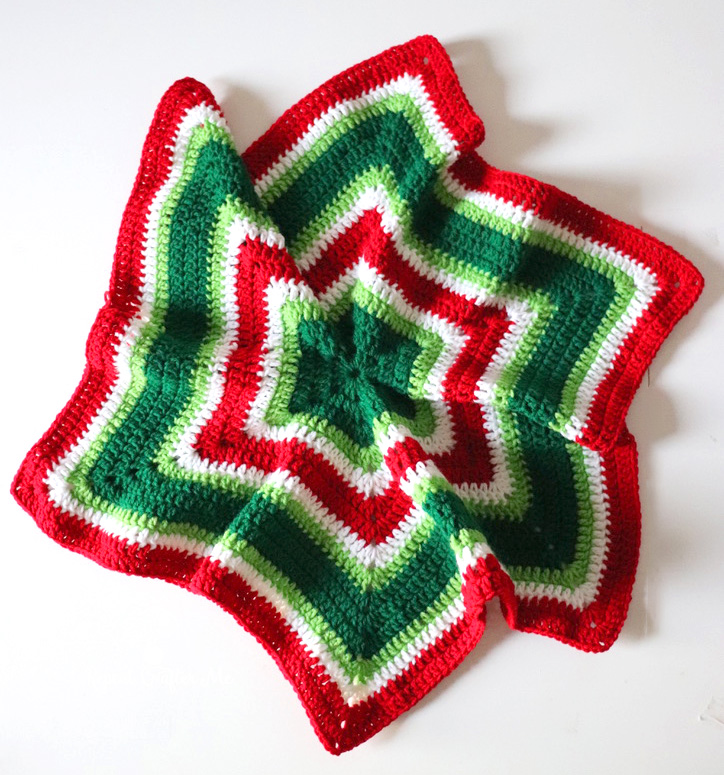
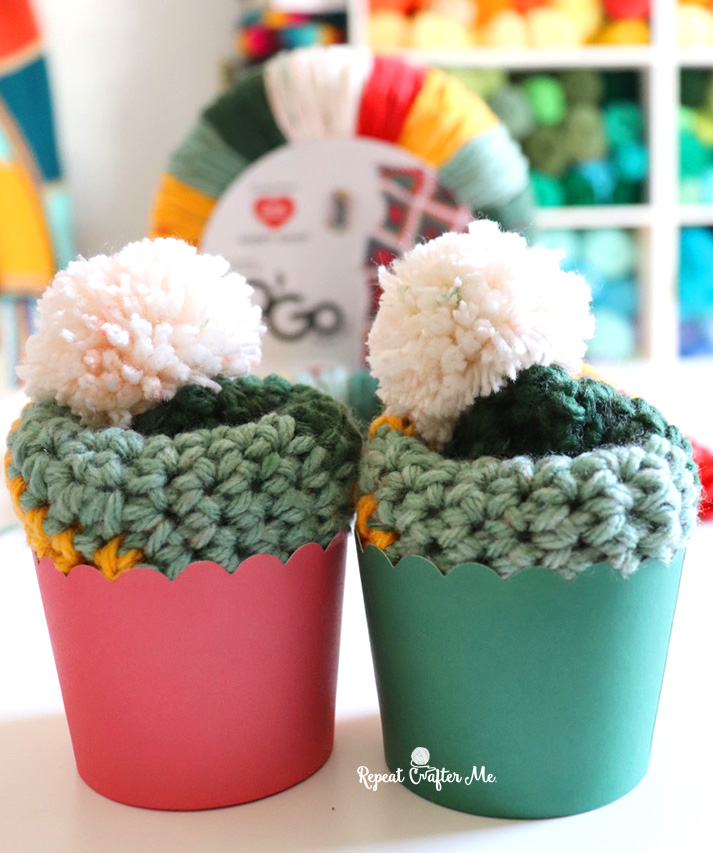
Christmas Side:
Paddy Green – 3 rounds
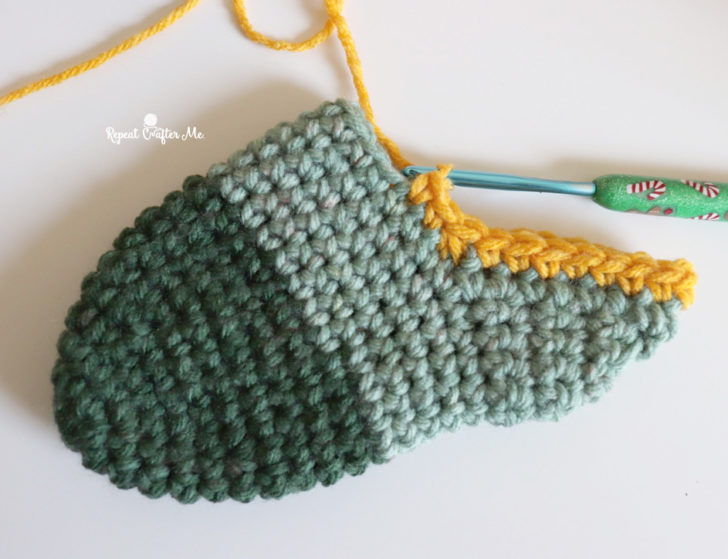
Spring Green. – 1 round
White – 1 round
Cherry Red – 2 rounds
White – 1 round
Spring Green – 1 round
Paddy Green – 3 rounds
Spring Green – 1 round
White – 1 round
Cherry Red – 2 rounds
You can continue crocheting these colors in rounds for bigger sizes. This is the size Small.
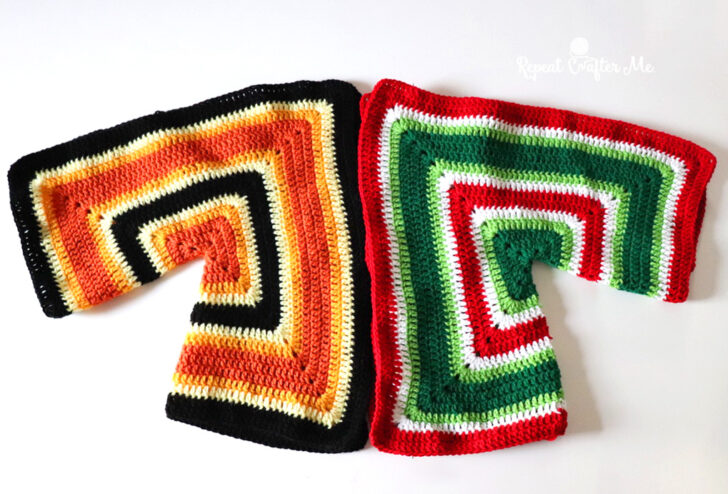
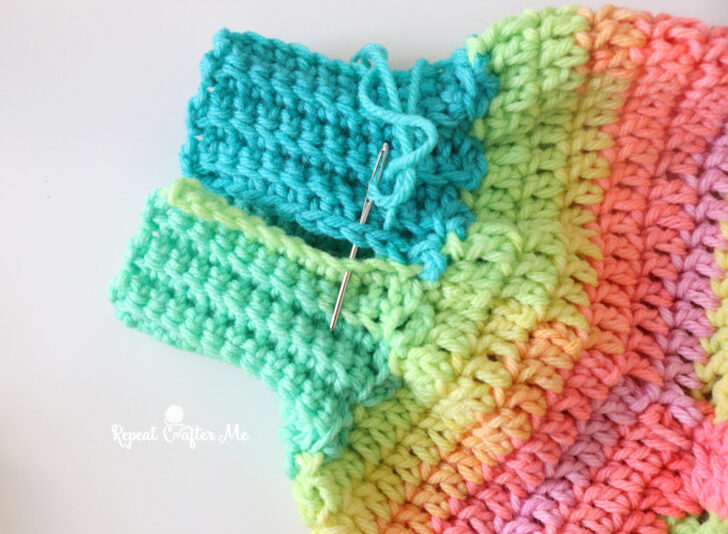
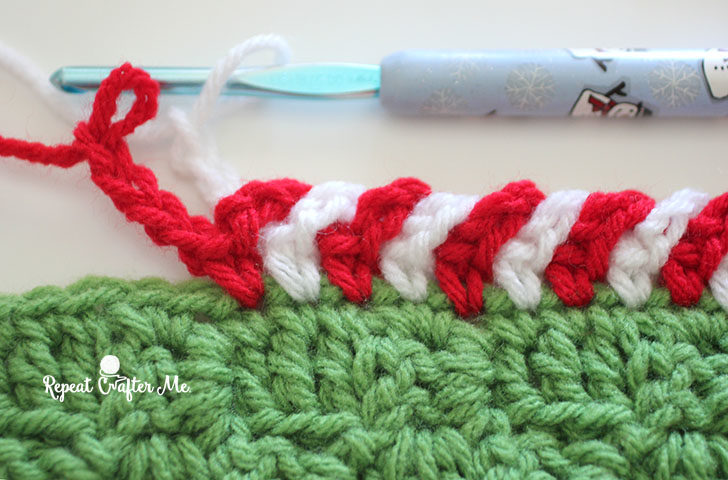
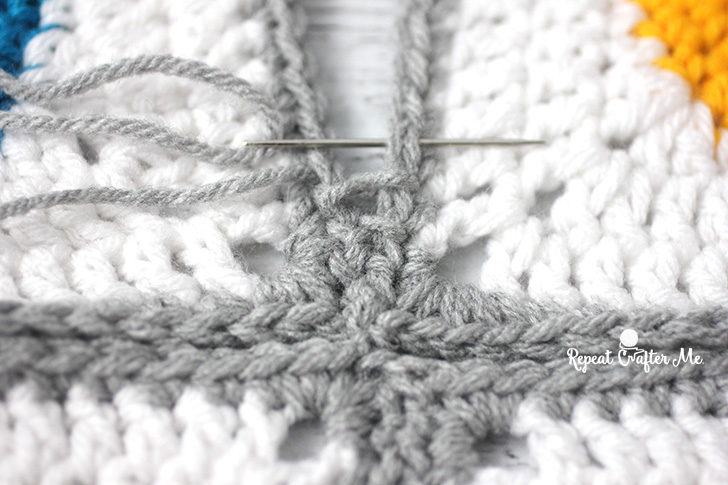
Stitch it up using the slip stitch join!
The color options are endless!
You can also add length to the bottom and finish the sleeves. Find the instructions for that HERE.
Happy crocheting as we head into the holidays!
Thank you Karen Farrell for naming this cardigan! I loved it when you suggested it on my FB page!
FOLLOW ME for more FREE Crochet!
Repeat Crafter Me Facebook
Repeat Crafter Me Instagram
Repeat Crafter Me Pinterest
Repeat Crafter Me YOUTUBE
Subscribe to my NEWSLETTER for free patterns straight to your inbox!
Here are two books you must add to your holiday wish list!
Crochet Cute Critters and Crochet Cute Forest Friends is a dynamic duo of adorable amigurumi!


