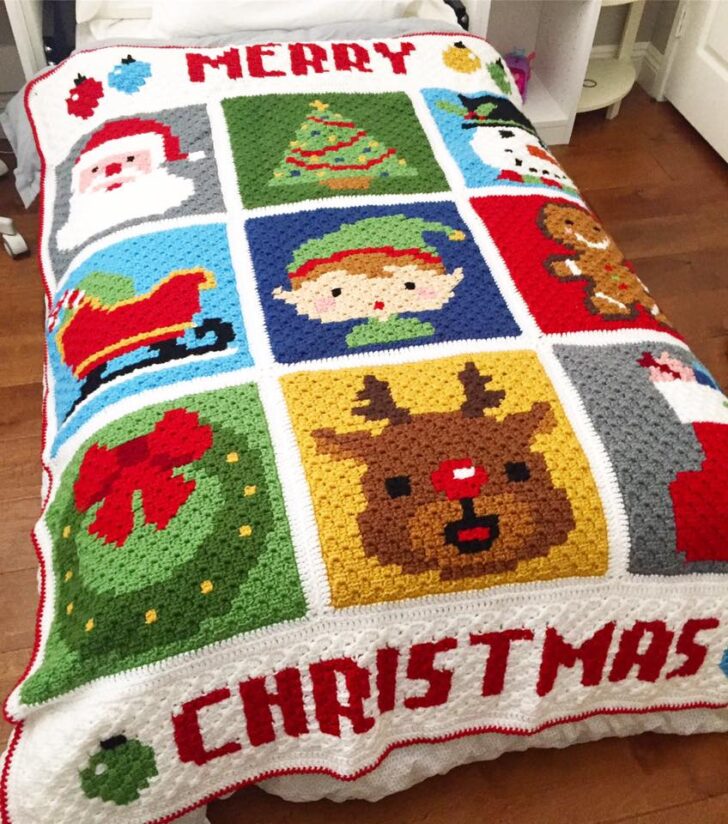
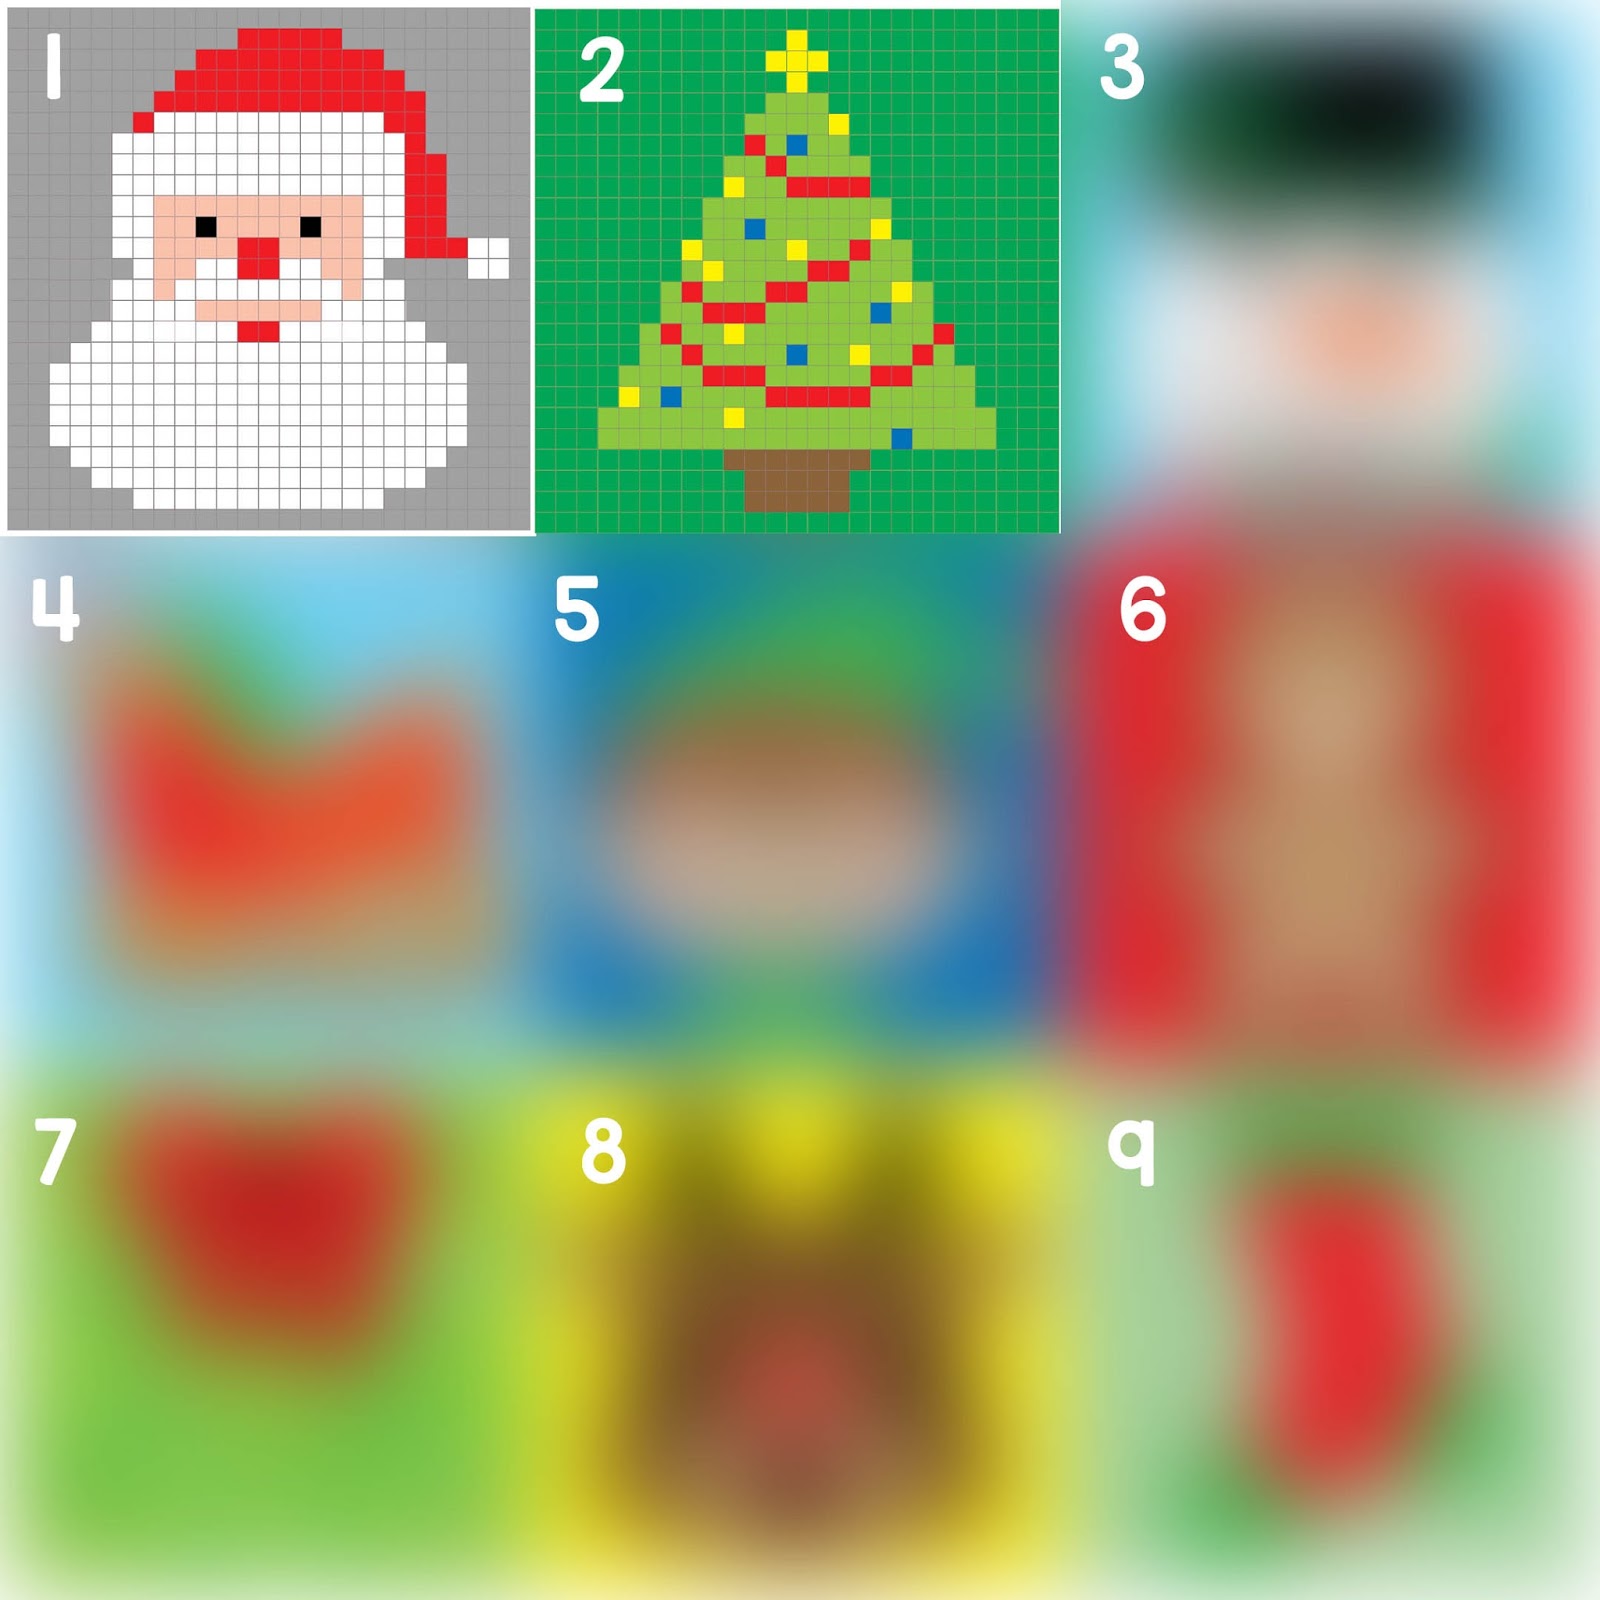
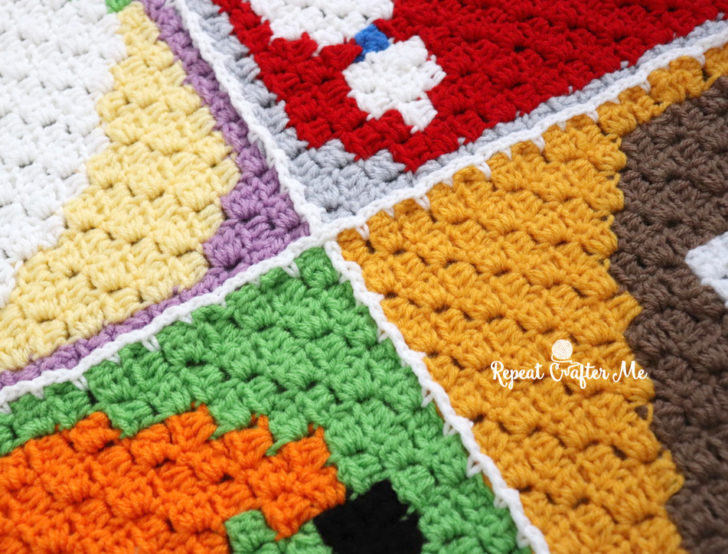
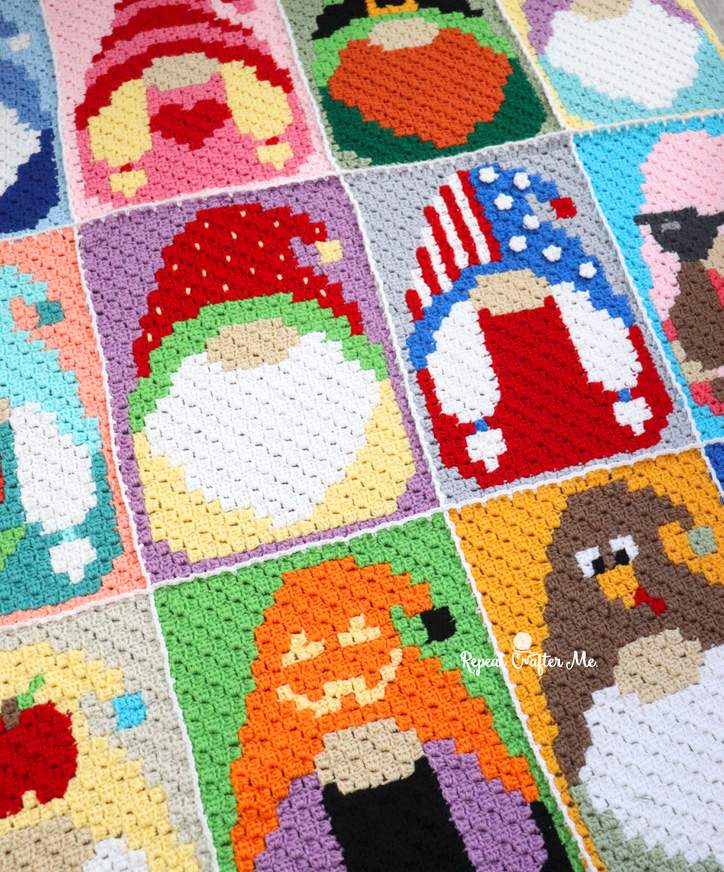
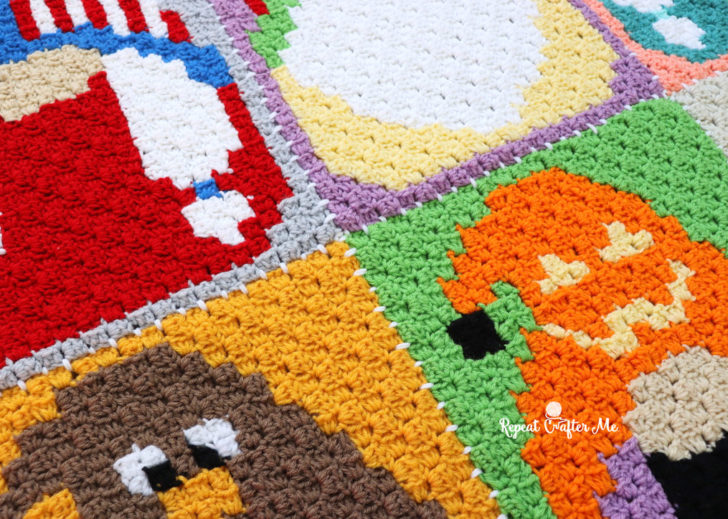
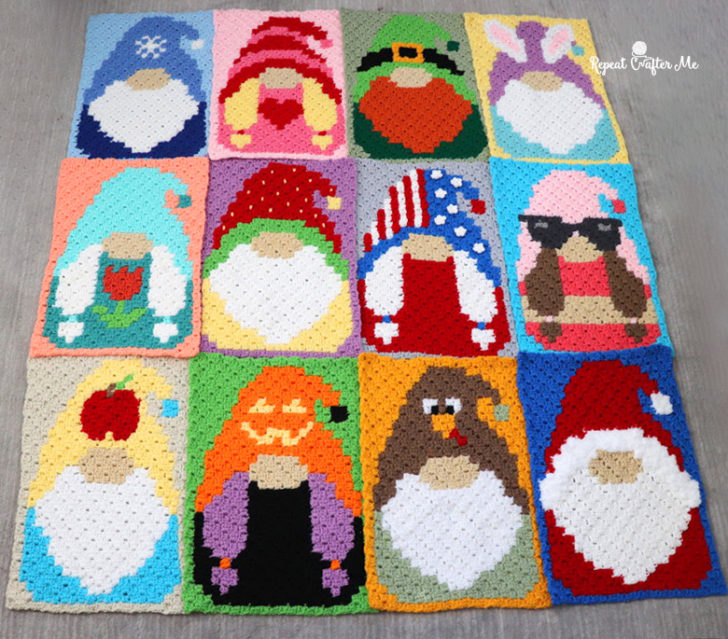
It’s finished! I am proud to show you my completed Crochet Christmas Character Afghan! This was a really fun project that turned into an impromptu CAL (crochet-along) and ultimately becoming a creative outlet for so many of you who were following along. I gave you 9 squares and you guys ran with it, creating handfuls of other Christmas themed pixel squares! I love seeing everyones version of this project. Be sure to use the hashtag #ChristmasCharacterAfghan and tag me @RepeatCrafterMe when posting on social media!

So lets talk a little about this project!
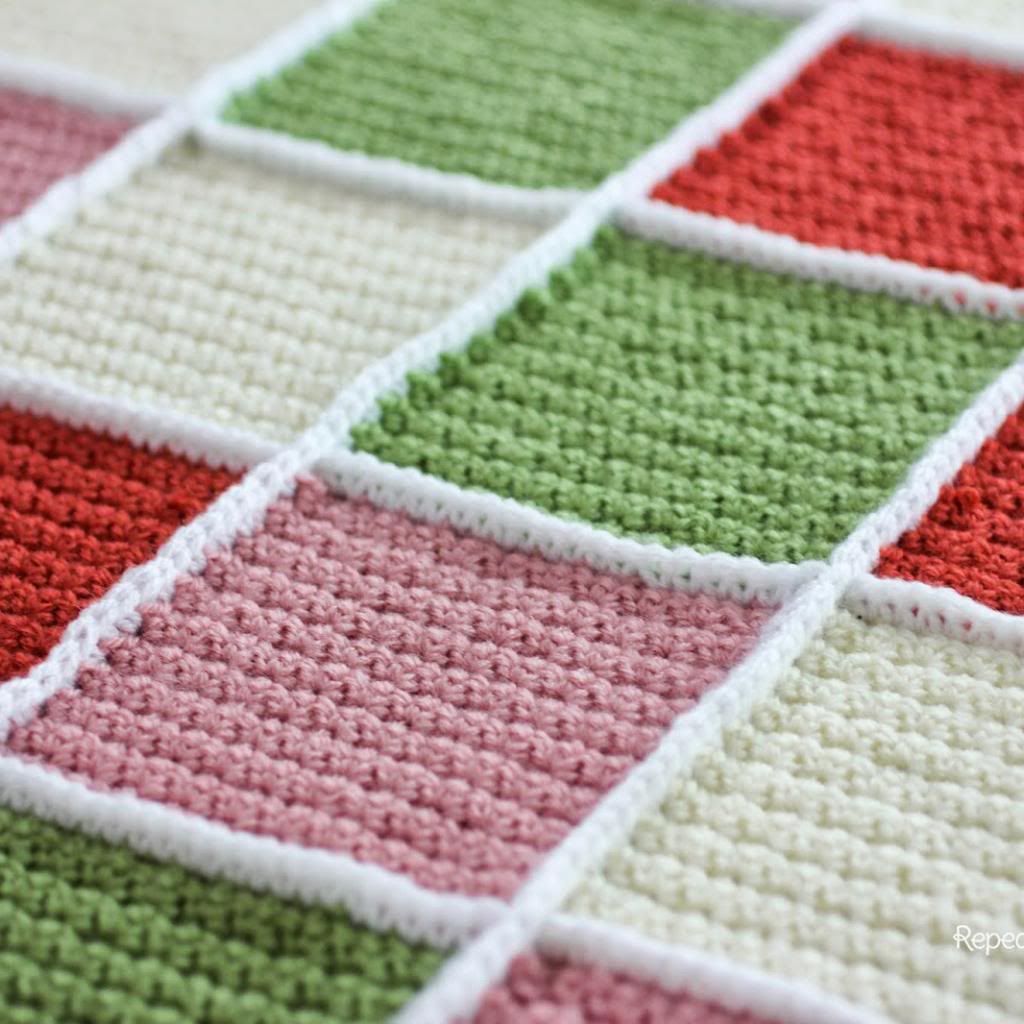
Finished Size: 65×50 inches
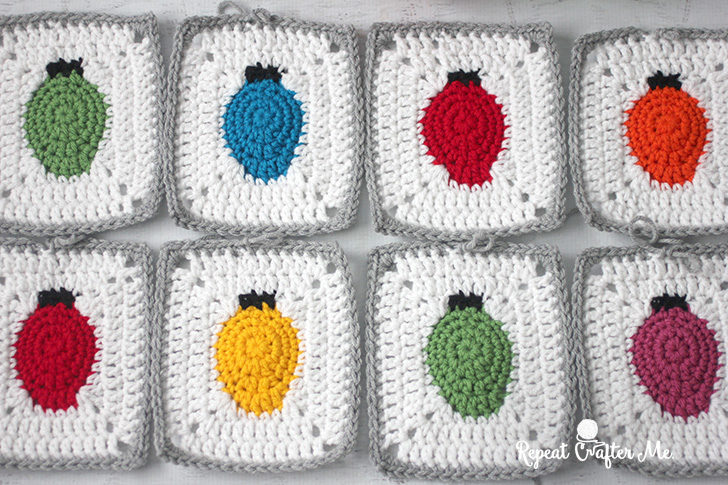
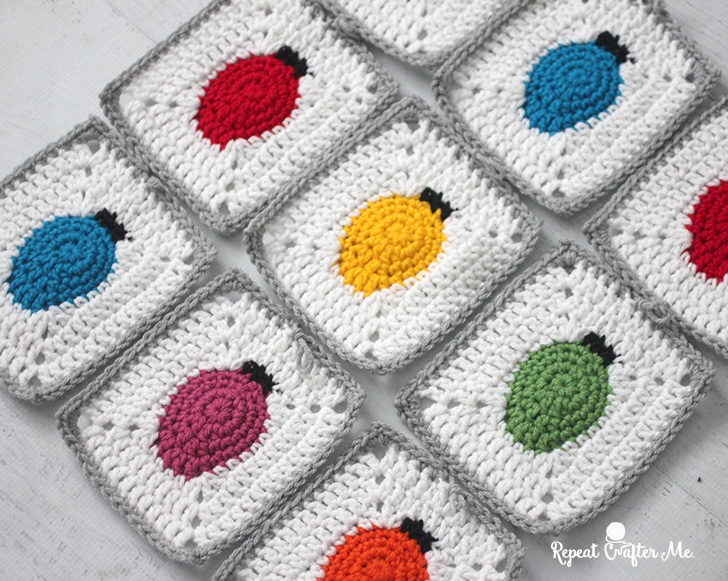
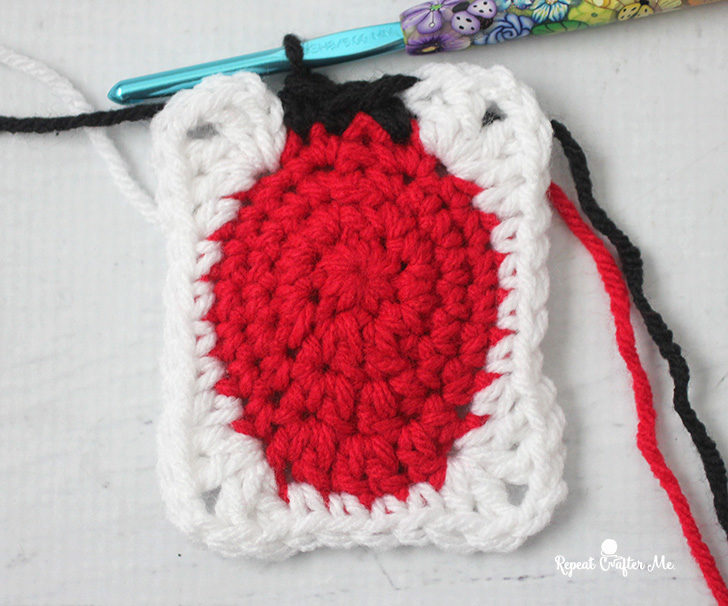
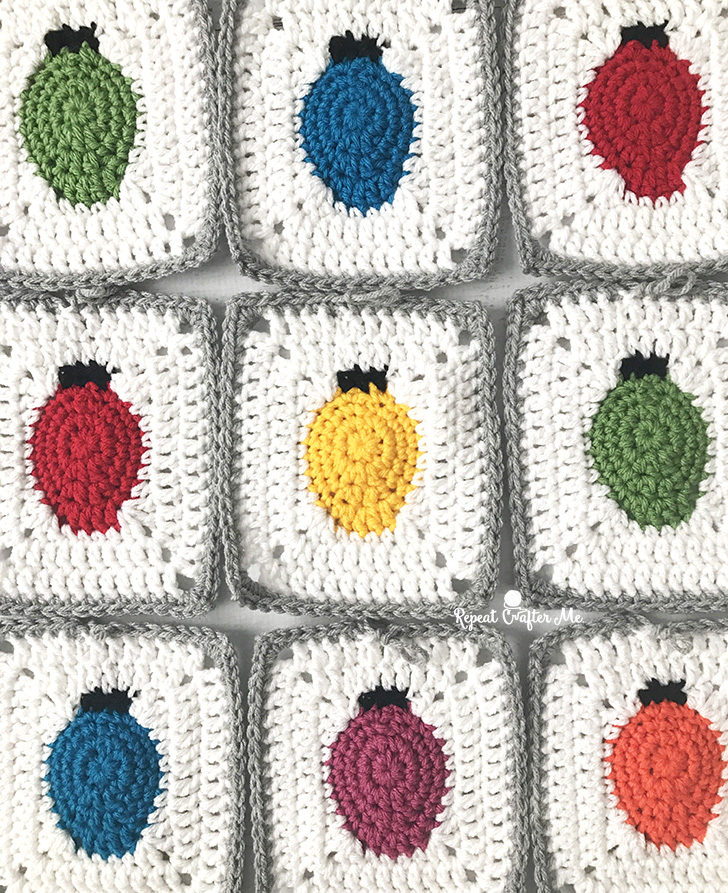
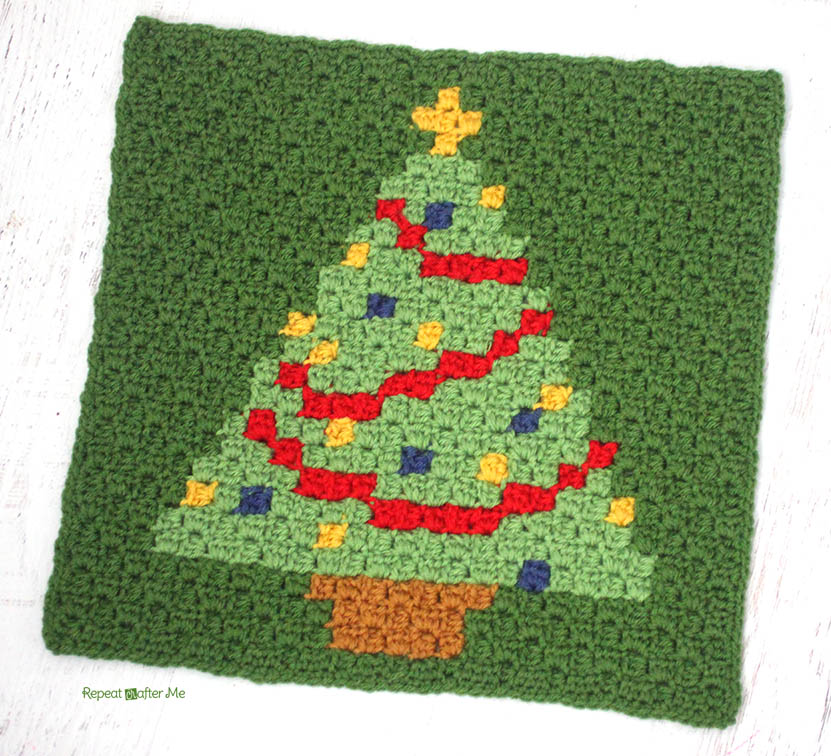
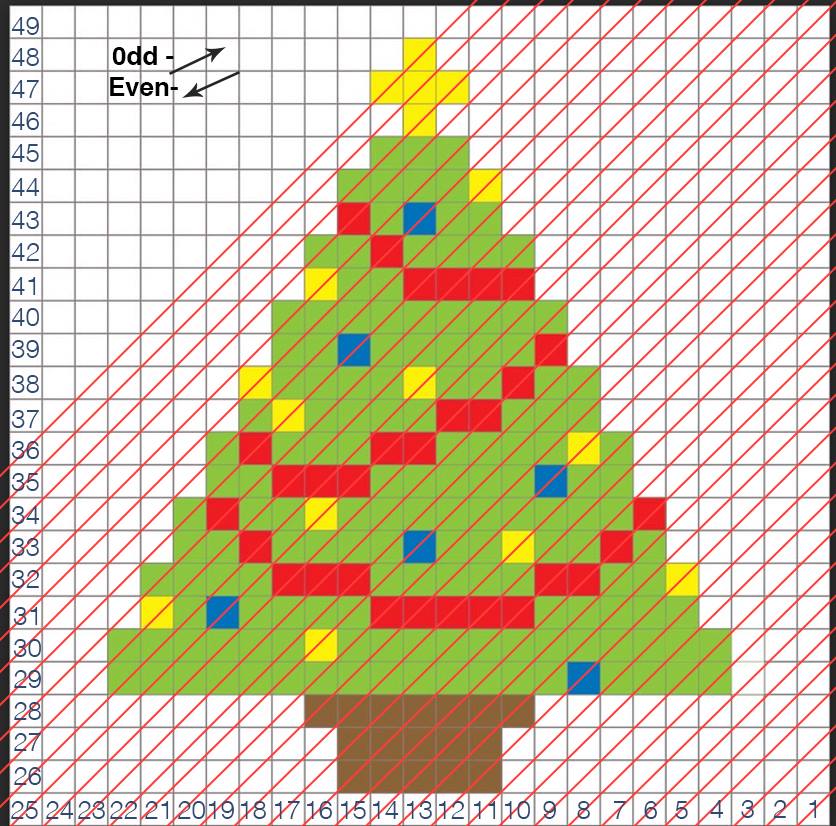
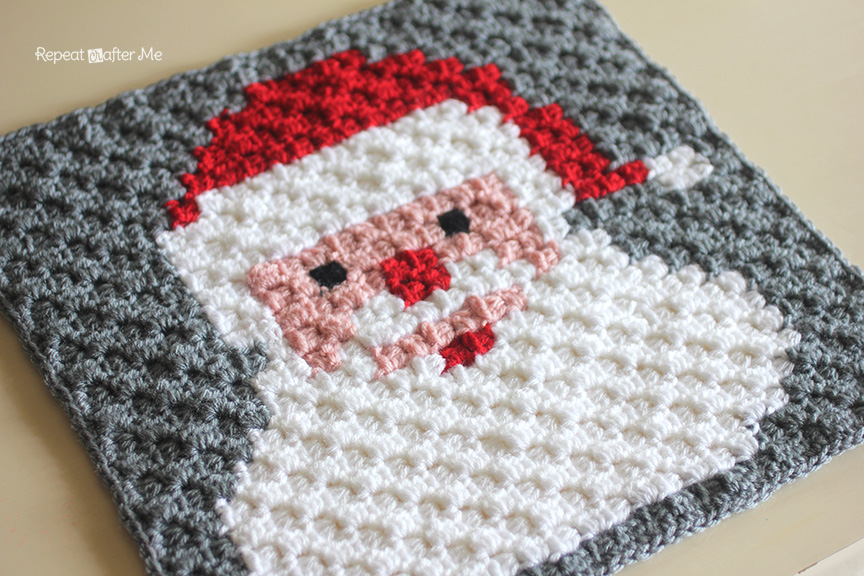
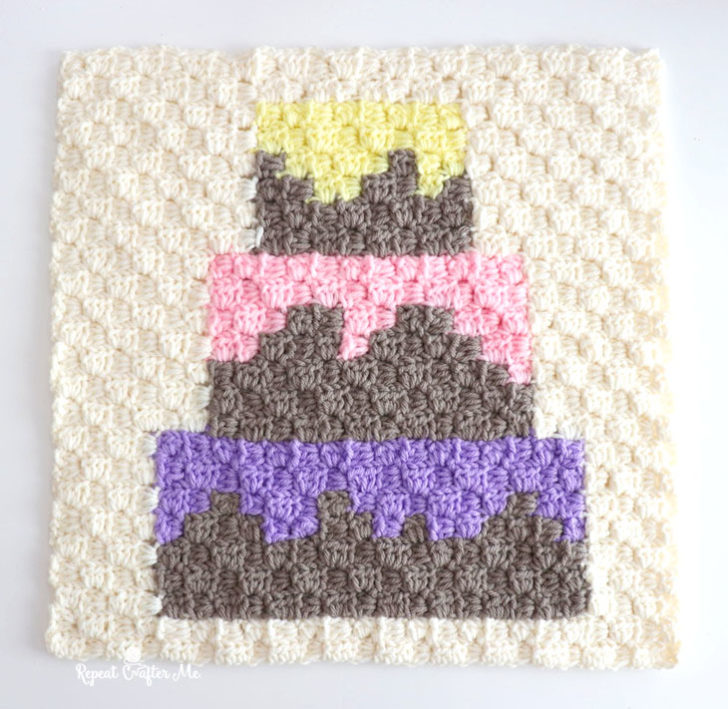
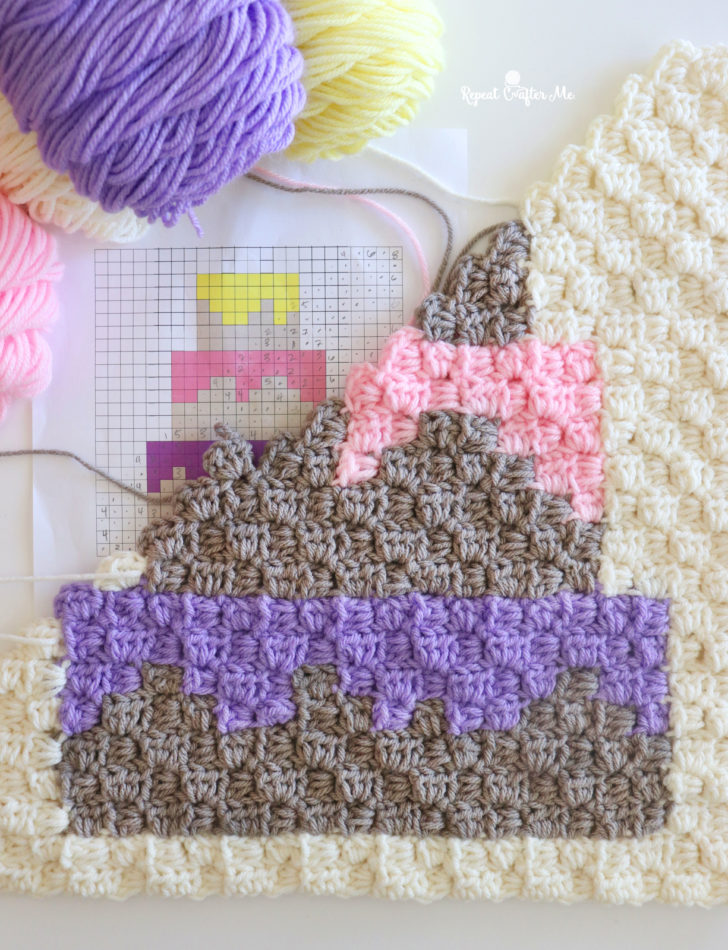
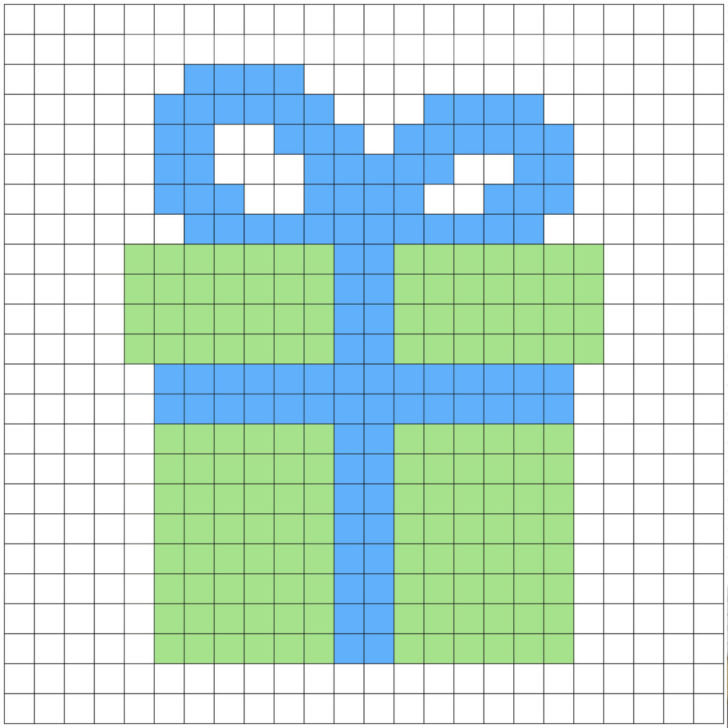
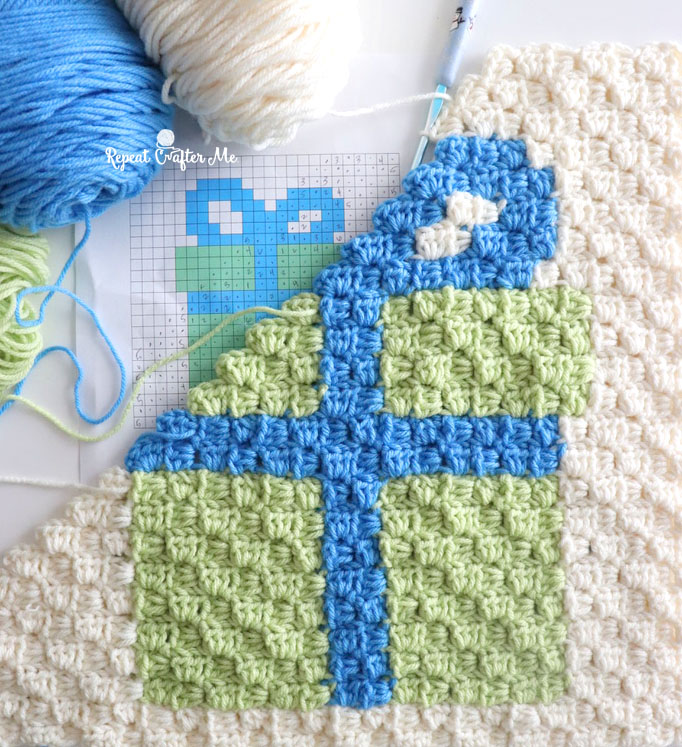
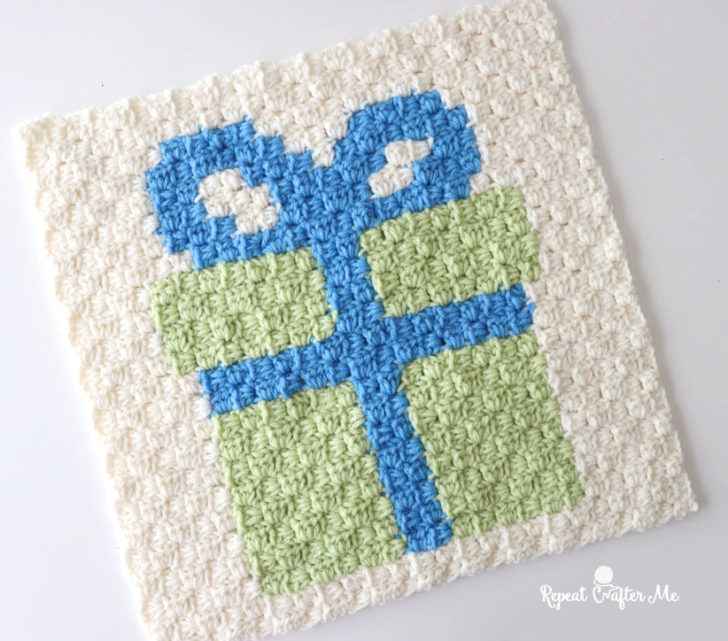
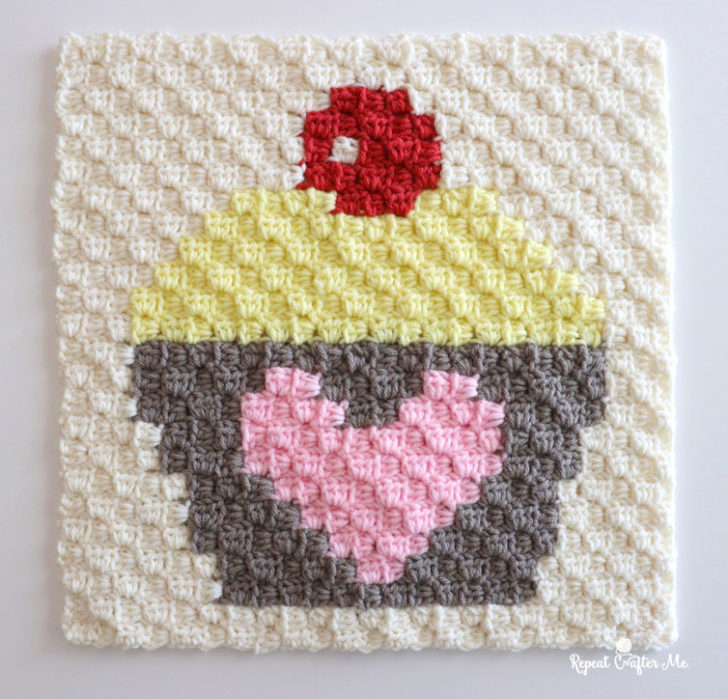
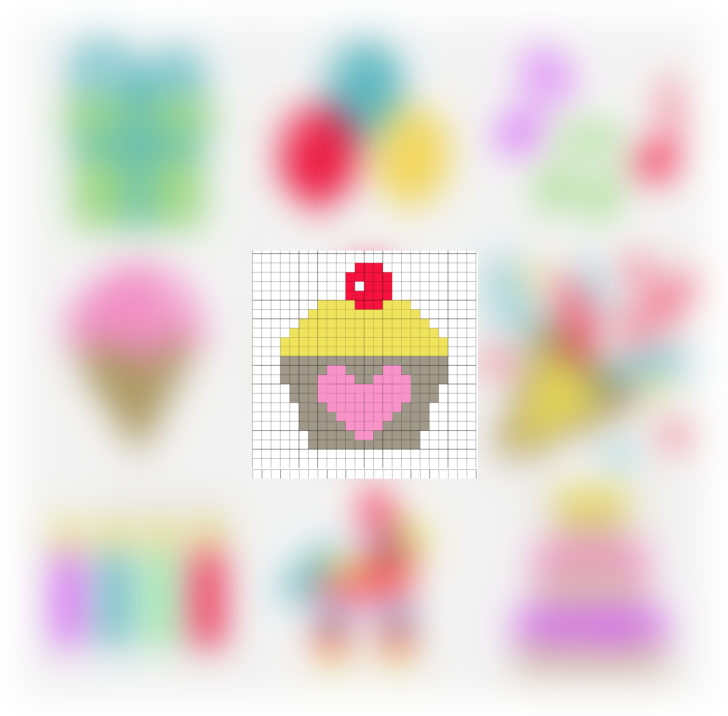
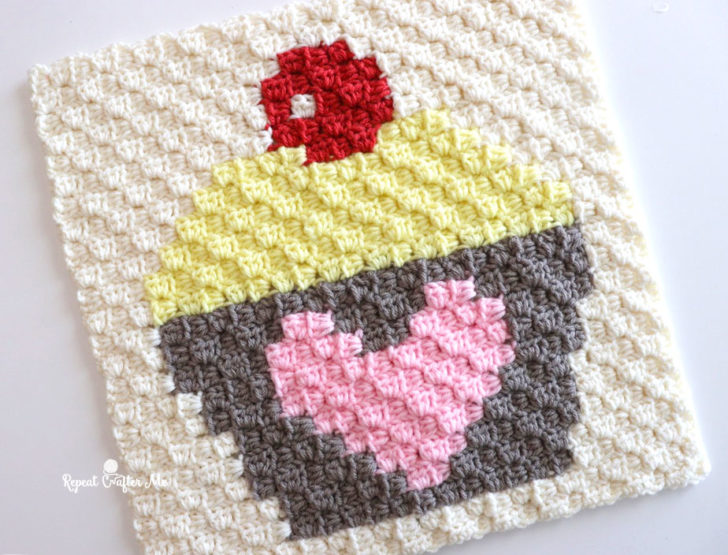
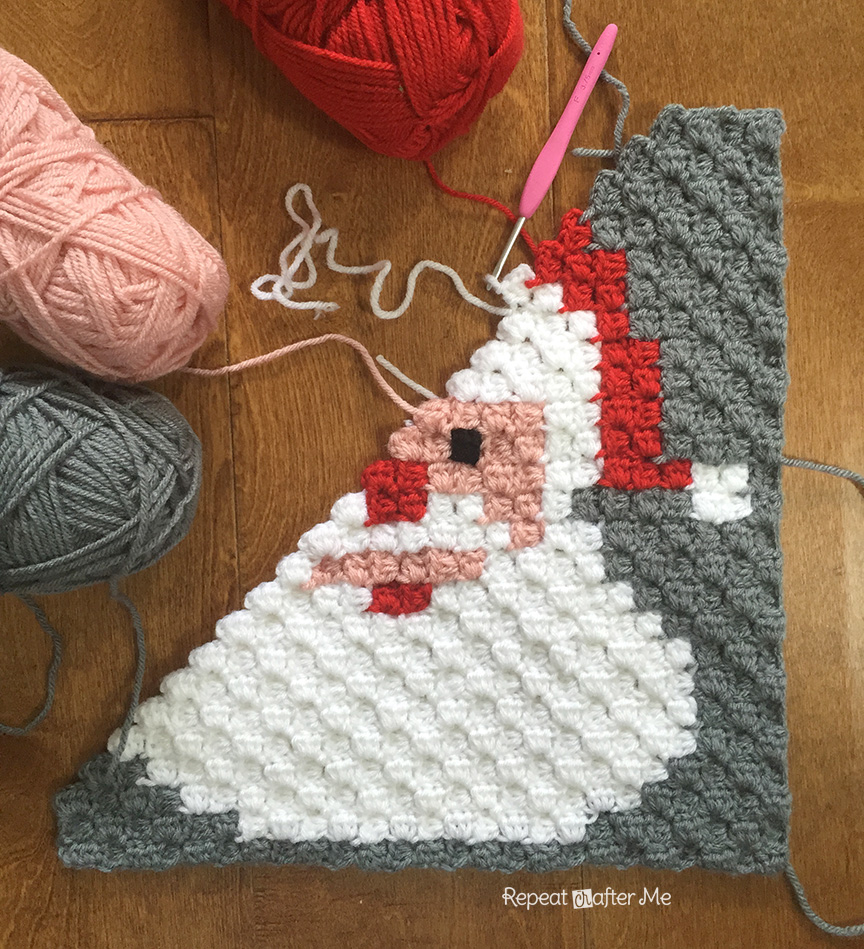
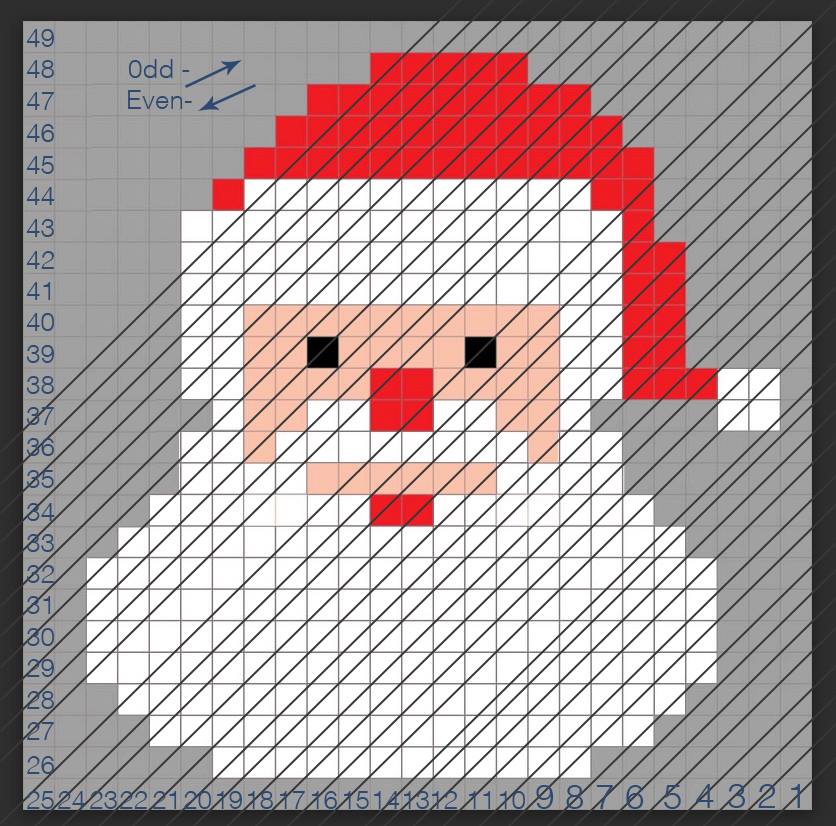
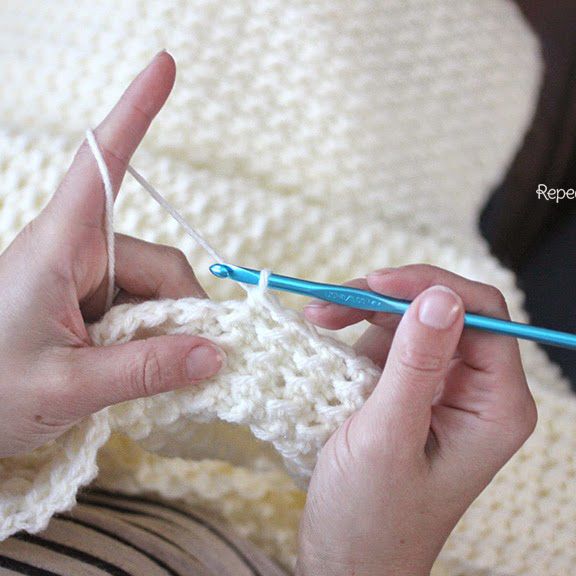
It consist of 9 square graphs that are 25×25 pixels. I used the C2C (corner-to-corner) technique to crochet each square. Follow THIS VIDEO DEMONSTRATION by The Crochet Crowd for more explanation on how to crochet C2C afghans. I used a size F (3.75mm) hook and worsted weight yarn . Specifically Lion Brand Vanna’s Choice in Kelly Green, Fern Green, Silver Grey, Scarlet Red, Honey, Toffee, Mustard yellow, Little Boy Blue (this color is being discontinued), Colonial Blue, Black, White, Pink, Cranberry (dark red), Beige, and Terracotta orange. I am not sure exactly how much of each color I used since I picked through my stash, ran out to get yarn when needed, and carried leftover from one square into the next… to be on the safe side for each square I would suggest getting two of the colors that are main background colors or frequently used in the square (like Santa’s beard).
VERY IMPORTANT: Instead of the traditional C2C method of using DC’s and chain 3’s to make each pixel, I used HDC’s and only chained 2 (and chained 5 instead 6 on the increase stitches). This allowed me to have a smaller overall afghan square, measuring approximately 15×15 inches. You can absolutely use the traditional method but your square will be much larger and your overall afghan will be much larger as well once you sew them all together.
You do not have to use the C2C method either! You can take this graph and make a standard SC graphgan. This will produce nice small squares (think 25 single crochets wide and tall) that will be perfect for a standard size blanket. You could also make Pixel Granny Squares and use the graphs I post to create separate character blankets. There is also the Bobble Stitch method as well! So many ways to use these graphs!

All of the pixel graphs are available for free download and have written patterns for the colors changes. Use the highlighted links below to view each individual post.
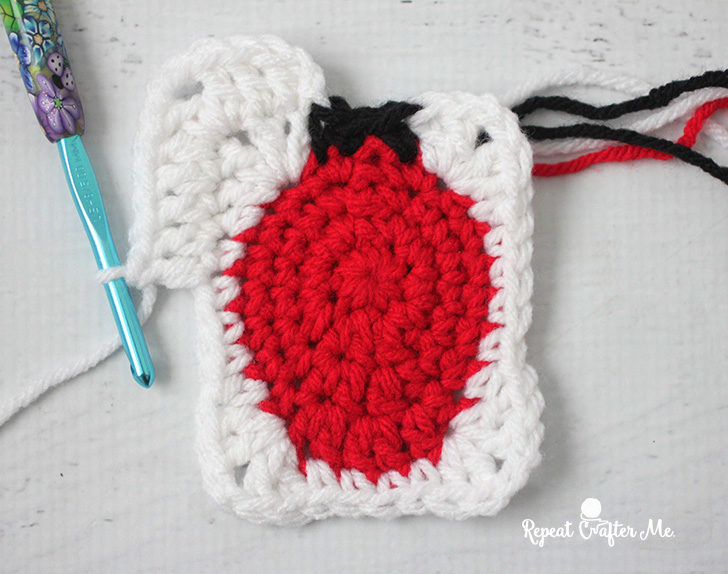
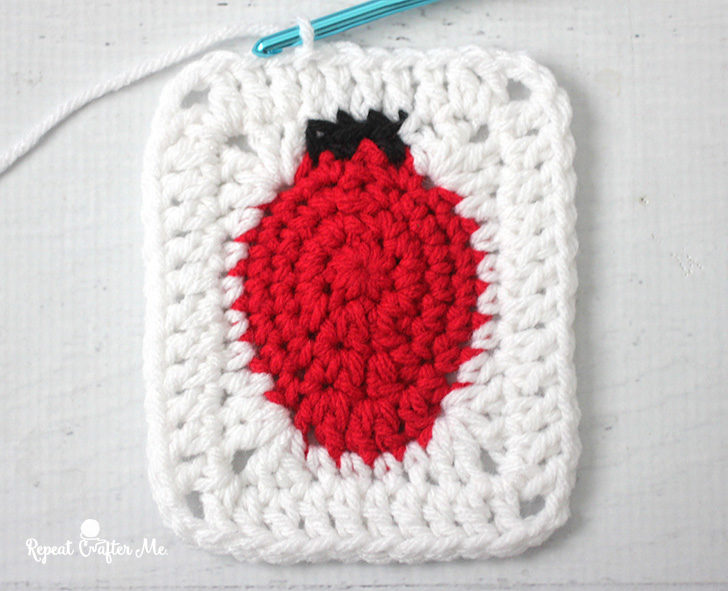
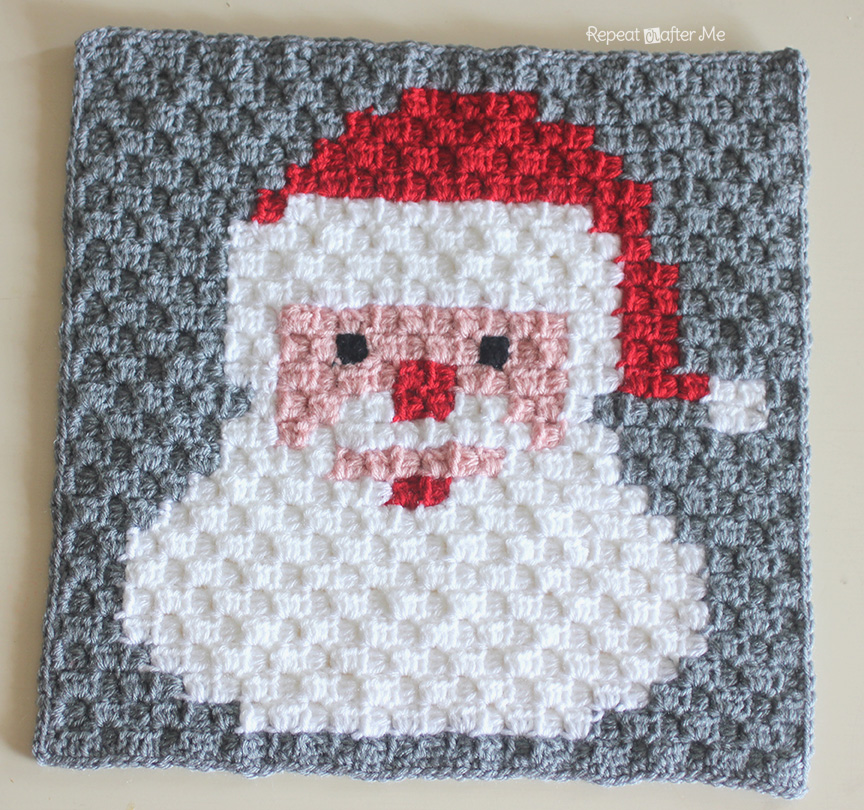
- Santa
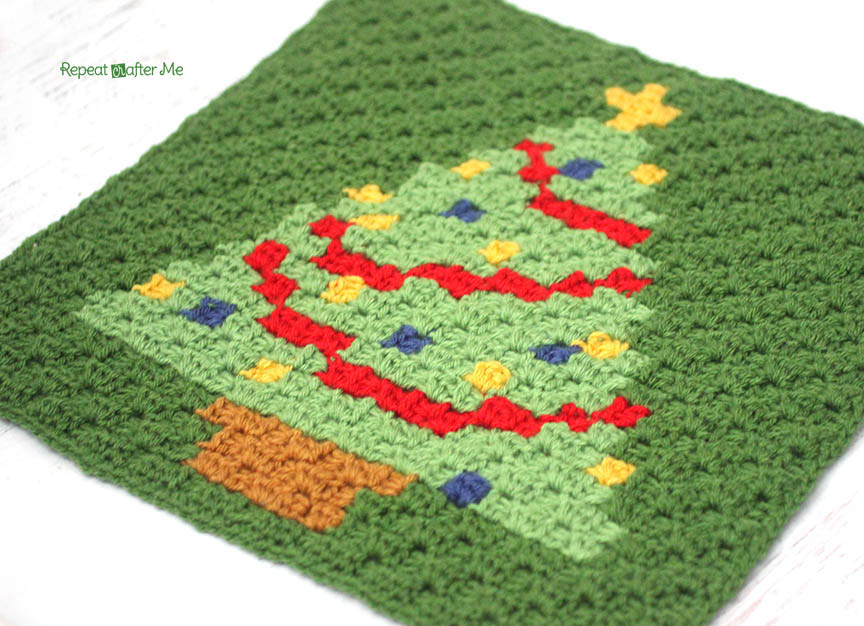
- Christmas Tree
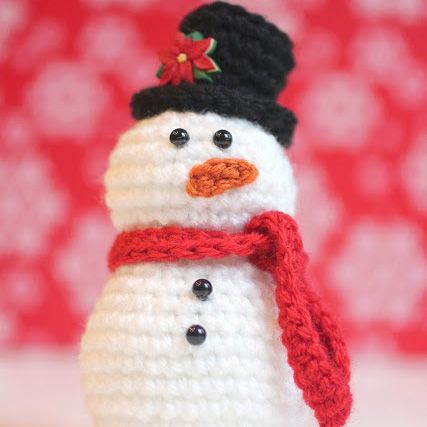
- Frosty the Snowman
- Santa’s Sleigh
- Elf
- Gingerbread Man
- Wreath
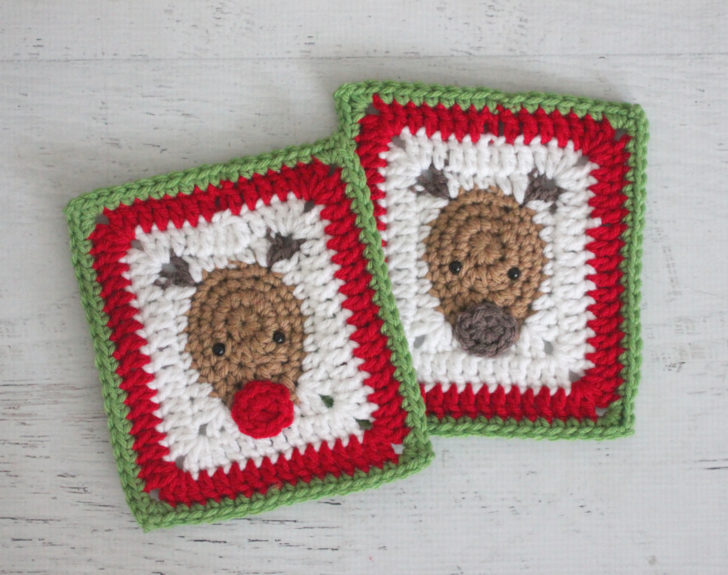
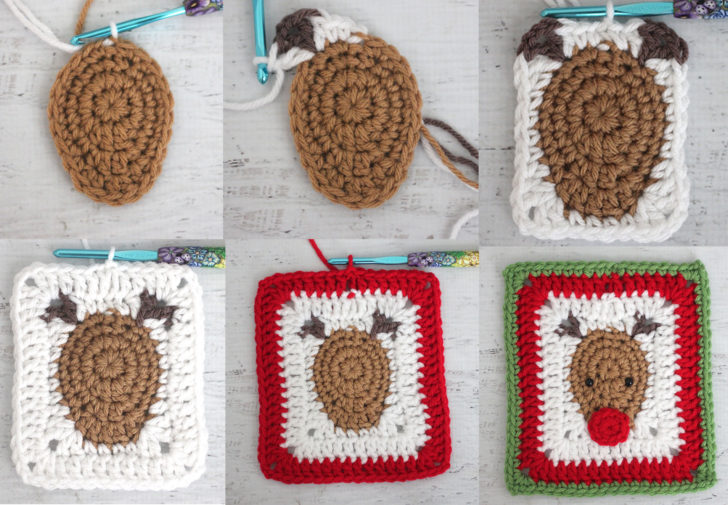
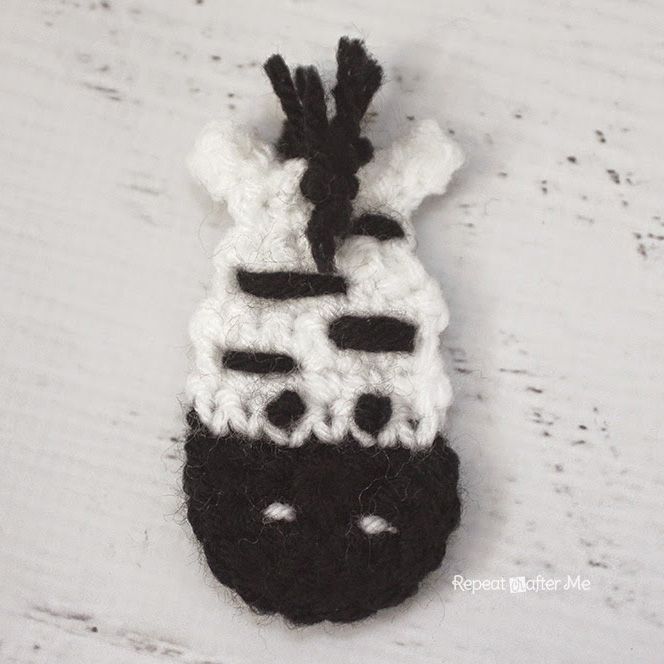
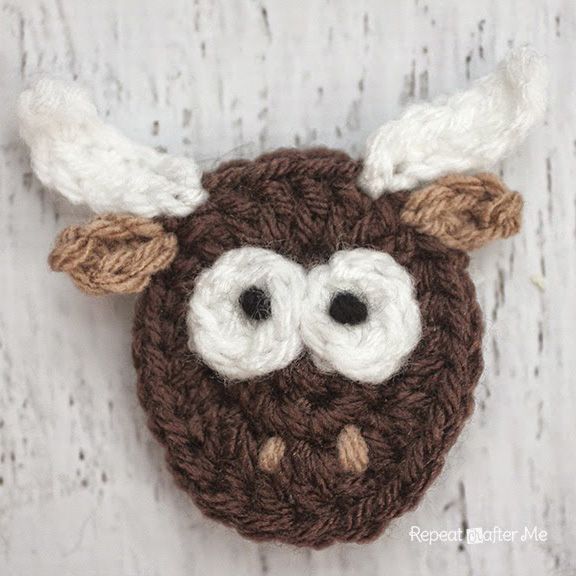
- Rudolph
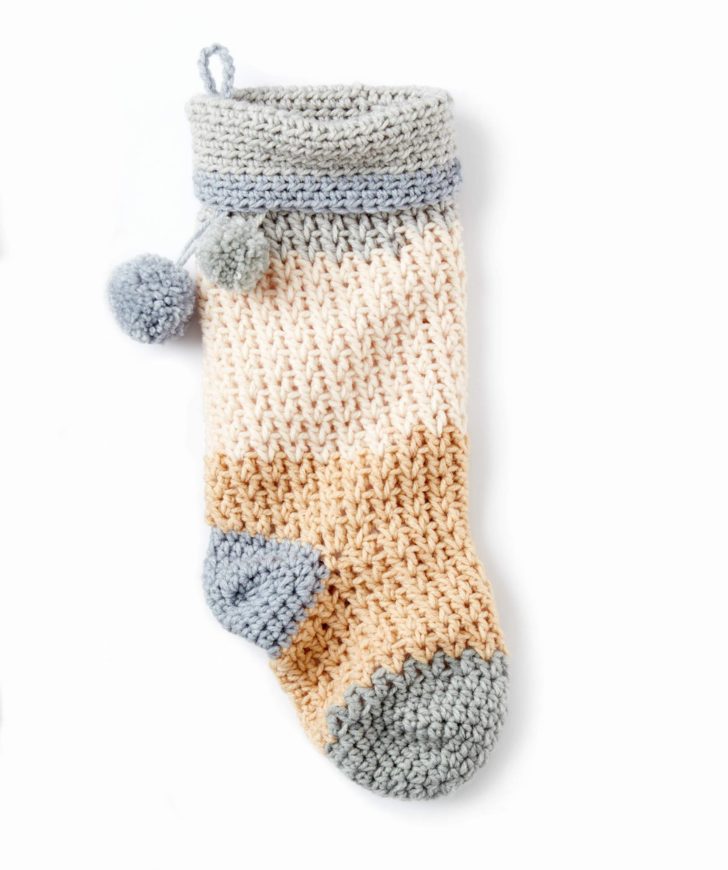
- Christmas Stocking
- Candy Cane BONUS square and other pixel graph options
- Merry Christmas Banners
How to connect your squares and make a border:
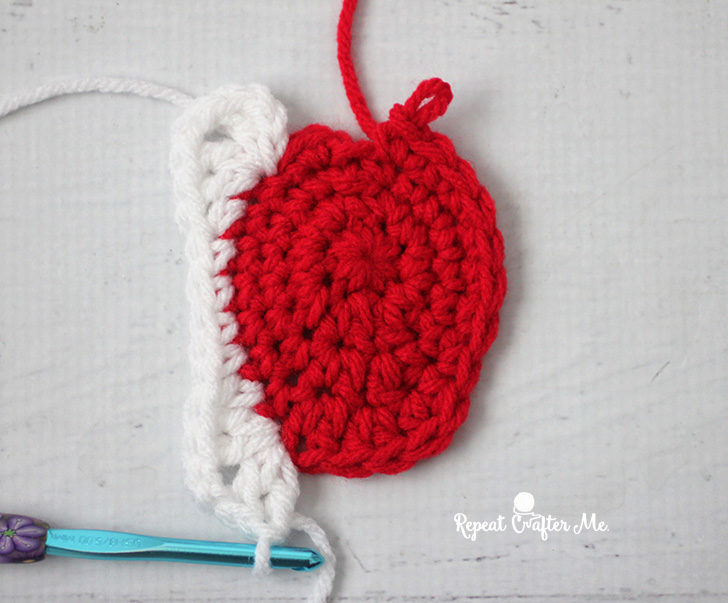
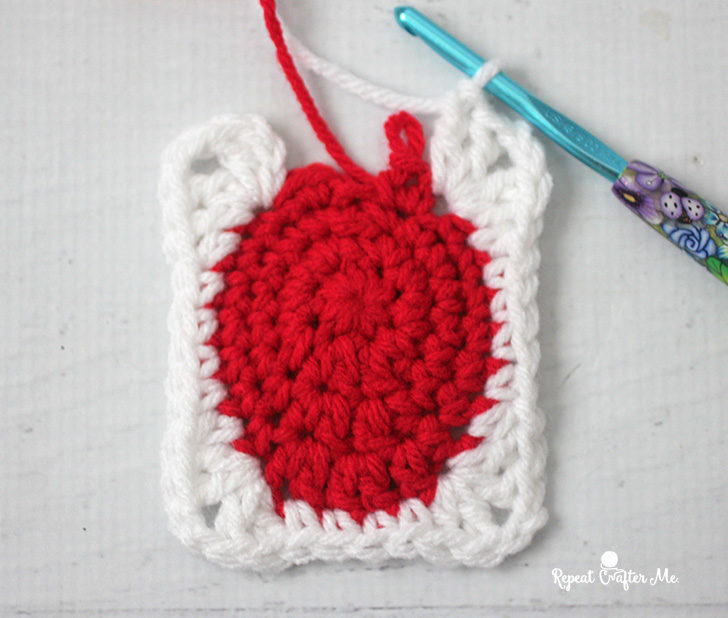
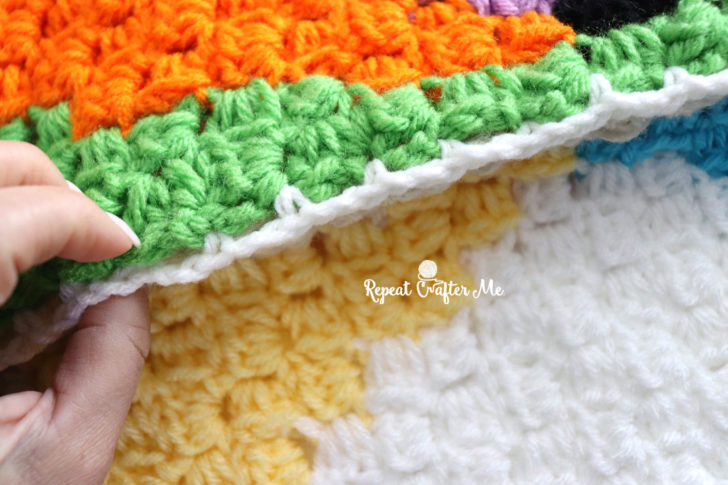
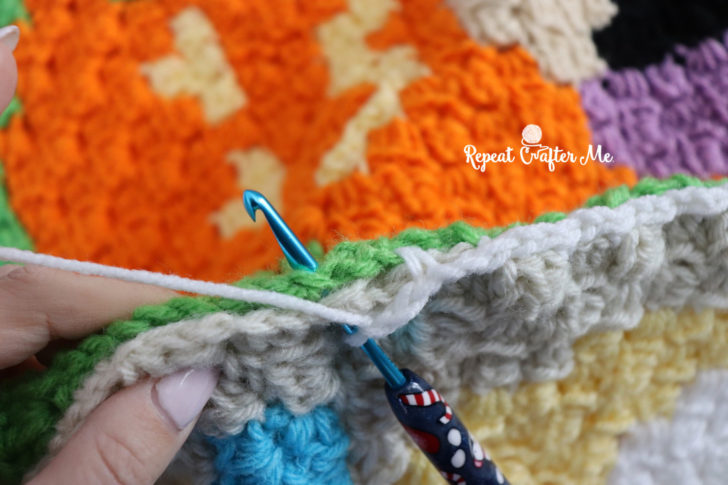
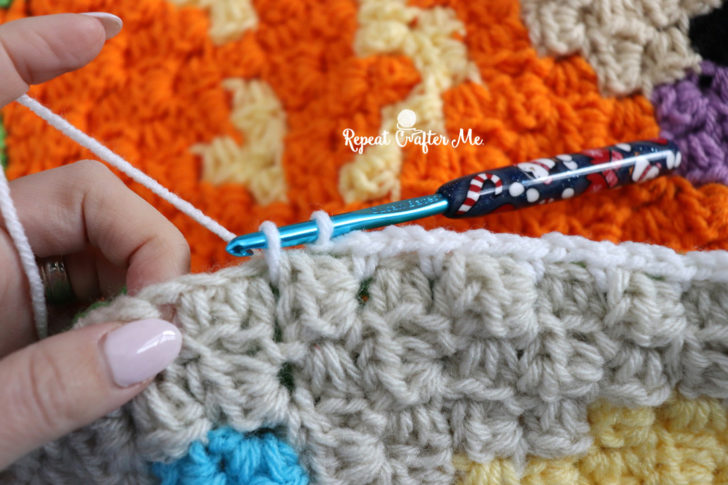
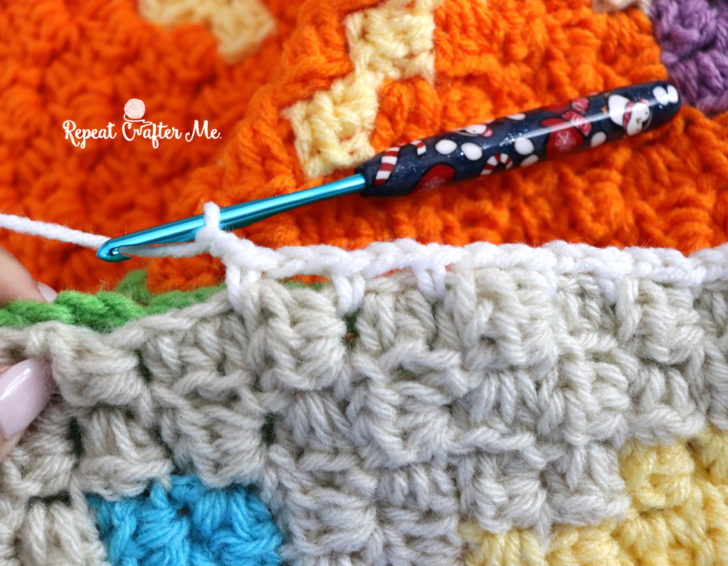
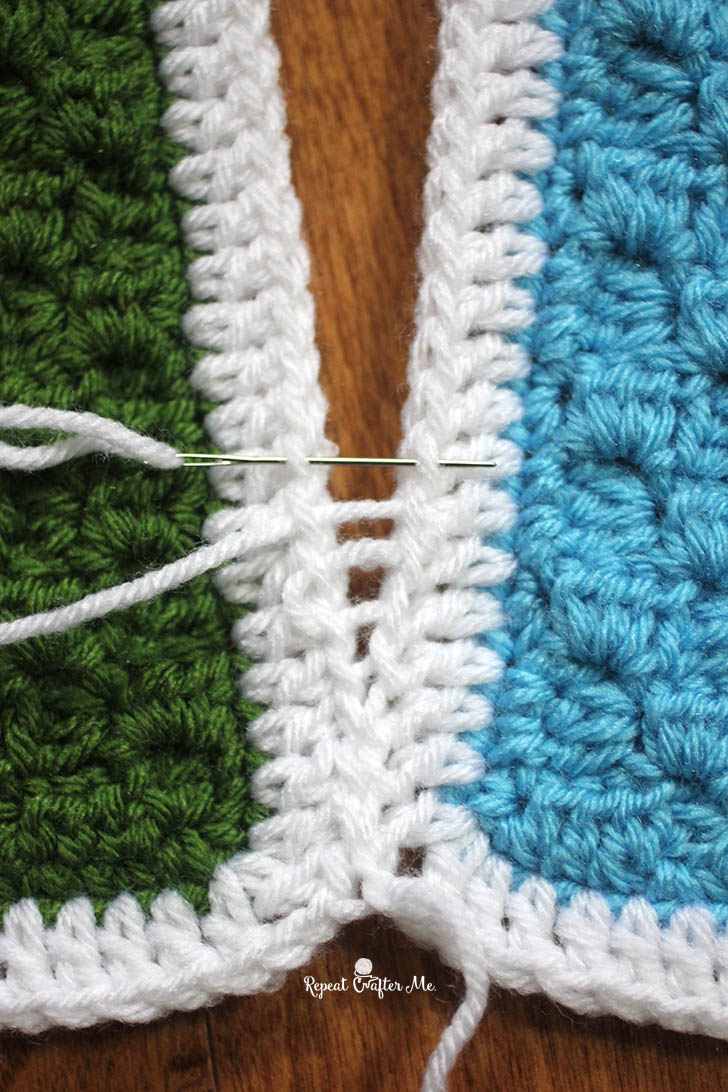
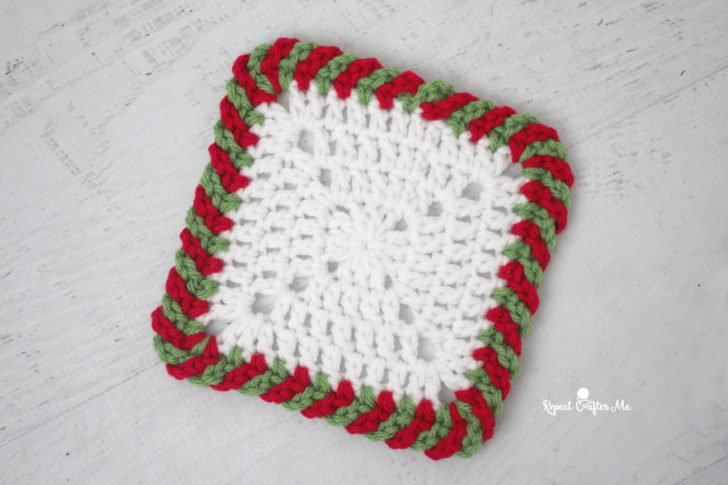
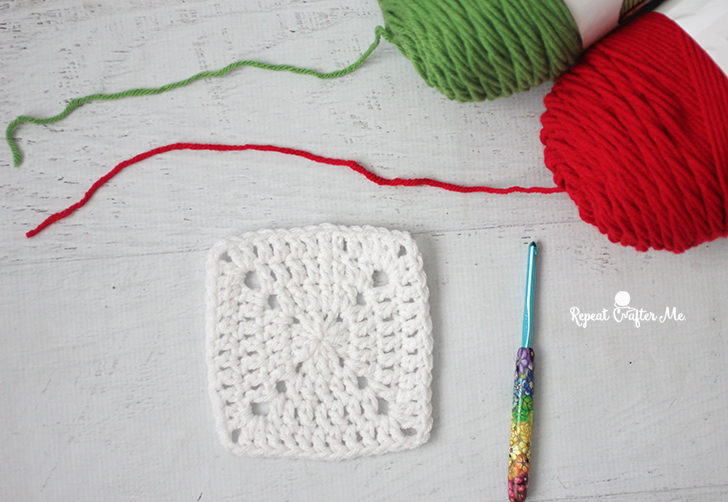
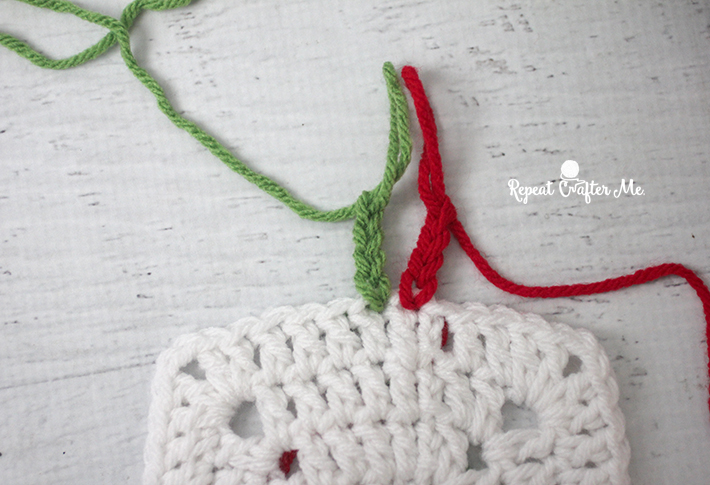
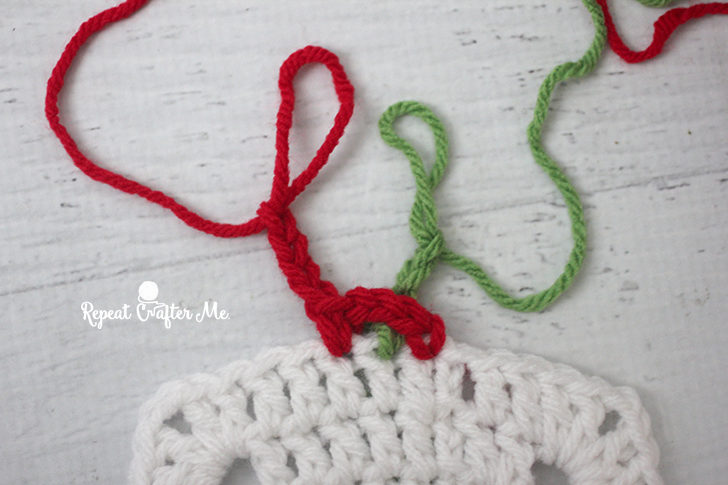
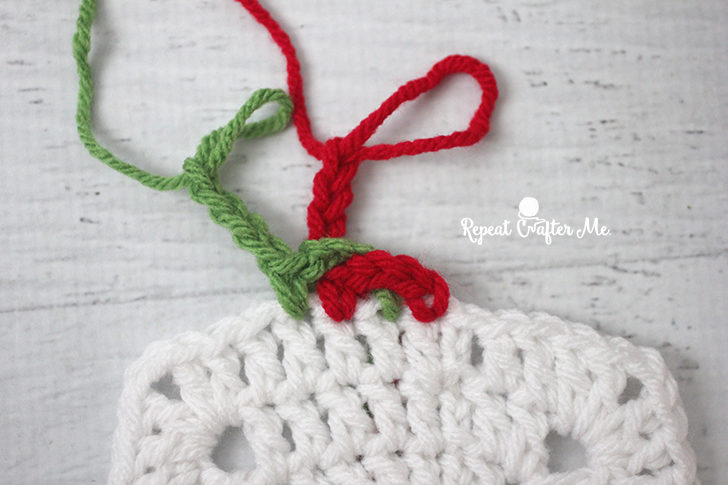
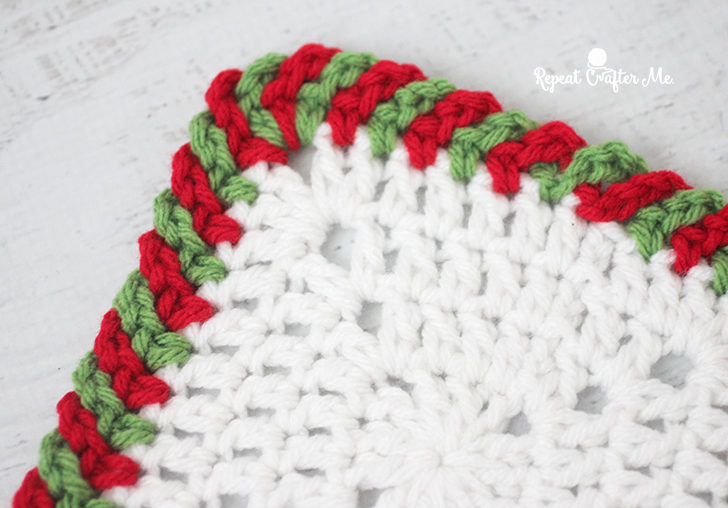
First thing you will need to do is determine what color you want to join your squares with and use for the border. As you can see I chose white! It took me 3 skeins for all the borders and joins.
DC around all of your squares, making a DC + 2 chains + DC in each corner.
NOTE: you should have already SC around each square in that specific squares background color.


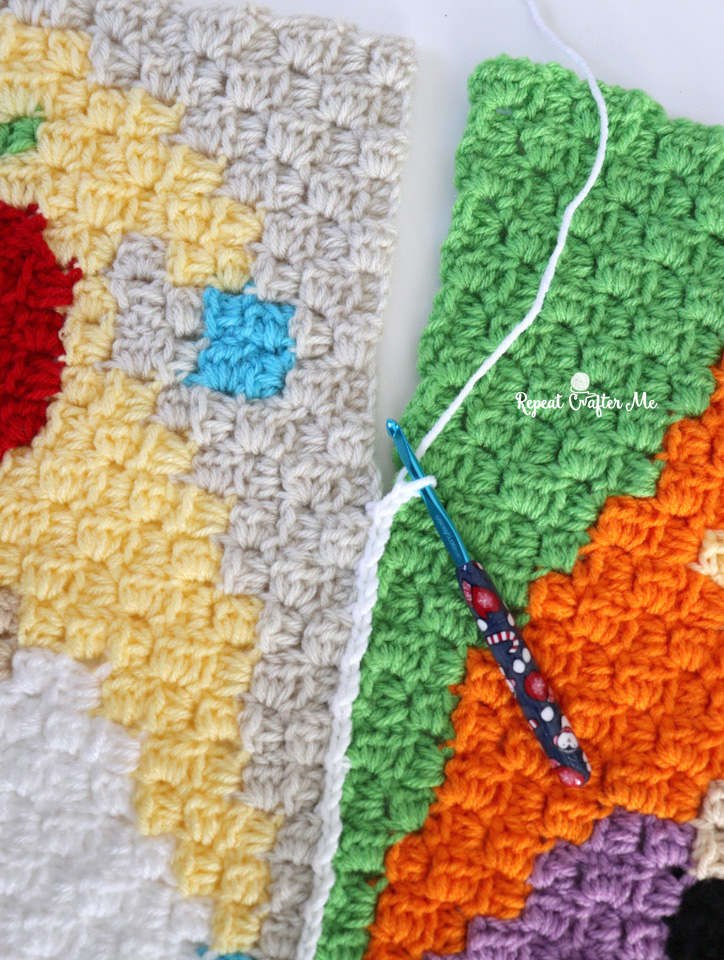
I stitched my squares together by weaving the yarn with a tapestry needle under the tops of the double crochets, back and forth… almost like you are lacing it together. Then I went around the other side and did the same thing. This makes a very solid, tight join which you will need for this heavy blanket. I’m not sure if this stitch has a technical name. It is close to the mattress stitch but not exactly.


After all of your squares and the top and bottom banners are sewn together, you are ready for your border!
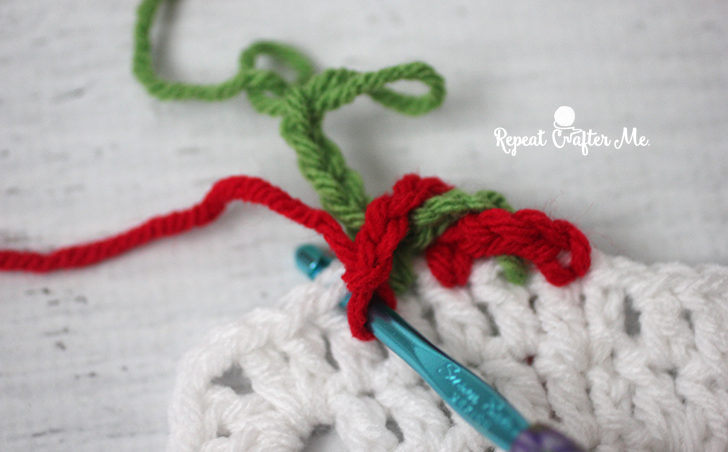
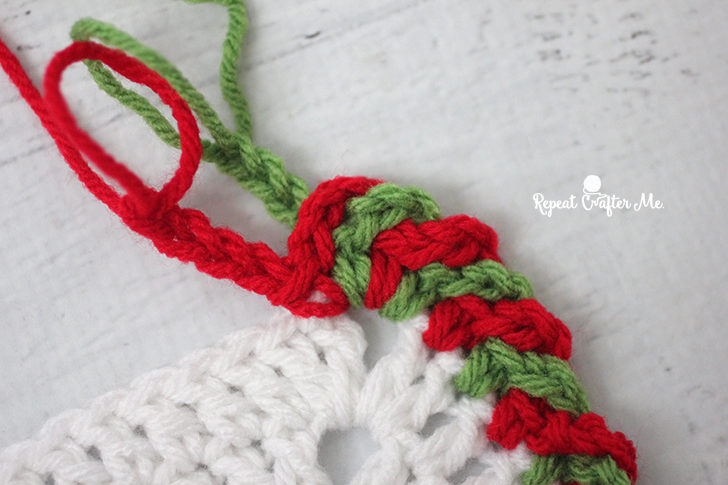
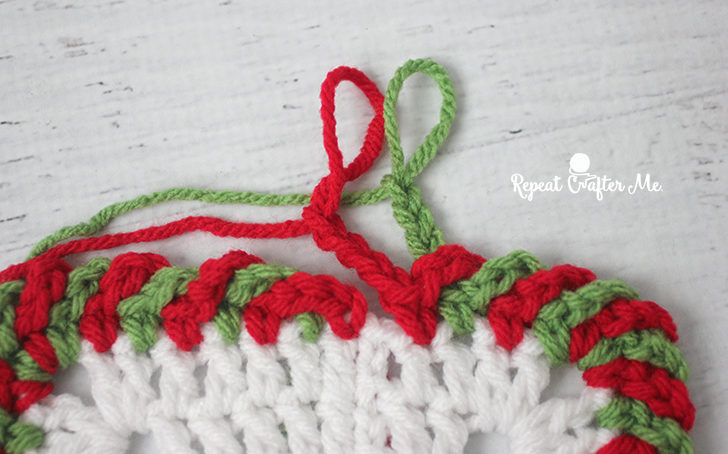
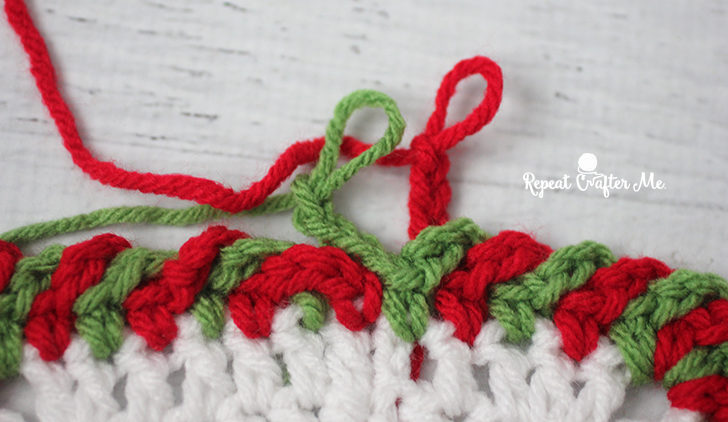
With white, DC around the entire edge make a DC + Chain 2 + DC in the corners. Then using red yarn, crab stitch (this is a reverse SC) around the entire blankets making a Crab stitch + Chain 1 + Crab stitch in the corners. I think THIS VIDEO gives a good visual on how to make the crab stitch.


And just because I know you are all curious, here is what the backside of the blanket looks like!


I hope you have enjoyed this project as much as I have! If you need help with your C2C squares, feel free to join my Repeat Crafter Me Crochet Facebook Group! Hundreds of fellow crocheters are also working on this project, asking good questions and getting great answers!
*** You may make and sell products from my patterns but if you do I ask that you link back to my post. Please do not copy and post this pattern and claim it as your own. Please do not re-publish photos as your own.***
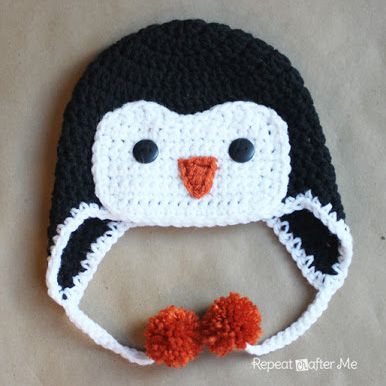
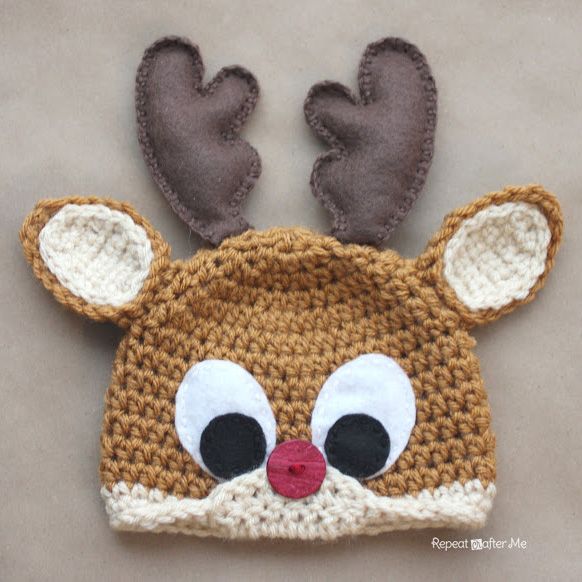
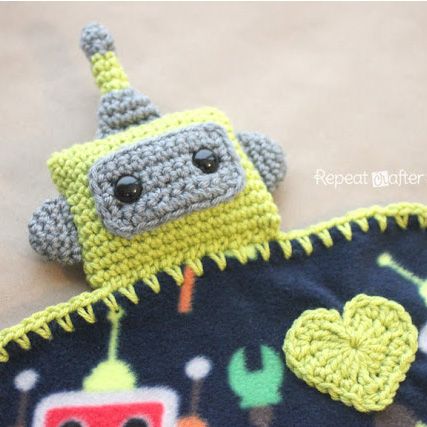
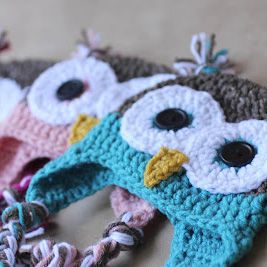
Want more free patterns? Keep in touch on my Repeat Crafter Me Facebook Page for new pattern sneak peeks and when they will be available on my blog! And feel free to post pictures of your finished hats and/or links to your shops on my Facebook wall so all can see. Be sure to also follow me on Instagram! I love when you tag me (@repeatcrafterme)! NEW!! I would love for you to join my brand newprivate Facebook group: Repeat Crafter Me Crochet. Tons of kind and supportive women with crocheting skills of all levels. Post your current projects, ask questions, and get inspired!