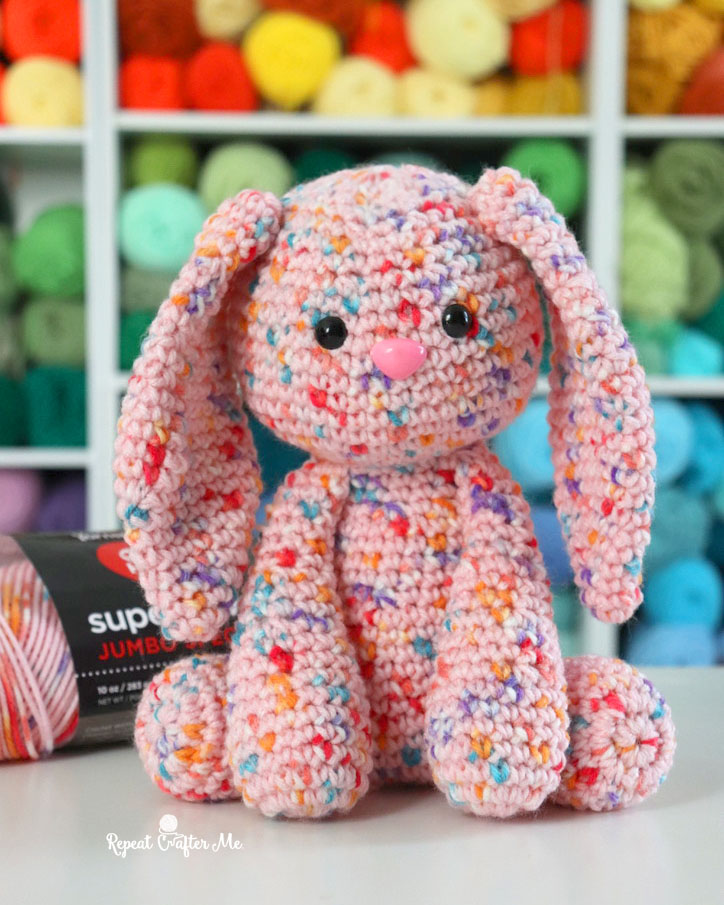
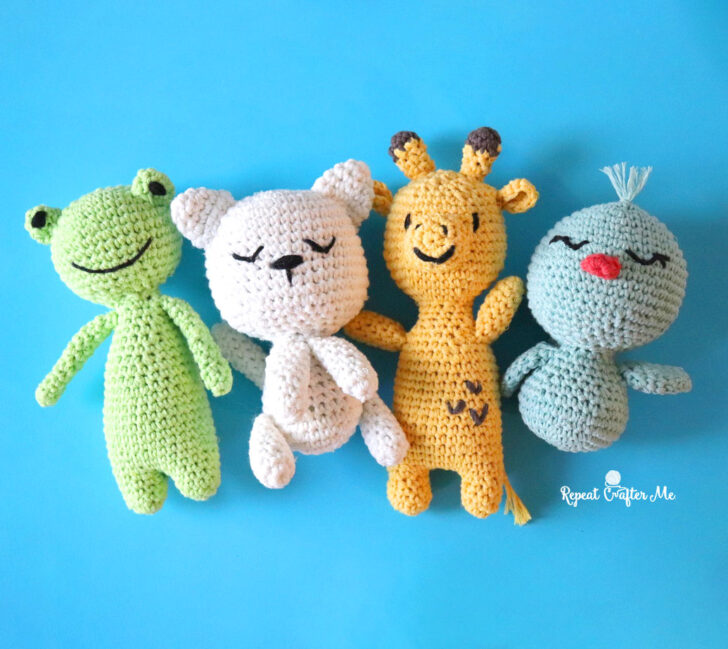
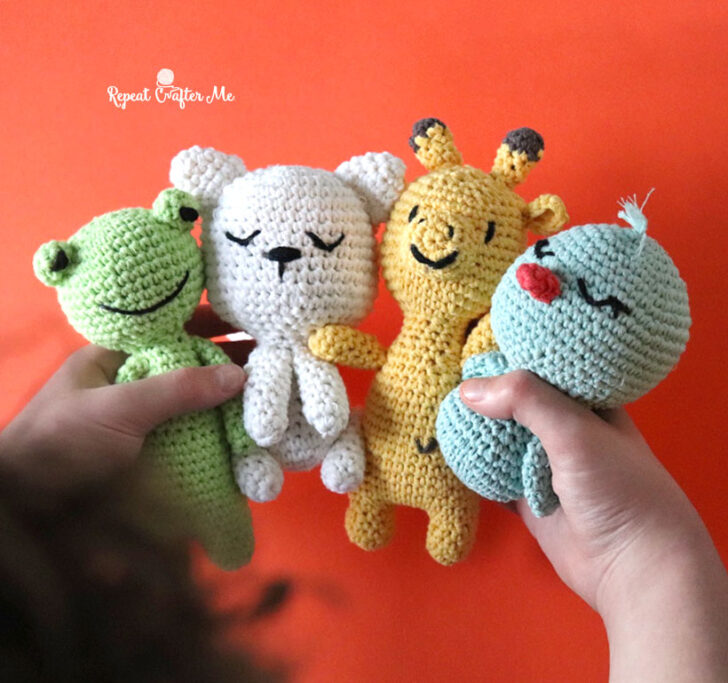
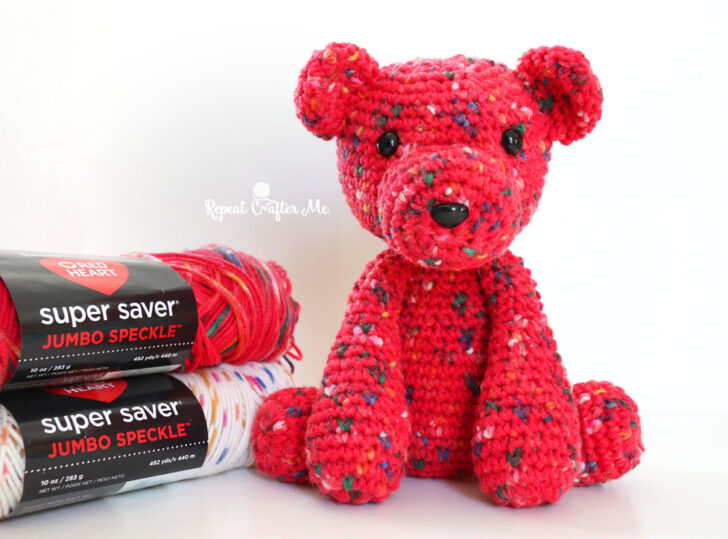
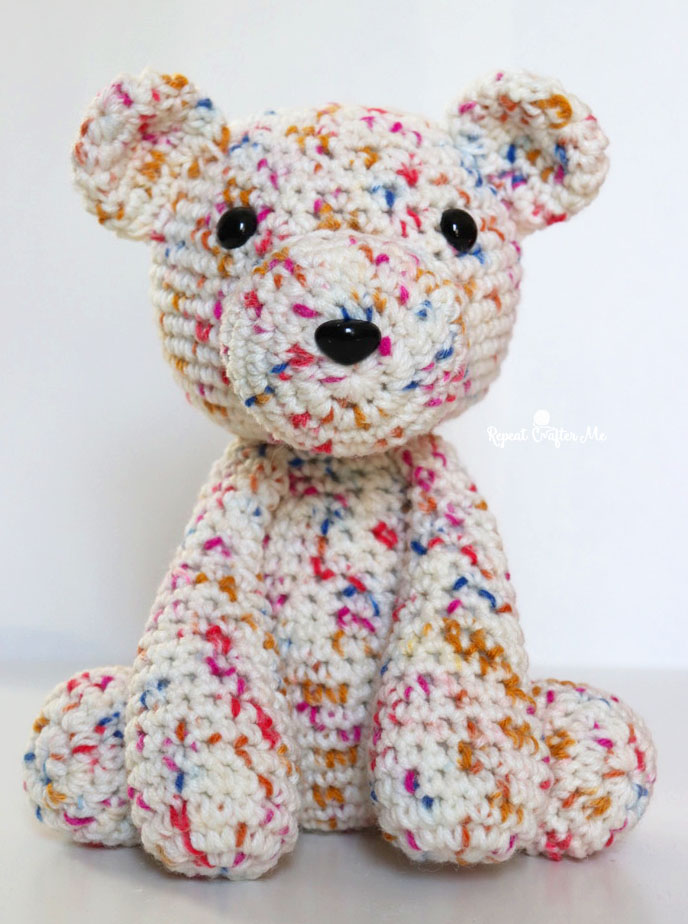
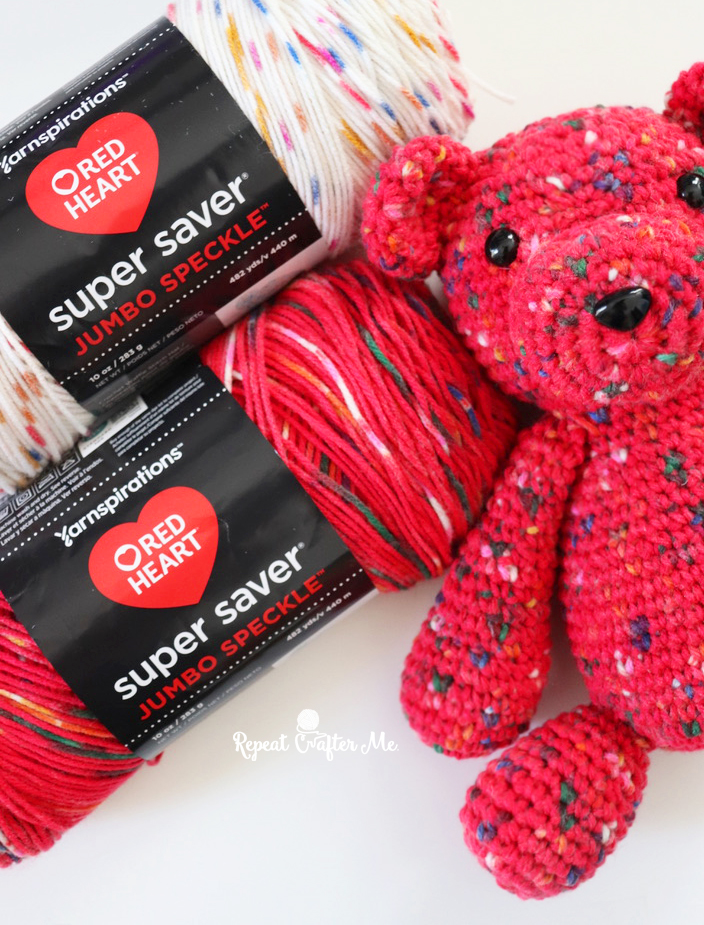
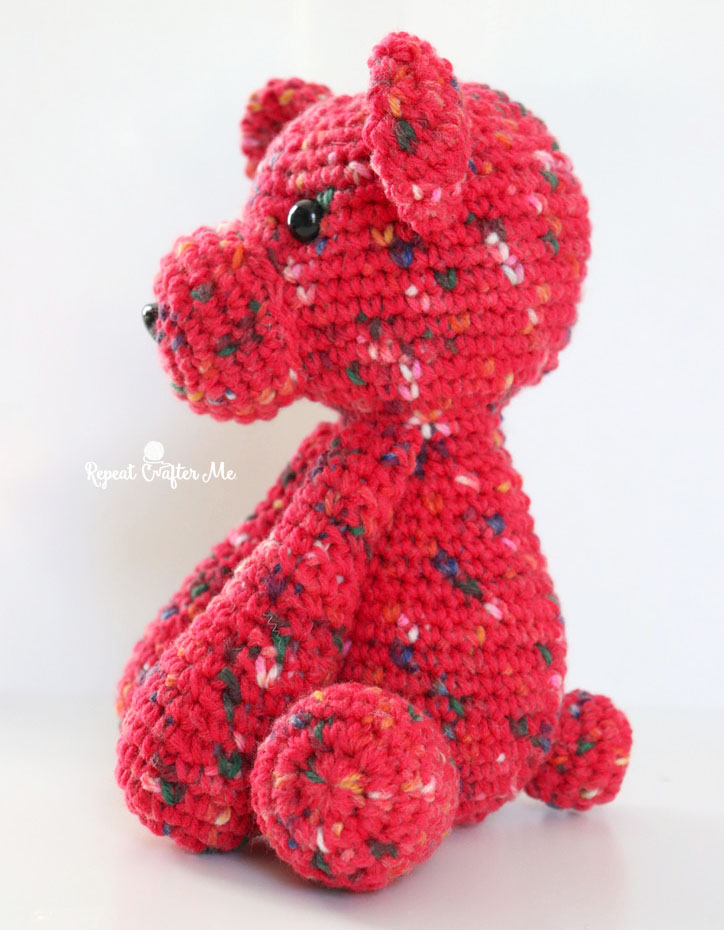
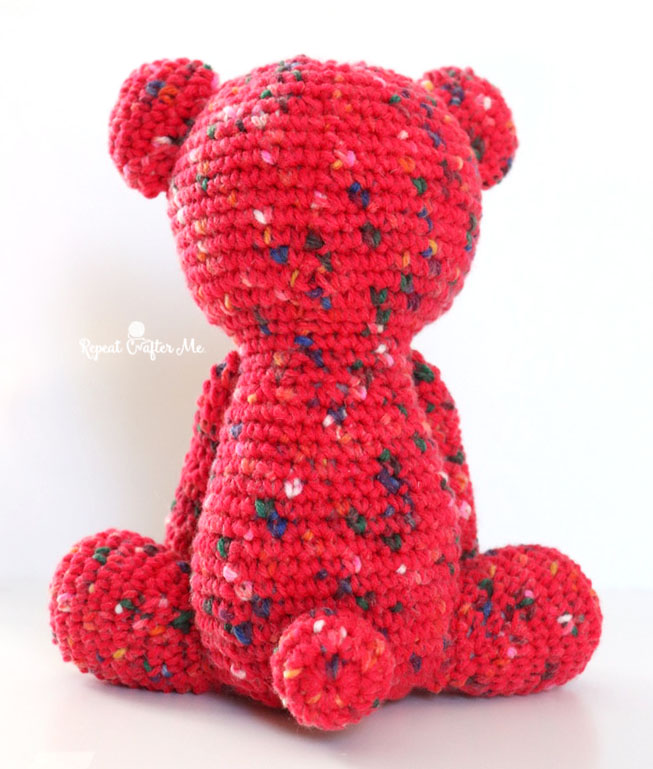
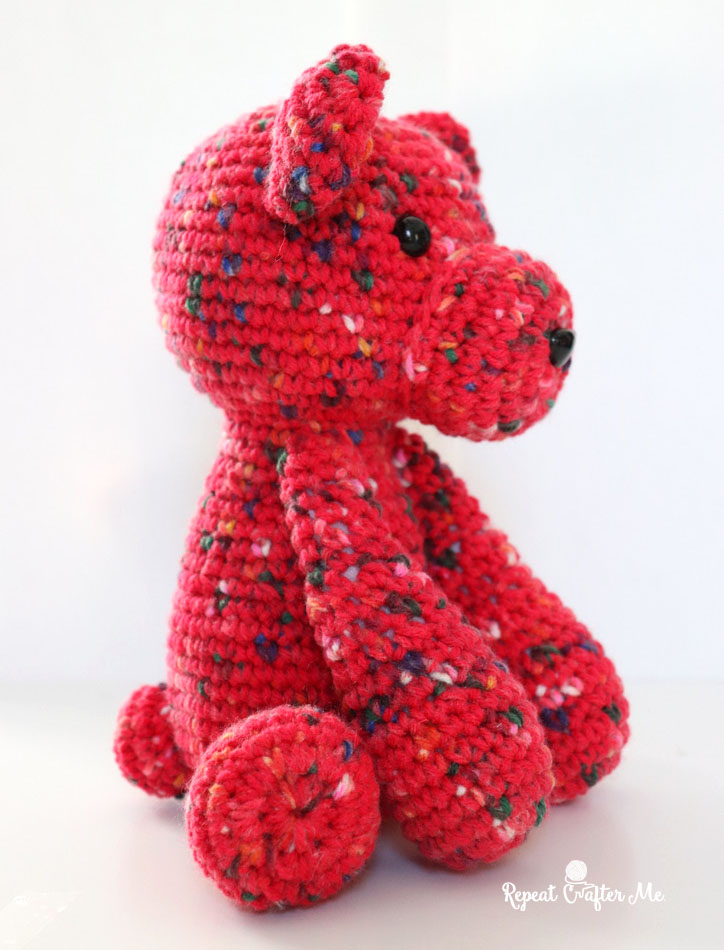
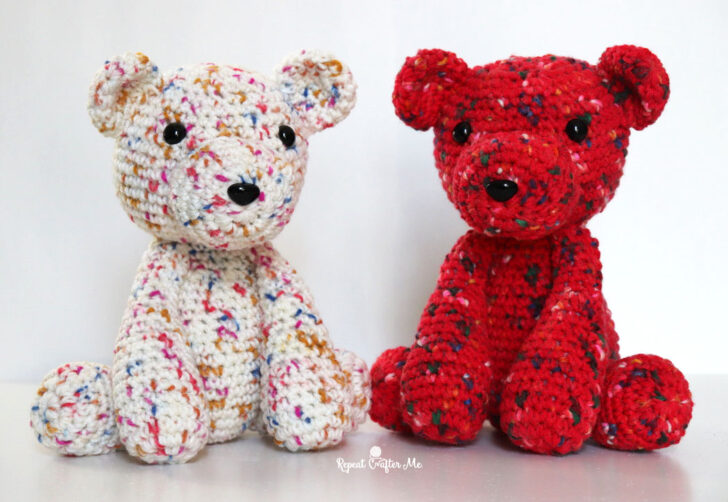
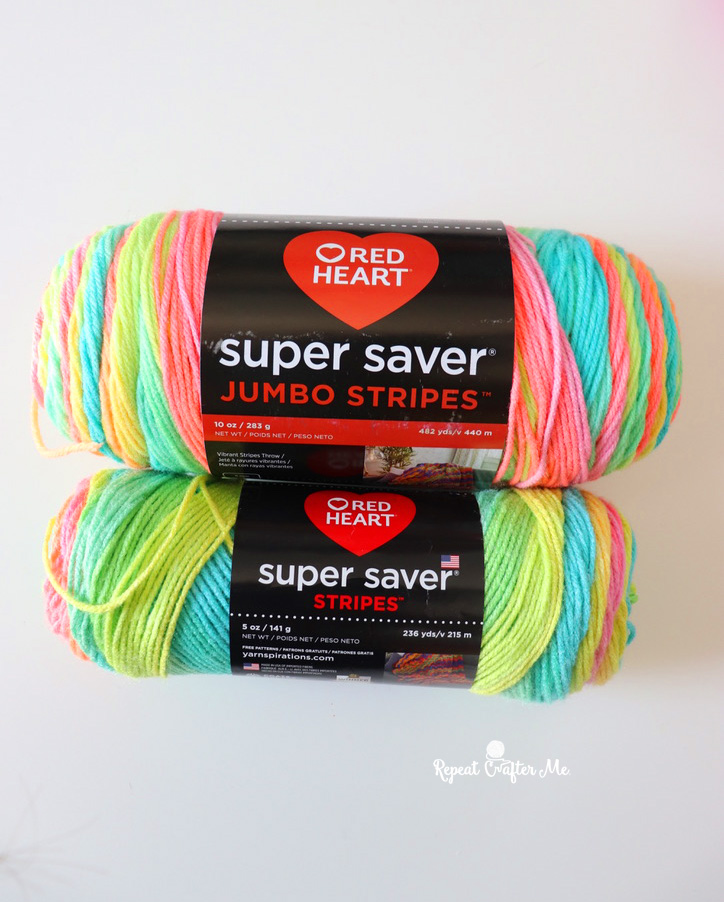
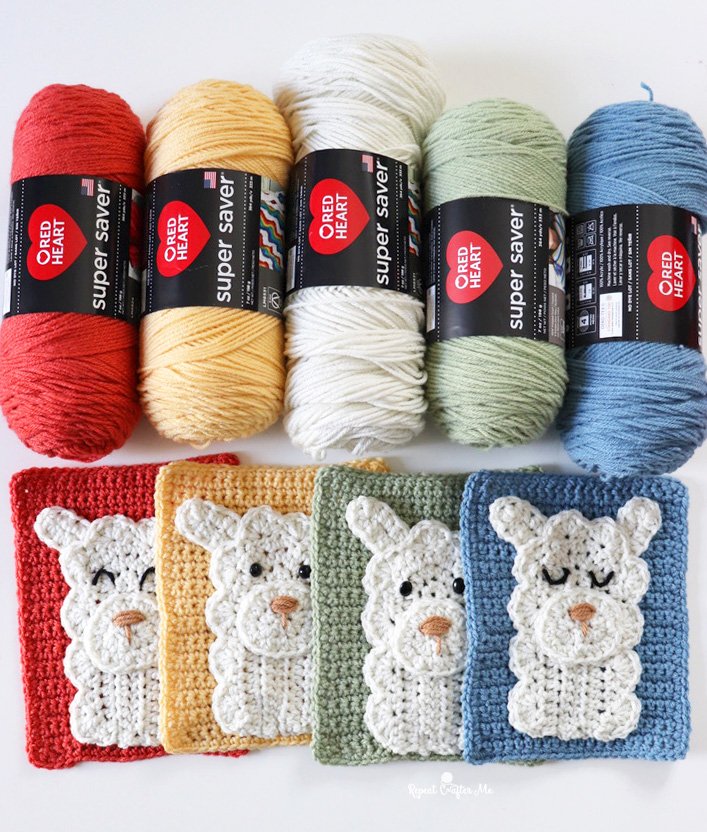
Remember my Speckle Bears?! Well now we have Speckle Bunnies! Red Heart Super Saver Jumbo Speckle Yarn is a fairly new yarn with unique hand-dye speckles that look like confetti sprinkles!
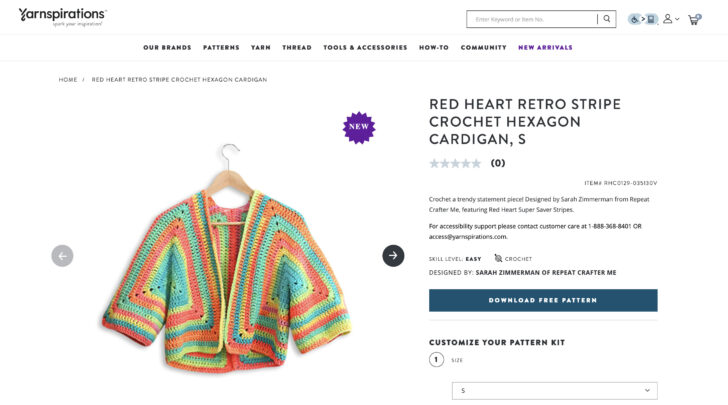
See all 6 shades of Red Heart Speckle Yarn HERE on Yarnspirations.com.
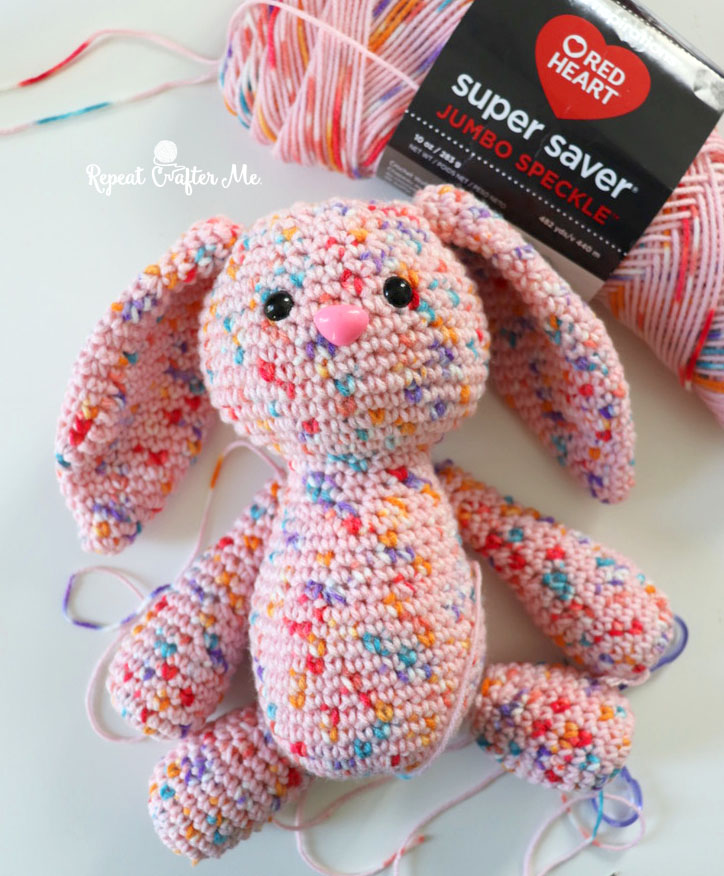
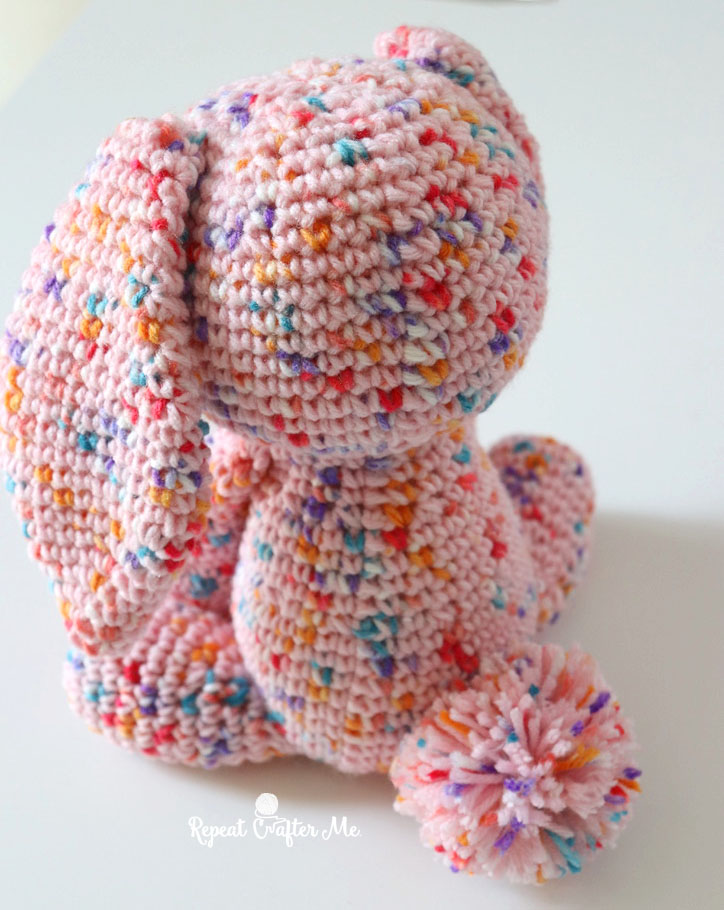
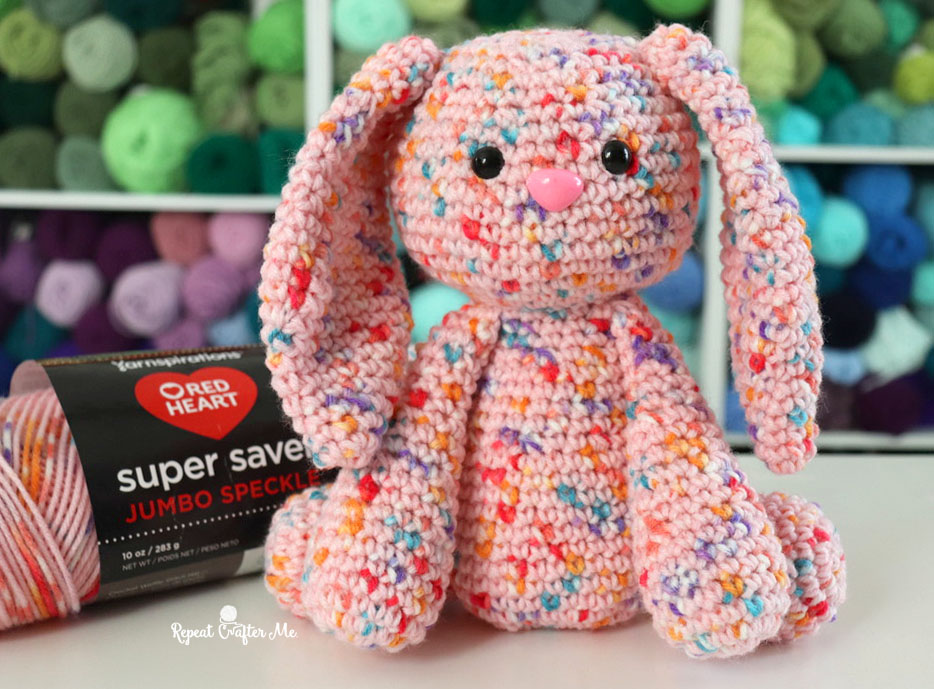
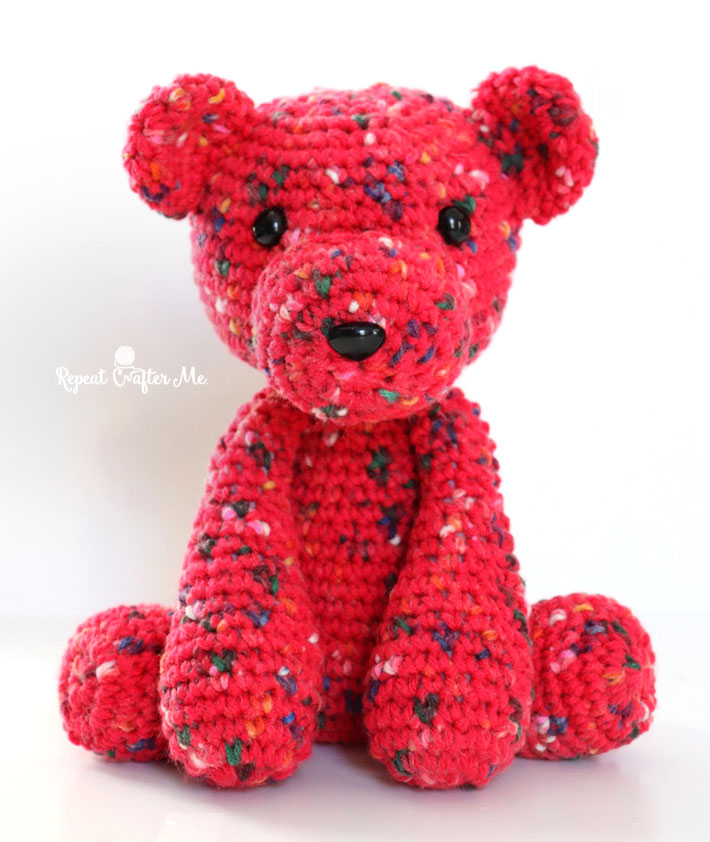
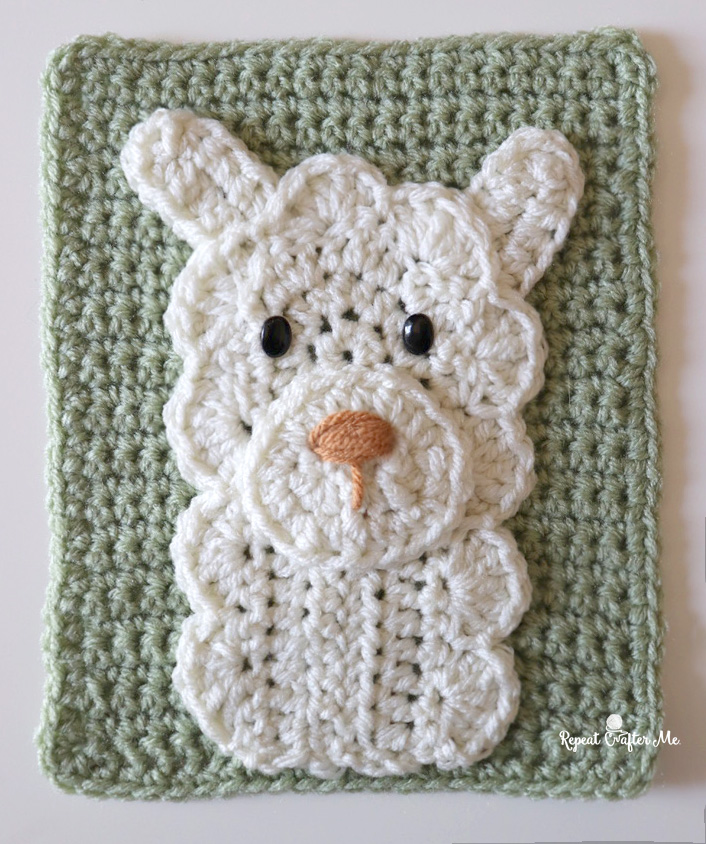
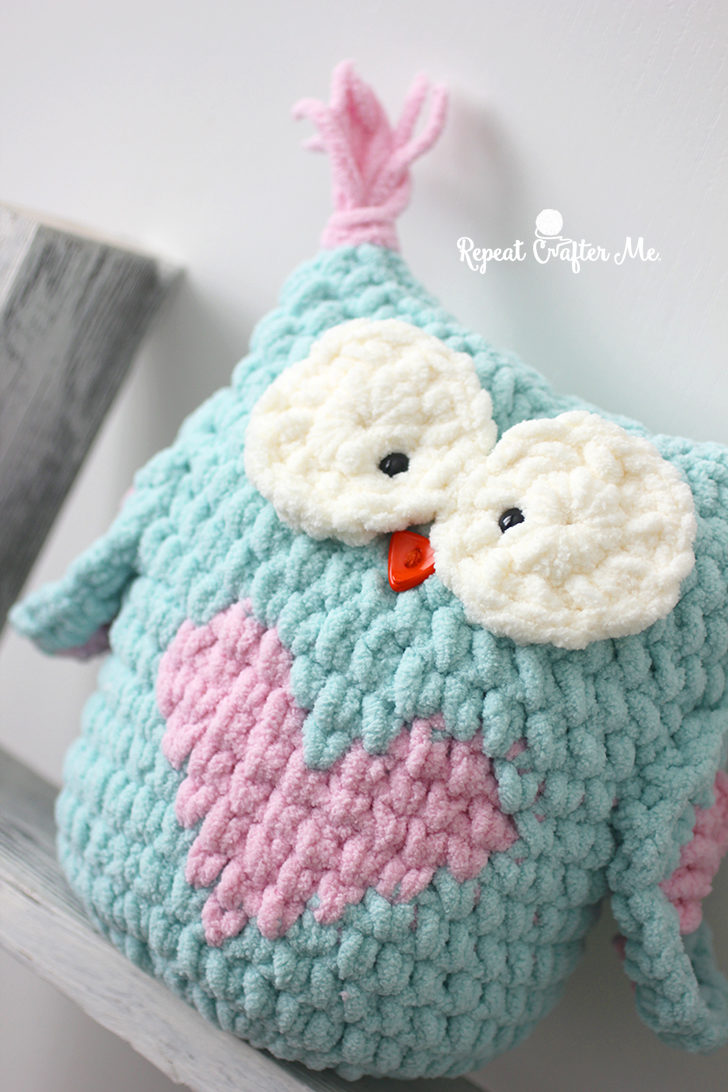
How sweet is the pink color?! It’s called Bubblegum so I am lovingly naming this cutie Bubblegum Bunny. I used the basic pattern from the speckle bear but created large floppy ears, left off the snout, and added a fuzzy pom-pom tail!
Speckle Bunny Pattern:
Materials:
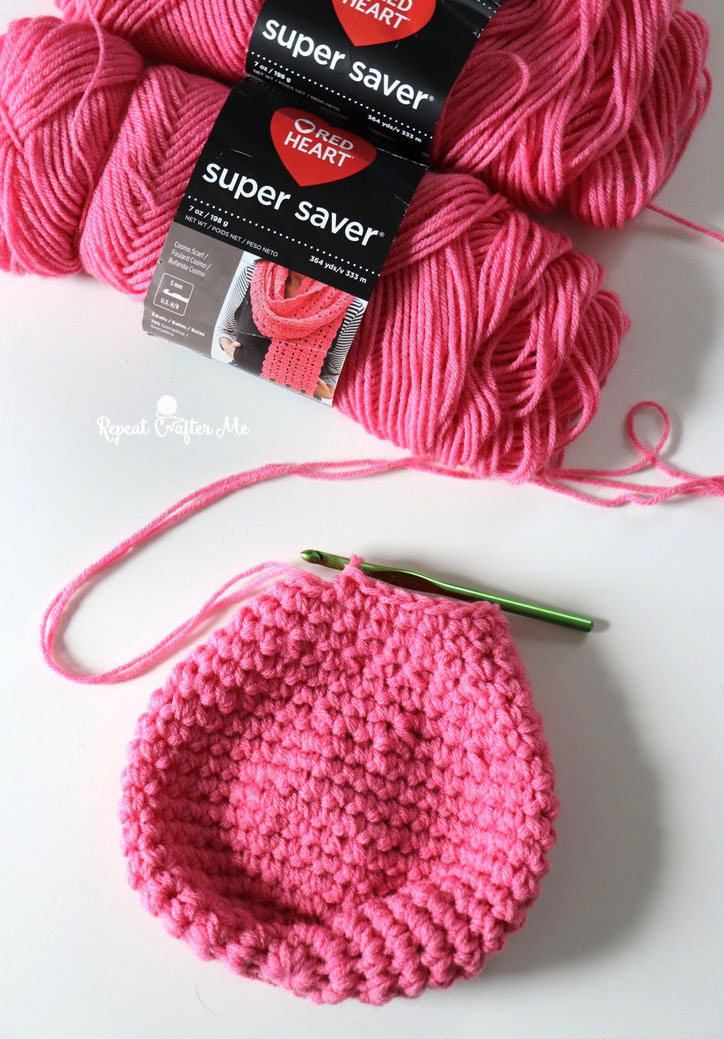
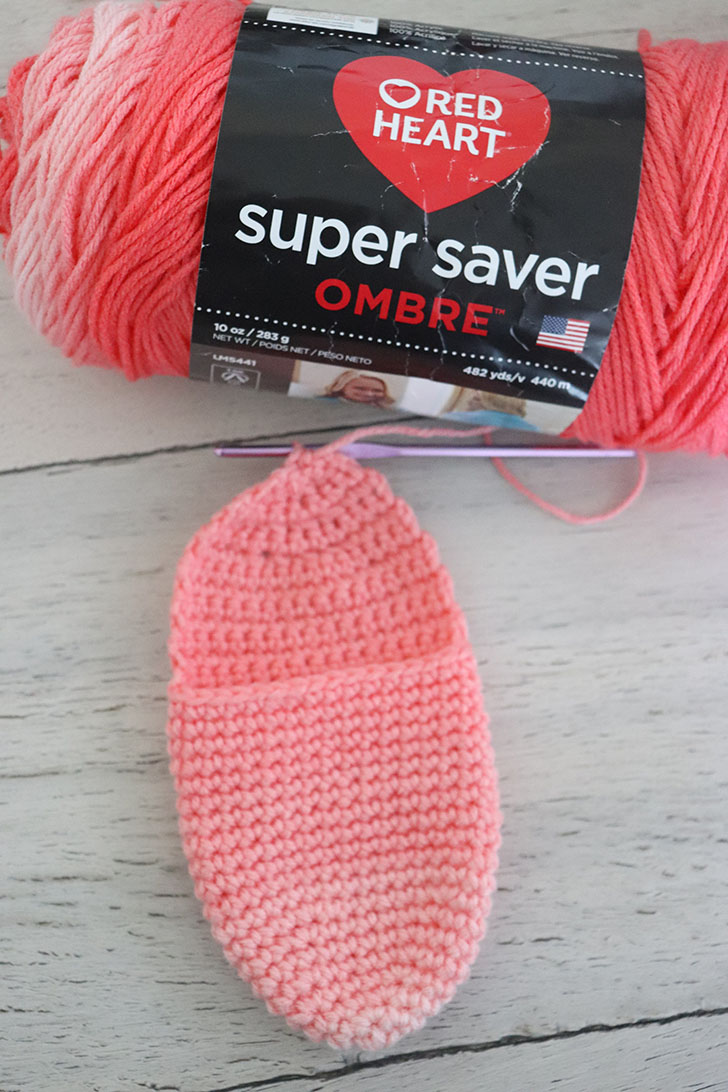
– Red Heart Super Saver Jumbo Speckle: 1 skein = 2 bunnys
I’m using color Bubblegum Pink. Shop yarn HERE (it’s on sale!) at Yarnspirations.com
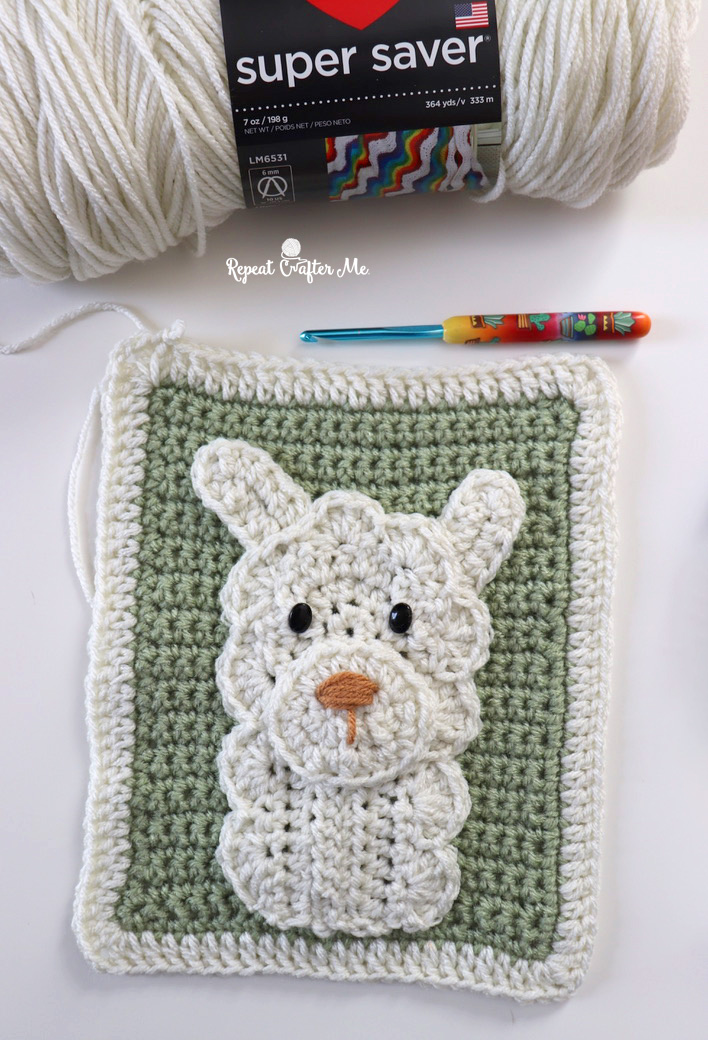
– Size H Crochet Hook
– Poly-fil Fiber Stuffing
– 12mm black safety eyes
– Large pink safety nose like THESE on Amazon (affiliate link)
– Tapestry Needle
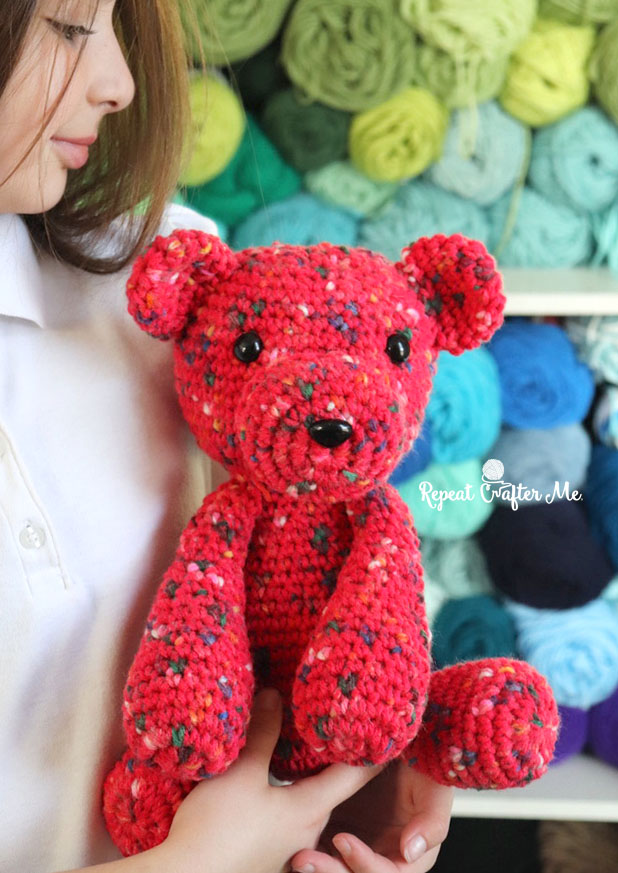
Finished Size: Approximately 11 inches tall x 7 inches wide
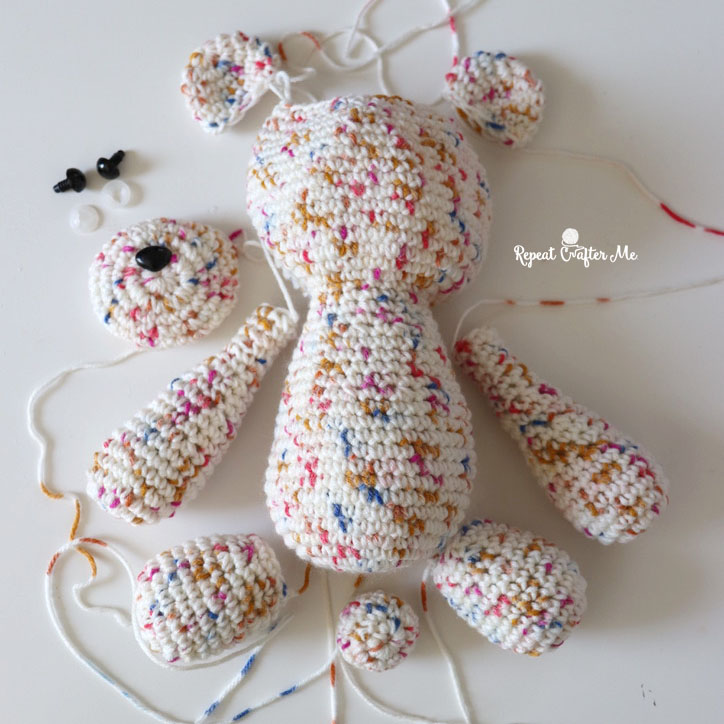
Body/Head:
Works in one piece from the bottom up.
Magic ring, chain 1 and make 10 SC in ring, join, chain 1
Round 2: 2 SC in each stitch around, join, chain 1 (20 SC)
Round 3: 2 SC in first, SC in next, repeat around, join, chain 1 (30 SC)
Round 4: SC in each stitch around, join, chain 1 (30 SC)
Round 5: 2 SC in fist, SC in next two, repeat around, join, chain 1 (40 SC)
Round 6-14: SC in each stitch around, join, chain 1 (40 SC)
Round 15: SC Decrease, SC in next two, repeat around, join, chain 1
Round 16-19: SC in each stitch around, join, chain 1 (30 SC)
Start stuffing with poly-fil
Round 20: SC Decrease, SC in next, repeat around, join, chain 1
Round 21-24: SC in each stitch around, join, chain 1 (20 SC)
Round 25: 2 SC in each stitch around, join, chain 1 (40 SC)
Round 26: SC in each stitch around, join, chain 1 (40 SC)
Round 27: 2 SC in first, SC in next 3, repeat around, join, chain 1 (50 SC)
Round 28-35: SC in each stitch around, join, chain 1 (50 SC)
Round 36: SC Decrease, SC in next 3, repeat around, join, chain 1
Round 37-38: SC in each stitch around, join, chain 1 (40 SC)
Round 39: SC Decrease, SC in next 2, repeat around, join, chain 1 (30 SC)
Round 40: SC in each stitch around, join, chain 1
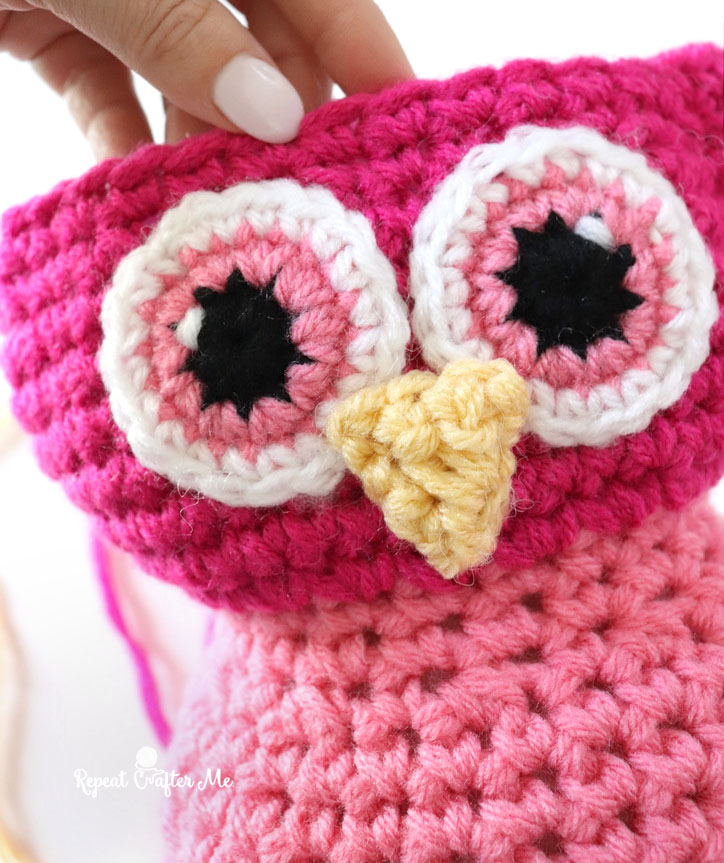
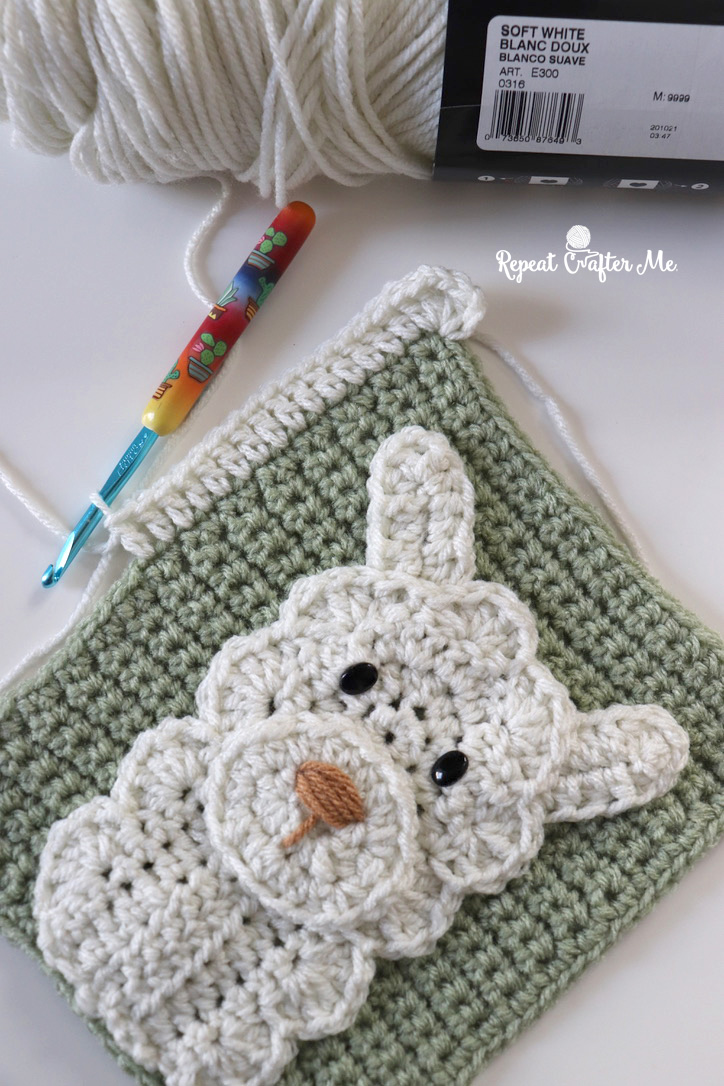
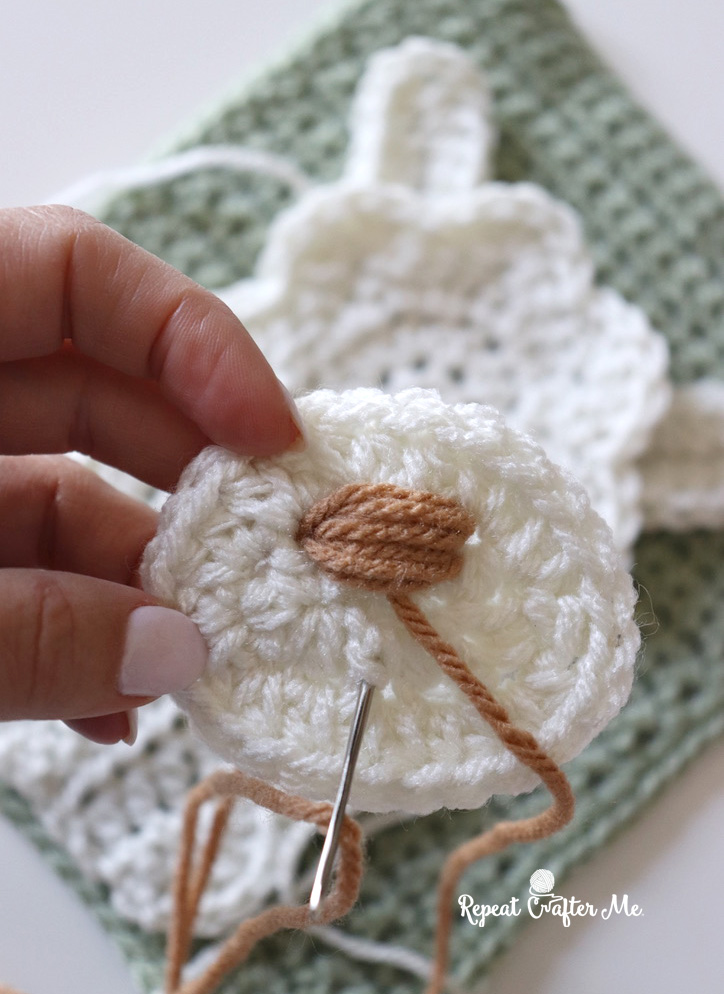
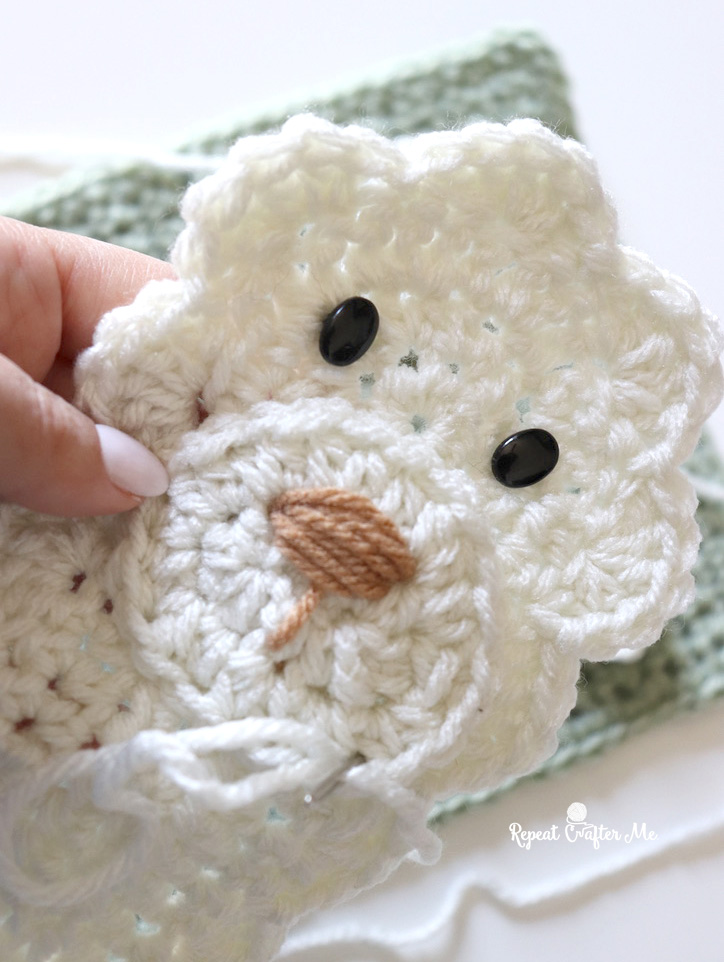
Now is a good time to attach the safety eyes and nose.
Attach safety nose at about round 32 and safety eyes between round 33 & 34 about 6 stitches apart.
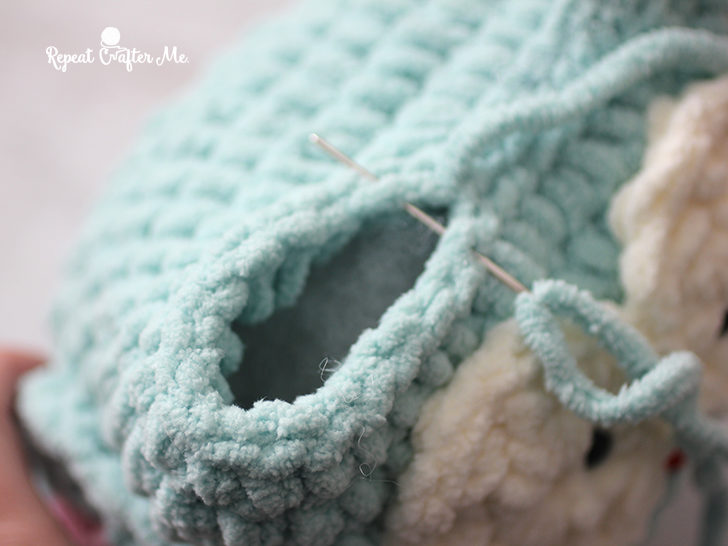
Continue stuffing with polyfil until closed.
Round 41: SC Decrease, SC in next, repeat around, join, chain 1
Round 42: SC Decrease in each stitch around, join, chain 1
SC Decrease until top of head is closed.
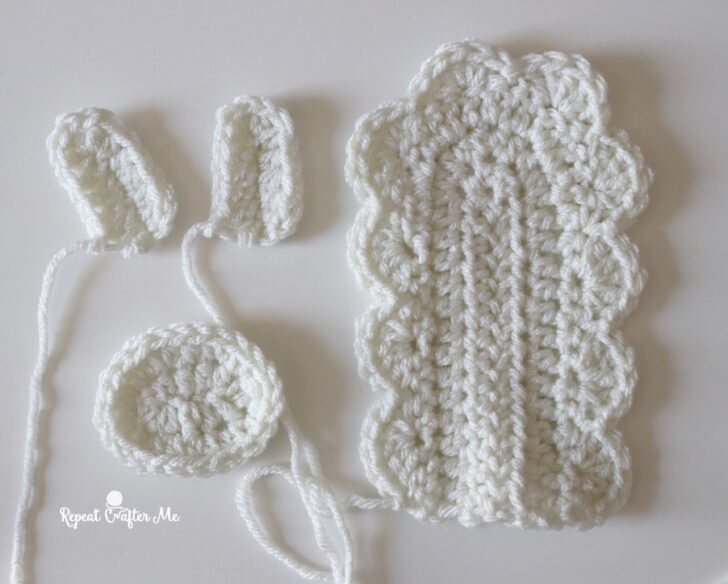
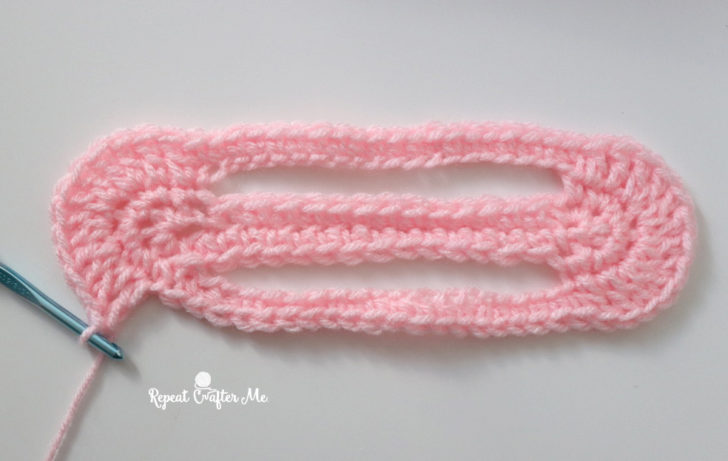
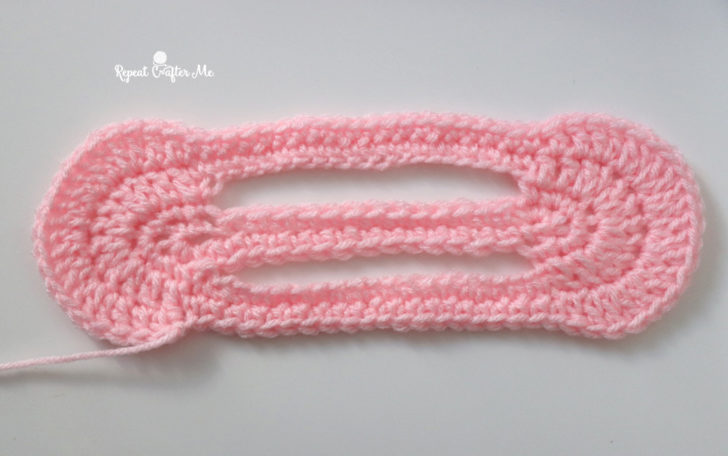
Ears (make 2):
Magic Ring, chain 1 and make 6 SC in ring, join, chain 1
Round 2: 2 SC in first, SC in next 2, repeat around, join, chain 1
Round 3: 2 SC in first, SC in next 3, repeat around, join, chain 1
Round 4: 2 SC in first, SC in next 4, repeat around, join, chain 1
Round 5: 2 SC in first, SC in next 5, repeat around, join, chain 1
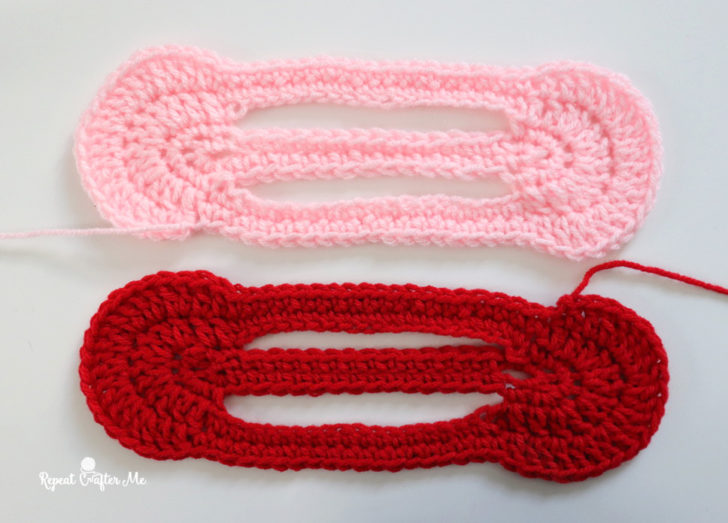
Round 6: 2 SC in first, SC in next 6, repeat around, join, chain 1
Round 7: 2 SC in first, SC in next 7, repeat around, join, chain 1
Round 8: 2 SC in first, SC in next 8, repeat around, join, chain 1
Round 9: 2 SC in first, SC in next 9, repeat around, join, chain 1
Round 10-14: SC in each stitch around, join, chain 1 (22 SC)
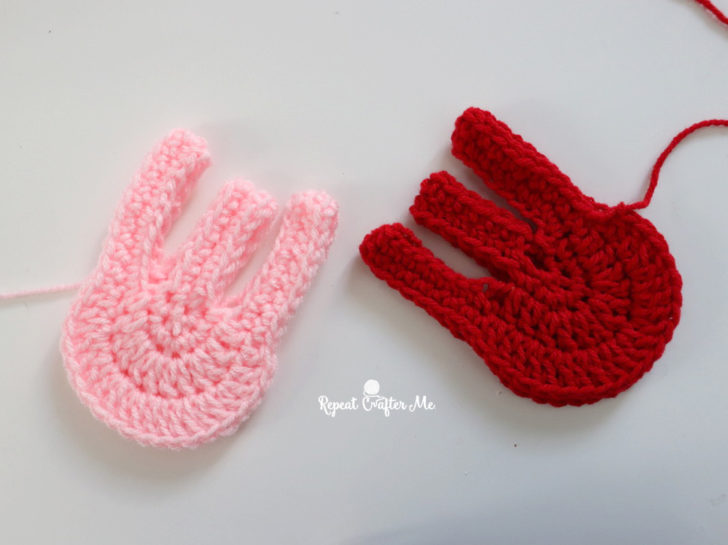
Round 15: SC Decrease, SC in next 9, repeat around, join, chain 1
Round 16: SC in each stitch around, join, chain 1 (20 SC)
Round 17: SC Decrease, SC in next 8, repeat around, join, chain 1
Round 18: SC in each stitch around, join, chain 1 (18 SC)
Round 19: SC Decrease, SC in next 7, repeat around, join, chain 1
Round 20: SC in each stitch around, join, chain 1 (16 SC)
Round 21: SC Decrease, SC in next 6, repeat around, join, chain 1
Round 22-25: SC in each stitch around, join, chain 1 (14 SC)
Fasten off after round 25, do not stuff with poly-fil.
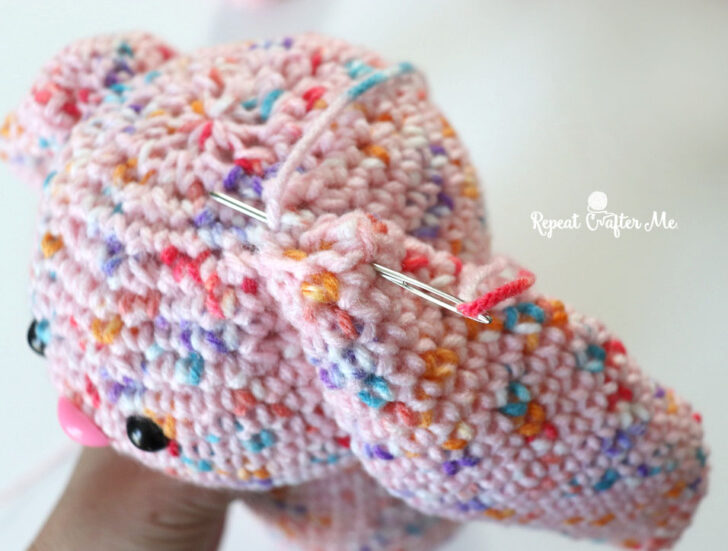
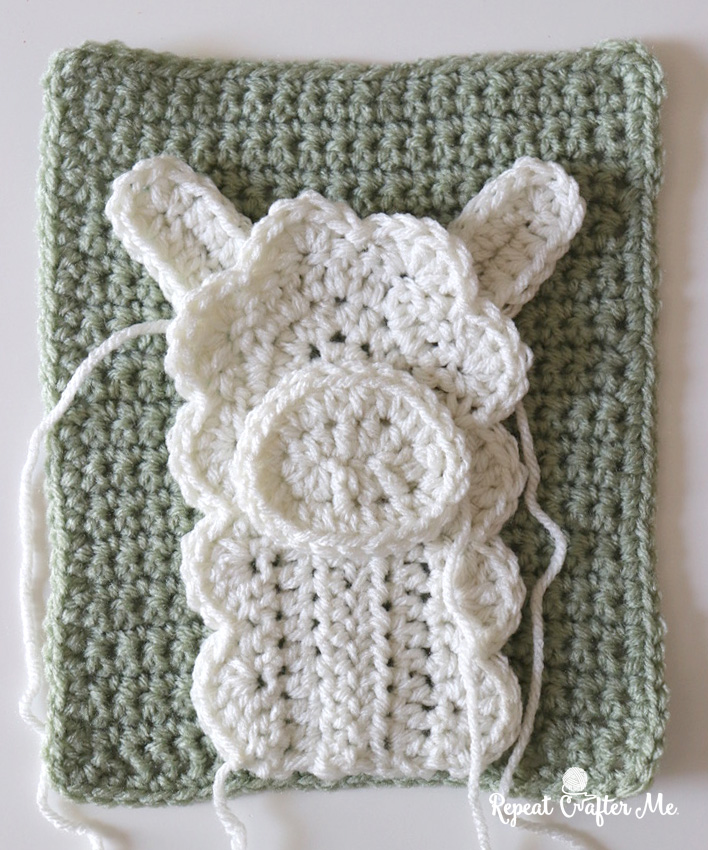
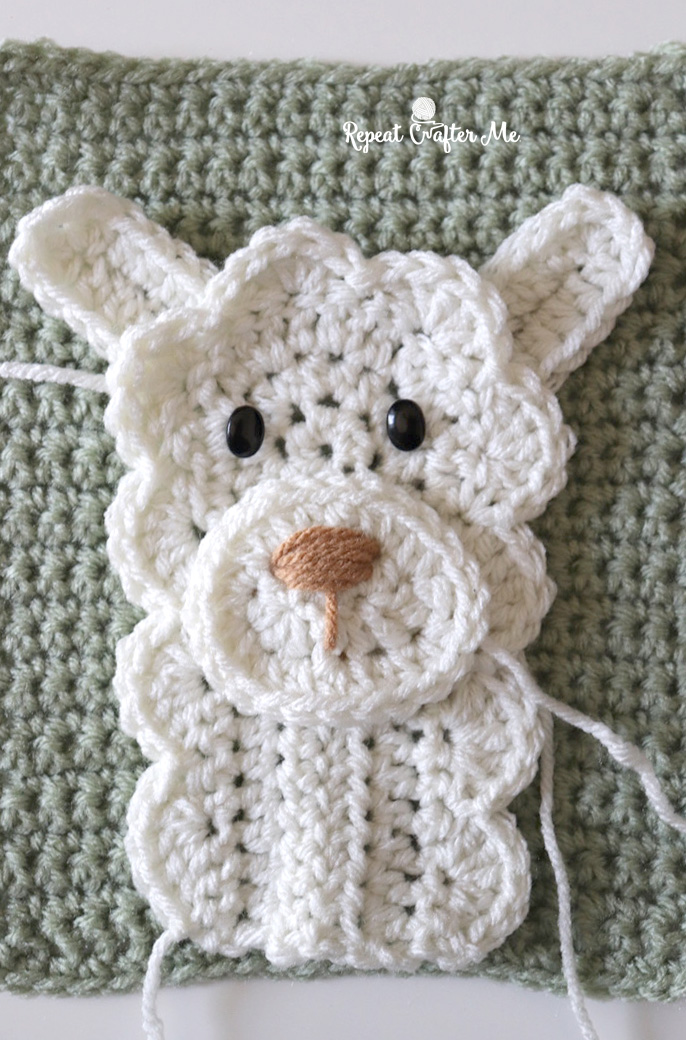
Pinch opening of ear and stitch onto head about 4 rows down from the top.
Arms (make 2):
Magic ring, chain 1 and make 10 SC in ring, join, chain 1
Round 2: 2 SC in each stitch around, join, chain 1 (20 SC)
Round 3-7: SC in each stitch around, join, chain 1 (20 SC)
Round 8: SC Decrease, SC in next 3, repeat around, join, chain 1 (16 SC)
Round 9-10: SC in each stitch around, join, chain 1 (16 SC)
start stuffing with poly-fil
Round 11: SC Decrease, SC in next 2, repeat around, join, chain 1
Round 12-13: SC in each stitch around, join, chain 1 (12 SC)
Round 14: SC Decrease, SC in next, repeat around, join, chain 1
Round 15-20: SC in each stitch around, join, chain 1 (8 SC)
Fasten off and finish stuffing with poly-fil.
Pinch open closed and stitch onto either side of bunny neck at round 24 of body.
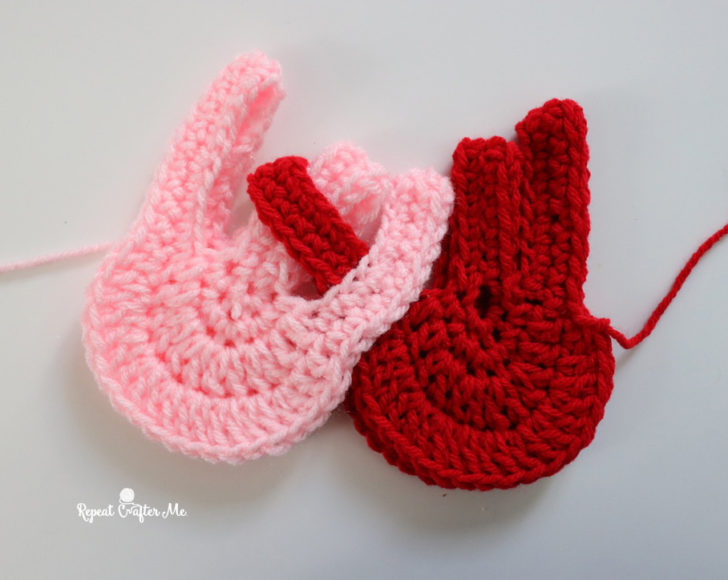
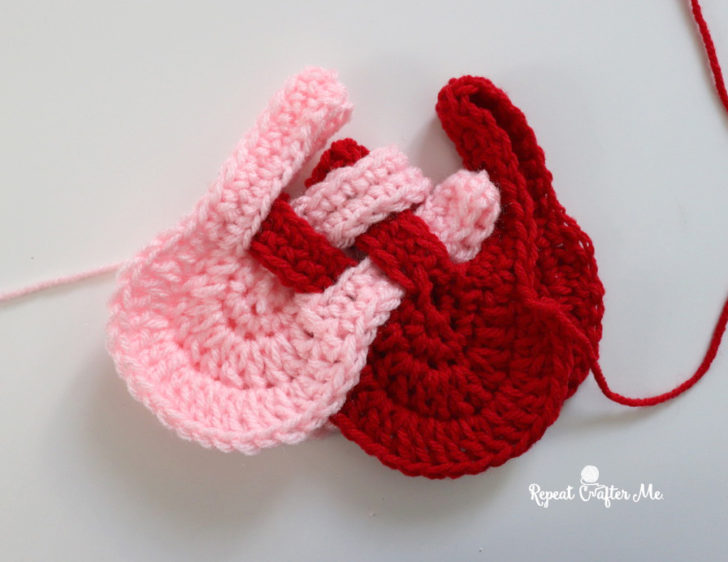
Feet (make 2):
Magic ring, chain 1 and make 10 SC in ring, join, chain 1
Round 2: 2 SC in each stitch around, join, chain 1 (20 SC)
Round 3-8: SC in each stitch around, join, chain 1 (20 SC)
Round 9: SC Decrease, SC in next 3, repeat around, join, chain 1 (16 SC)
Round 10: SC in each stitch around, join, chain 1 (16 SC)
Round 11: SC Decrease, SC in next 2, repeat around, join, chain 1
Round 12: SC in each stitch around, join, fasten off leaving long tail.
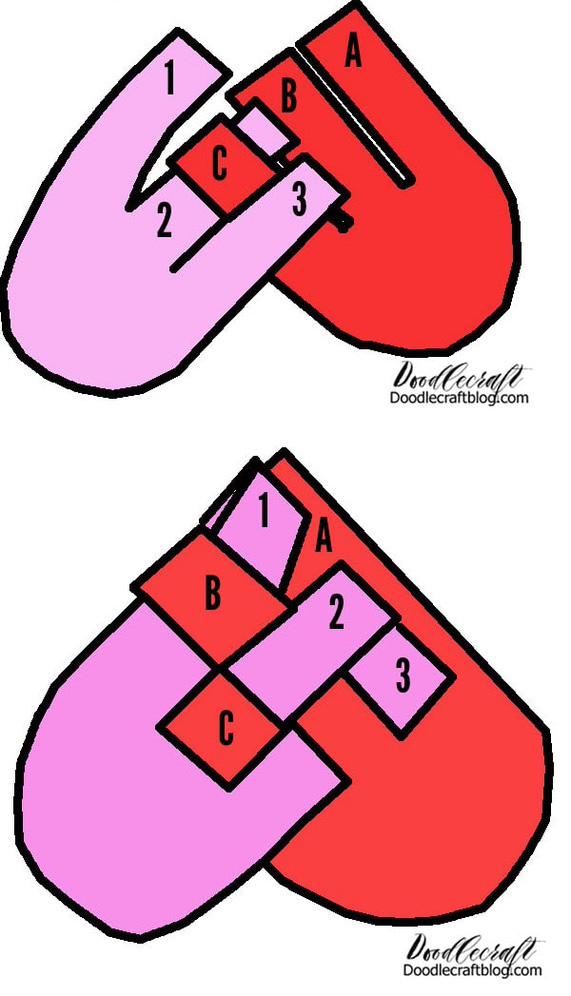
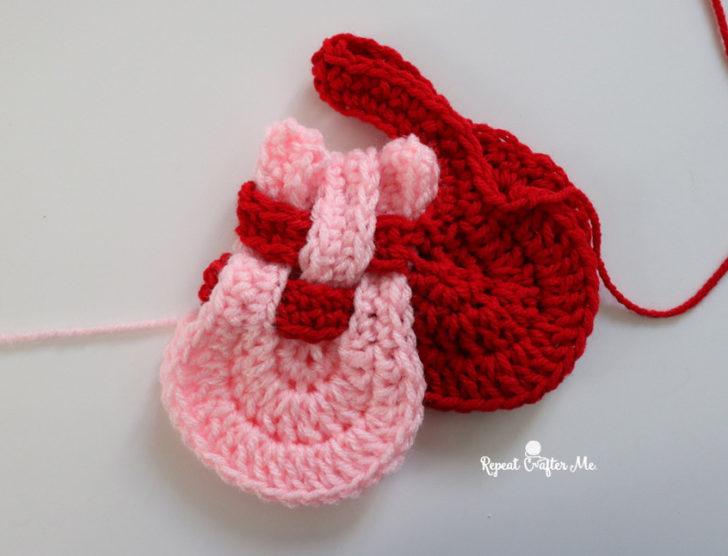
Attach feet on either side of bottom of bottom. They should be sticking out sideways to give the bunny support to sit up.
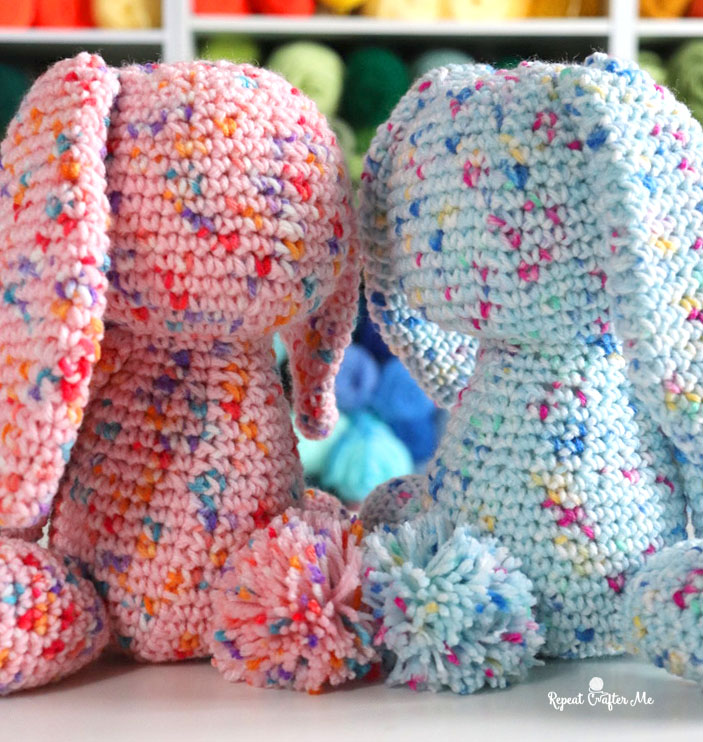
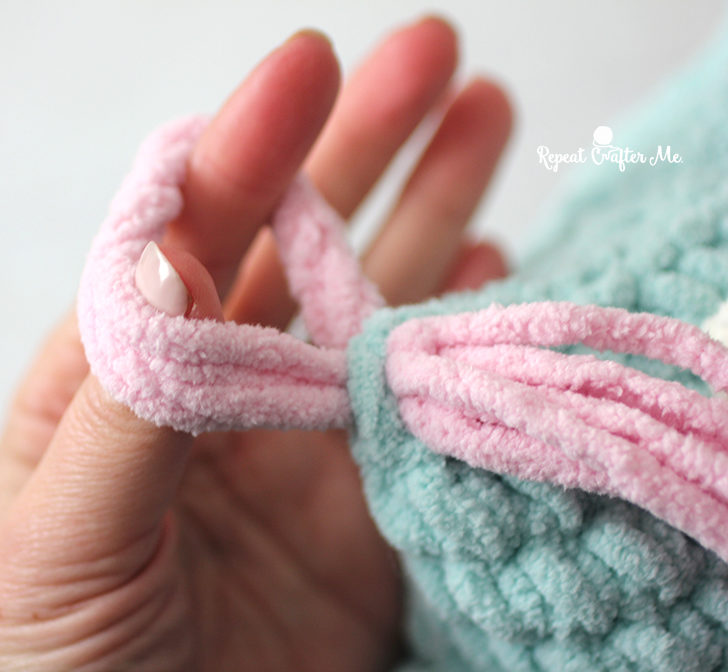
Tail:
With a medium or large Pom-Pom Maker, create a big fuzzy pom tail and attach it to the back bottom of your bunny. I have a fun little Instagram Reel showing this HERE.
The tail also gives the bunny good balance to sit up.
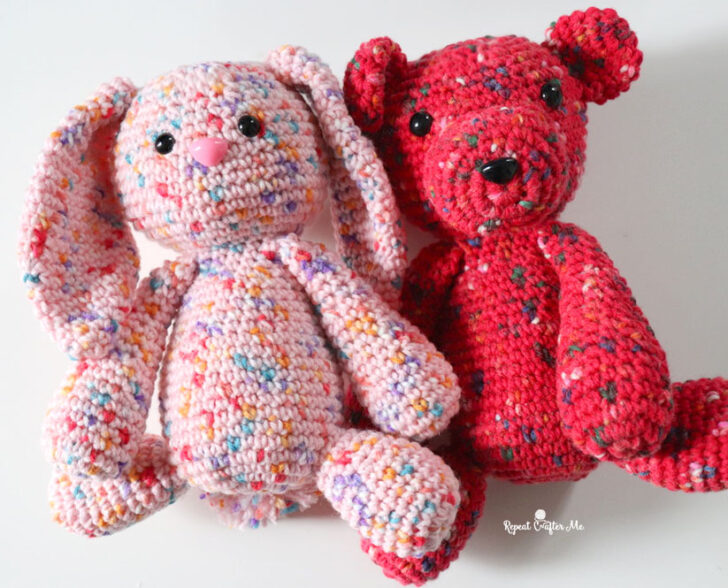
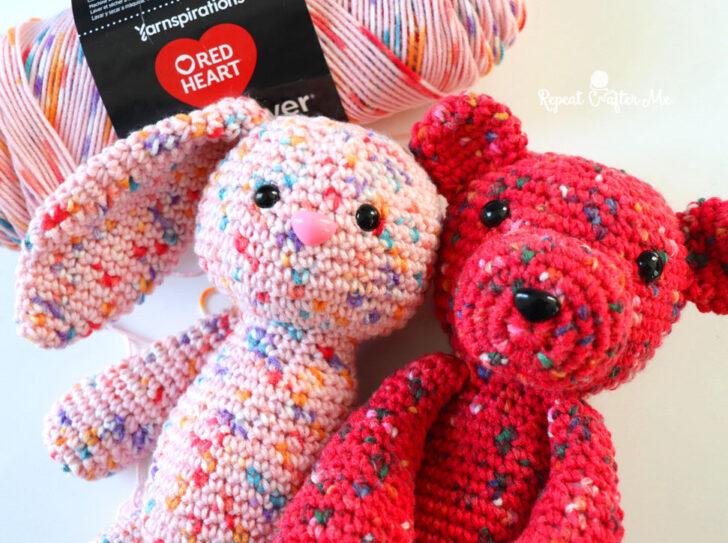
This beautiful bunny is the perfect addition to those Easter baskets or a gift for a new baby. Pair the Bear and Bunny together for the cutest duo!
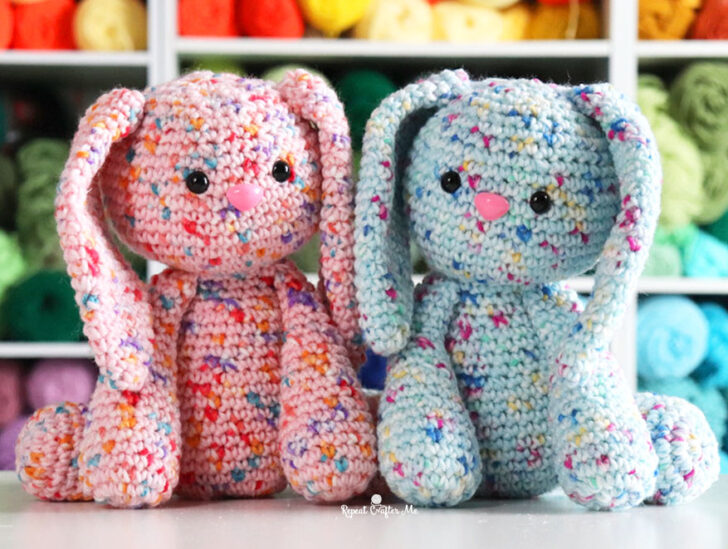
BLUE BUNNY HAS JOINED THE CREW!
Same pattern, new color! This is Red Heart Super Saver Jumbo Speckle in color Light Blue.
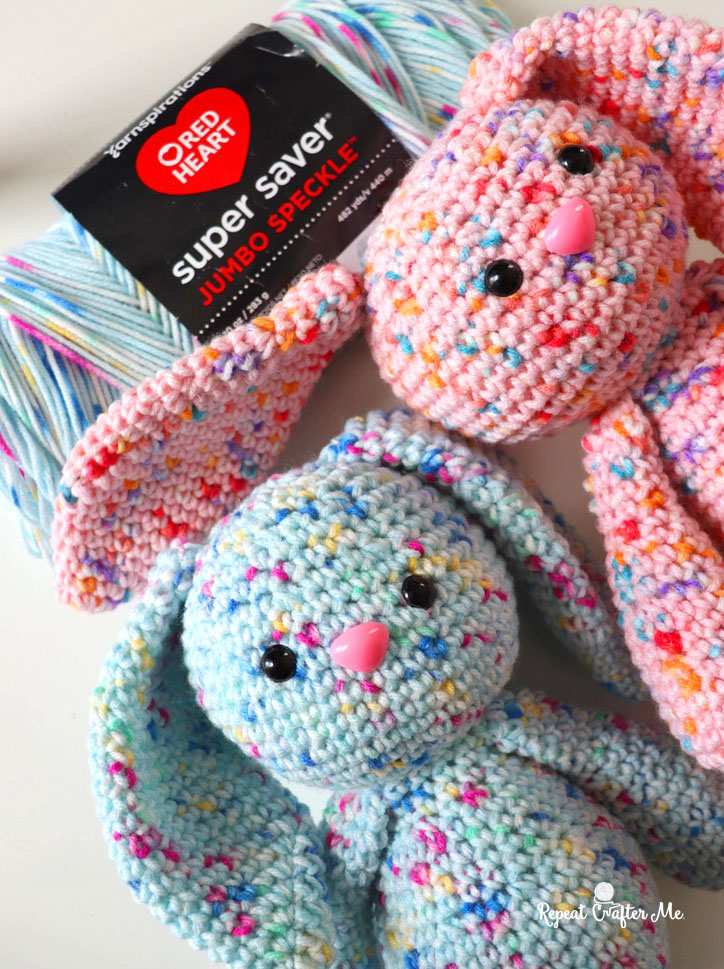
It’s also a great time to stock on up the speckle yarn because it’s included in the big sale going at Yarnspirations for the month of March!
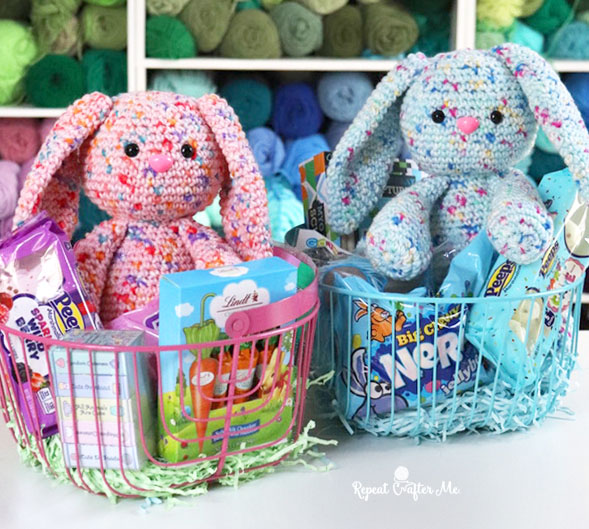
BUNNY BASKETS! These speckles crochet bunnies are the star of the show! The baskets and treats are from Five Below and coordinate perfectly with our adorable pink and blue bunnies.
>> YOU CAN FIND THE FREE SPECKLE BEAR PATTERN HERE <<
Let’s stay connected!
Subscribe to my NEWSLETTER for free patterns straight to your inbox!
Repeat Crafter Me Facebook
Repeat Crafter Me Instagram
Repeat Crafter Me Pinterest
Repeat Crafter Me YOUTUBE


