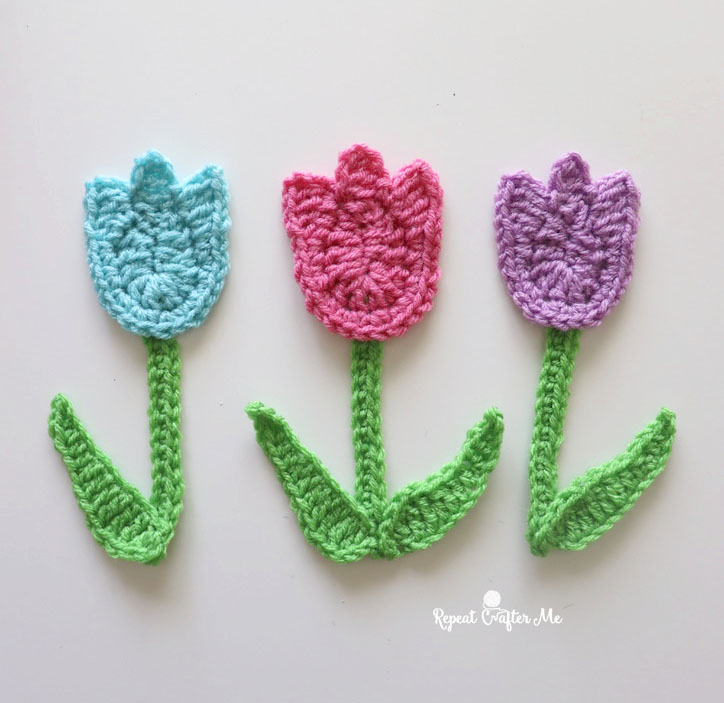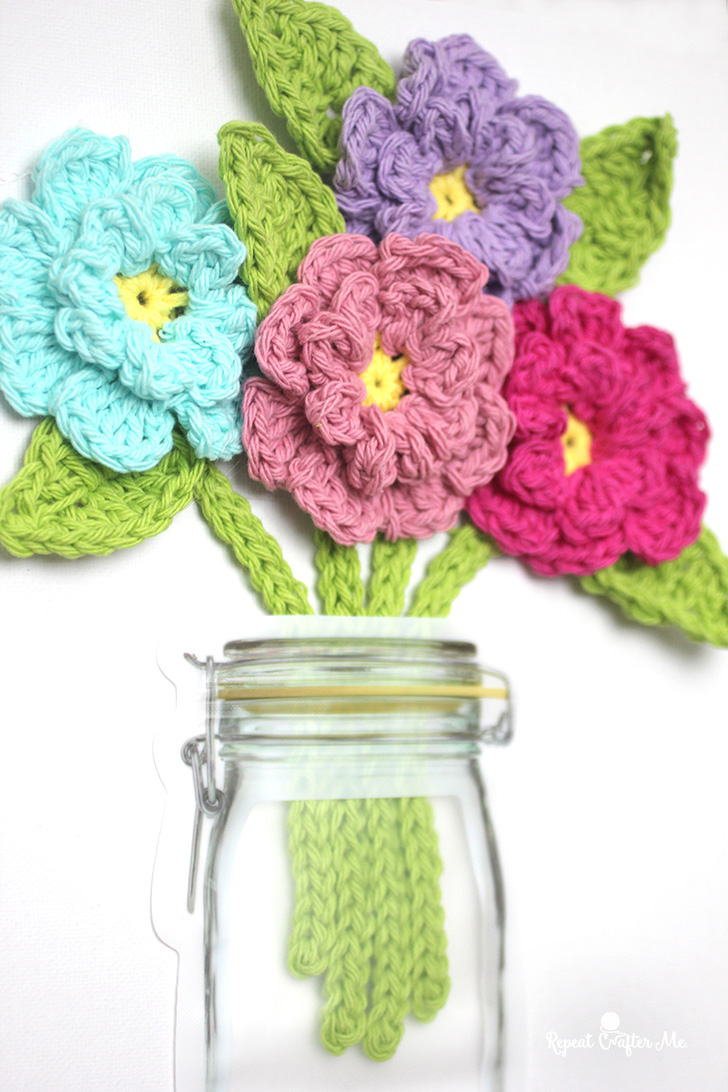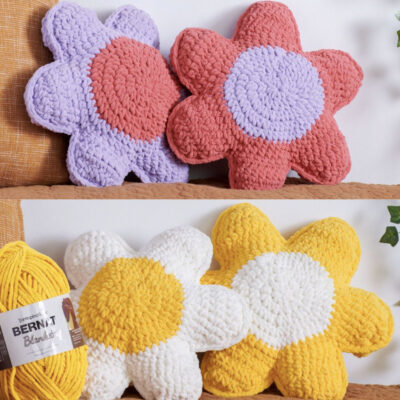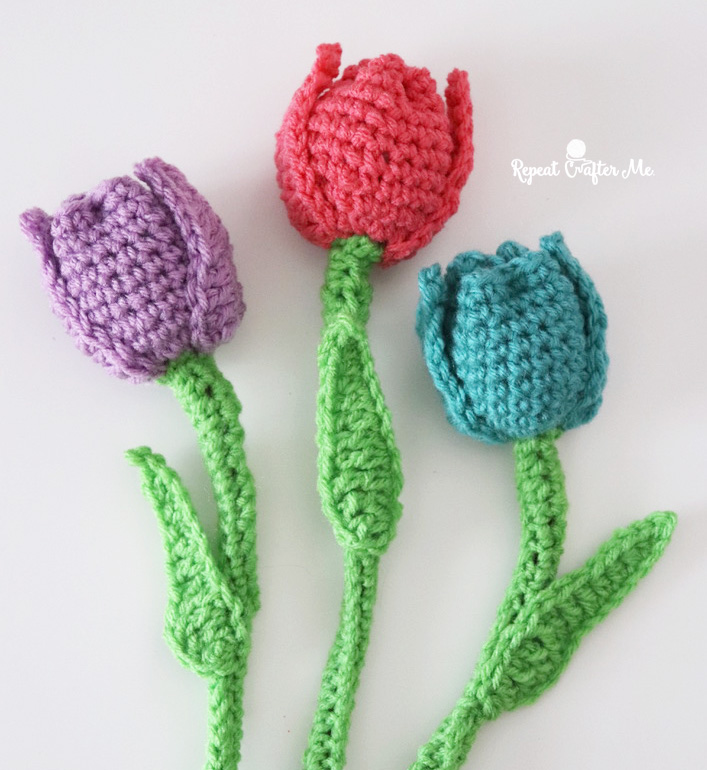
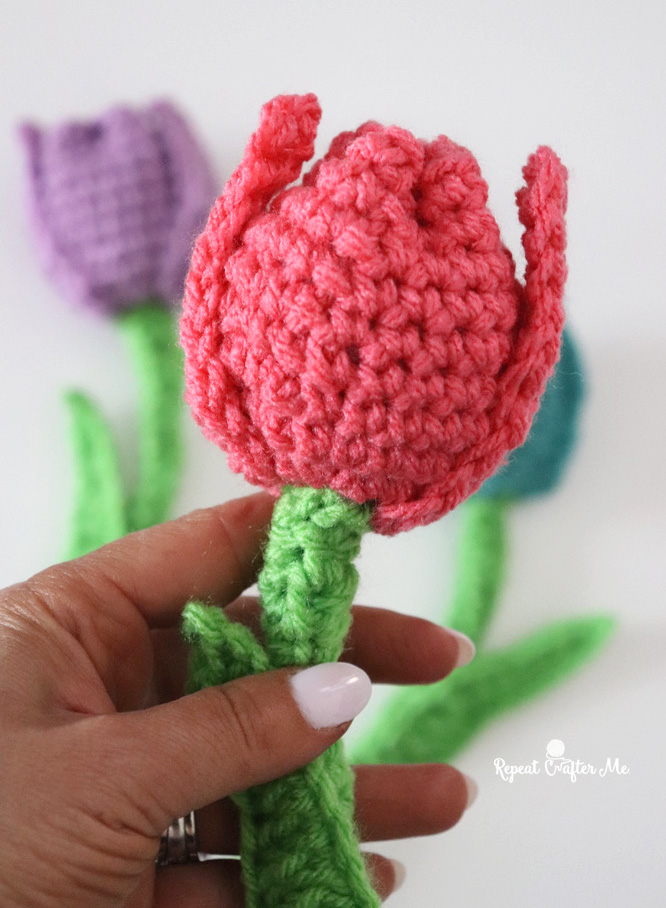
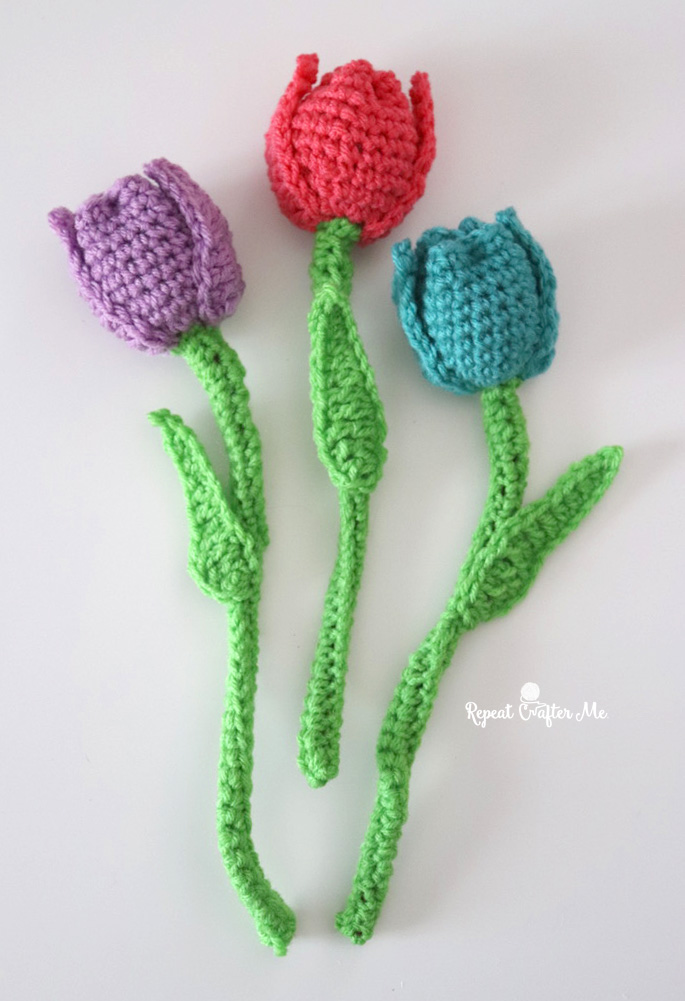
Let’s add a little bit of color to our crochet bouquet with this Tulip Flowers! I have made crochet tulips in the past but never with this 3-dimensional look which I think turned out fabulous and coordinates perfectly with the Daisy Flower and Sunflower. So many colors to choose from in the Red Heart Super Saver yarn line. A dozen tulips in different colors would be beautiful!

Materials:
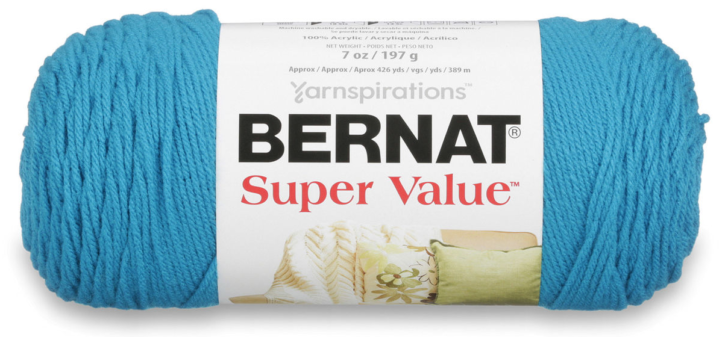
– Red Heart Super Saver Yarn in Papaya (this is a Red Heart with Love color), Jade, Orchid, and Spring Green for the stem.
– Size H Crochet Hook
– Pip Cleaners (green color is best but I only had brown on hand)
– Poly-fil fiber stuffing
– Tapestry Needle
Crochet Tulip Pattern:
Flower Part 1:
with pink (or whatever color you want your tulip to be)
Magic Ring, chain 1 and make 10 SC in ring, join, chain 1
Round 2: 2 SC in each stitch around, join, chain 1
Round 3-10: SC in each stitch around, join, chain 1
Fasten off after round 10, leave long tail
Stuff with polyfil
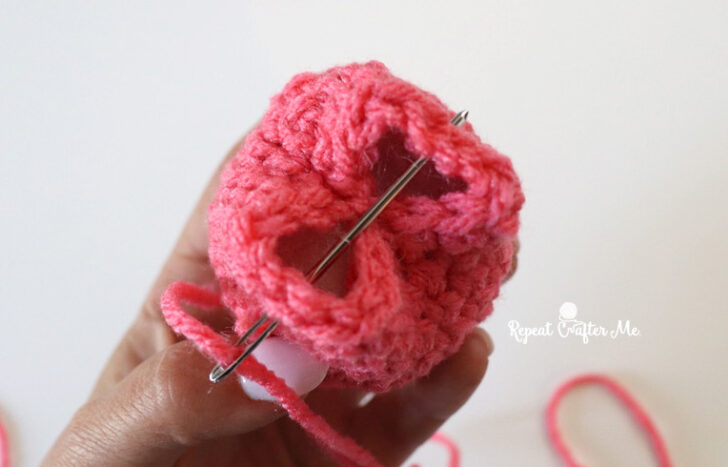
Pinch the top of flower in closed and weave tapestry needle through middle
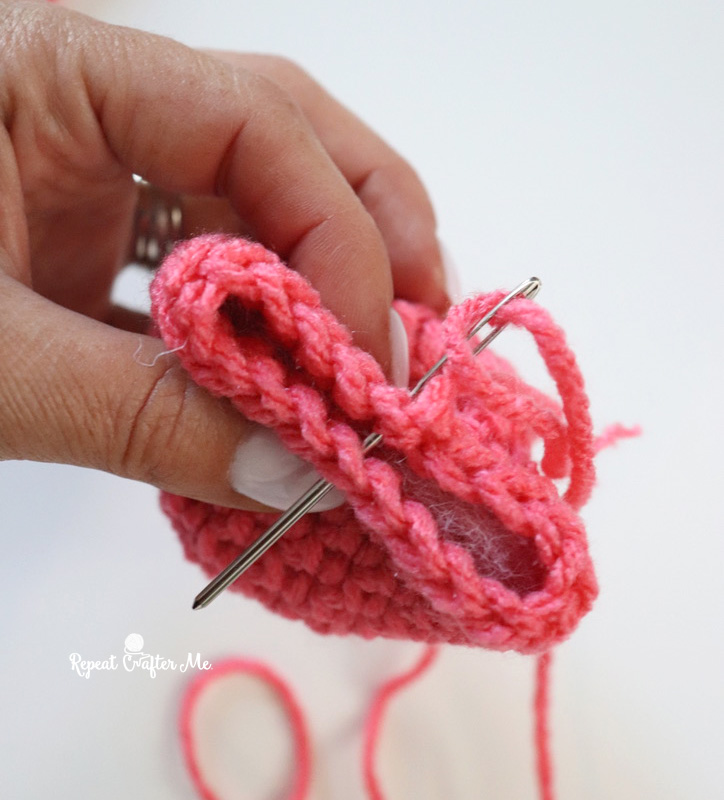
Then pinch it the other direction and weave tapestry needle through middle the other direction. This should give you 4 little points at the top of the flower.
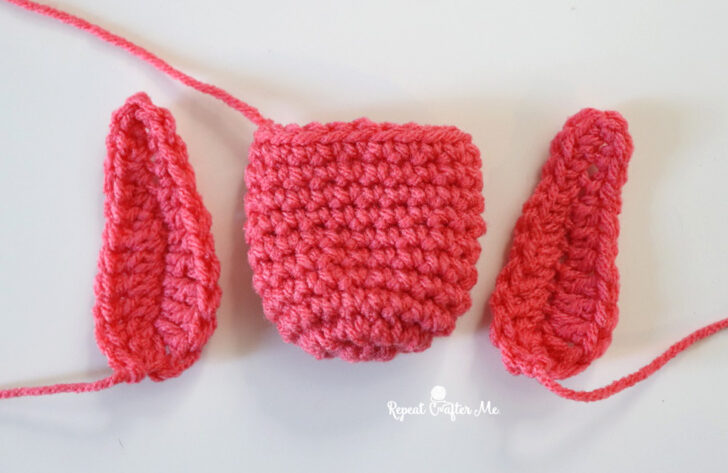
Flower Part 2 (The Flower Petals): Make 2
with same color as your main flower
Chain 12, DC in 3rd chain from hook and in next 3, HDC in next 3, SC in next 2, 3 SC in last, now working on other side of chain, SC in first 2, HDC in next 3, DC in last 4, join to first DC. Fasten off leaving long tail.
Stitch on petals to either side of tulip flower.

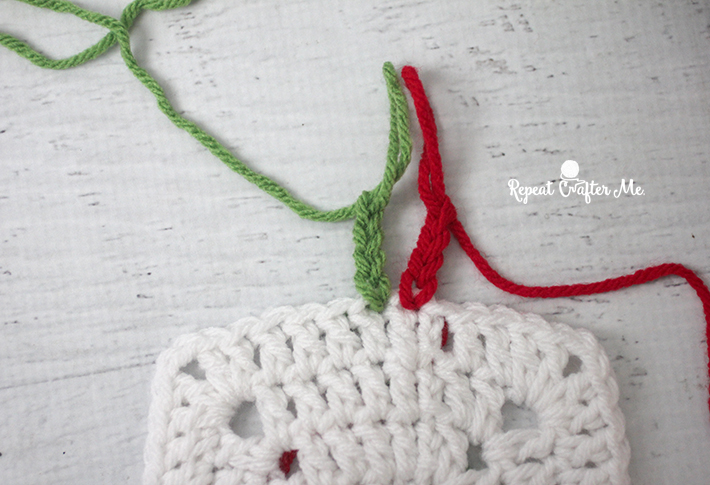
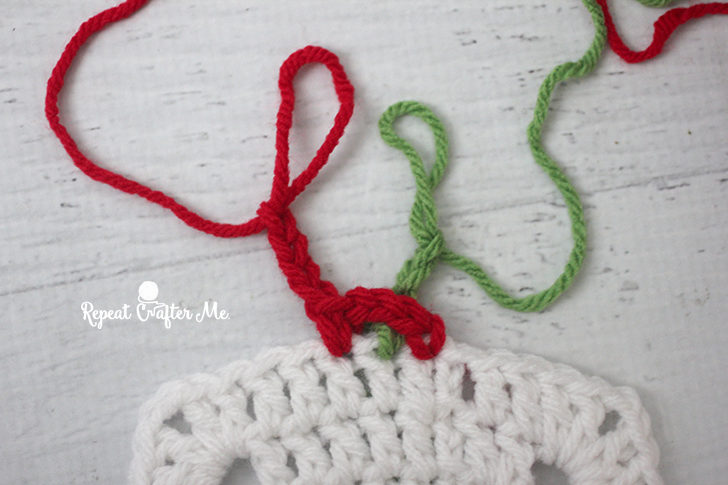
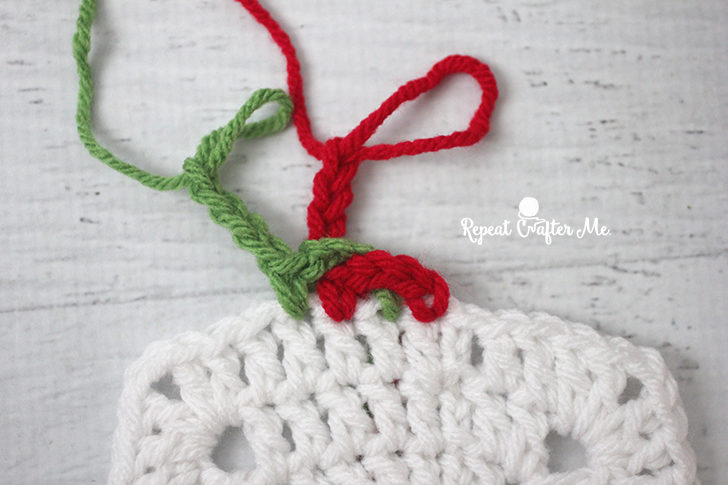
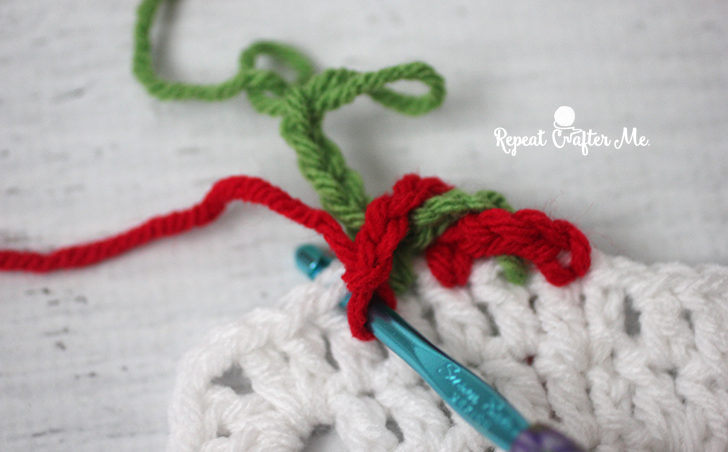
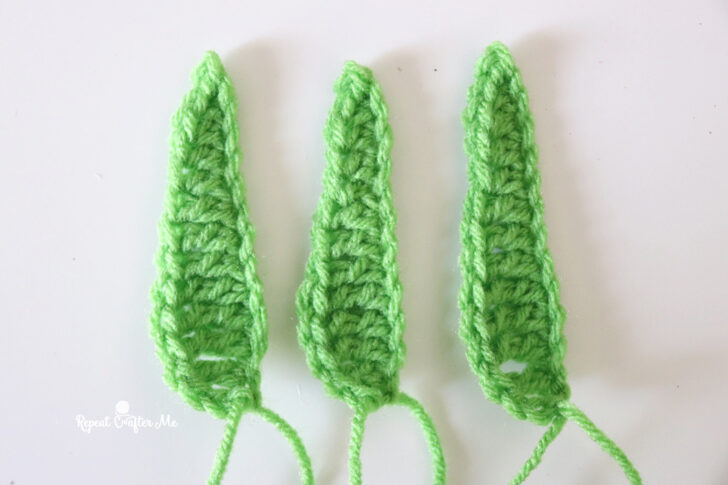
Leaves:
Chain 13, slip stitch in 2nd chain from hook, SC in next, HDC in next 3, DC in next 3, TC (triple crochet) in next 3, DC in last + chain 2 to join back to last chain, fasten off. Stitch onto stem.
Stem:
with spring green yarn
Chain 36 (or less for a shorter stem), SC in second chain from hook and in the next 32 chains (you should have 3 chains remaining), HDC in remaining 3 chains, chain 1, turn
Row 2: HDC in first 3 stithes, SC in remaining, chain 1, turn
Row 3: SC in first 32 stitches, HDC in remaining 3, fasten off leaving long tail
Tip: leave both loose ends attached.
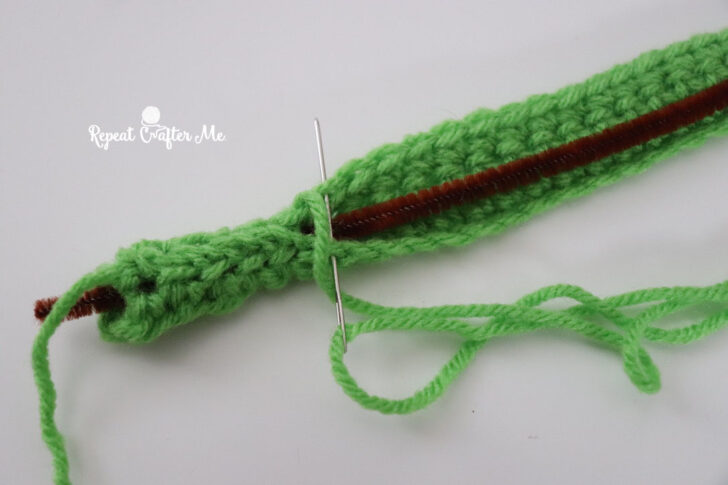
Bend one end of your pipe cleaner and twist so it’s not pokey on the bottom. This will go on the bottom of your stem. Leave the top of pipe cleaner sticking out over the top (where the HDC stitches are).
With your tapestry needle, stitch stem piece around your pipe cleaner. Make sure you stitch around the bottom so your pipe cleaner isn’t poking through.
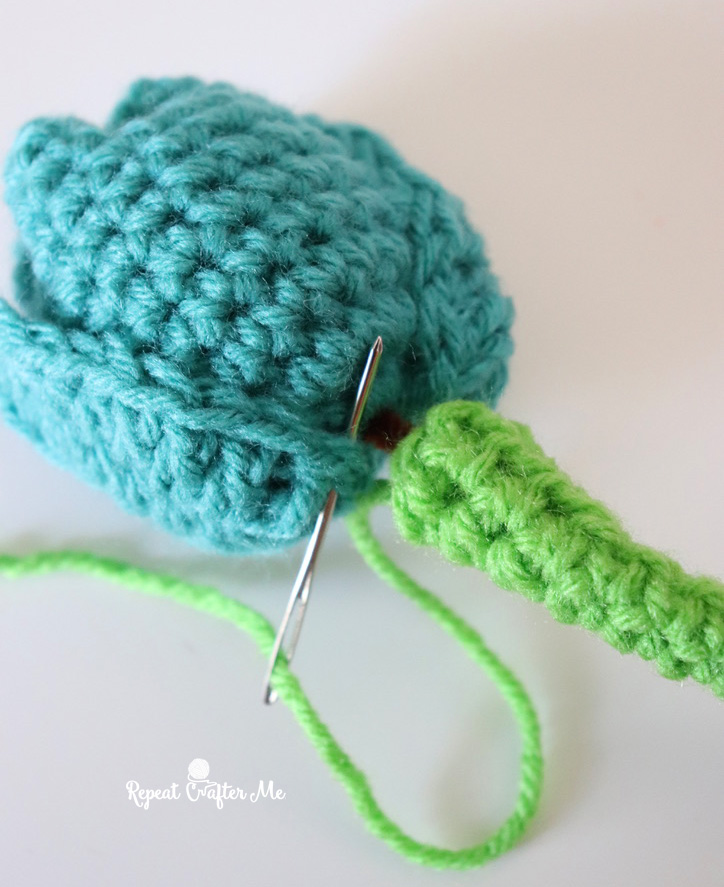
Now with the end that is hanging over the top, poke it through a stitch on the bottom of the tulip flower.
Stitch the top of the stem to the bottom of the tulip with your other loose end!
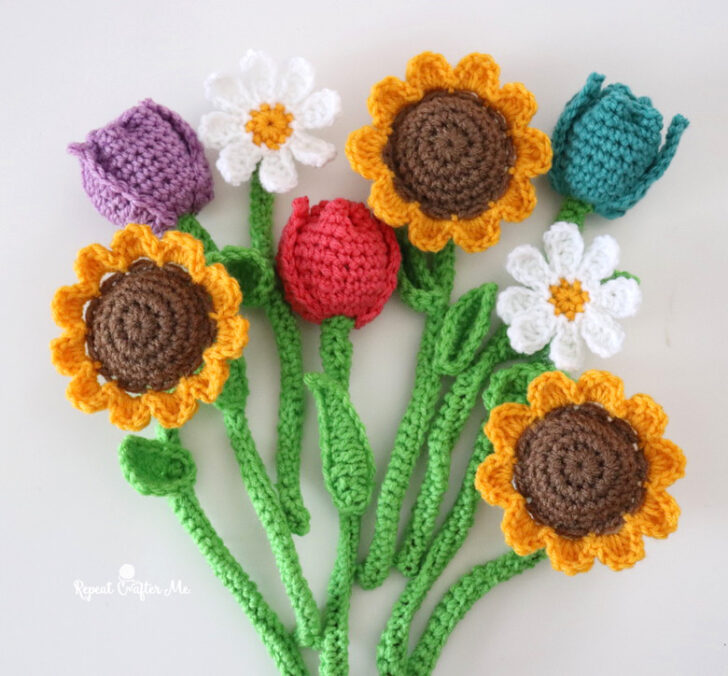
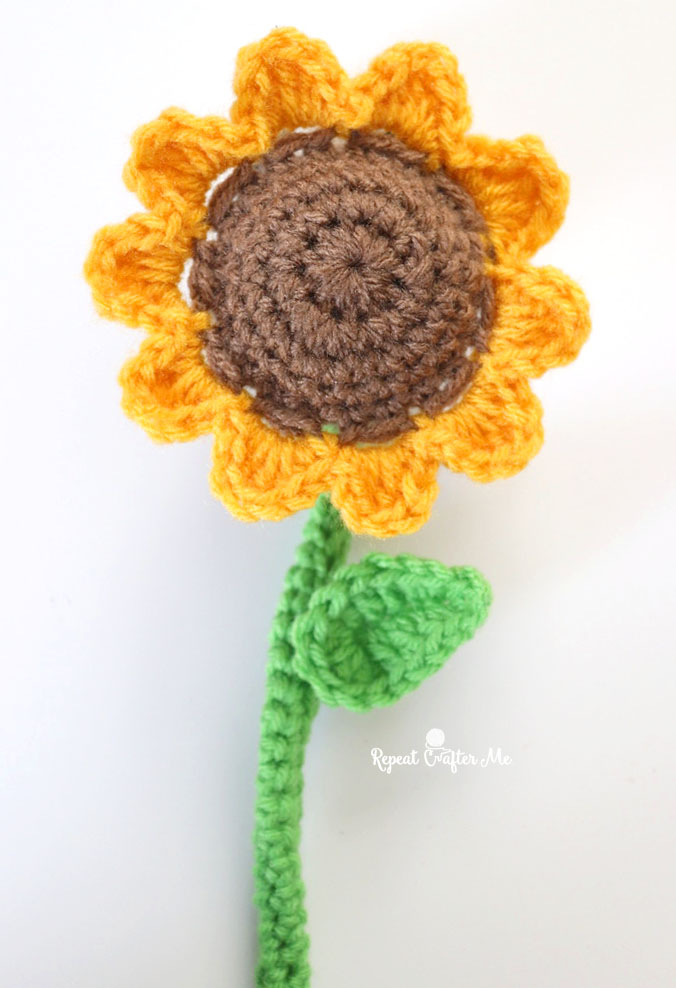
GET THE SUNFLOWER PATTERN HERE
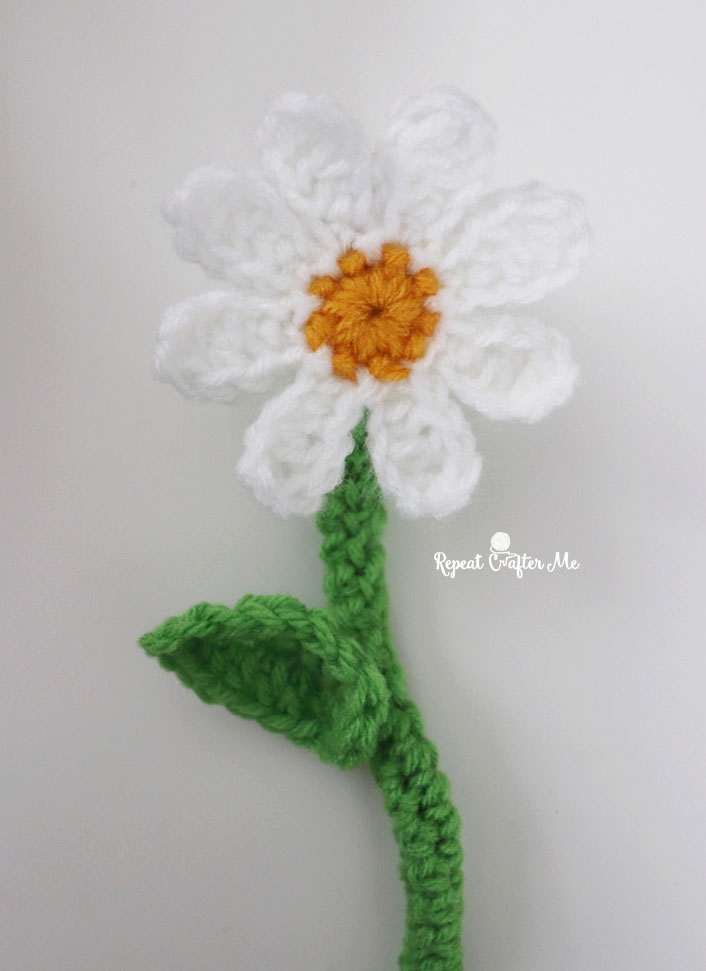
GET THE DAISY FLOWER PATTERN HERE
I might have an idea for one more flower! Stay tuned!
Want more fun flower patterns!?
Check out my Daisy C2C Blanket!