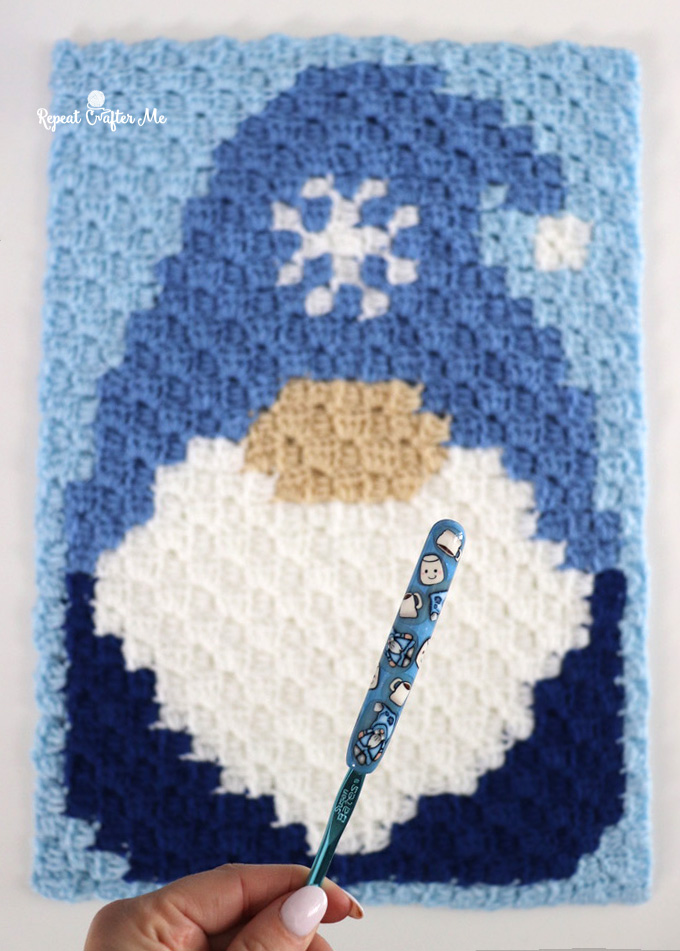
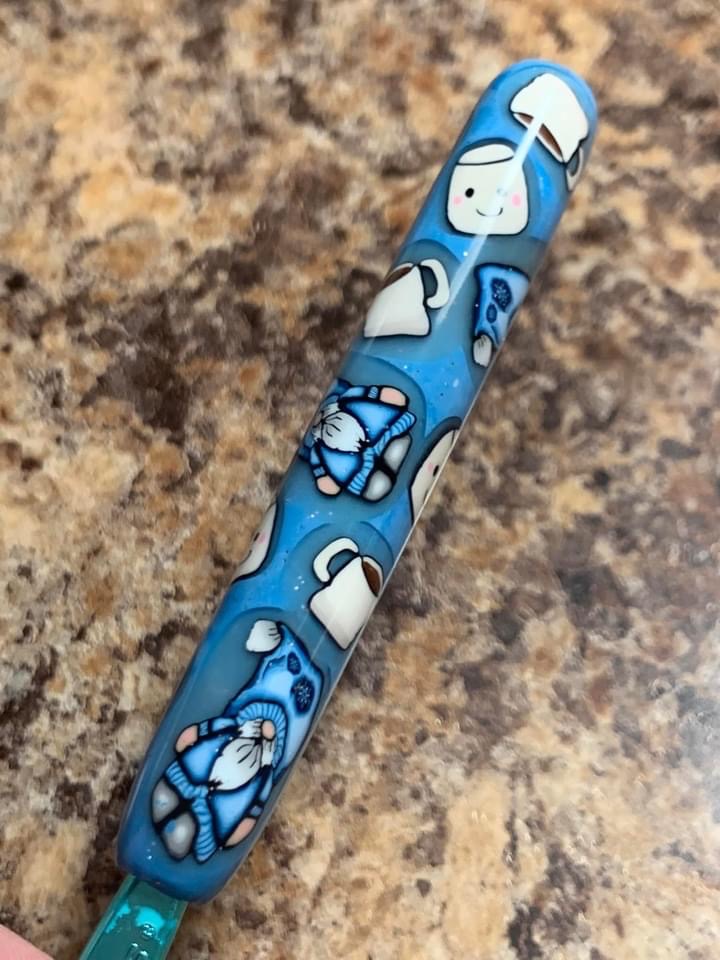
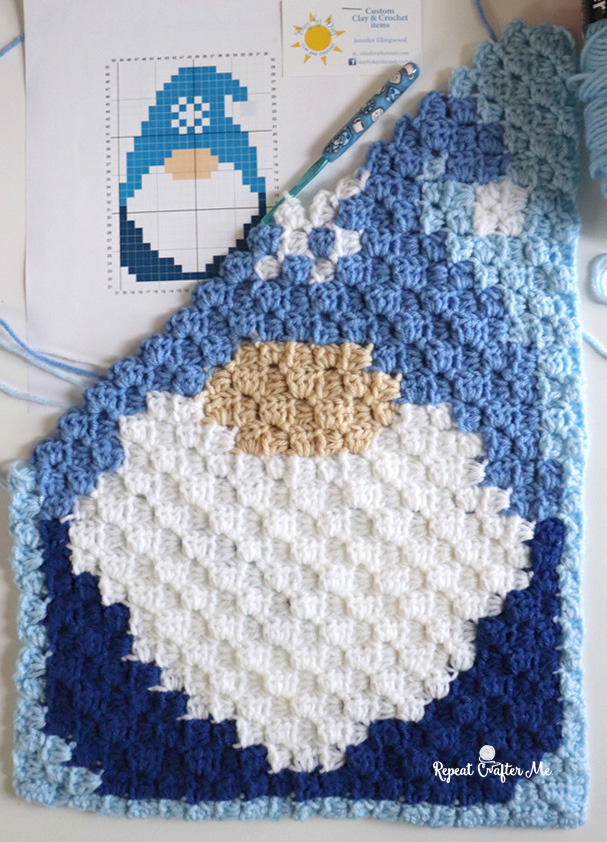
Are you ready for a BIG collaboration?! I am thrilled to announce that Jennifer from Day by Day Clay and Crochet and I have teamed up for a HUGE year-long project! Each month Jen will create a Gnome Polymer Clay Crochet Hook and I will create a matching Gnome Corner-to-Corner Crochet square (it’s actually more of a rectangle). We are focusing on holiday and seasonal gnome designs so for the month of January we are presenting you with a Winter Gnome! The pixel graph and how-to for the crochet portion of the collab will be right here on Repeat Crafter Me and you can purchase the coordinating clay hook from Jen on her Facebook page “Day by Day Clay and Crochet Group!”
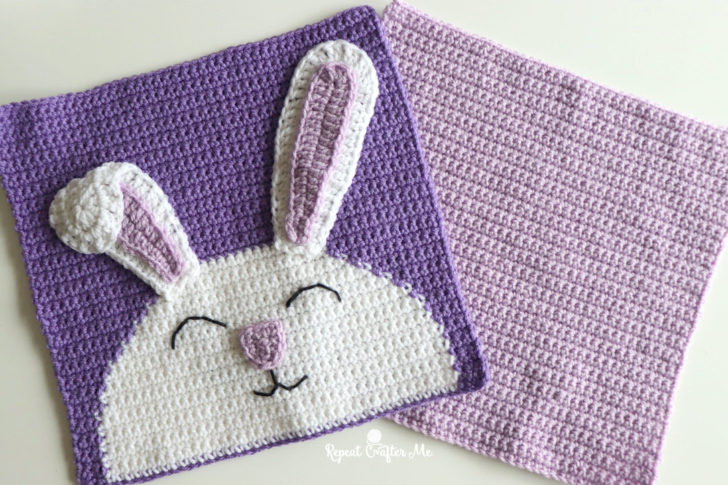
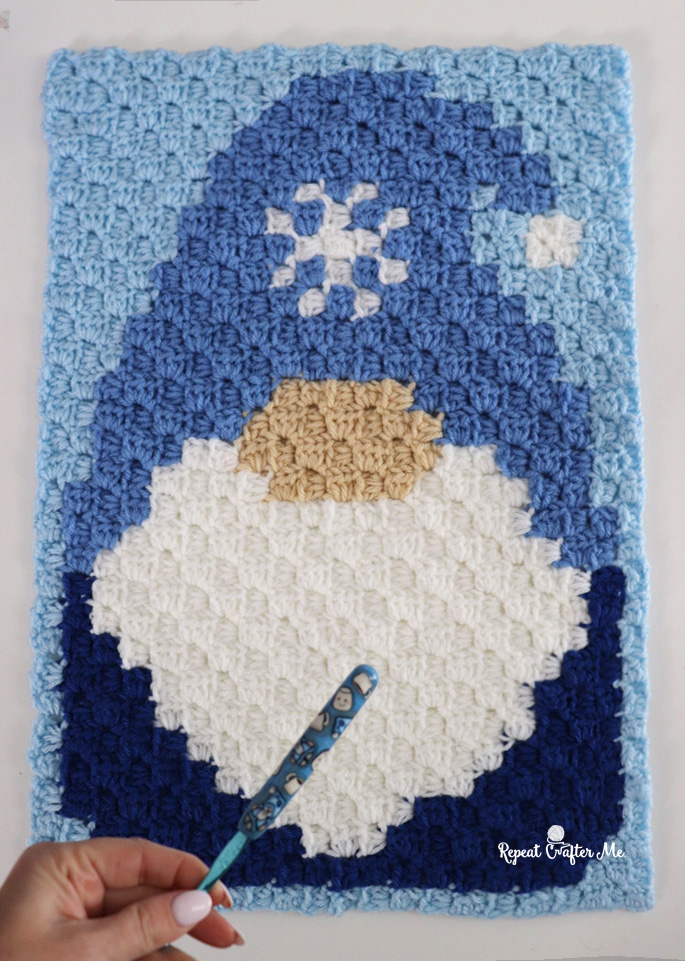
The 12 months of Gnomes will be stitched together at the end to make a big blanket! You don’t necessarily need to add a border to each gnome piece but can if you want. I did not at this time.
Be sure to share your gnome projects on social media using the hashtag #2022gnomeproject
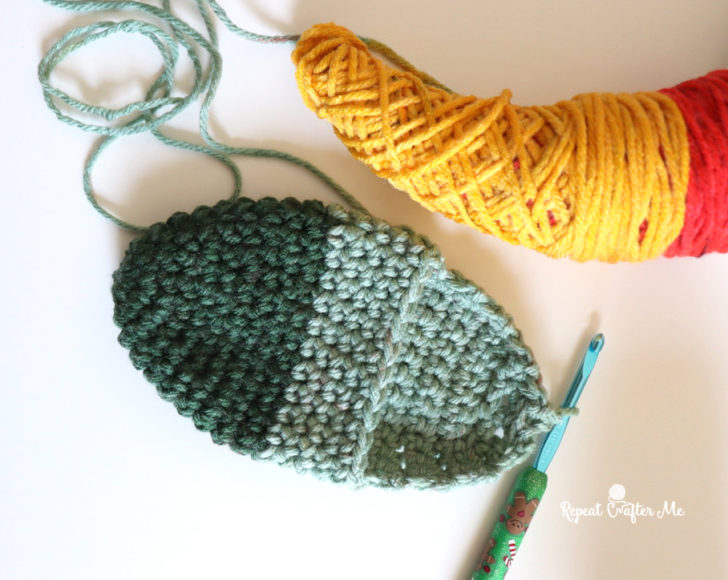
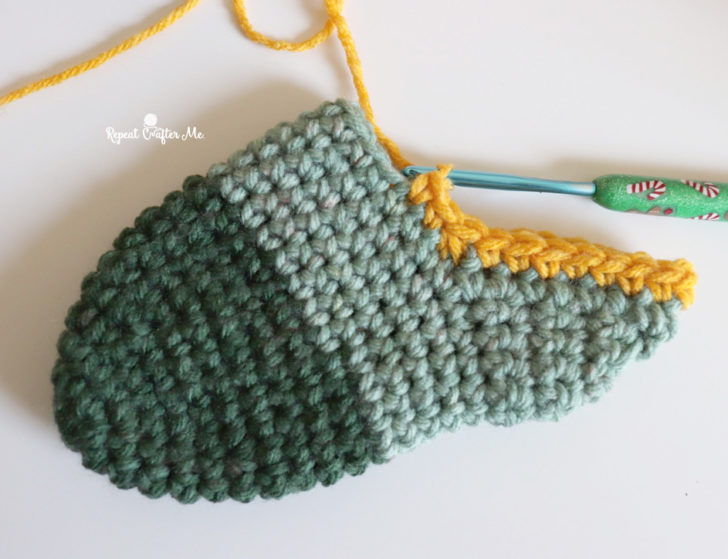
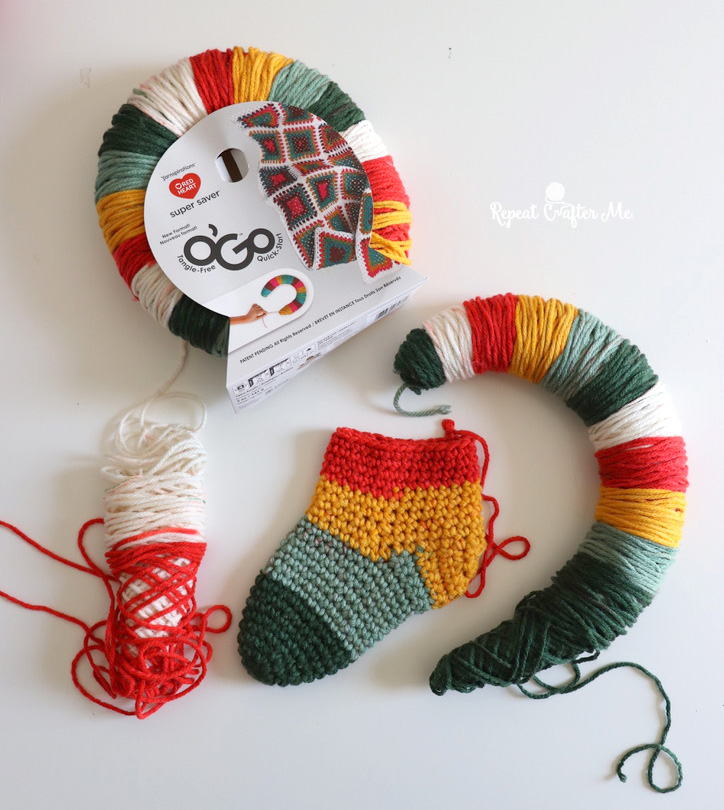
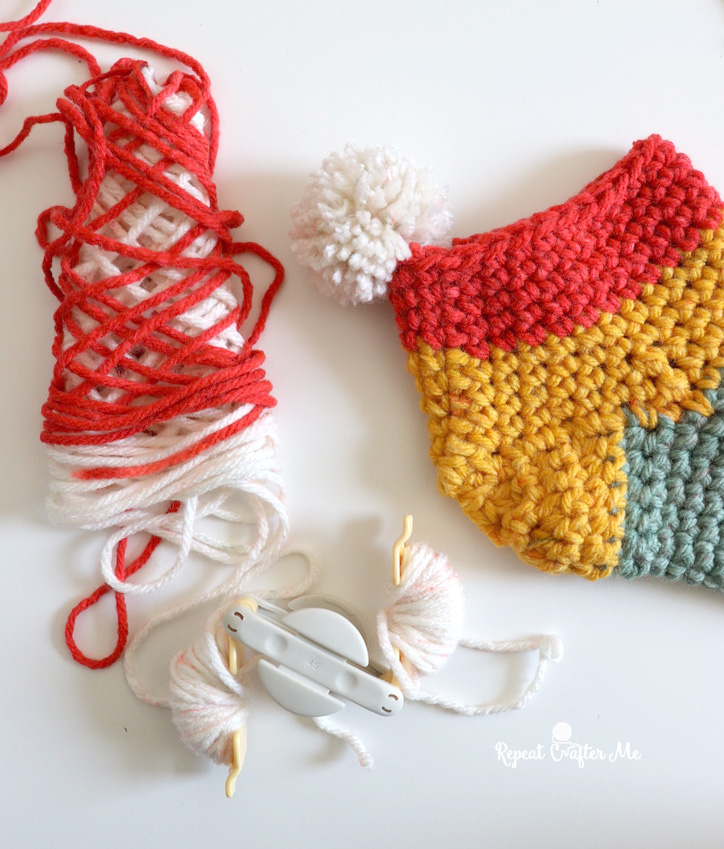
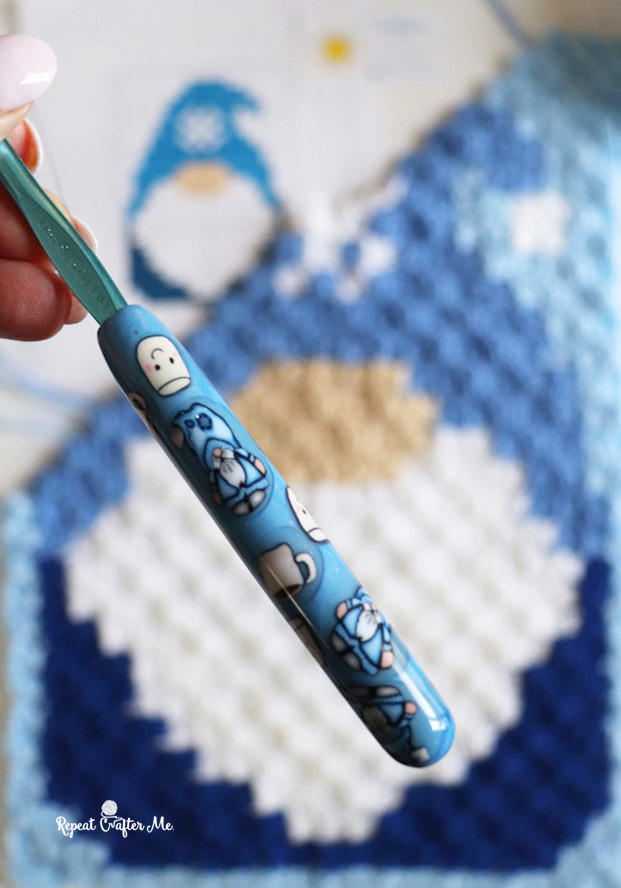
Jen creates the most adorable and fabulous clay designs that bake directly onto crochet hook handles, making them not only cute, but more comfortable and smooth to crochet with. I have been purchasing her hooks for years and I am sure you have seen them in many of my project photos and videos. No machines are used in her artwork, each hook is handmade! I love supporting my fellow makers! If you aren’t familiar with the process of how a polymer clay hooks are made, they start with large canes of 100% polymer clay. Then they are reduced. Here are a couple photos of her process:
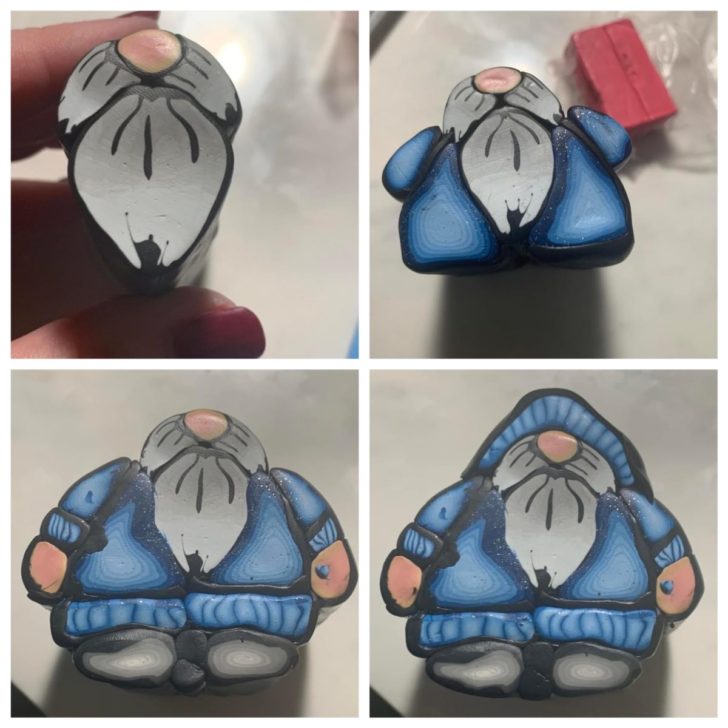
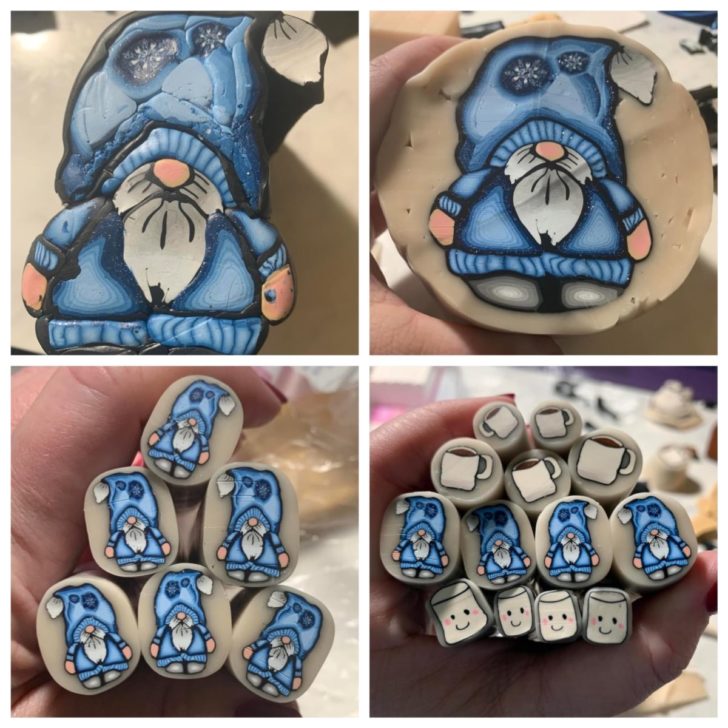
You can see more of Jens work HERE: —> DAY BY DAY CLAY AND CROCHET GROUP
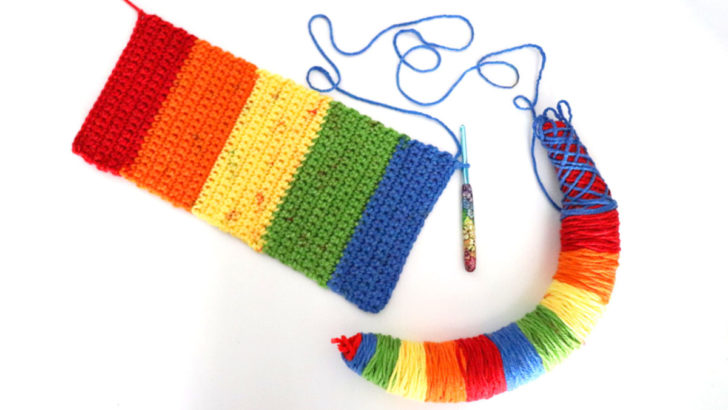
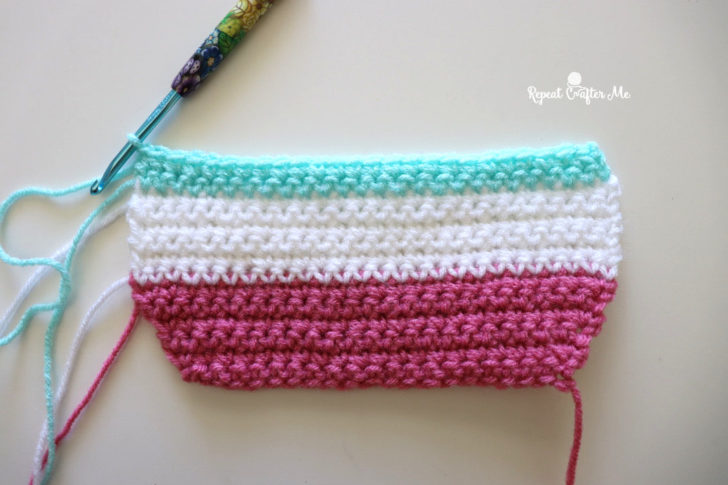
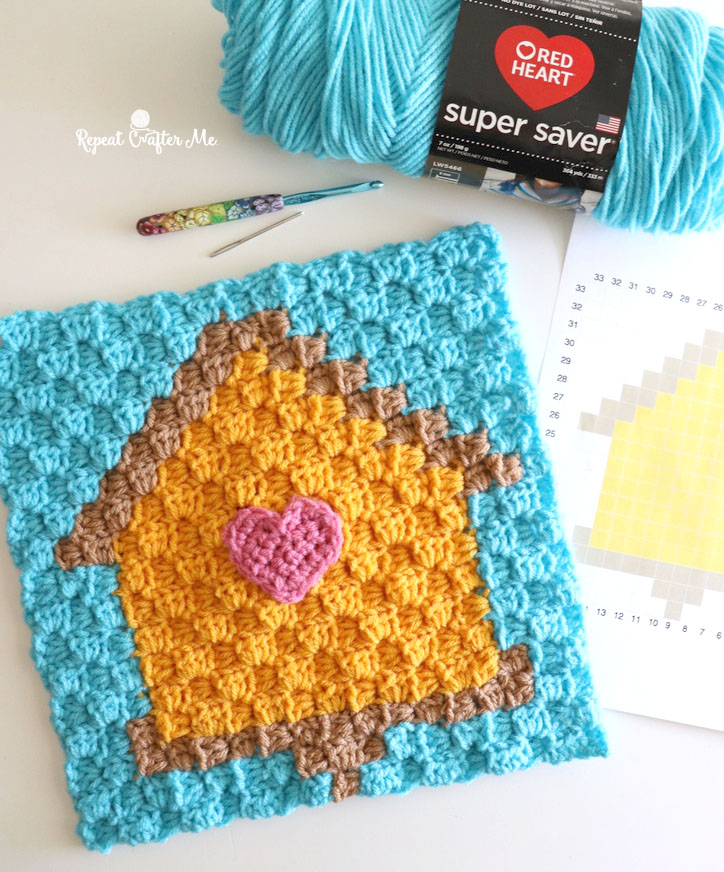
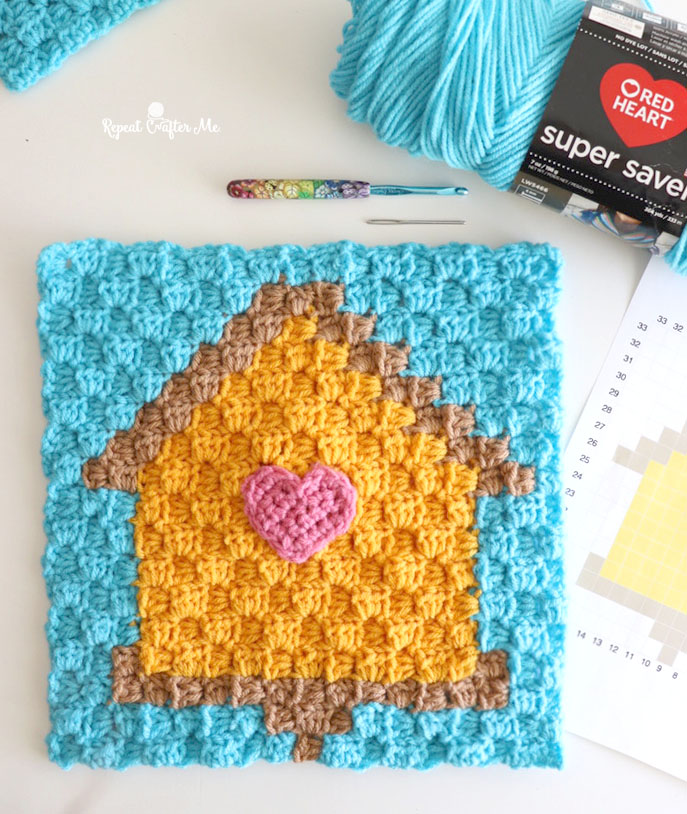
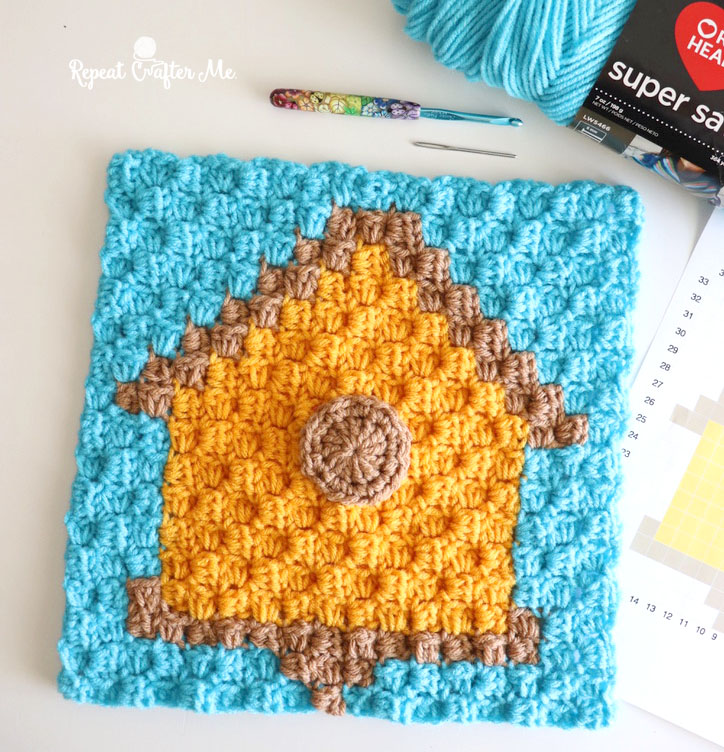
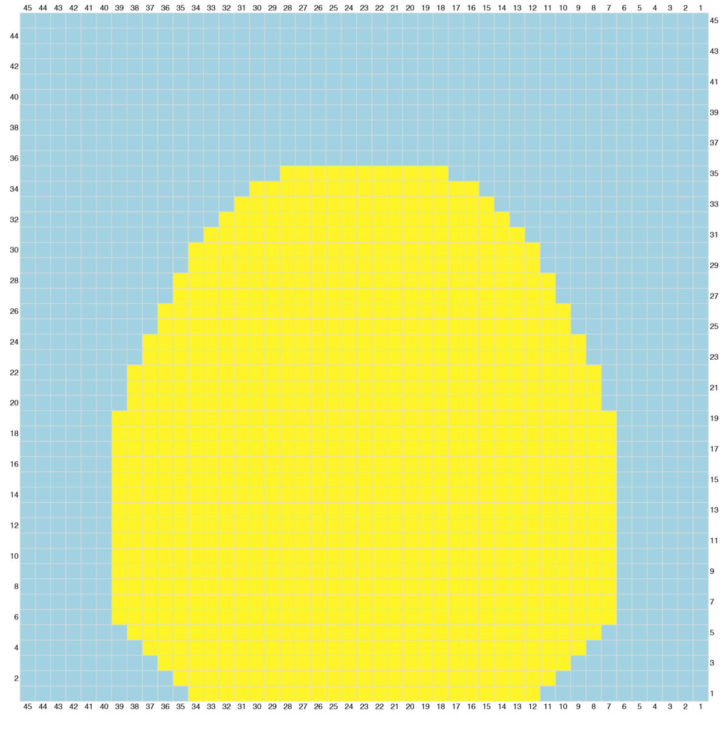
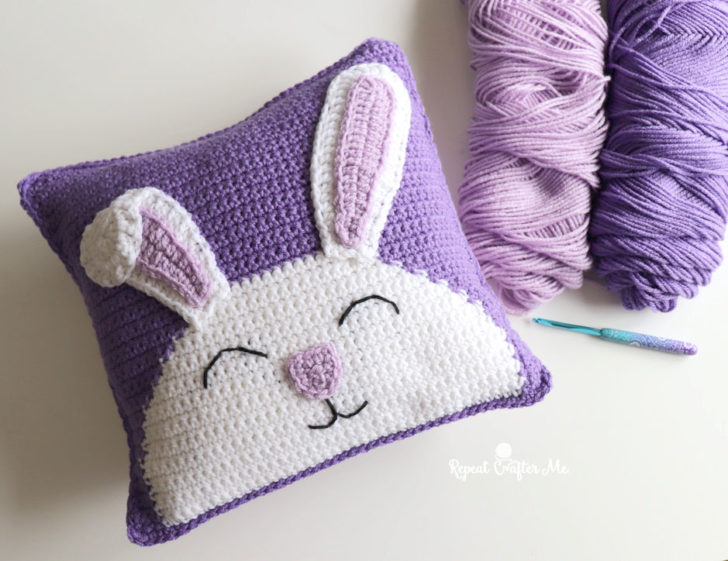
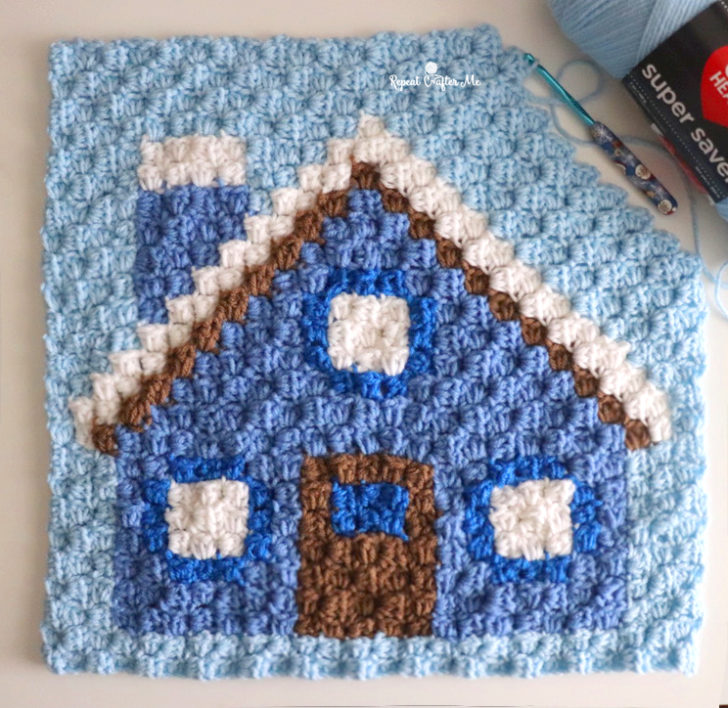
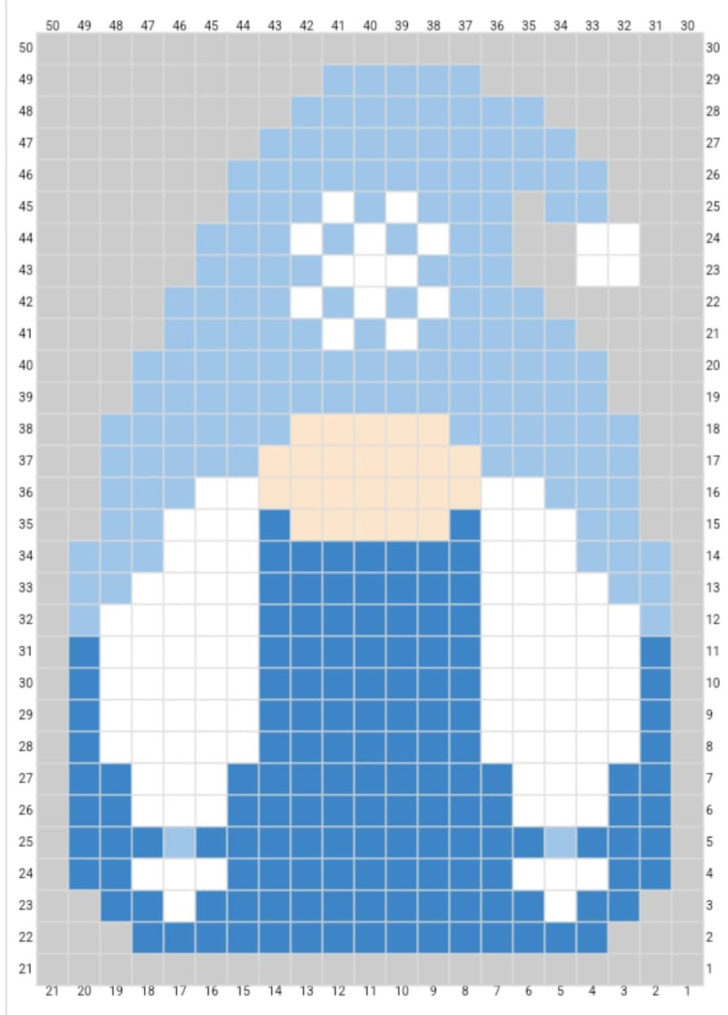
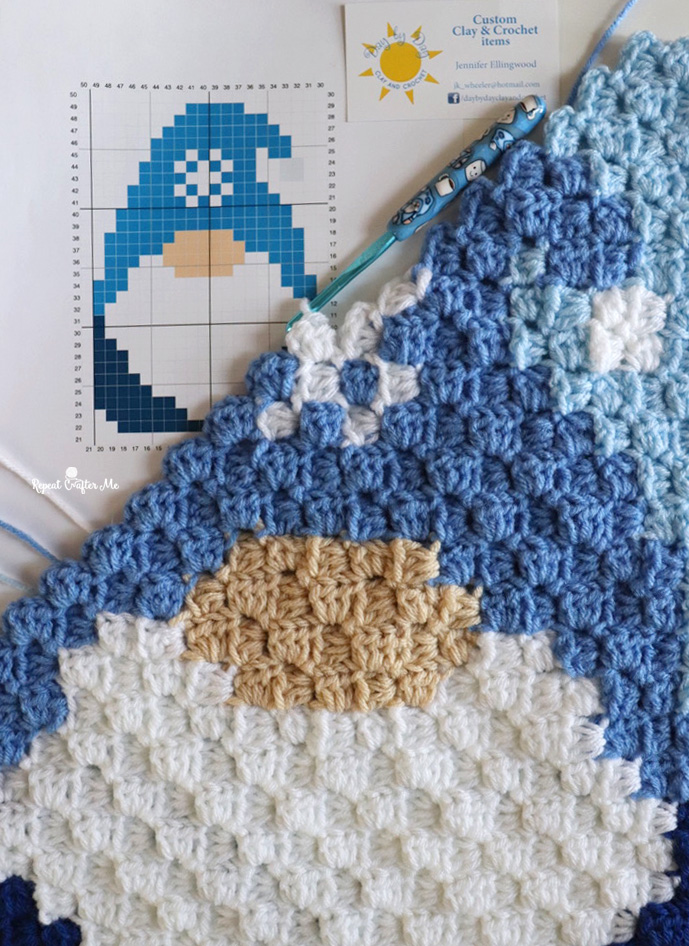
Now let’s make the Gnome Corner-to-Corner Crochet Rectangle!
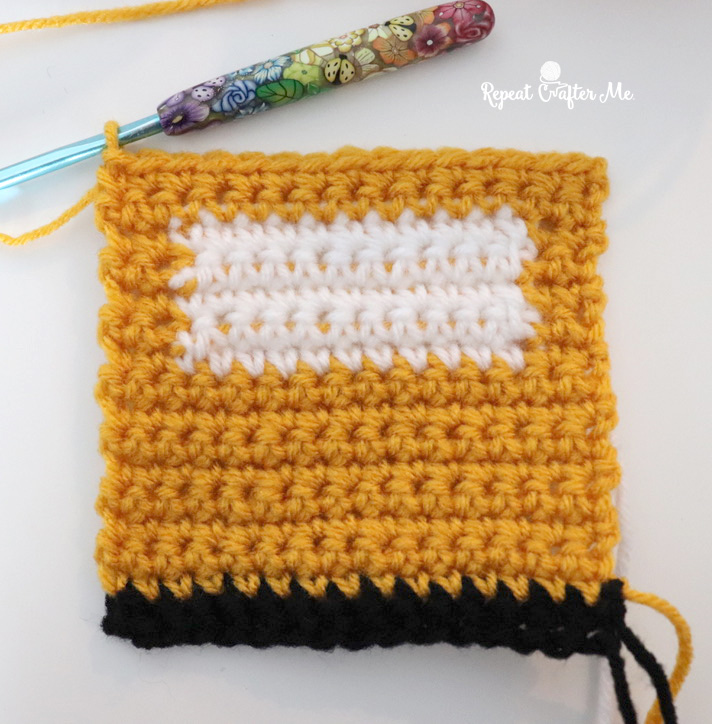
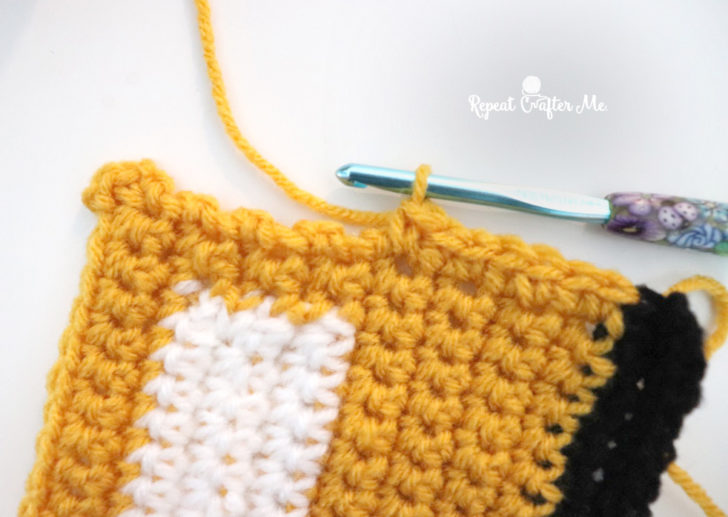
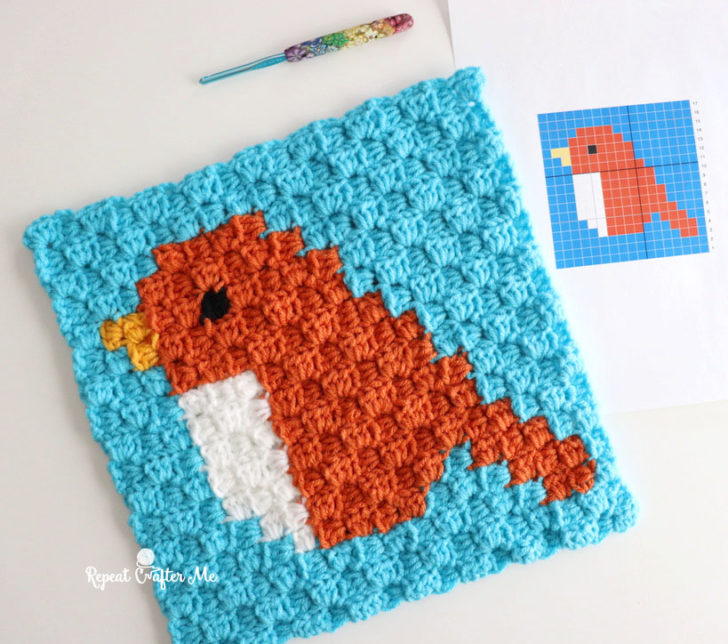
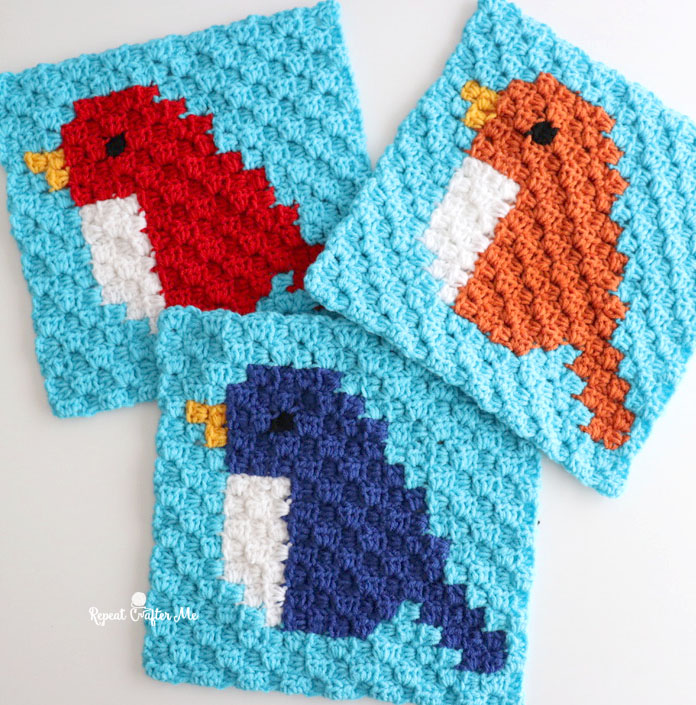
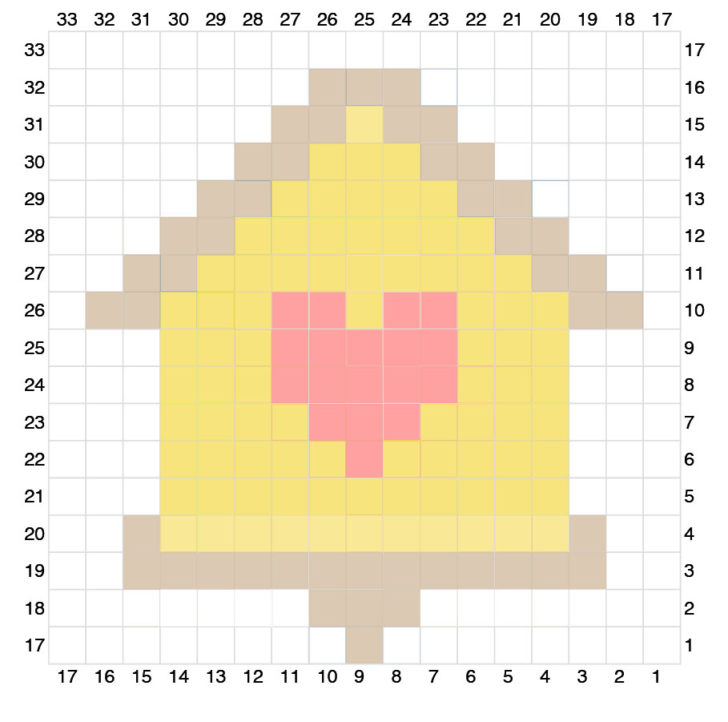
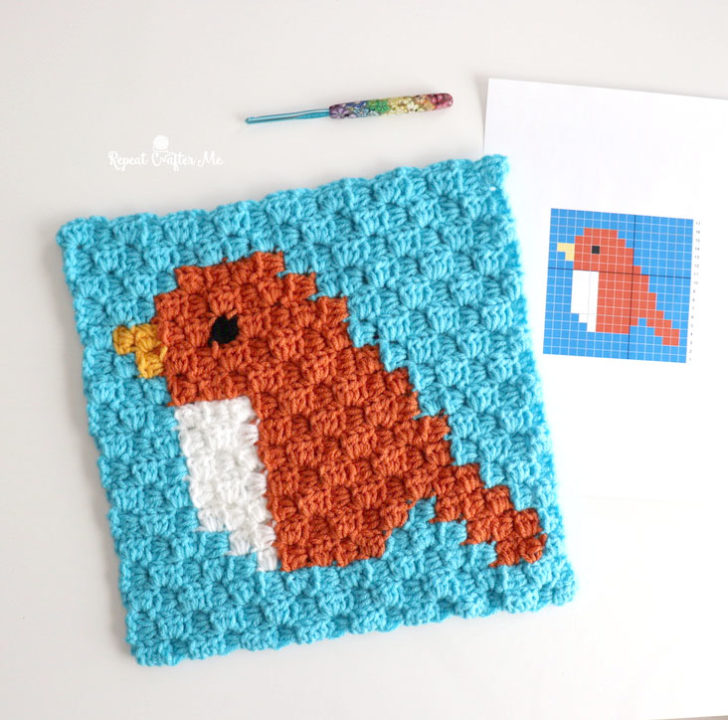
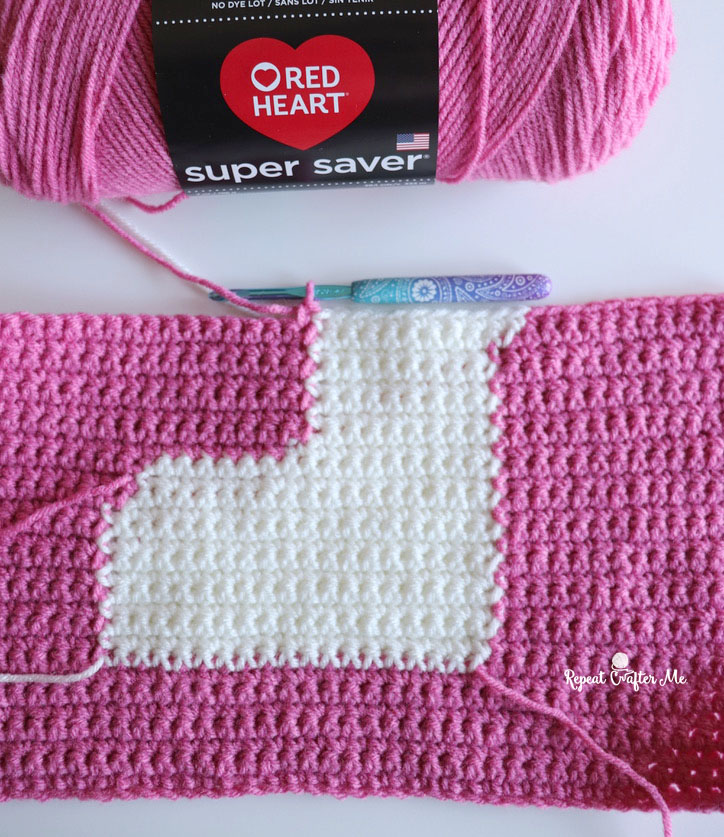
Corner-to-Corner Crochet lets you turn almost any image into a pixel graph and then from a pixel graph into a crocheted piece! The Corner-to-Corner technique basically means the you start in one corner (the lower right hand is most common place to start) and crochet diagonally in rows until you get to the other corner. You follow the pixel graph to create the color changes that make up the picture of the gnome. One pixel square = a chain 2 + 3 HDC stitches. Please note that I am using HDC stitches for the C2C instead of DC. You can use either! The DC is more common but keep in mind that your gnome rectangle will end up slightly bigger if using Double Crochet.
If C2C is confusing to you, don’t worry, my friends at The Crochet Crowd have the perfect beginner tutorial! And the best part is that they chose to use a few of my projects as the examples as they are crocheting so you can’t go wrong! Get The Crochet Crowd Corner-to-Corner Crochet using HDC (half double crochet) HERE.
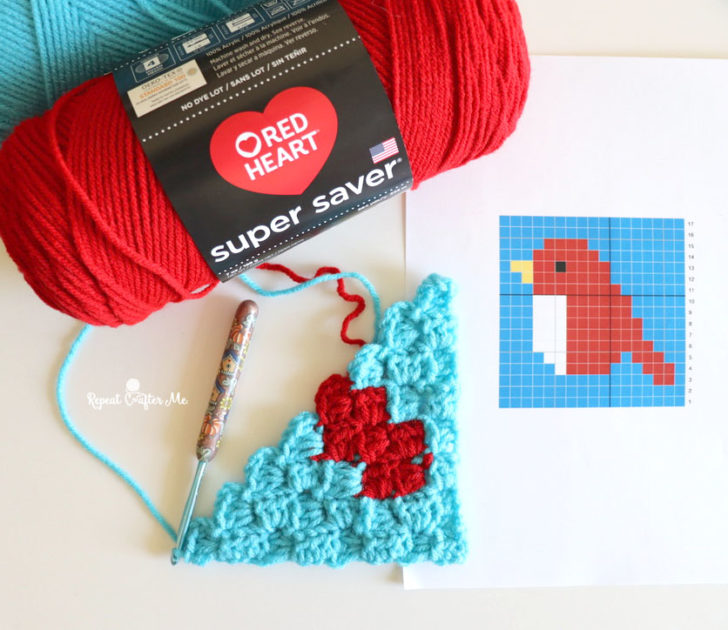
Materials:
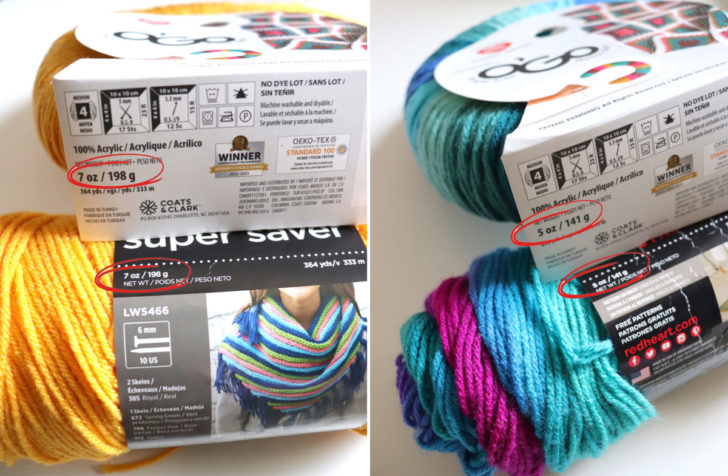
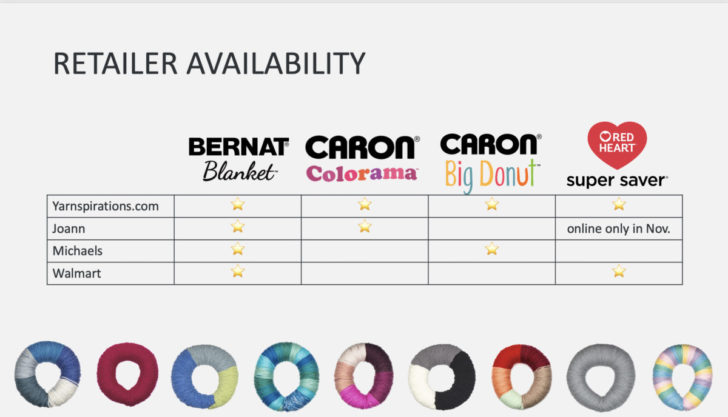
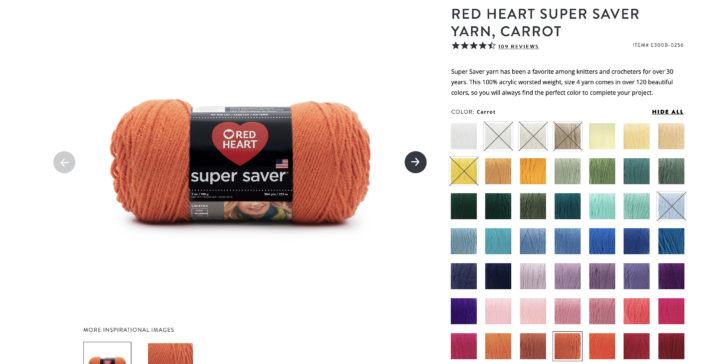
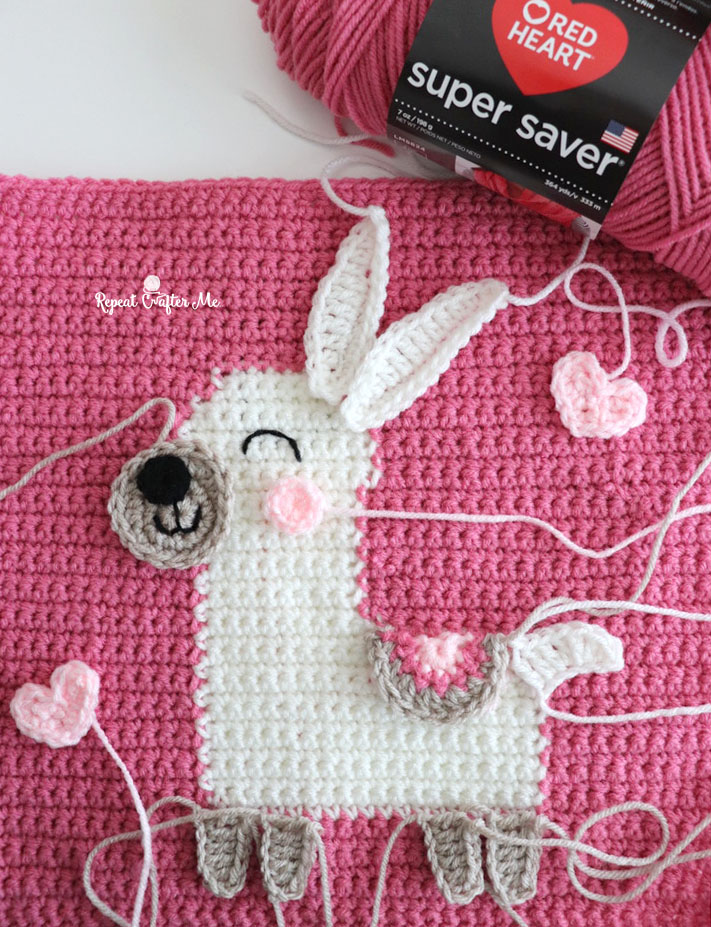
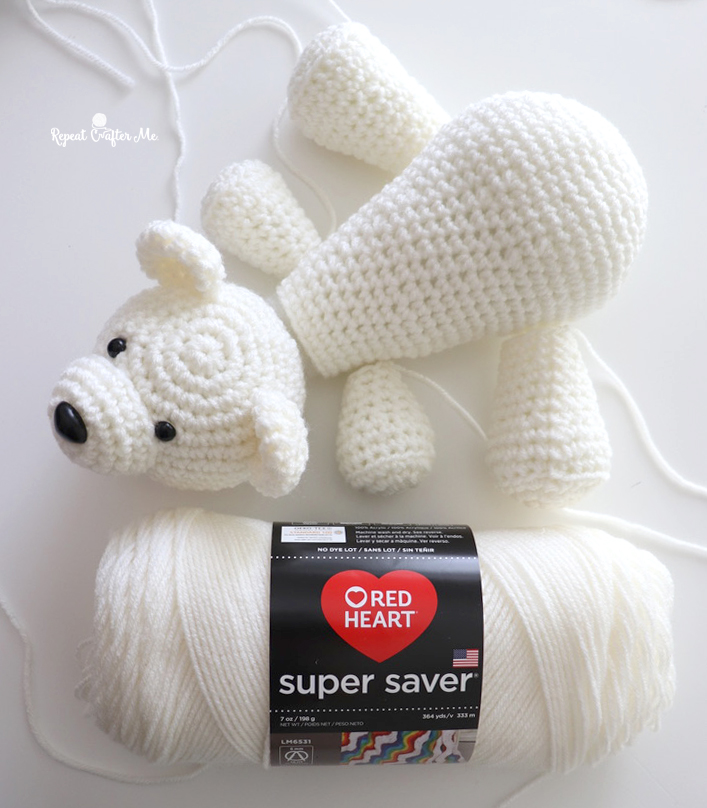
– Red Heart Super Saver Yarn in Light Blue, Royal Blue, Light Periwinkle, White, and Aran for the nose. Shop these colors at Yarnspirations.com!
– Size H Crochet Hook
– Tapestry Needle
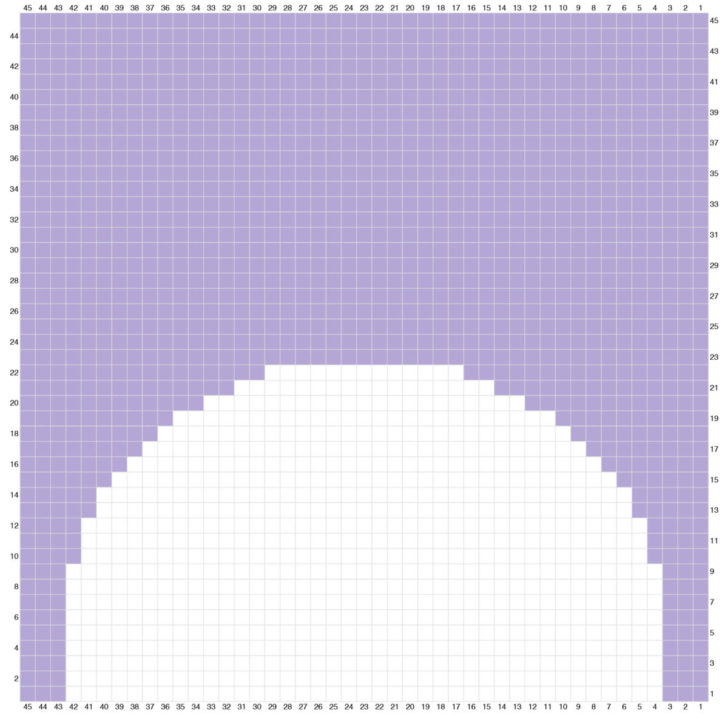
– January Winter Gnome Pixel Graph
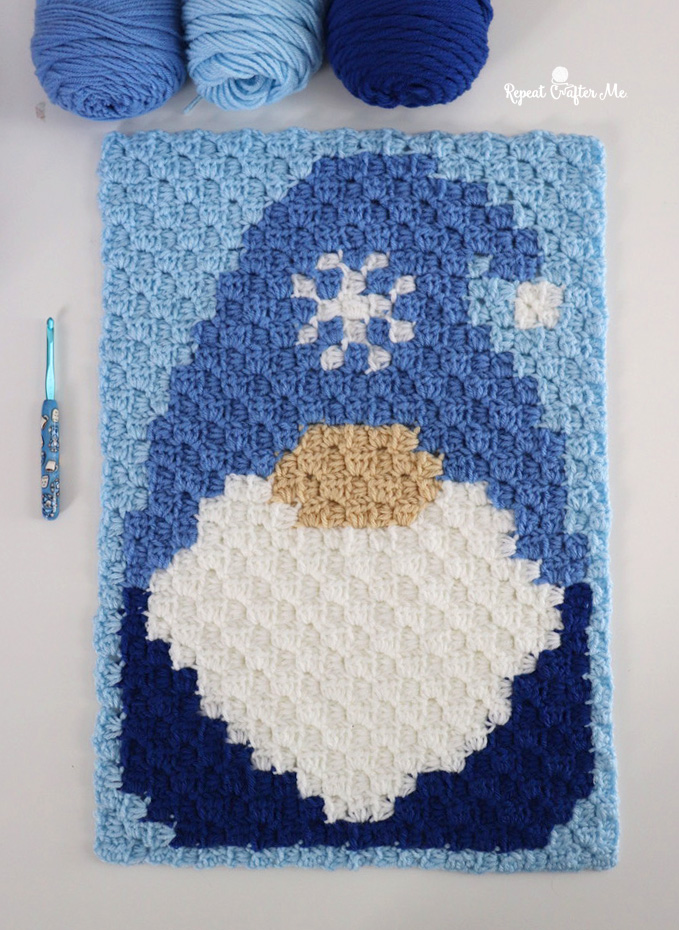
Finished Size of the Gnome Crochet Rectangle: 20 inches tall x 14 inches wide
Big THANK YOU to Jennifer Freeman of “My Beautiful Disasters” (Find her HERE on FB!) for writing out the C2C written pattern for the January Gnome! Very helpful since many of you like to use this to crochet instead of following the graph. HERE is a downloadable PDF of the written pattern or just follow along below:
Repeat Crafter Me – January Gnome C2C Written Pattern
Row 1: Background x1 (1 square)
Row 2: Background x2 *2 Blocks*
Row 3: Background x3 *3 Blocks*
Row 4: Background x4 *4 Blocks*
Row 5: Background x1, Dark Blue x3, Background x1 *5 Blocks*
Row 6: Background x1, Dark Blue x4, Background x1 *6 Blocks*
Row 7: Background x1, Dark Blue x5, Background x1 *7 Blocks*
Row 8: Background x1, Dark Blue x6, Background x1 *8 Blocks*
Row 9: Background x1, Dark Blue x7, Background x1 *9 Blocks*
Row 10: Background x1, Dark Blue x8, Background x1 *10 Blocks*
Row 11: Background x1, Dark Blue x3, White x3, Dark Blue x3, Background x1 *11 Blocks*
Row 12: Background x1, Dark Blue x1, White x8, Dark Blue x1, Background x1 *12 Blocks*
Row 13: Background x1, Light Blue x1, White x9, Dark Blue x1, Background x1 *13 Blocks*
Row 14: Background x1, Dark Blue x1, White x10, Light Blue x1, Background x1 *14 Blocks*
Row 15: Background x1, Light Blue x2, White x9, Dark Blue x2, Background x1 *15 Blocks*
Row 16: Background x1, Dark Blue x2, White x10, Light Blue x1, Background x2 *16 Blocks*
Row 17: Background x2, Light Blue x2, White x9, Dark Blue x3, Background x1 *17 Blocks*
Row 18: Background x1, Dark Blue x3, White x10, Light Blue x2, Background x2 *18 Blocks*
Row 19: Background x2, Light Blue x2, White x11, Dark Blue x3, Background x1 *19 Blocks*
Row 20: Background x2, Dark Blue x3, White x10, Light Blue x3, Background x2 *20 Blocks*
Row 21: Background x3, Light Blue x2, White x11, Dark Blue x3, Background x2 *21 Blocks*
Corner
Row 22: Background x2, Dark Blue x3, White x10, Light Blue x3, Background x3 *21 Blocks*
Row 23: Background x3, Light Blue x4, Peach x2, White x8, Dark Blue x3, Background x1 *21 Blocks*
Row 24: Background x1, Dark Blue x3, White x7, Peach x3, Light Blue x3, Background x4 *21 Blocks*
Row 25: Background x2, White x1, Background x1, Light Blue x4, Peach x3, White x6, Dark Blue x3, Background x1 *21 Blocks*
Row 26: Background x1, Dark Blue x2, White x6, Peach x4, Light Blue x3, Background x1, White x2, Background x2 *21 Blocks*
Row 27: Background x3, White x1, Background x1, Light Blue x4, Peach x4, White x5, Dark Blue x2, Background x1 *21 Blocks*
Row 28: Background x1, Dark Blue x1, White x6, Peach x3, Light Blue x4, Background x2, Light Blue x1, Background x3 *21 Blocks*
Row 29: Background x3, Light Blue x2, Background x1, Light Blue x5, Peach x3, White x5, Dark Blue x1, Background x1 *21 Blocks*
Row 30: Background x1, Dark Blue x1, White x5, Peach x2, Light Blue x2, White x2, Light Blue x2, Background x1, Light Blue x1, Background x4 *21 Blocks*
Corner
Row 31: Background x3, Light Blue x11, White x2, Light Blue x3, Background x1 *20 Blocks*
Row 32: Background x1, Light Blue x8, White x4, Light Blue x3, Background x3 *19 Blocks*
Row 33: Background x2, Light Blue x5, White x1, Light Blue x9, Background x1 *18 Blocks*
Row 34: Background x2, Light Blue x6, White x4, Light Blue x3, Background x2 *17 Blocks*
Row 35: Background x2, Light Blue x12, Background x2 *16 Blocks*
Row 36: Background x2, Light Blue x6, White x2, Light Blue x4, Background x1 *15 Blocks*
Row 37: Background x1, Light Blue x10, Background x3 *14 Blocks*
Row 38: Background x4, Light Blue x8, Background x1 *13 Blocks*
Row 39: Background x1, Light Blue x6, Background x5 *12 Blocks*
Row 40: Background x6, Light Blue x4, Background x1 *11 Blocks*
Row 41: Background x10 *10 Blocks*
Row 42: Background x9 *9 Blocks*
Row 43: Background x8 *8 Blocks*
Row 44: Background x7 *7 Blocks*
Row 45: Background x6 *6 Blocks*
Row 46: Background x5 *5 Blocks*
Row 47: Background x4 *4 Blocks*
Row 48: Background x3 *3 Blocks*
Row 49: Background x2 *2 Blocks*
Row 50: Background x1 (1 square)
NEW! January Girl Gnome! Thanks Jennifer Freeman for the pattern addition!
Get the PDF Written Pattern File HERE
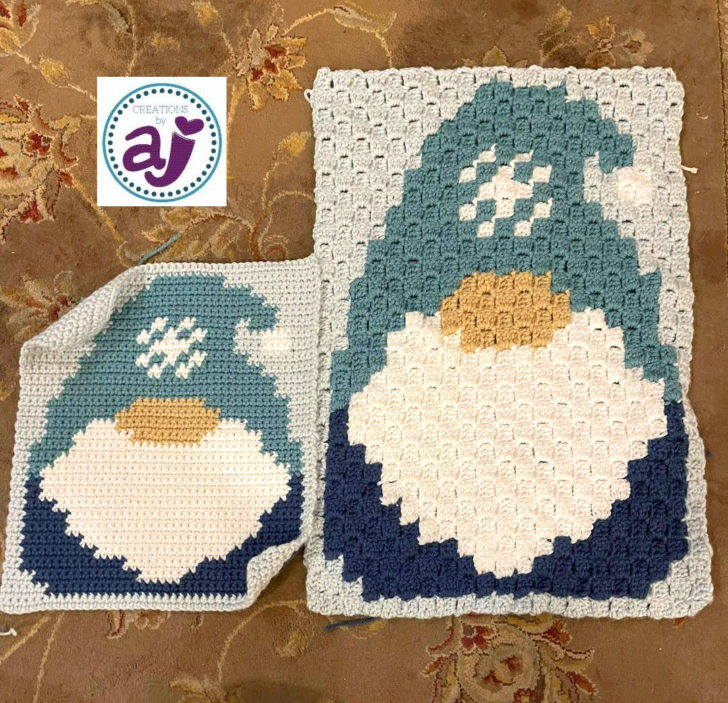
You can also create the gnomes using Single Crochet stitches! You will work in rows starting from the bottom. I love this comparison of Single Crochet vs Corner-to-Corner Crochet by AJ Creations (Find her HERE on FB). For every pixel block in the grid, it is 2 SC wide and 2 SC rows tall. Begin with a starting chain of 43 and then SC in each stitch across for a count of 42. Then you follow the graph for the color changes! So the next row would be 6 SC white (I used light blue), 30 dark blue, 6 SC white (light blue) then repeat that row one more time until moving onto the next row of color changes in your pixel graph.
NEW UPDATE!! Huge thanks to Diane of Stitch Therapy who is completely rockin it with this project and making the gnomes using the POPCORN STITCH! She has very graciously written out the directions for the January Gnome HERE and is working on the first two for me as well. Thank you Diane for all your help! Please pop over to her Facebook page or IG (@StitchTherapyCrochet) and give her a big virtual hug and THANK YOU!
GET THE January GNOME POPCORN STITCH PATTERN HERE
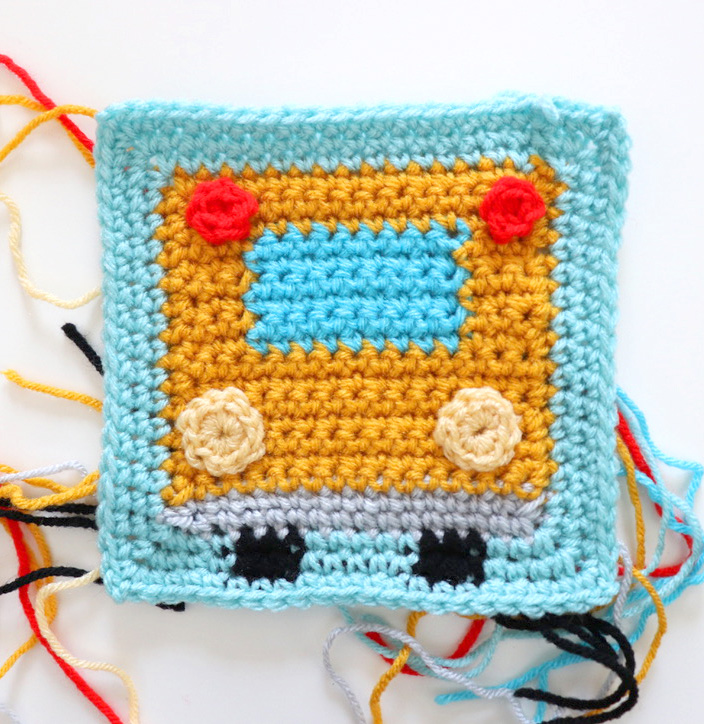
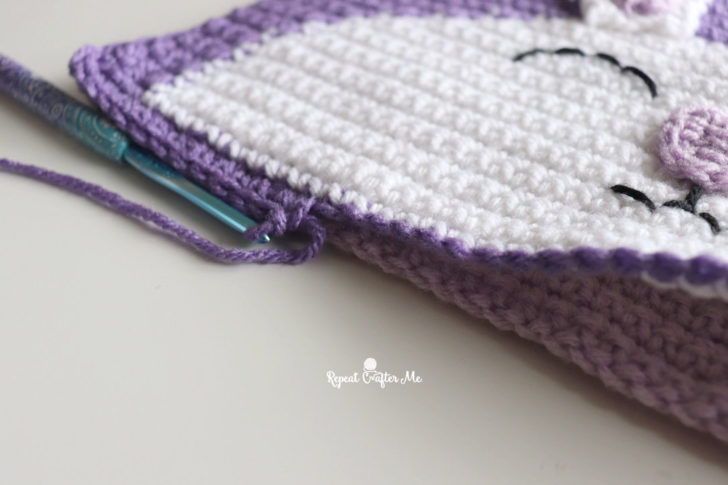
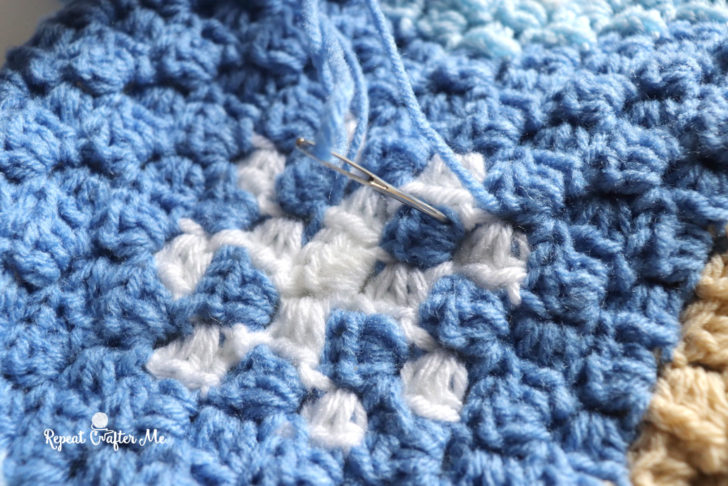
Once you have completed your Corner-to-Corner piece, you will want to use the loose ends to your advantage. Especially on the snowflake. If there is spot that needs more blue to separate the white parts of the snowflakes, weave the loose end in-between. And if there’s a place where the white squares need to be connected, weave the white ends to connect them.
Every month from January 2022 – December 2022 we will have a new Gnome hook and C2C design for you! Can you guess what the February gnome will look like?! I hope you are as excited as we are! When I finish the last gnome corner-to-corner crochet rectangle, I will show you how to join them together for a big blanket! But feel free to use your crochet gnome as a pillow or smaller project. I can’t wait to see what you create!
Be sure to use the hashtag #2022gnomeproject and/or tag me @RepeatCrafterMe and Jen @DaybyDayClayandCrochetGroup on Facebook and other social media sites!