Crafts, DIY projects, FREE crochet patterns, crock pot recipes and more!
Bernat Cottage Crochet Pumpkin
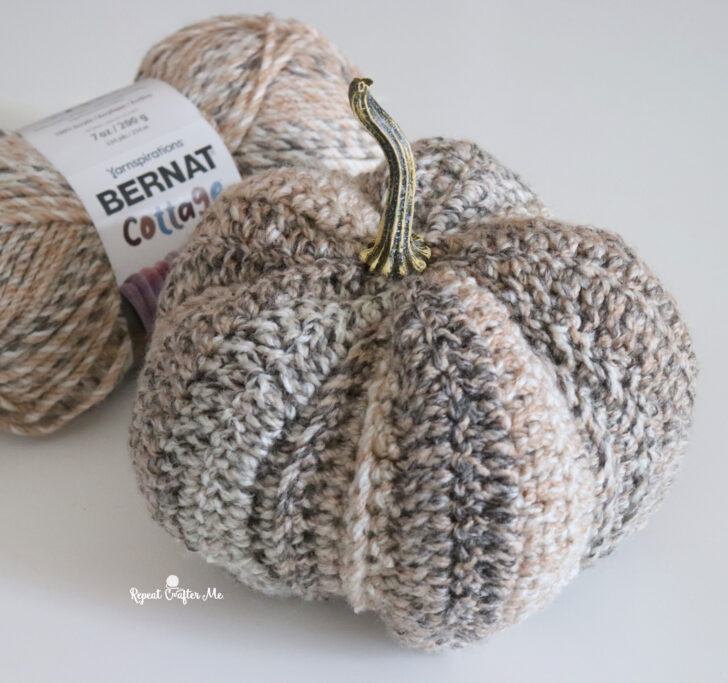
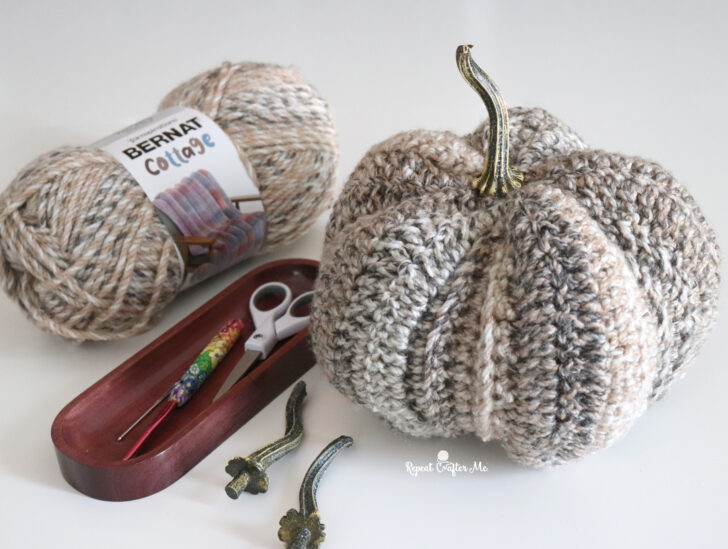
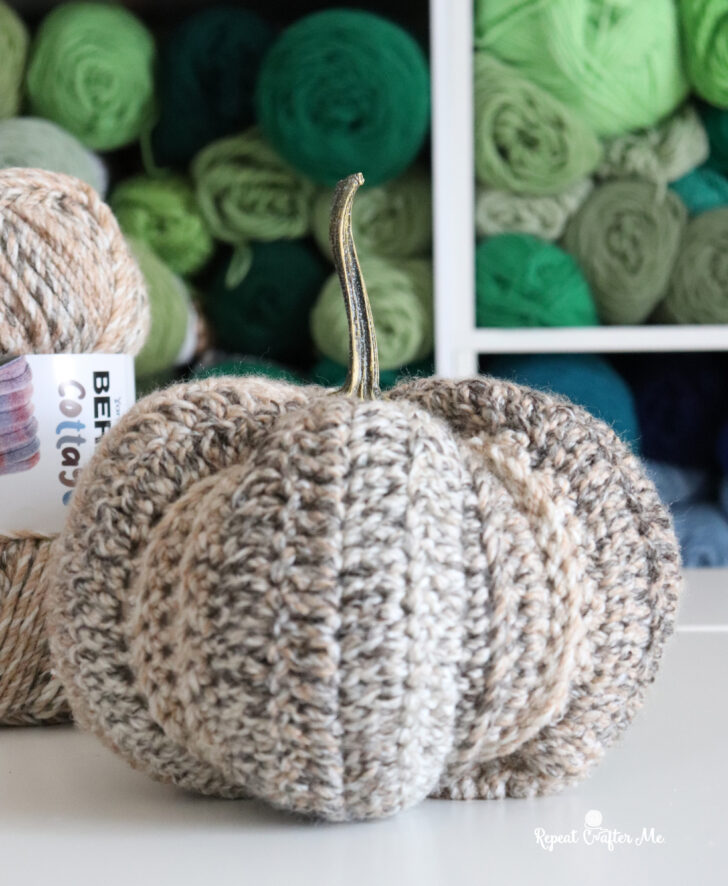
It’s pumpkin season! When I first saw the new Bernat Cottage yarn from Yarnspirations, I immediately thought of fall. The soft, marled colors have such a pretty rustic, country-home look, and I knew they would make a beautiful crochet pumpkin.
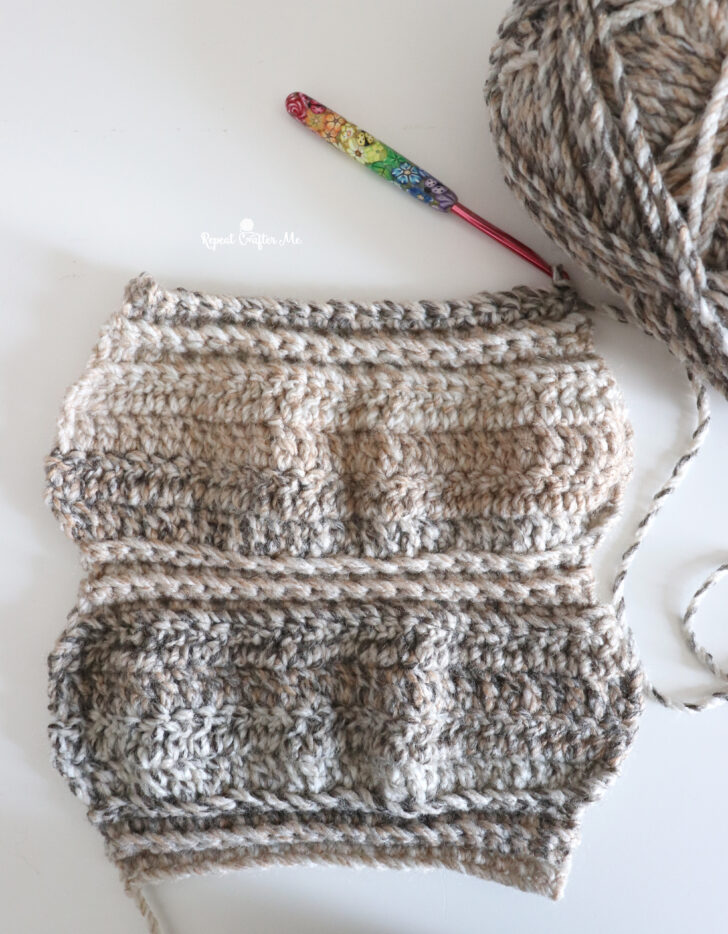
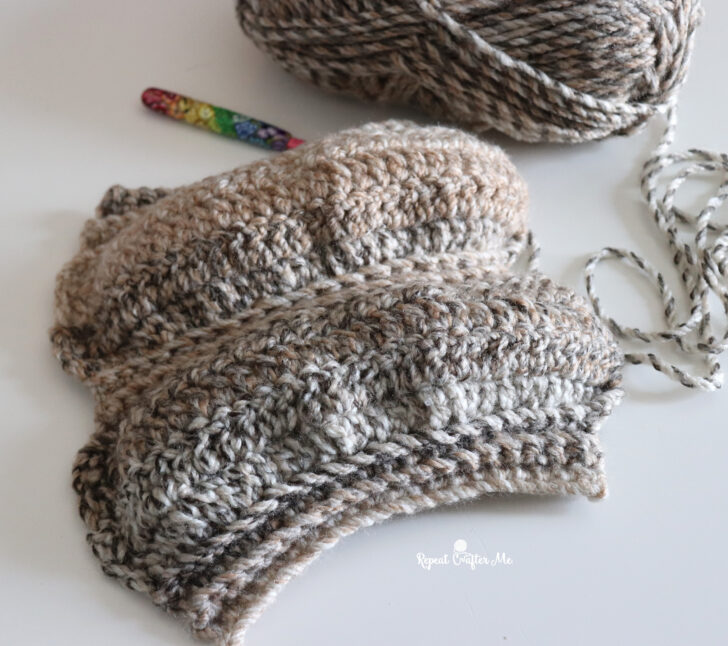
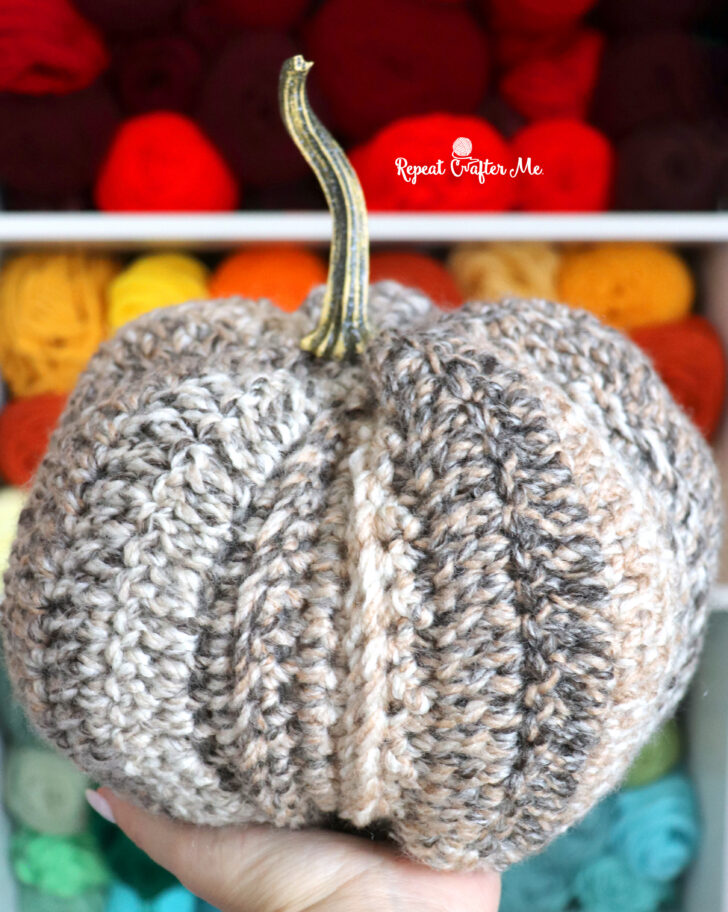
And while this pumpkin may look a little complicated, the construction is surprisingly simple! The entire pumpkin is crocheted flat in one long strip. A combination of single crochet and double crochet sections creates those big, dimensional pumpkin ridges. Once the strip is finished, we join the ends, cinch the bottom closed, stuff it, and gather the top around a faux pumpkin stem. That’s it!
I especially love how the color changes in Bernat Cottage highlight all that texture. Each pumpkin will look a little different depending on where the colors fall in your skein.
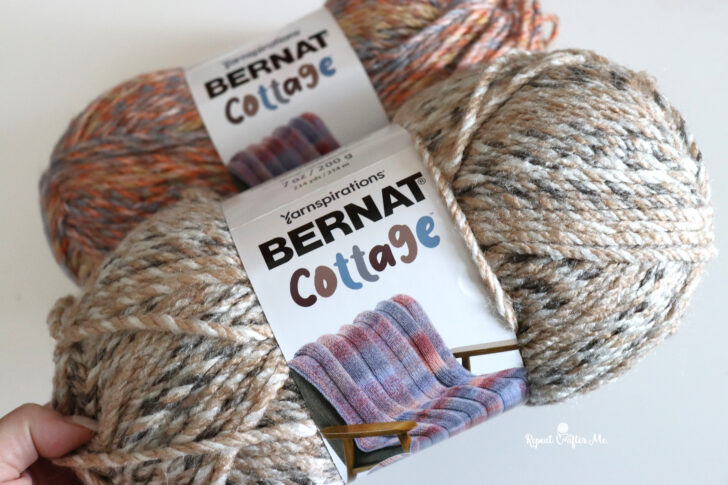
Bernat Cottage is a new #5 bulky weight, 100% acrylic yarn with a soft, squishy feel and beautiful color transitions. The chunky weight works up quickly, making it a great choice for home décor projects like this one. One skein contains:
I used approximately 123 grams (about 144 yards) for one pumpkin, so you’ll only need one skein for this project with plenty left over.
Finished Size: Approximately 8 inches tall (not including stem) x 11 inches wide x 28 inches round
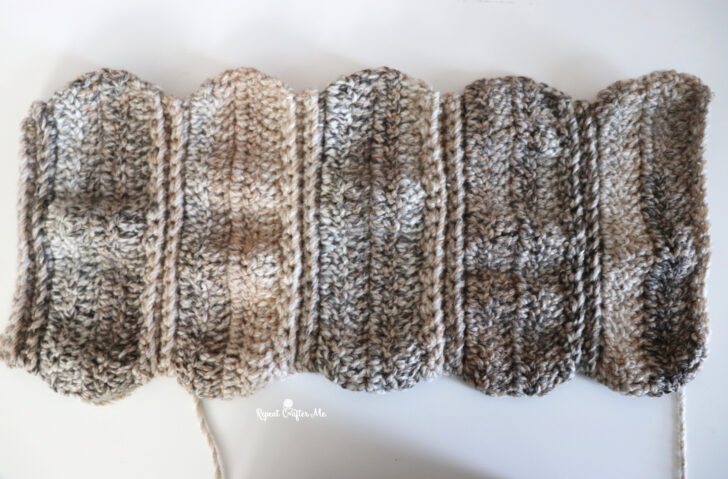
Construction Note: This pumpkin is crocheted flat in one long strip. Alternating sections of back-loop single crochet and wider double crochet sections create the raised pumpkin ridges. Your piece will naturally begin to ripple and puff as you crochet and that’s exactly what you want! Once the ends are joined, the bottom and top are cinched closed to create the pumpkin shape.
Bernat Cottage Crochet Pumpkin
Chain 21, SC in second chain from hook and in each chain across. Chain 1, turn. (20 SC) Rows 2-4: Working in back loops only, SC in each stitch across. Chain 1, turn. (20 SC) At the end of Row 4, chain 2 and turn. Row 5: Working in back loops only, *2 DC in first stitch, DC in next stitch; repeat from * across. Chain 2, turn. (30 DC) Rows 6-8: Working in both loops, DC in each stitch across. Chain 2, turn. (30 DC) At the end of Row 8, chain 1 and turn. Row 9: Working in back loops only, *SC Decrease, SC in next stitch; repeat from * across. Chain 1, turn. (20 SC) Rows 10-12: Working in back loops only, SC in each stitch across. Chain 1, turn. (20 SC) At the end of Row 12, chain 2 and turn. Repeat Rows 5-12 three more times for the Pumpkin Ridges. Rows 37-40: Repeat Rows 5-8. (30 DC) At the end of Row 40, chain 1 and turn. Row 41: Repeat Row 9. (20 SC) You now have five raised pumpkin sections.
Joining
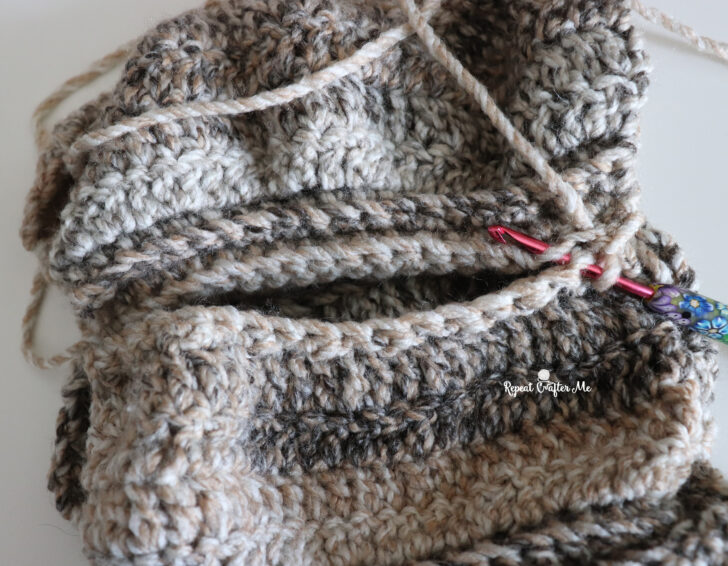
Do not fasten off. Bring the two edges of the crocheted strip together. The final row has 20 stitches, matching the 20 stitches at the beginning of the piece. Slip stitch the final row to Row 1 to form a tube. Be sure you are joining to the stitches of Row 1 and not into the original foundation chain. Fasten off, leaving a long tail for finishing.
Assembly
Once you have slip stitched the two ends of your pumpkin strip together, fasten off, leaving a long tail for sewing. You will cinch both the bottom and top of the pumpkin closed, working one end at a time.
Start with the end closest to your yarn tail. This will become the bottom of the pumpkin.
Thread the yarn tail onto a tapestry needle. I found it easiest to cinch the opening closed in two steps:
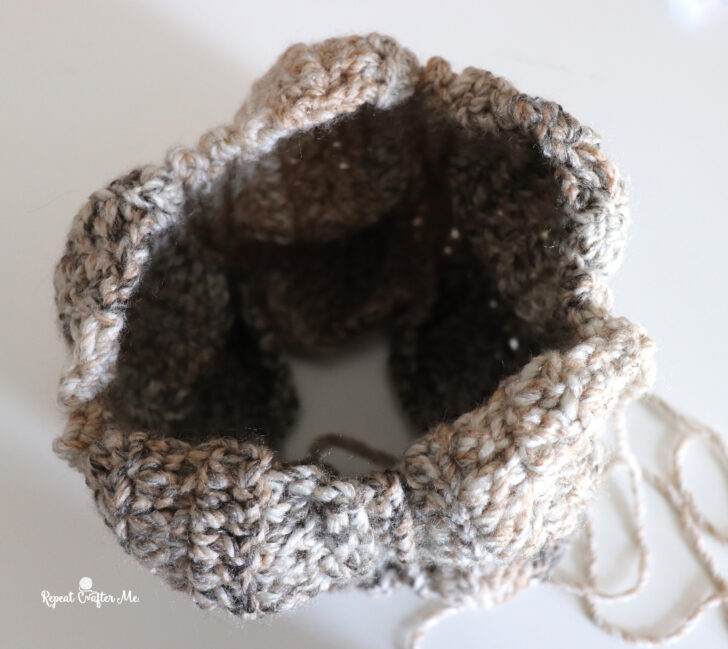
First, sew through the recessed single crochet sections. Work your needle under about two stitches of one SC section, then reach behind the raised section and work under about two stitches of the next SC section. Continue around the entire opening. Pull the yarn firmly to begin drawing the center closed.
Next, work around the opening again, this time catching the edges of the raised pumpkin sections. Pull firmly as you go until the opening is completely cinched closed.
Secure the yarn, but do not cut it yet.
Stuffing & Closing the Top
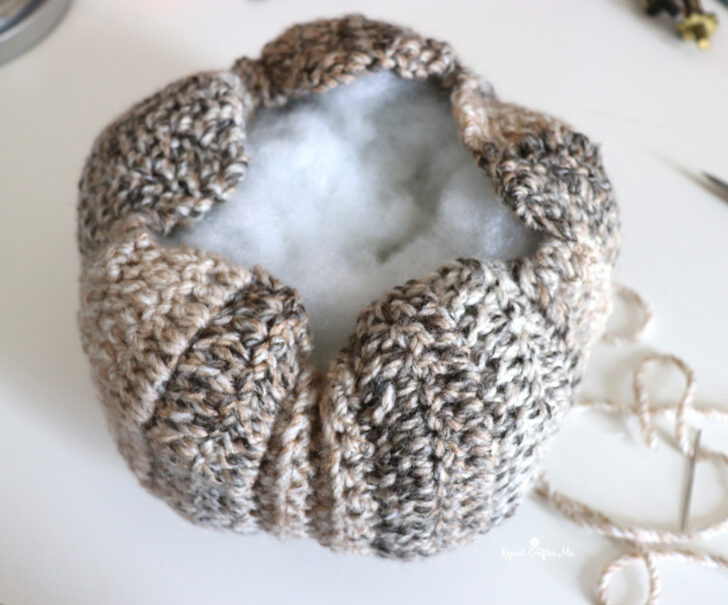
Stuff the pumpkin generously with poly-fil. Be sure to push stuffing out into each of the five raised pumpkin sections so they stay full and rounded.
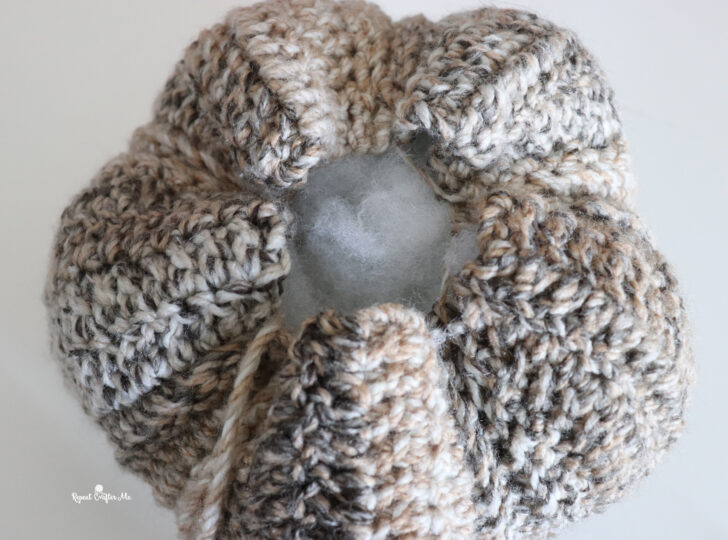
Bring your long strand of yarn up through the center of the stuffed pumpkin and out through the top opening. If your remaining yarn tail isn’t long enough, simply attach a new long strand of yarn.
Repeat the same two-step cinching process on the top: first gather the recessed single crochet sections, then gather the raised sections.
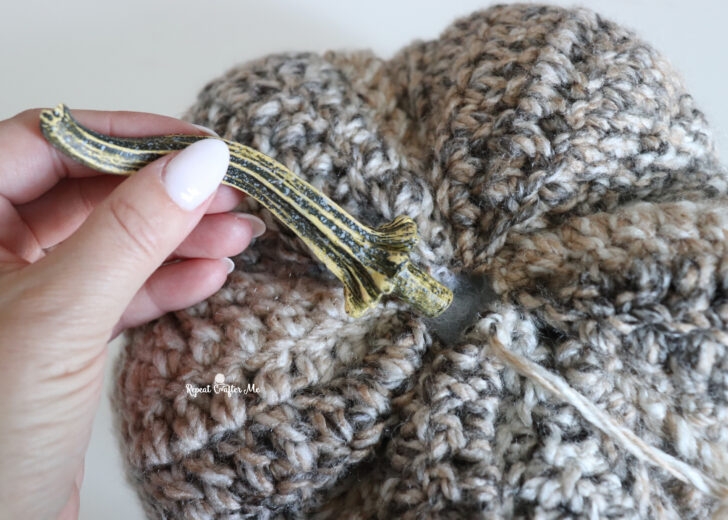
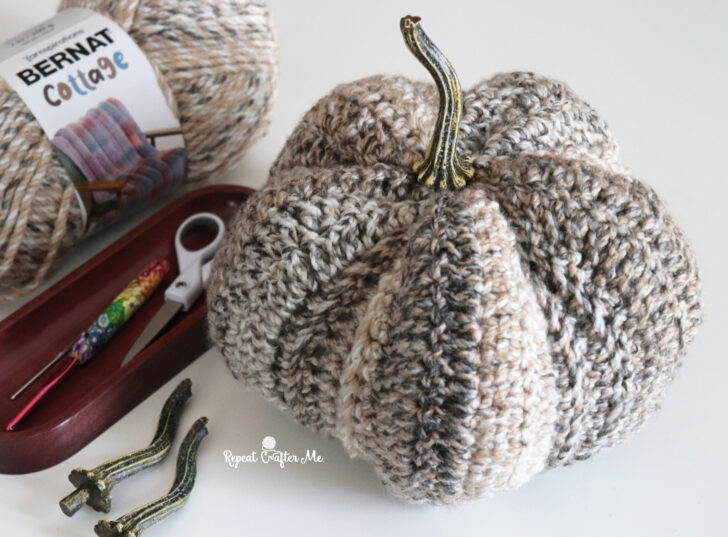
Before pulling the top completely closed, add your faux pumpkin stem.
Position the stem in the center and secure it with hot glue or E6000. Once the stem is in place, pull the remaining stitches tightly around it to close the opening. Secure your yarn and weave in the end.
TIP: Don’t be afraid to pull the yarn firmly while cinching! The tighter you gather the top and bottom, the more defined those five pumpkin sections will become.
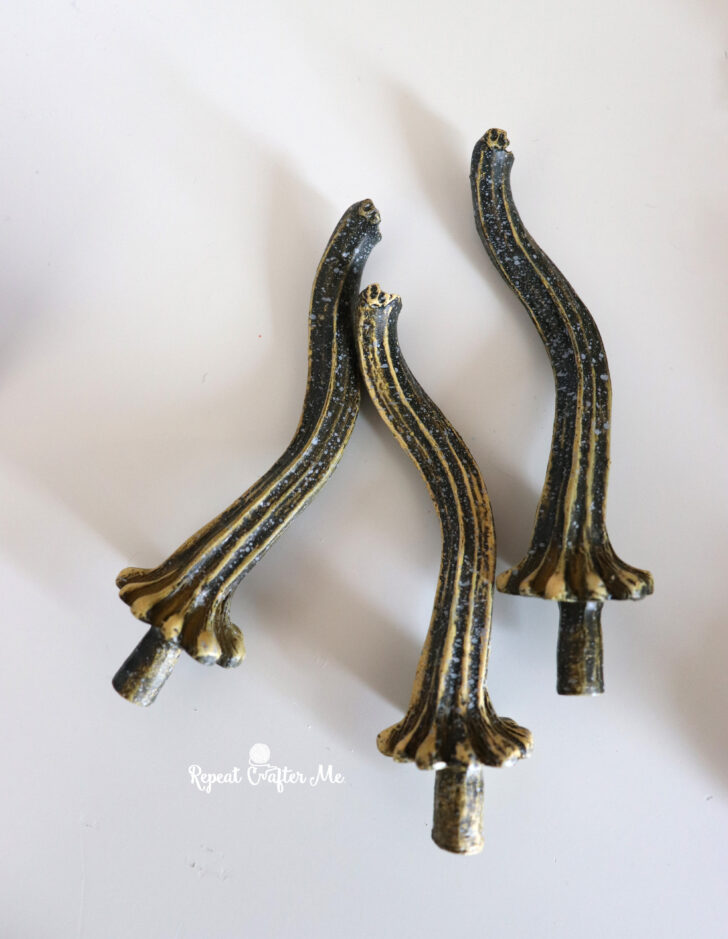
A little note about the stem: I ordered these faux pumpkin stems from Amazon, and when my package arrived there was a little note inside thanking me for supporting handmade! That made my maker heart so happy. The stems are made by another small business, Your Heart’s Content. You can also find them on Instagram at @your.hearts.content.
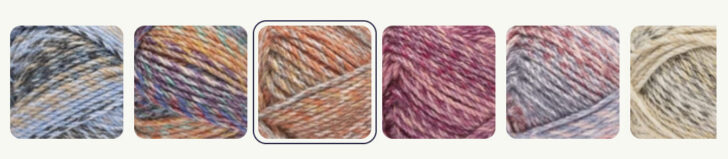
Bernat Cottage comes in such a pretty mix of soft neutrals, warm oranges, pinks, purples, and blues. A few pumpkins in different colorways would make the prettiest little fall collection.
I hope you enjoy making your own Bernat Cottage Crochet Pumpkin! Pick your favorite color, grab a faux stem, and have fun watching those pumpkin ridges take shape.
This blog has a cozy and inspiring fall vibe, especially with its focus on pumpkins and the rustic look of Bernat Cottage yarn. The description makes the crochet project feel warm, creative, and perfect for the autumn season, while the simple writing style makes it easy for readers to connect with the idea.
Bernat Cottage’s marled #5 is why this pumpkin looks rustic instead of cartoon-orange — and crocheting it flat as one strip of sc/dc ridges is the whole construction. One wide shot just hides where the color changes fall on the gathers around the faux stem. I take one photo and cut it into a numbered grid so each ridge stays a tile. That’s why we built ImageSplit: one photo, numbered cells in the browser, nothing uploaded.
I bought the yarn and love it! About finished my first pumpkin. I clicked on your link for the stems on Amazon and it defaults to the small size. But hard to tell if that is what size you used in all your photos. I asked what size you used on your FB post but haven’t received an answer. Can you please say if these are in fact the small stems and they measure 0.75″D x 0.75″W x 3.5″H? Thanks so much! Joan
This crochet pumpkin is so cute, especially the five raised sections that give it such a full shape. It’s a lovely fall project and seems approachable even for beginners.
This pumpkin turned out so cute! I really like how the Bernat Cottage yarn brings out the texture of the five raised sections, and the fact that it’s crocheted flat in one strip makes the construction much less intimidating. The warm color changes would look especially nice as part of a fall display.
Thank you for sharing your insights on this topic. Your post provides a clear and informative view I look forward to reading more of your content. You may also find this article on RWA Prediction Market useful and informative.
Great round-up! I completely agree that finding high-quality pieces that balance functionality and space efficiency is key for home setups. We recently spent time comparing compact options for dedicated workout spaces—especially equipment like vertical-storage benches that save floor space in a garage or spare room. Love these types of curated recommendation guides!

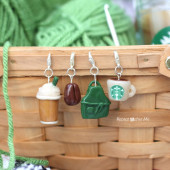 Starbucks Stitch Markers and Bottled Beverages
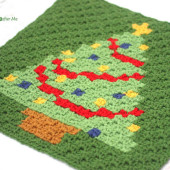 Crochet Christmas Tree Pixel Square
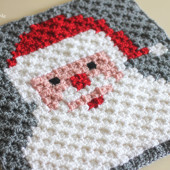 Crochet Santa Pixel Square
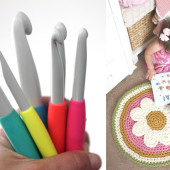 Crochet Daisy Rug with Clover Amour Large Hooks and Giveaway!
This blog has a cozy and inspiring fall vibe, especially with its focus on pumpkins and the rustic look of Bernat Cottage yarn. The description makes the crochet project feel warm, creative, and perfect for the autumn season, while the simple writing style makes it easy for readers to connect with the idea.
Bernat Cottage’s marled #5 is why this pumpkin looks rustic instead of cartoon-orange — and crocheting it flat as one strip of sc/dc ridges is the whole construction. One wide shot just hides where the color changes fall on the gathers around the faux stem. I take one photo and cut it into a numbered grid so each ridge stays a tile. That’s why we built ImageSplit: one photo, numbered cells in the browser, nothing uploaded.
I bought the yarn and love it! About finished my first pumpkin. I clicked on your link for the stems on Amazon and it defaults to the small size. But hard to tell if that is what size you used in all your photos. I asked what size you used on your FB post but haven’t received an answer. Can you please say if these are in fact the small stems and they measure 0.75″D x 0.75″W x 3.5″H?
Thanks so much!
Joan
This crochet pumpkin is so cute, especially the five raised sections that give it such a full shape. It’s a lovely fall project and seems approachable even for beginners.
pumpkin turned out so cute. i love the rusted texture and how the raised sections make pumpkin look realistic. such a lovely crochet project.
This pumpkin turned out so cute! I really like how the Bernat Cottage yarn brings out the texture of the five raised sections, and the fact that it’s crocheted flat in one strip makes the construction much less intimidating. The warm color changes would look especially nice as part of a fall display.
Thank you for sharing your insights on this topic. Your post provides a clear and informative view I look forward to reading more of your content. You may also find this article on RWA Prediction Market useful and informative.
Love this cottage crochet pumpkin design! The rustic vibe and stem detail are so charming for fall mantel decor.
Great round-up! I completely agree that finding high-quality pieces that balance functionality and space efficiency is key for home setups. We recently spent time comparing compact options for dedicated workout spaces—especially equipment like vertical-storage benches that save floor space in a garage or spare room. Love these types of curated recommendation guides!