I am never able to find a pen in our house. It drives me crazy! So I thought I would do what every business does to keep their pens from running off, create floral pens! But as I was making it, I thought, wow this would be a great back-to-school teacher gift as well!
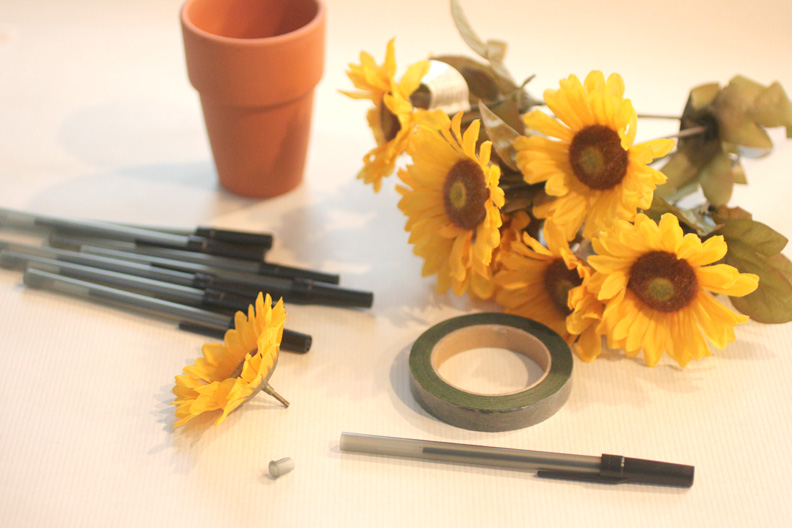
Here is what you need:
– Silk flowers. You can find these as craft stores. I bought a bunch of them for less than $3.
– Ball point pens
– Floral tape
– Small clay flower pot (found at craft stores)
– Chalk paint/ Acrylic paint (if you want to paint your pot)
– Hot glue gun
– Mod Podge
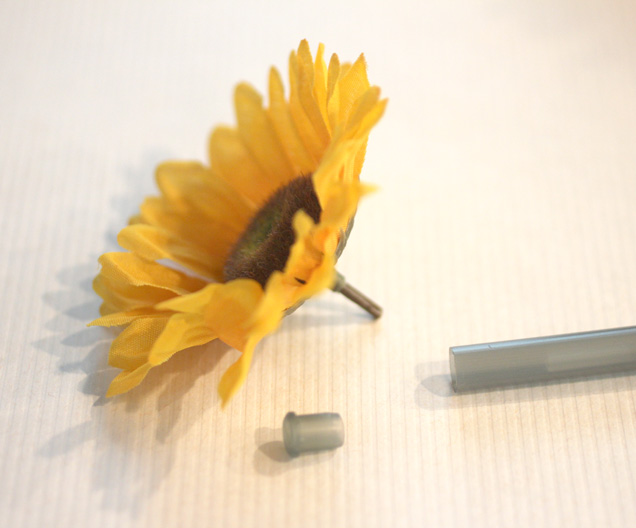
Start by popping off the bottom to your ball point pen and cutting the flower from its stem. You will want to leave a little bit of stem at the end.
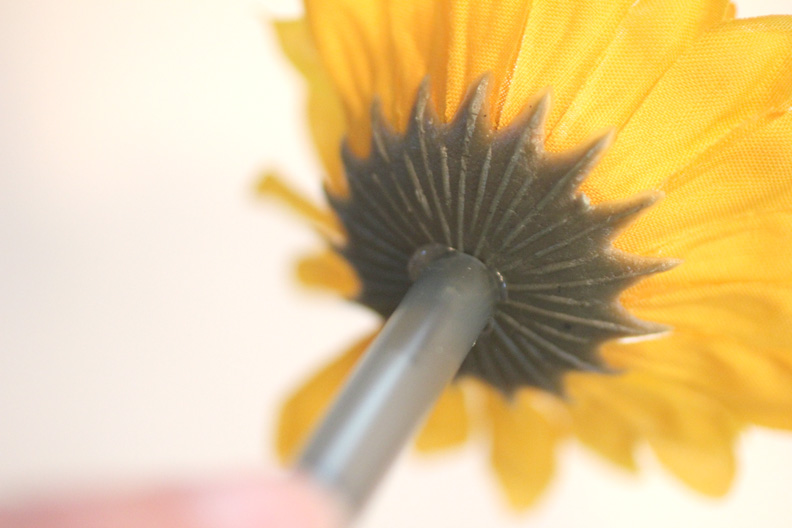
Now put a little bit of hot glue at the base of the stem/flower and stick it in the bottom of the pen.
Next, take your floral tape and starting from the top, wrap it around the pen, all the way to the bottom (but not covering the tip portion) and then wrap it back up again.
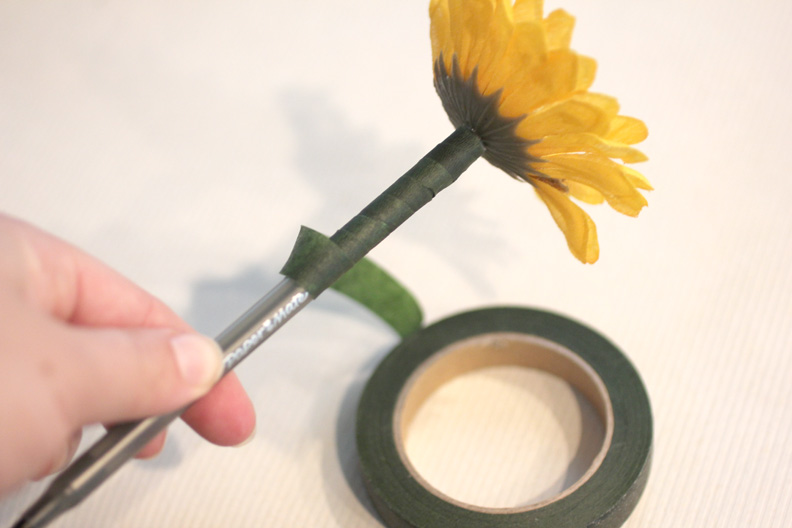
Floral tape has a wax coating on it that feels sticky. This is why you will need to Mod Podge over it.

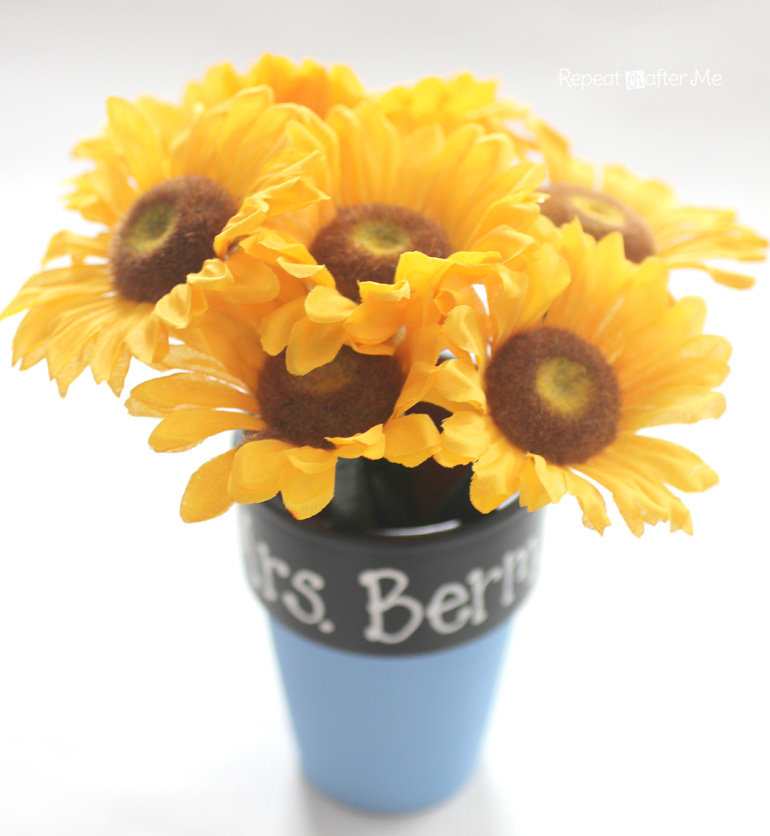
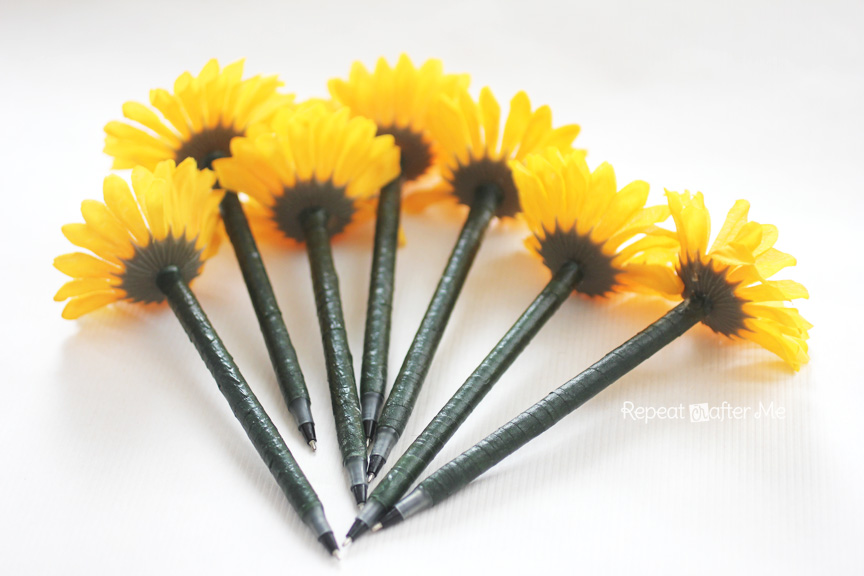
Let the Mod Podge dry and you have successfully made a floral pen!
Now take your cute little flower pot and paint it! I used chalk paint for the rim so I could write the Teacher’s name and room number. You could also put your own name, business name or personalize it to your liking!