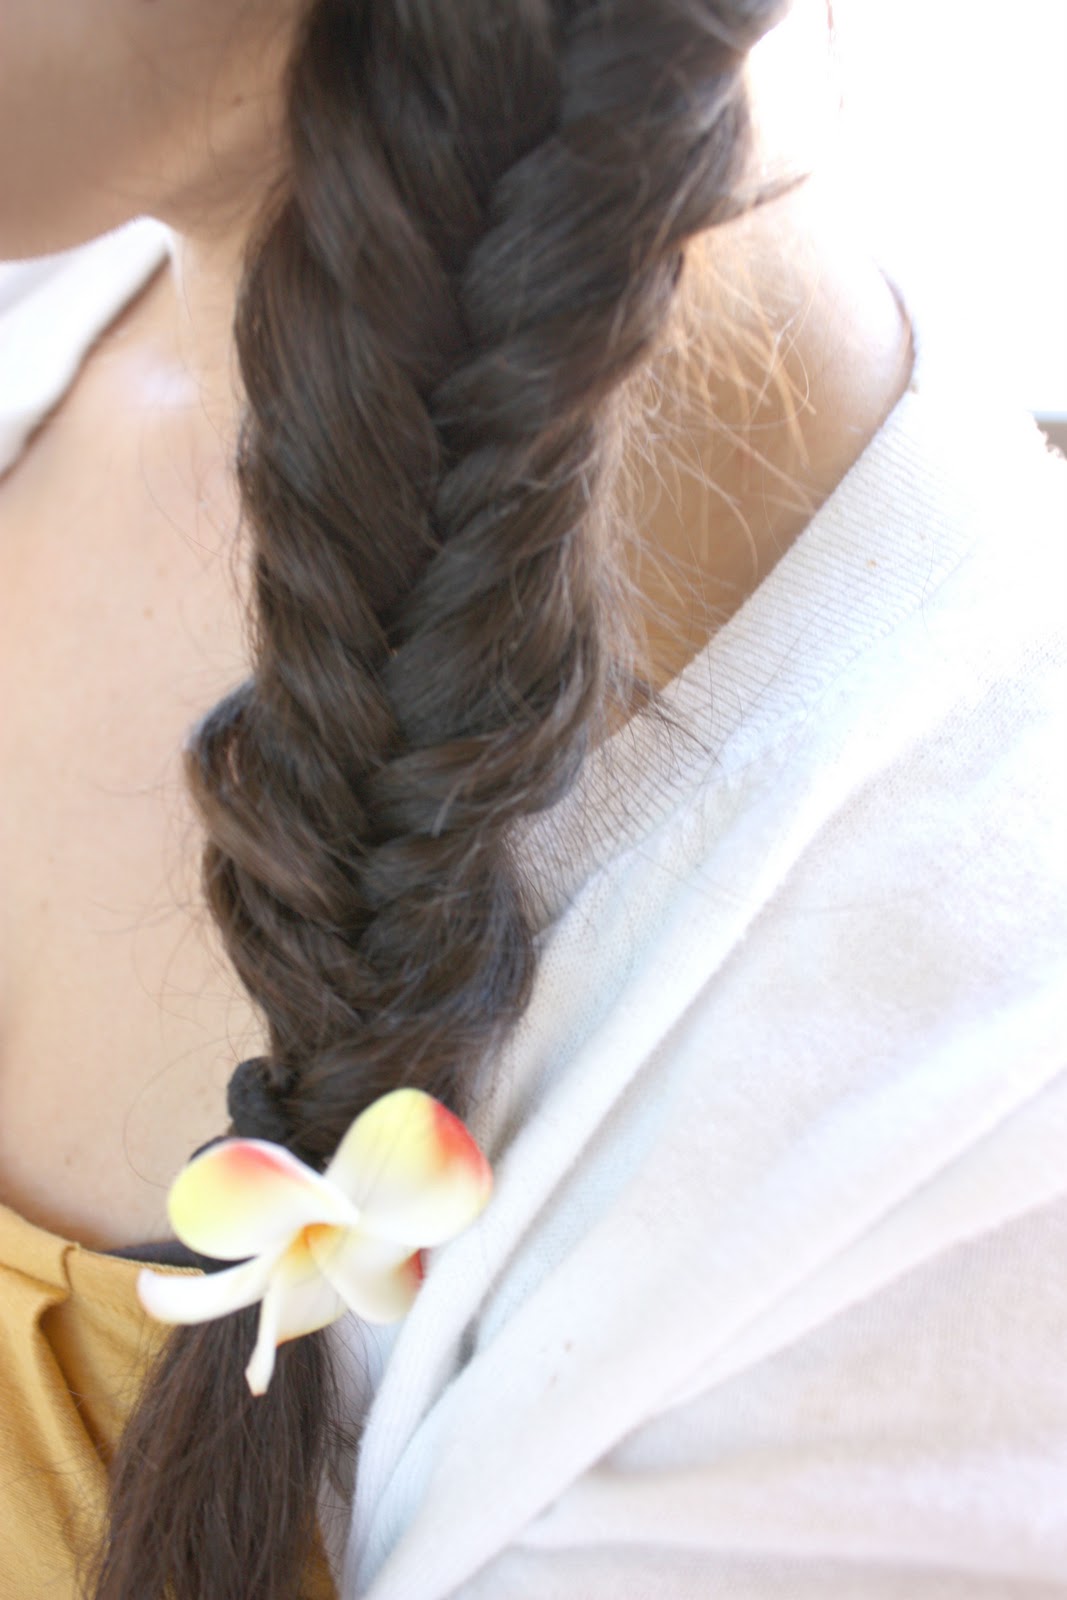
Aloha! We started off the New Year right by spending the first 11 days of January in beautiful Hawaii! The sun and 80 degree weather made me forget that it is actually winter back here in the Pacific Northwest. Although, I am glad to be home and looking forward to getting the boys back on a routine.
I am not sure how this happened but somehow Hubs and I have become addicted to the Bachelor. We are quite possibly losing brain cells just watching this show. Regardless and even though we were in Hawaii, we were sure to watch the first two episodes of the season! As a blogger I was excited to see that one of the girls contending for Ben is also a blogger (can that actually be an occupation?). Her name is Jenna Burke and she writes a blog called the Over-Analyst. I took a little looksy at her site, and wasn’t overly impressed. Looks like her blog may be under construction right now. I like to think she put it on hold for filming of the show but rumors are swarming that this was ABC’s ploy to get bloggers talking. In any case, I did come across this neat post on her blog about how to make a fishtail braid. This post came a perfect time because my hair was a complete disaster after one day in Hawaii and I wasn’t sure what to do with it. My hair is naturally curly but the curls quickly turned into a big frizz ball. I made sure to bring my Chi flat iron, but between the beach, pool and slight humidity, my hair ended up like this…
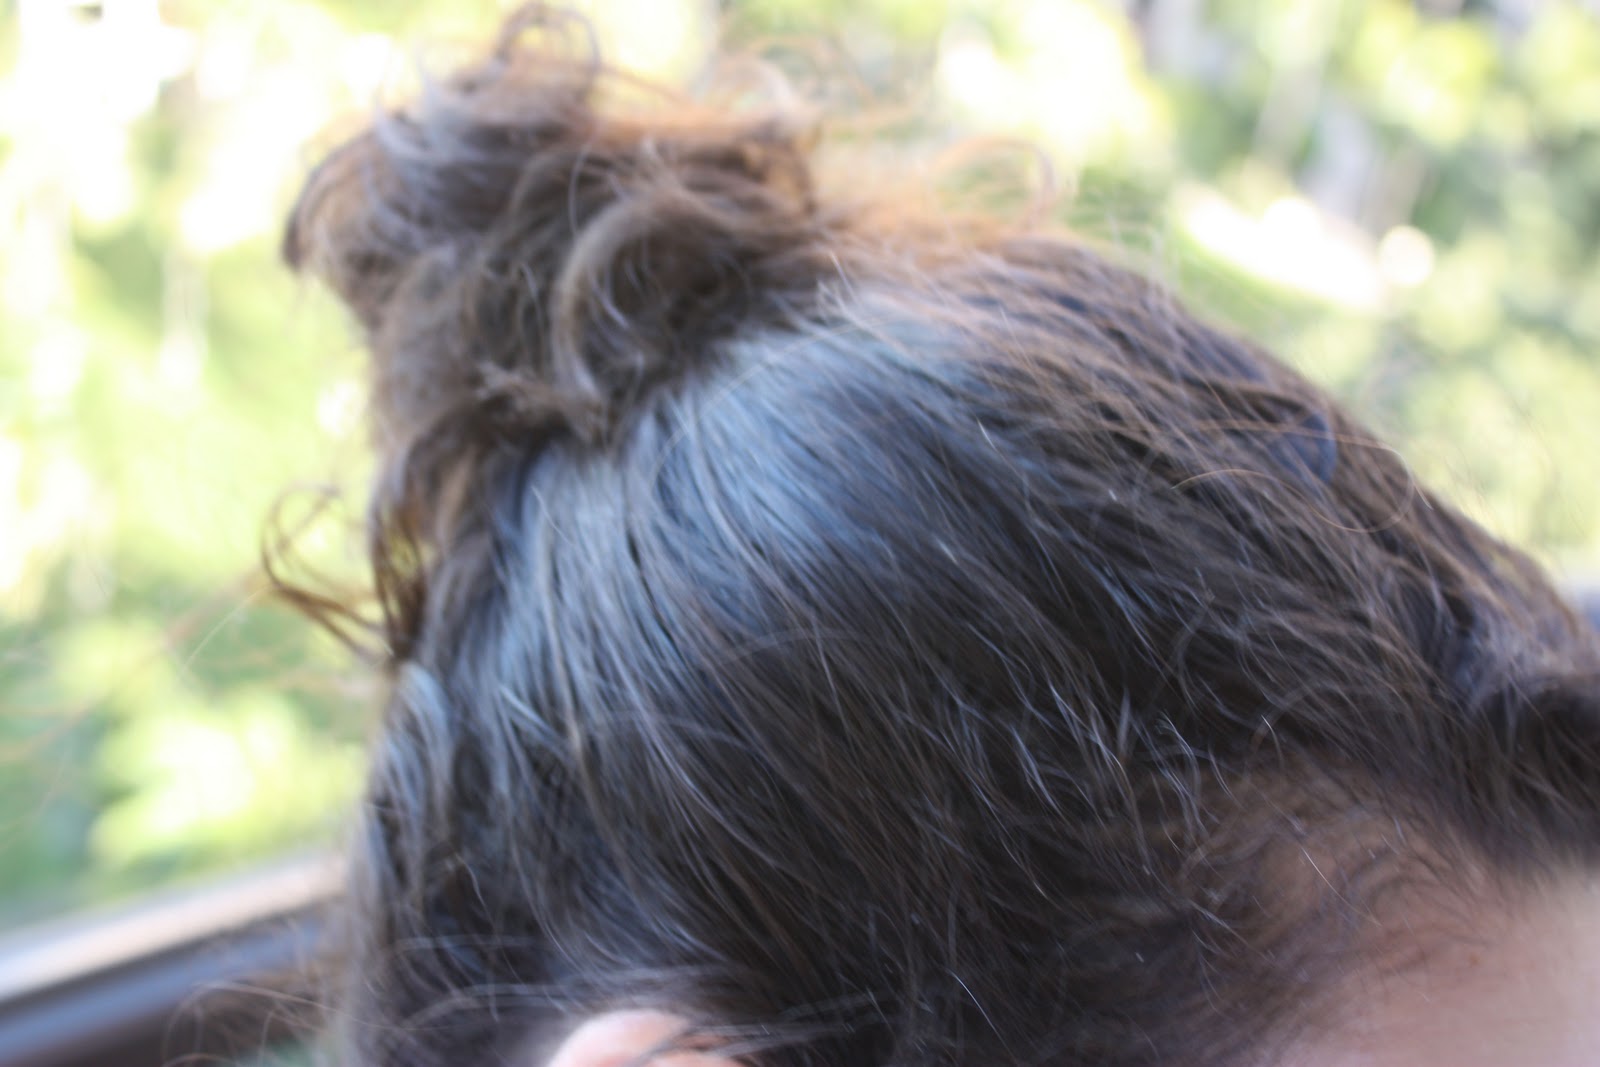
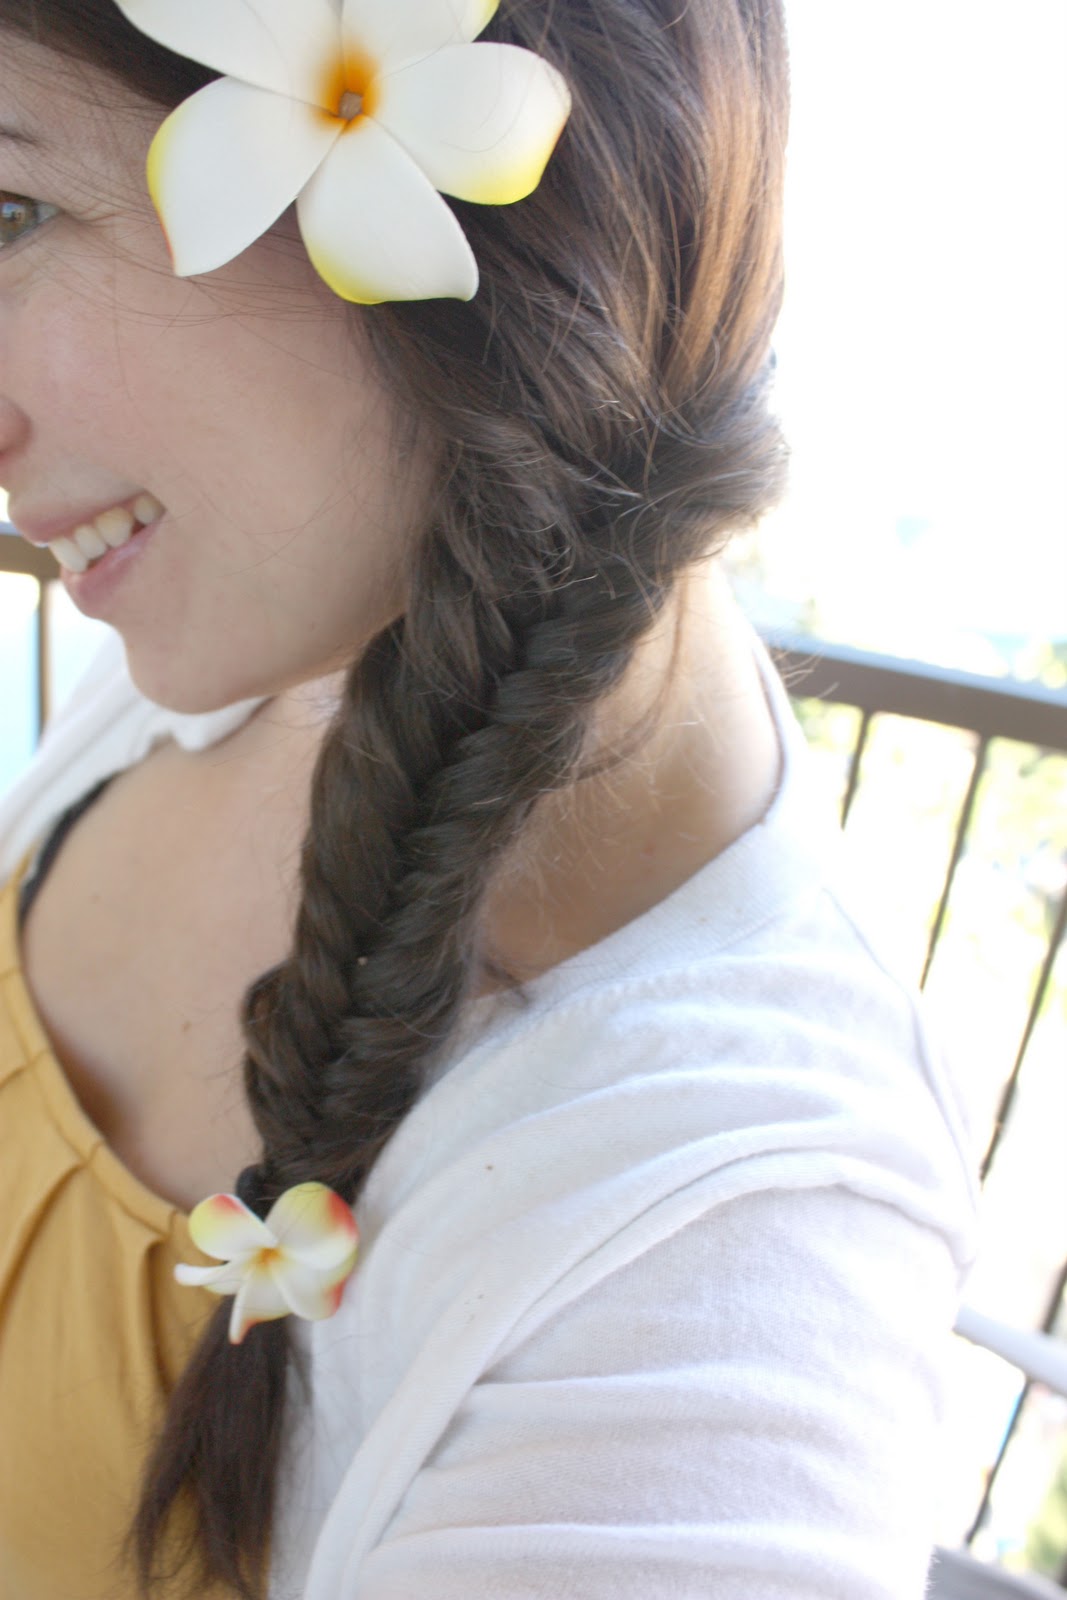
I combed it out and quickly ran the flat iron over it, just to tame a little of the frizz (not to straighten it). Then followed these instructions as posted on Jenna’s blog:
or knot, leave it.
If you watch the Bachelor (please tell me there are others out there?), you know that Jenna didn’t get a rose from Ben at Monday nights rose ceremony. Maybe now, she can go back to blogging :o)

 Starbucks Stitch Markers and Bottled Beverages
 Crochet Christmas Tree Pixel Square
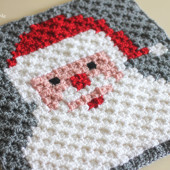 Crochet Santa Pixel Square
 Crochet Daisy Rug with Clover Amour Large Hooks and Giveaway!
I've been so bored with my long hair. I've been using an elastic for ponytail and side combs and clips, but this looks pretty! thanks for posting this
Krunker io is first person shooter io game in which you need to stay alive to …
I am not sure how this happened but somehow Hubs and I have become addicted to the Bachelor. We are quite possibly losing brain cells just watching this show. I’ve been so bored with my long hair. I’ve been using an elastic for ponytail and side combs and clips, but this looks pretty.
african american christmas ornaments
nice lovely post
Thanks a lot for Fishtail Braid. Moving to USA? The Local Observer ( https://www.localobserverdaily.com ) will help you find the best and worst places to live, raise a family or retire in United States.
Amazing post you have published here.
Fa Chai
Thank you for this kind of great information.
เว็บคาสิโนออนไลน์ดีที่สุด2023
shahrpartition
اجرای پارتیشن شیشهای شامل مراحلی است که برای نصب صحیح و ایمن این نوع پارتیشنها باید طی شود. این مراحل به ترتیب زیر هستند:
1. اندازهگیری و طراحی:
اندازهگیری دقیق: ابتدا فضای مورد نظر برای نصب پارتیشن شیشهای بهطور دقیق اندازهگیری میشود. اجرای پارتیشن شیشه ای این اندازهها شامل ارتفاع، عرض و زاویههای خاصی است که ممکن است در محیط وجود داشته باشد.
طراحی: براساس اندازهها، نوع و شکل شیشه (مات، شفاف، رنگی یا طرحدار) و نوع فریم یا بدون فریم (فریم لس) انتخاب میشود. همچنین در طراحی میتوان تصمیمگیری درباره درهای شیشهای (کشویی یا لولایی) و مکان قرارگیری آنها را انجام داد.
2. انتخاب شیشه:
نوع شیشه: شیشههای سکوریت یا لمینت به دلیل مقاومت و ایمنی بالا معمولاً برای پارتیشنها استفاده میشوند. این شیشهها در صورت شکستن به قطعات کوچک و بیخطر تبدیل میشوند.
ضخامت شیشه: بسته به نیاز پروژه و مکان نصب، ضخامت شیشه تعیین میشود. معمولاً از شیشههای 8 تا 12 میلیمتری استفاده میشود.
3. نصب فریمها (در صورت نیاز)