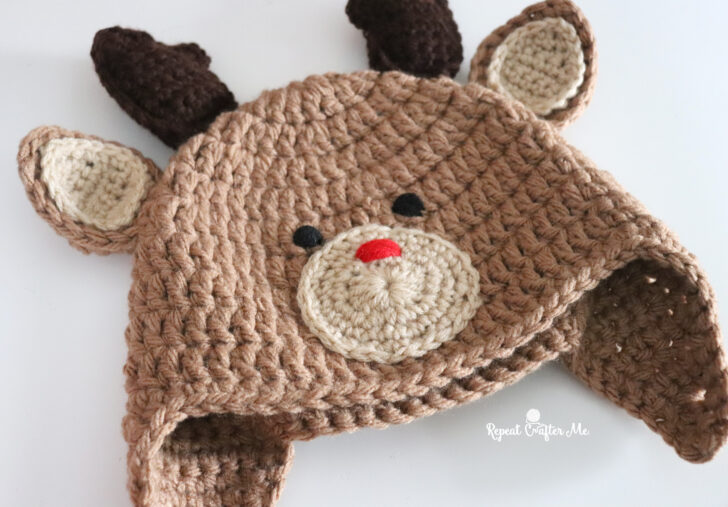
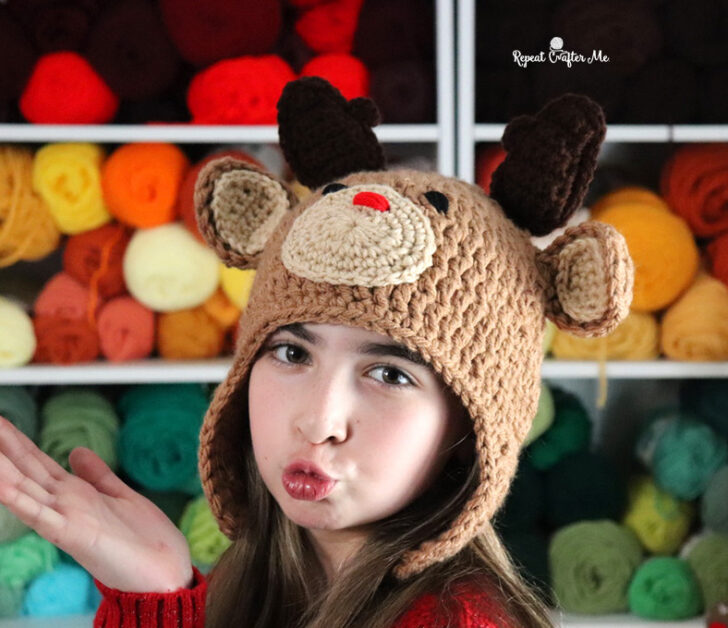
We have officially entered the era of crocheting hats to match our Starbucks cups!
If you’ve seen the new Starbucks Bearista Cold Cup Blind Boxes, you know how cute these little bears are! Each box contains a surprise character, and Zoe and I were really hoping to get Reiny, the adorable reindeer bear wearing a fuzzy brown hat with antlers.
So naturally, I decided to crochet a matching hat for Zoe before we even knew which bear was inside our box!
We filmed the big reveal for an Instagram Reel, and… we got Bunny! Not quite the reindeer we were hoping for, but still super cute. And now Zoe has a chunky reindeer hat to wear all holiday season!
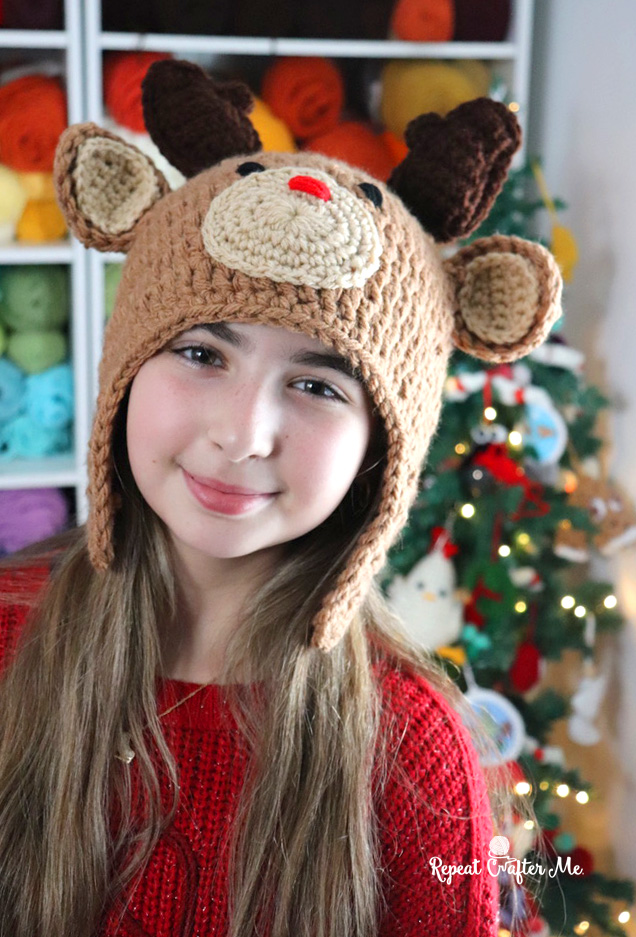
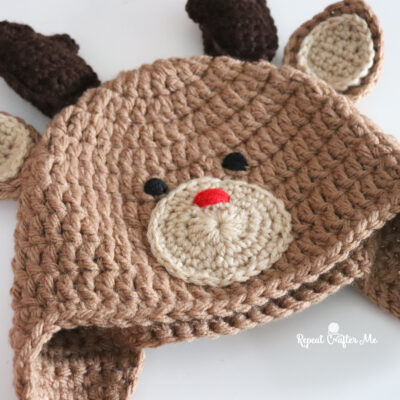
This hat is made with Red Heart Super Easy yarn in Ginger, a super bulky yarn that works up quickly and gives the hat a wonderfully chunky texture. I used Red Heart Super Saver yarn for the smaller details, including the ears, snout, red nose, and antlers.
The pattern includes five sizes, from baby through adult, so you can make one for just about everyone on your holiday list!
And the best part? You don’t need to find a rare Starbucks cup to enjoy this cute reindeer hat.
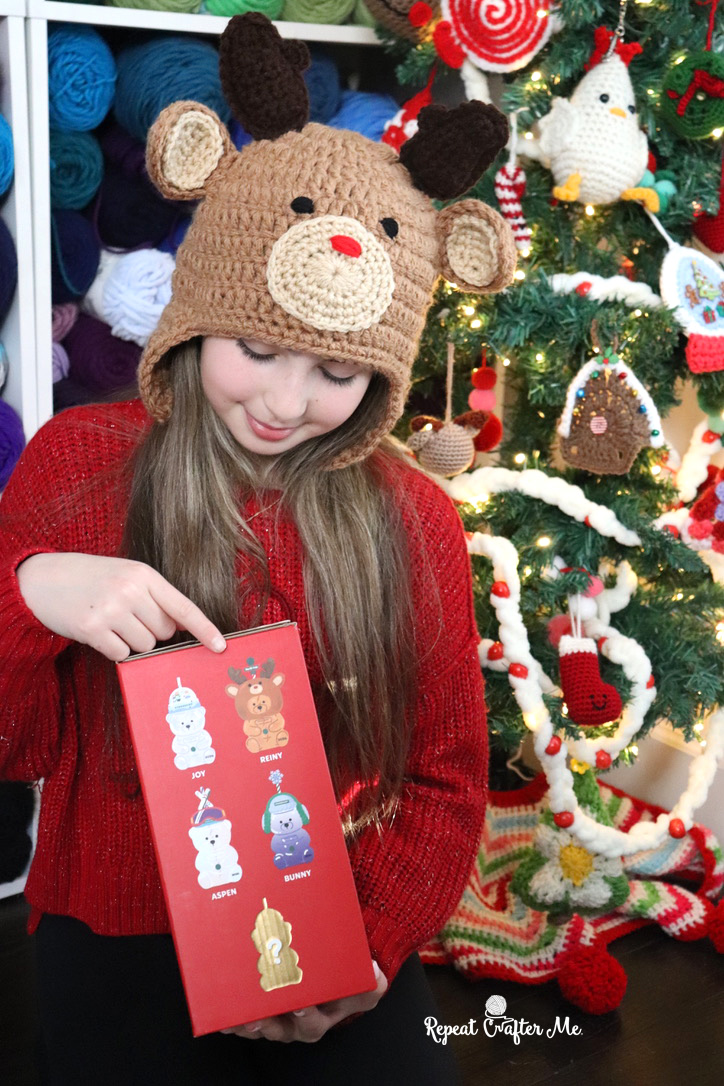
I am wearing my Granny Petite Hat in the video! You can find the pattern HERE
Materials
- Red Heart Super Easy Yarn in Ginger (super bulky weight #6) – main hat and outer ears
>>> Shop Red Heart Super Easy Yarn <<< - Red Heart Super Saver Yarn in Buff Beige – snout and inner ears
- Red Heart Super Saver Yarn in Cherry Red – nose
- Red Heart Super Saver Yarn in Black – eyes
- Red Heart Super Saver Yarn in Coffee Brown – antlers
- Size I-9 (5.5 mm) crochet hook
- Size H-8 (5 mm) crochet hook for smaller embellishments
- Tapestry needle
- Scissors
- Small amount of Poly-Fil stuffing (optional, for antlers)
- Hot glue gun (optional, for attaching inner ears)
Sizes: 0–3 Months, 6–12 Months, Preschooler, Child, Teen/Adult
Pattern Notes:
- Beginning chains do not count as stitches.
- Join rounds with a slip stitch to the first stitch unless otherwise noted.
- The main hat is worked in joined rounds from the top down.
- Earflaps are worked in rows directly onto the bottom of the hat.
- The smaller earflaps are used for baby and preschool sizes. The larger earflaps are used for child and teen/adult sizes.
- Stitch counts are listed in parentheses at the end of each round or row.
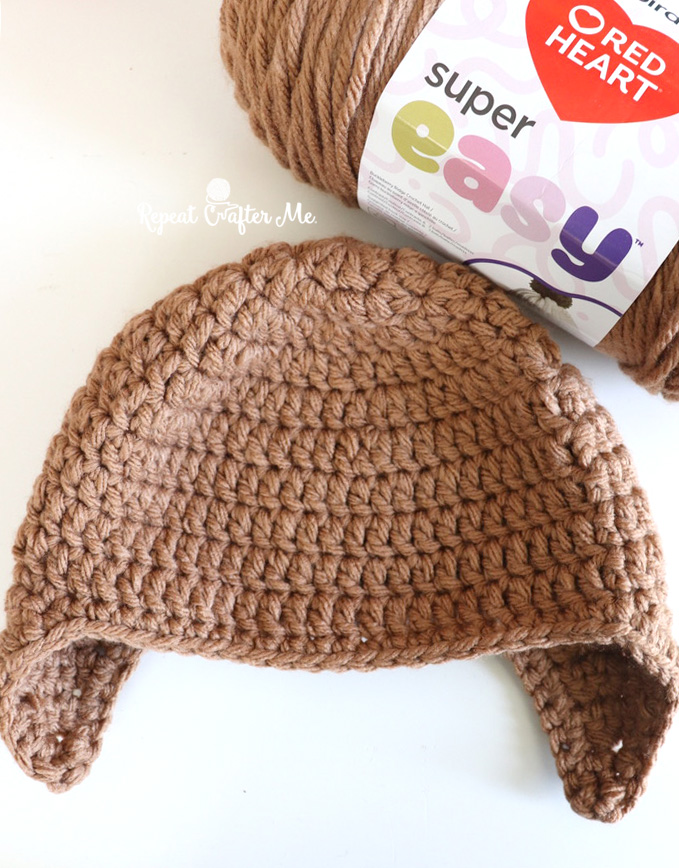
Chunky Crochet Hat
Using Red Heart Super Easy yarn in Ginger and a size I-9 (5.5 mm) crochet hook.
Size: 0–3 Months
Round 1: Make a magic ring, CH 2, work 10 DC into the ring, join to first DC, CH 2. (10 DC)
Round 2: Work 2 DC in each stitch around, join, CH 2. (20 DC)
Round 3: 2 DC in first stitch, DC in next stitch. Repeat around, join, CH 2. (30 DC)
Round 4: 2 DC in first stitch, DC in next 4 stitches. Repeat around, join, CH 2. (36 DC)
Rounds 5–7: DC in each stitch around, join, CH 2. (36 DC)
Round 8: SC in each stitch around, join. (36 SC)
Continue to the Smaller Earflaps instructions below.
Size: 6–12 Months
Round 1: Make a magic ring, CH 2, work 10 DC into the ring, join to first DC, CH 2. (10 DC)
Round 2: 2 DC in each stitch around, join, CH 2. (20 DC)
Round 3: 2 DC in first stitch, DC in next stitch. Repeat around, join, CH 2. (30 DC)
Round 4: 2 DC in first stitch, DC in next 2 stitches. Repeat around, join, CH 2. (40 DC)
Round 5: 2 DC in first stitch, DC in next 7 stitches. Repeat around, join, CH 2. (45 DC)
Rounds 6–9: DC in each stitch around, join, CH 2. (45 DC)
Round 10: SC in each stitch around, join. (45 SC)
Continue to the Smaller Earflaps instructions below.
Size: Preschooler
Round 1: Make a magic ring, CH 2, work 10 DC into the ring, join to first DC, CH 2. (10 DC)
Round 2: 2 DC in each stitch around, join, CH 2. (20 DC)
Round 3: 2 DC in first stitch, DC in next stitch. Repeat around, join, CH 2. (30 DC)
Round 4: 2 DC in first stitch, DC in next 2 stitches. Repeat around, join, CH 2. (40 DC)
Round 5: 2 DC in first stitch, DC in next 3 stitches. Repeat around, join, CH 2. (50 DC)
Rounds 6–10: DC in each stitch around, join, CH 2. (50 DC)
Round 11: SC in each stitch around, join. (50 SC)
Continue to the Smaller Earflaps instructions below.
Size: Child
Round 1: Make a magic ring, CH 2, work 10 DC into the ring, join to first DC, CH 2. (10 DC)
Round 2: 2 DC in each stitch around, join, CH 2. (20 DC)
Round 3: 2 DC in first stitch, DC in next stitch. Repeat around, join, CH 2. (30 DC)
Round 4: 2 DC in first stitch, DC in next 2 stitches. Repeat around, join, CH 2. (40 DC)
Round 5: 2 DC in first stitch, DC in next 3 stitches. Repeat around, join, CH 2. (50 DC)
Round 6: 2 DC in first stitch, DC in next 9 stitches. Repeat around, join, CH 2. (55 DC)
Rounds 7–11: DC in each stitch around, join, CH 2. (55 DC)
Round 12: SC in each stitch around, join. (55 SC)
Continue to the Larger Earflaps instructions below.
This is the size Zoe is wearing in the photos!
Size: Teen/Adult
Round 1: Make a magic ring, CH 2, work 10 DC into the ring, join to first DC, CH 2. (10 DC)
Round 2: 2 DC in each stitch around, join, CH 2. (20 DC)
Round 3: 2 DC in first stitch, DC in next stitch. Repeat around, join, CH 2. (30 DC)
Round 4: 2 DC in first stitch, DC in next 2 stitches. Repeat around, join, CH 2. (40 DC)
Round 5: 2 DC in first stitch, DC in next 3 stitches. Repeat around, join, CH 2. (50 DC)
Round 6: 2 DC in first stitch, DC in next 4 stitches. Repeat around, join, CH 2. (60 DC)
Rounds 7–12: DC in each stitch around, join, CH 2. (60 DC)
Round 13: SC in each stitch around, join. (60 SC)
Continue to the Larger Earflaps instructions below.
Crochet Earflaps
Smaller Earflaps
For sizes 0–3 Months, 6–12 Months, and Preschooler.
Earflap 1
Row 1: CH 1, SC in next 8 stitches, CH 1, turn. (8 SC)
Row 2: SC decrease, SC in next 4 stitches, SC decrease, CH 1, turn. (6 SC)
Row 3: SC in each stitch across, CH 1, turn. (6 SC)
Row 4: SC decrease, SC in next 2 stitches, SC decrease, CH 1, turn. (4 SC)
Row 5: SC in each stitch across, CH 1, turn. (4 SC)
Row 6: Make 2 SC decreases, CH 1, turn. (2 SC)
Row 7: SC in each stitch across, CH 1, turn. (2 SC)
Row 8: SC decrease. (1 SC)
Fasten off and weave in ends.
Earflap 2
Fold the hat in half, leaving slightly more stitches across the front of the hat than the back. Locate the placement for the second earflap so it lines up with the first.
Join yarn at the starting point for the second earflap.
Repeat Rows 1–8 of Earflap 1, but do not fasten off after Row 8.
CH 1 and SC evenly around the entire bottom edge of the hat and both earflaps. Join to the first SC.
Finishing Round: CH 1 and make one additional round of SC evenly around the entire edge of the hat and earflaps. Join, fasten off, and weave in ends.
Larger Earflaps
For Child and Teen/Adult sizes.
Earflap 1
Row 1: CH 1, SC in next 10 stitches, CH 1, turn. (10 SC)
Row 2: SC decrease, SC in next 6 stitches, SC decrease, CH 1, turn. (8 SC)
Row 3: SC in each stitch across, CH 1, turn. (8 SC)
Row 4: SC decrease, SC in next 4 stitches, SC decrease, CH 1, turn. (6 SC)
Row 5: SC in each stitch across, CH 1, turn. (6 SC)
Row 6: SC decrease, SC in next 2 stitches, SC decrease, CH 1, turn. (4 SC)
Row 7: SC in each stitch across, CH 1, turn. (4 SC)
Row 8: Make 2 SC decreases, CH 1, turn. (2 SC)
Row 9: SC decrease. (1 SC)
Fasten off and weave in ends.
Earflap 2
Fold the hat in half, leaving slightly more stitches across the front than the back. Position the second earflap to line up with the first.
Join yarn and repeat Rows 1–9 of Earflap 1, but do not fasten off after Row 9.
CH 1 and SC evenly around the entire bottom edge of the hat and both earflaps. Join to the first SC.
Finishing Round: CH 1 and work one additional round of SC evenly around the entire edge of the hat and earflaps. Join, fasten off, and weave in ends.
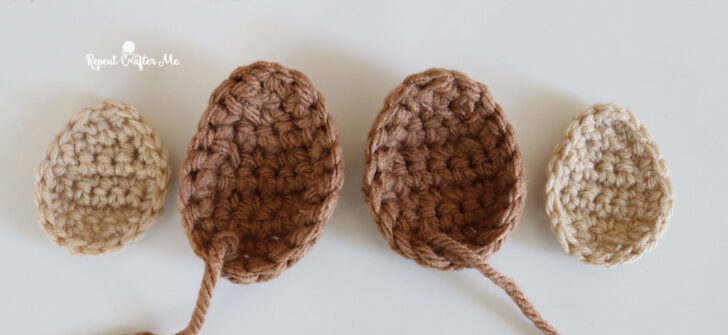
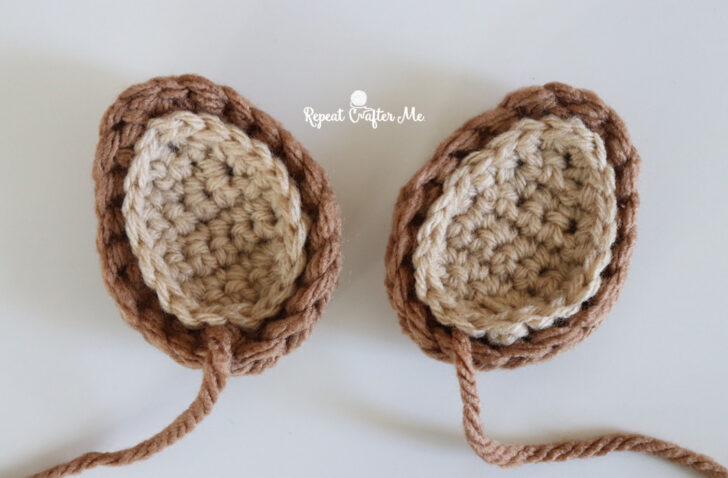
Crochet Reindeer Ears
Make 2 outer ears using Red Heart Super Easy yarn in Ginger and the size I-9 crochet hook.
Make 2 smaller inner ears using Red Heart Super Saver yarn in Buff Beige and the size H-8 crochet hook.
Row 1: CH 5, SC in second chain from hook and in each remaining chain, CH 1, turn. (4 SC)
Row 2: SC in each stitch across, CH 1, turn. (4 SC)
Row 3: 2 SC in first stitch, SC in next 2 stitches, 2 SC in last stitch, CH 1, turn. (6 SC)
Rows 4–5: SC in each stitch across, CH 1, turn. (6 SC)
Row 6: SC decrease, SC in next 2 stitches, SC decrease, CH 1, turn. (4 SC)
Row 7: SC in each stitch across, CH 1, turn. (4 SC)
Row 8: Make 2 SC decreases, CH 1, turn. (2 SC)
Row 9: SC decrease. (1 SC)
CH 1 and SC evenly around the outside edges of the ear. Join, fasten off, and weave in ends, leaving a long tail on the outer ears for attaching them to the hat.
Assembly:
Place one smaller Buff Beige ear on top of each larger Ginger ear.
Sew the smaller ear to the center of the larger ear using a tapestry needle. You can also use a small amount of hot glue to attach the inner ears.
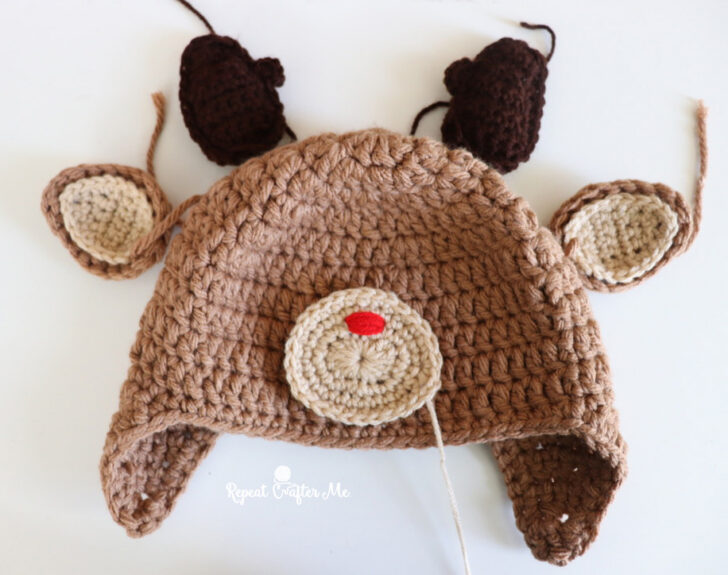
Sew the finished ears to the sides of the hat near the top, leaving room for the antlers.
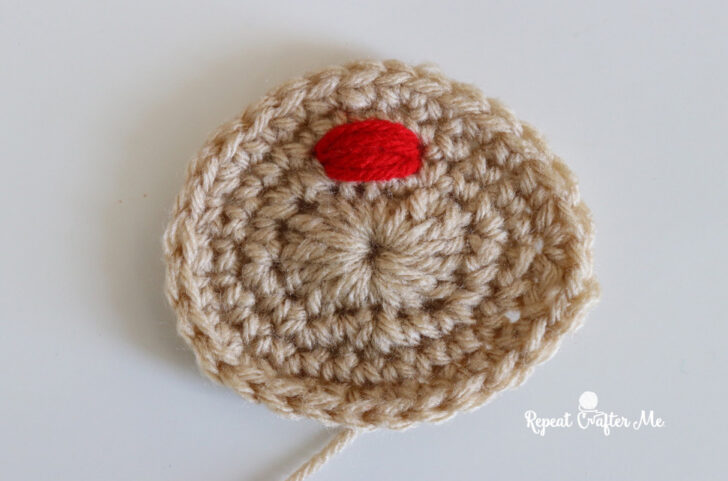
Crochet Reindeer Snout
Using Red Heart Super Saver yarn in Buff Beige and a size H-8 crochet hook.
Round 1: Make a magic ring, CH 2, work 2 DC, 1 HDC, 2 SC, 1 HDC, 4 DC, 1 HDC, 2 SC, 1 HDC, and 2 DC into the magic ring. Join to first DC, CH 1. (16 stitches)
Round 2: 2 SC in first stitch, SC in next stitch. Repeat around, join, CH 1. (24 SC)
Round 3: SC in each stitch around, join, CH 1. (24 SC)
Round 4: Work 2 SC in the first stitch, SC in next 4 stitches. Repeat this increase sequence 3 times total. Work 2 SC in the next stitch, then SC in each remaining stitch around. Join and fasten off, leaving a long tail for sewing.
Red Nose
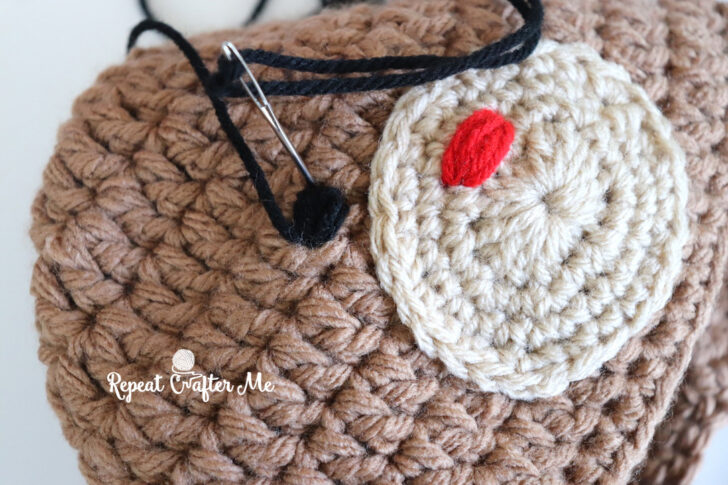
Using Red Heart Super Saver in Cherry Red and a tapestry needle, stitch a small red nose onto the upper portion of the snout.
Weave the red yarn back and forth several times to create a rounded oval nose.
Attach the Snout
Position the snout in the center front of the hat, just above the bottom edge.
Use the long yarn tail and a tapestry needle to sew the snout securely onto the hat.
Black Eyes
Using Red Heart Super Saver in Black and a tapestry needle, stitch two small eyes above the snout.
Weave the black yarn around a few stitches approximately 9–10 times to create each eye.
Try to keep both eyes evenly spaced on either side of the snout.
Secure yarn ends on the inside of the hat.
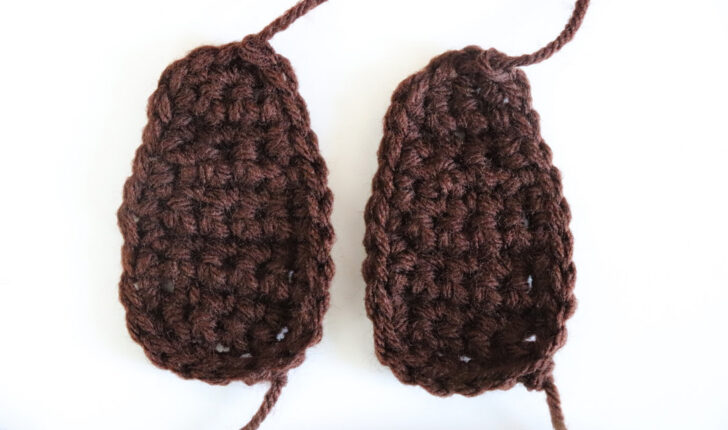
Crochet Reindeer Antlers
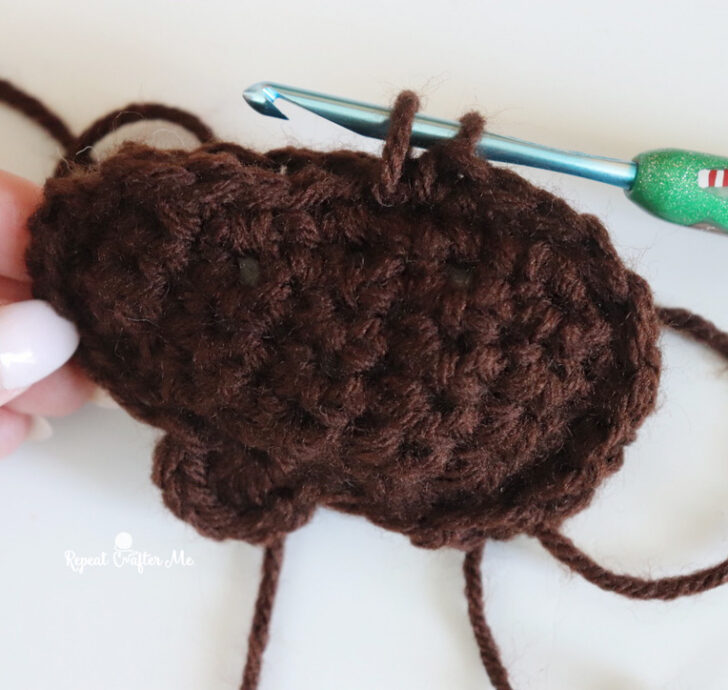
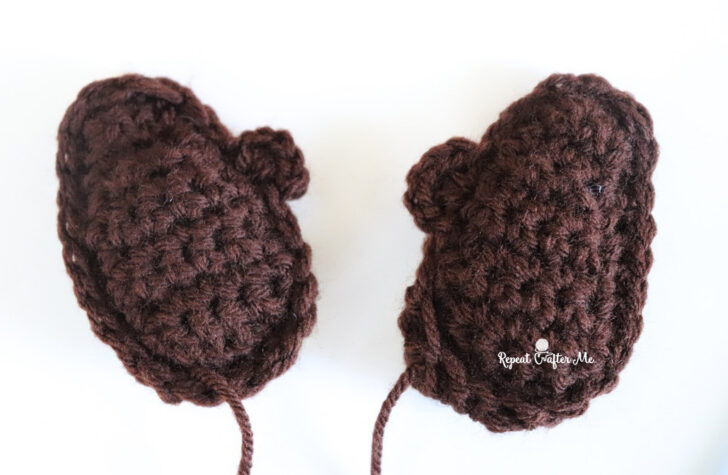
Make 2 finished antlers using Red Heart Super Saver yarn in Coffee Brown and a size H-8 crochet hook.
Each finished antler is made from two matching crochet pieces joined together with single crochet stitches.
Antler Pieces (Make 4)
Row 1: CH 6, SC in second chain from hook and in each remaining chain, CH 1, turn. (5 SC)
Rows 2–6: SC in each stitch across, CH 1, turn. (5 SC)
Row 7: SC decrease, SC in next stitch, SC decrease, CH 1, turn. (3 SC)
Row 8: SC in each stitch across. (3 SC)
Chain 1 and SC evenly around the entire antler piece, working approximately one SC along the edge of each row. Join to first SC, fasten off, and weave in ends.
Repeat until you have 4 matching antler pieces.
Joining the Antlers
Place two antler pieces together, lining up the edges.
Join Coffee Brown yarn and begin single crocheting through both layers around the outside edges.
When you reach the outer edge where you want the small antler nub, work 5 HDC into the same stitch to create the rounded bump.
Continue single crocheting through both layers around the remaining edges.
If desired, add a small amount of Poly-Fil stuffing before closing the antler completely.
Fasten off, leaving a long tail for sewing onto the hat.
Repeat for the second antler, making sure to place the little nub on the opposite side so the two antlers mirror each other.
Attaching the Antlers
Position the antlers on top of the hat, slightly inward from the reindeer ears.
Make sure the small antler nubs face outward in opposite directions.
Use a tapestry needle and the long yarn tails to sew the antlers securely onto the hat.
Weave in all remaining ends.
Finishing Your Reindeer Hat
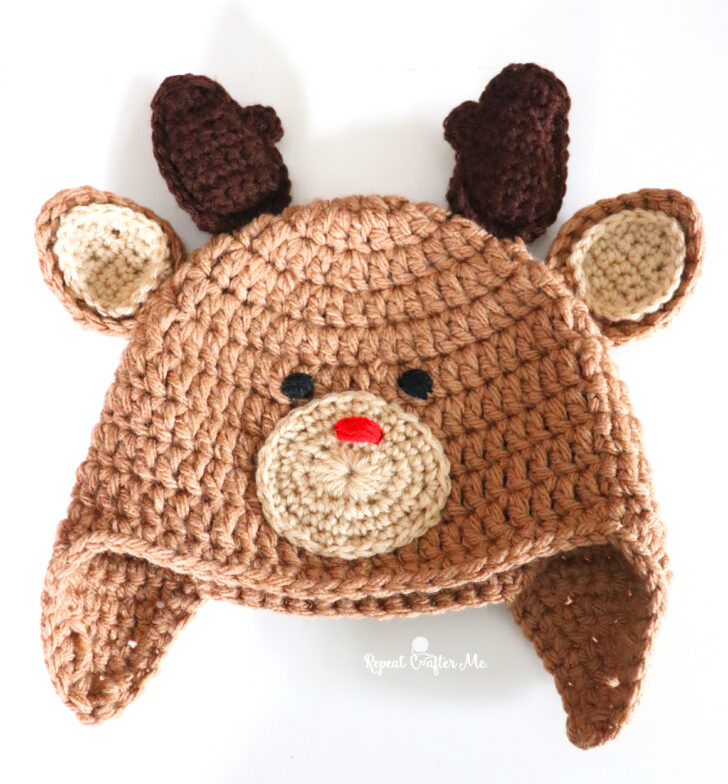
Once all the pieces are attached, give your hat a final inspection!
Make sure the ears and antlers are securely sewn in place, the snout is centered, and the eyes are evenly spaced.
And that’s it! Your chunky crochet reindeer hat is complete!
Whether you’re making it to match the adorable Reiny Starbucks Bearista Cup or simply want a festive reindeer hat for the holidays, I hope you enjoy this fun project!
Happy Crocheting!
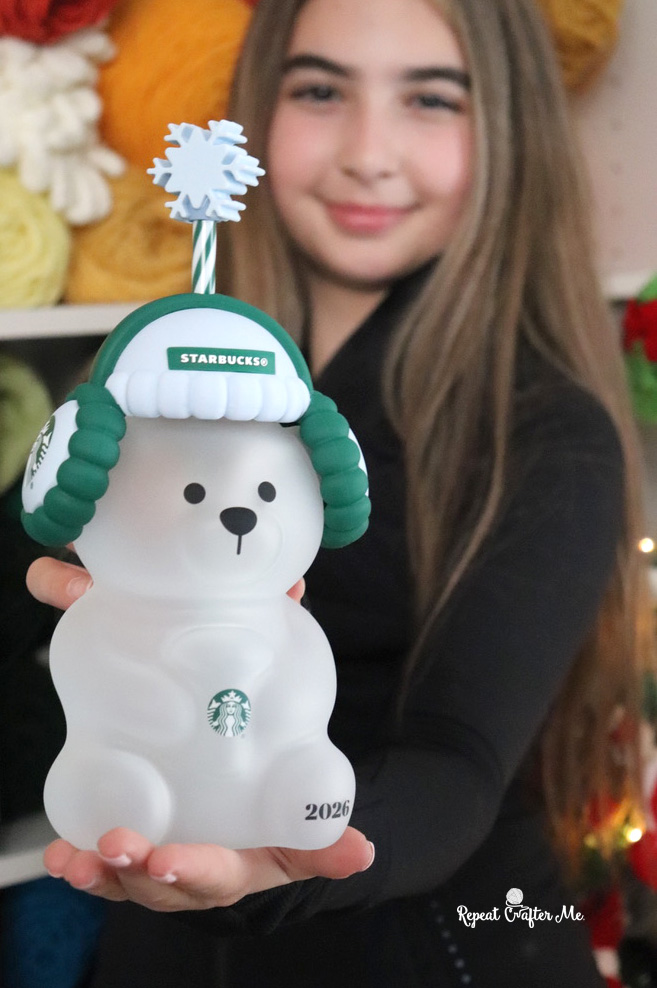
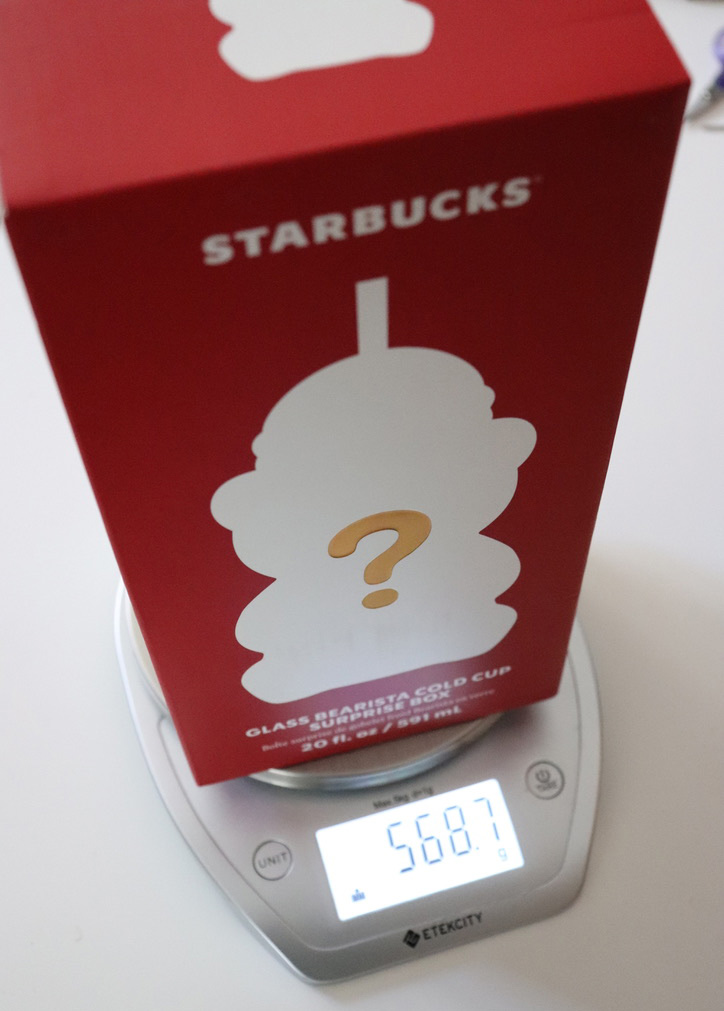
PS – for those of you weighing your boxes before opening, “bunny” was 568g. I am told Reiny is lighter so we will hope for that if we get our hands on another one of these!
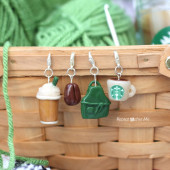 Starbucks Stitch Markers and Bottled Beverages
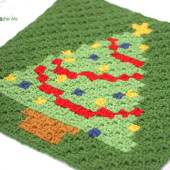 Crochet Christmas Tree Pixel Square
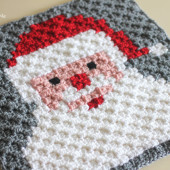 Crochet Santa Pixel Square
 Crochet Daisy Rug with Clover Amour Large Hooks and Giveaway!

Leave a Reply