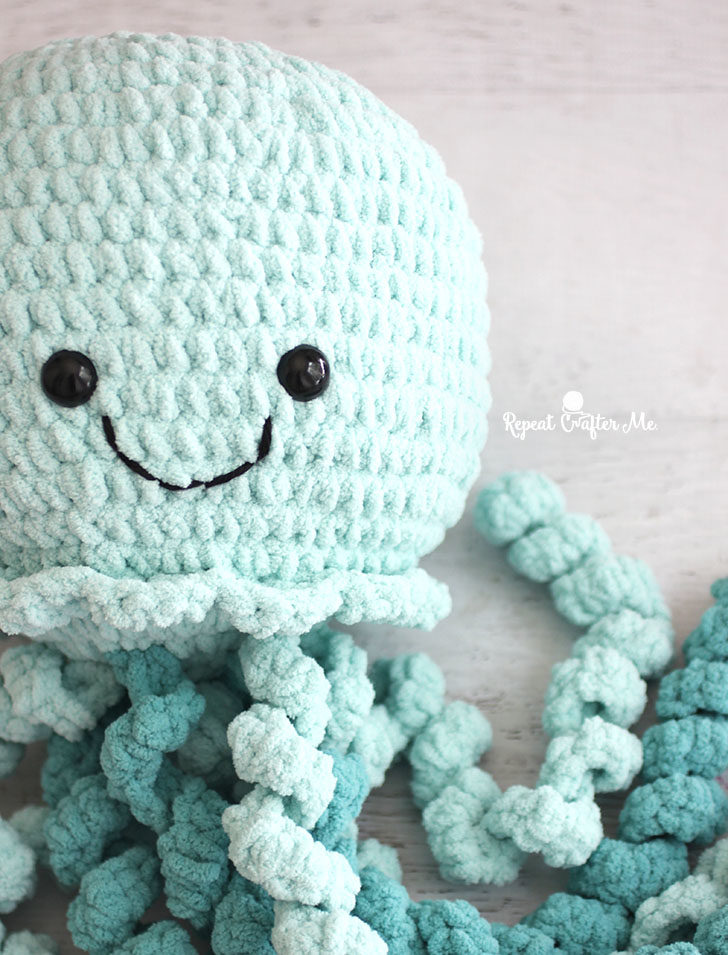
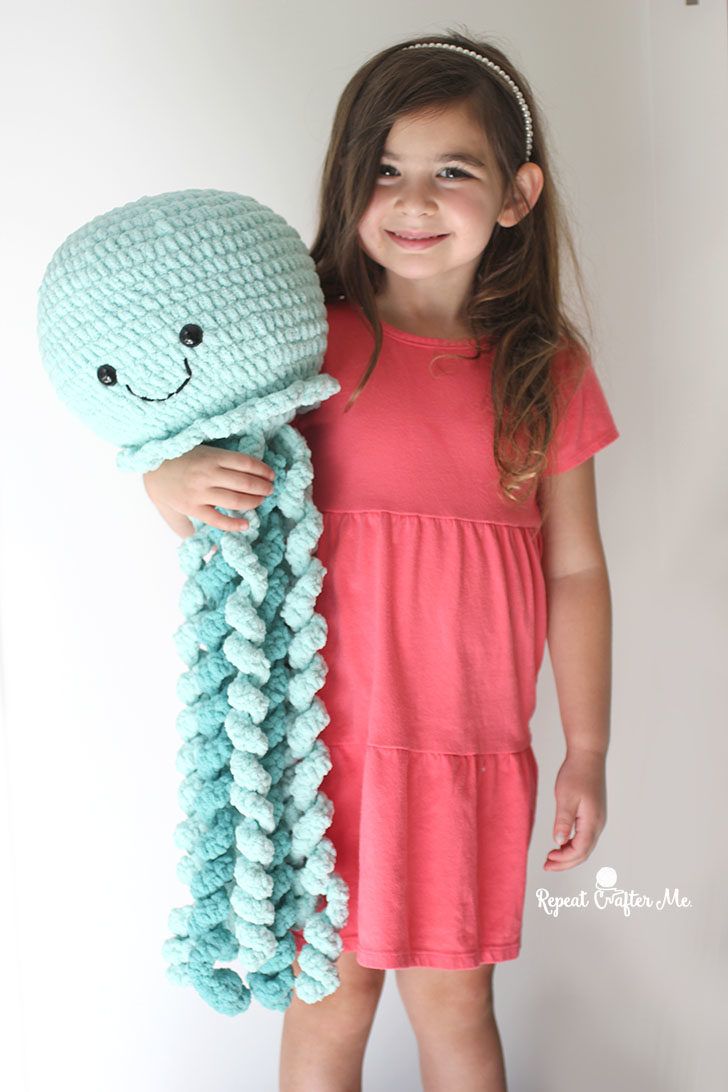
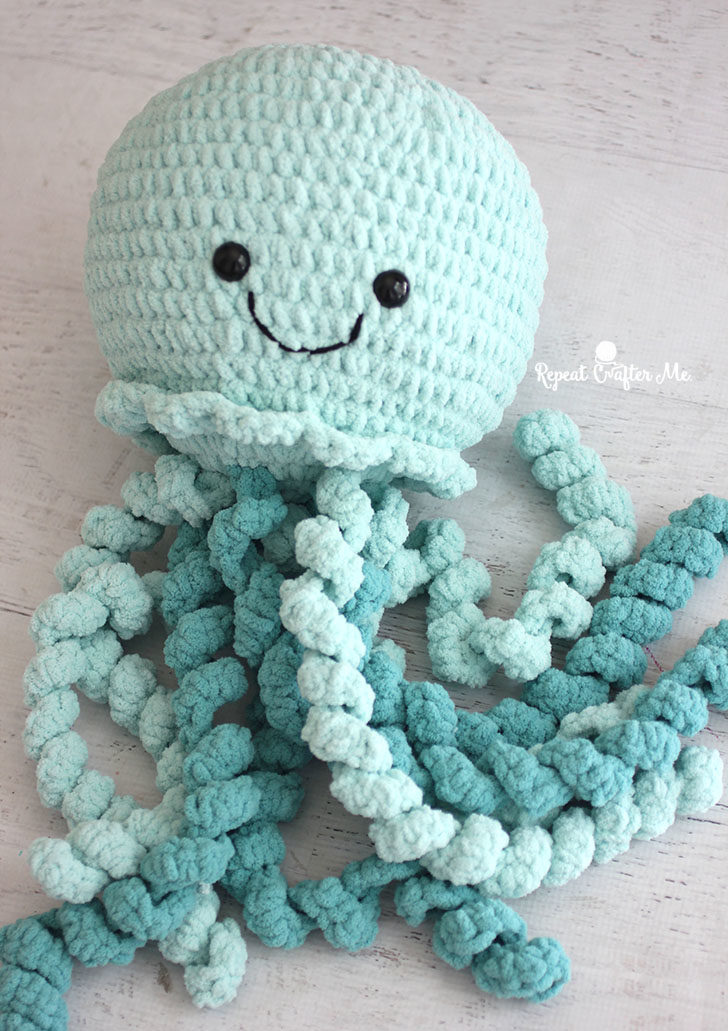
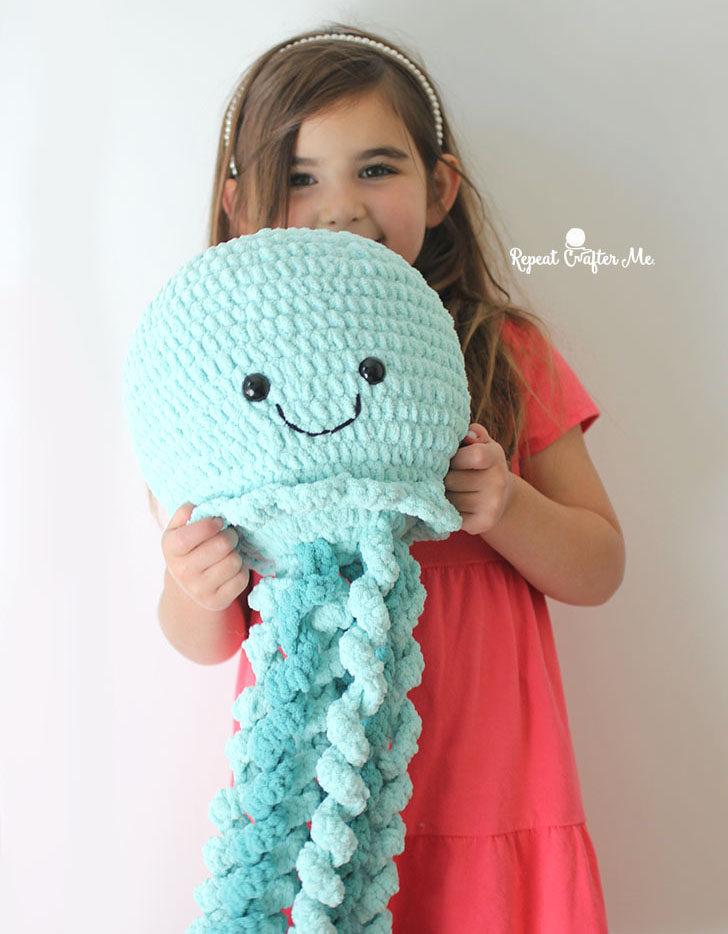
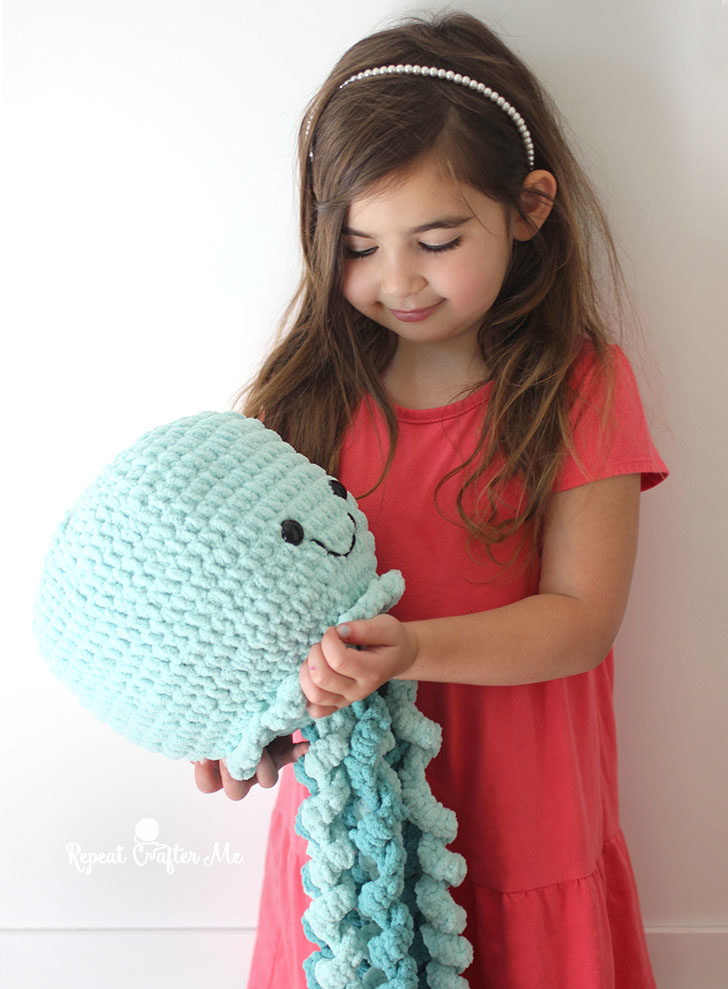
Once I get started working with Bernat Blanket Yarn, I can’t stop! It’s so addictive! Everything I make with this yarn works up so quickly because of it’s chunky and super soft texture. Seems like everyone these days is obsessed with crochet Jellyfish and I thought I would go ahead and jump on the jellyfish bandwagon with this Giant Jellyfish! This guy worked up in only a few hours! It’s approximately 23 inches long (counting the coils) and 9 inches wide. I used color Seafoam green from the Bernat Baby Blanket line which seems so appropriate for this sea creature! You can shop the yarn HERE at Yarnspirations.com. You will only need one skein!

Materials:
– Bernat Baby Blanket Yarn in Seafoam green (one 300g skein). Purchase HERE at Yarnspirations.com
– (optional) Bernat Blanket Yarn in a coordinating color for multi-colored coils. I used Teal. You will only need a 100g skein.
– Size I (5.5mm) Crochet Hook
– Poly-fil Fiber Stuffing
– (2) 18mm black safety eyes. I found mine at JOANNs but you can also purchase HERE on Amazon (aff).
– Small strand of worsted weight black yarn or embroidery thread for mouth.
– Tapestry Needle
Finished Size: 23 inches long x 9 inches wide finished size
Tentacles (Coils):
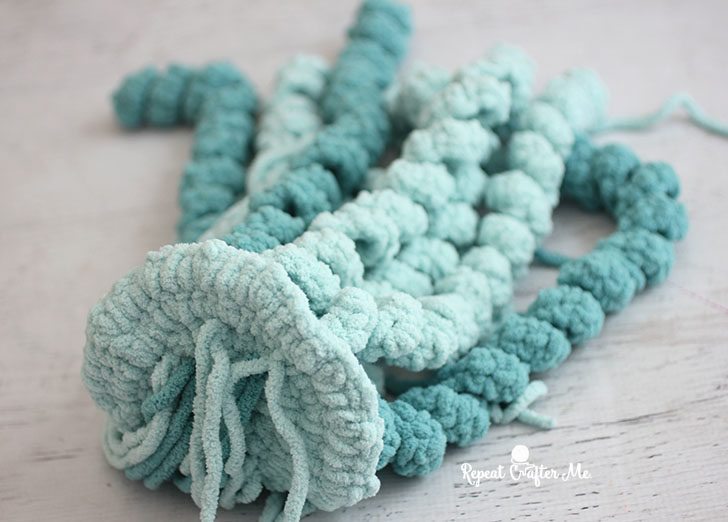
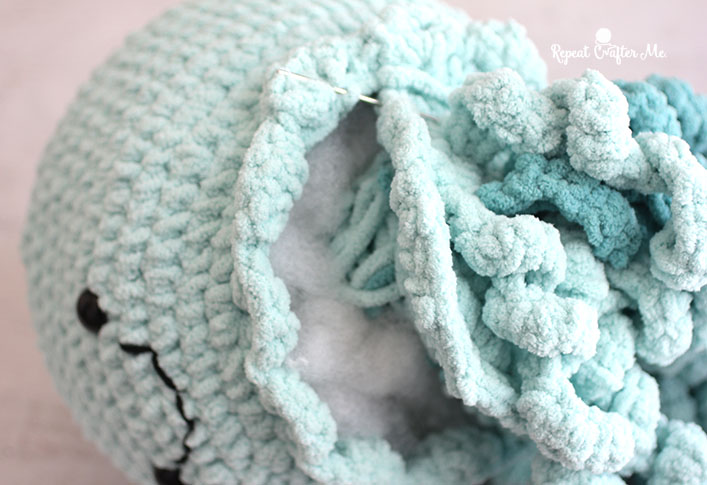
Chain 60, 2 SC in second chain from hook and the rest of the way down. Fasten off. Leave loose ends to tie onto underside of jellyfish.
Make as many coils as you want! I made 5 in Seafoam green and 4 in Teal.
If you make this giant jellyfish please be sure to use hashtags #RepeatCrafterMe and #BernatBlanketYarn on social media!
*** You may make and sell products from my patterns but if you do I ask that you link back to my post. Please do not copy and post this pattern and claim it as your own. Please do not re-publish photos as your own.***
Keep in touch on my Repeat Crafter Me Facebook Page and my Repeat Crafter Me Instagram Page for new pattern sneak peeks and when they will be available on my blog! And feel free to post pictures of your finished hats and/or links to your shops on my Facebook wall so all can see.

 Starbucks Stitch Markers and Bottled Beverages
 Crochet Christmas Tree Pixel Square
 Crochet Santa Pixel Square
 Crochet Daisy Rug with Clover Amour Large Hooks and Giveaway!
oh wow! I love it so much!!! The yarn looks fab and Iove the colour too!
Will there be a video tutorial? I love this!
So sweet! I just made two small jellyfish, but now I’m inspired to try that chunky yarn! I have some hanging around somewhere…
Oh great. The product is made of wool very soft and beautiful.
OMGsh this is awesome. Thank you for sharing! It is now on my “Make for Christmas” list 🙂
I used some stash pink Bernat blanket to make one before I saw your pattern, and it is adorable, but your pattern will be used on the next ones! Thank you for making these projects so easy with your simple, clear instructions!
I love your jellyfish. That is too cute.
I like your all publish. You have done amazing execute. Thank you for the important points you can provide, it reduced the problem a lot. I want many more details or so from you.
Oh my goodness, it’s so squishy and awesome!
My tentacles are not curling. Any suggestions?
The body is soooo cute. Thanks for the help in advance.
I had the same problem with the first tentacle I made, then I realized that I it is TWO single crochets in each of the chains. I had made only one sc in each chain and that was when it didn’t curl. Sounds like you might be a fellow didn’t-read-the-pattern-properly-because-I’m-too-much-in-a-hurry-to make-this person. LOL
I had the same issue, but hadn’t crocheted in a while and was using the wrong stitch. I was inserting into the chain, yarn over, pull through the chain, pull through the loop. It resulted in a rather flat, loose coil. However, once I realized I wasn’t doing a proper single crochet, the coil was perfect. I had to insert into the chain, yarn over, pull through the chain, YARN OVER AGAIN, then pull through both loops. As long as you follow the pattern and do two of these SC into each chain stitch, the coil will work out.
I love this pattern. Thank you. Made 2 for my kids and they sleep with them every night.
😀
key
I started crocheting about a year ago. Your blog was probably the first I came upon and holy cow, no one compares to you. Your instructions are so clear and accurate. It hurts when I go to other blogs and am like “What is this person talking about? What do they want me to do?” I may be new but you make me feel like a pro.
Hi there
Just love your patterns. I was wondering though, i would love to make one of these for my new baby niece, but i think it would be too big. How would i make it smaller? Would I just use a thinner yarn and appropriate hook?
Many thanks
Charlie
What price point would you suggest for selling this wonderful large jellyfish?
So when you say to decrease then sc in next 5 are you supposed to skip one or skip five?
A decrease isn’t skipping any stitches, it is crocheting 2 of the stitches together. You would start a sc by slipping your hook through the top of the previous row, yarn over and pull the yarn through as usual, but instead of yo and pulling through the 2 loops on the hook, you move to the top of the next stitch from the previous row. Put your hook through this stitch as well, yarn over and pull the yarn through, now you have 3 stitches on your hook, continue to sc as usual (yarn over and pull through all the stitches on the hook). This is a basic sc stitch decrease, there are move advanced invisible decrease techniques available. Both techniques have videos on Youtube if my text based instructions don’t make sense to you.
So the instructions say decrease then sc in the next five means: sc decrease over the next 2 stitches, once the decrease is done, you do 5 normal sc in the next 5 stitches, at this point if it is a repeat, you would decrease again and then sc in the next 5, rinse and repeat.
Thancks
Its so much smaller than I expected! I followed the instructions exactly but it’s only 1/2 the size that the picture is in! Do you have any suggestions?
I’m not sure if this would possibly make a difference, but I used an 8 mm hook instead of 5.5 mm, because I couldn’t manage a hook that small with the blanket yarn. I think I crochet too tightly to use a smaller hook. Mine looks about the same size as the picture. I haven’t stuffed it yet, but it appears that the stitches are still tight enough to hold the polyfil.
Mine came out smaller than the picture too. The tentacles are about half the size, if that, compared to the picture. Any suggestions?
So I’m struggling here! I have restarted this thing about 10 times and every time it’s looking like a potato chip because it’s not laying flat. Has anyone else had this problem?? What can I do to keep it from bowing?
Yes I’m having the same problem! And I don’t know if I crochet too tightly or missed a loop or something. Maybe I will try with a bigger hook (like 8mm).
Anyone can help us?
Happened to me too! my 3rd time starting over now with a 10mm this time and its still curling! i’ve tried tight tension, loose tension and inbetween!
When crocheting the head, my circle does not lay flat … is that normal or am I doing something wrong??
Sometimes when using bigger yarns and chenille this does happen, its not your fault. You could try using a slightly bigger hook or adding more stitches into the first few rounds to get around the issue.
Omg how precious! I love it!
Hello!
Can you please tell me how much yarn does it take to make the gigant – crochet.
Thank you
Thank you for this great pattern! I‘m not an experienced crocheter. This was my first stuffed animal. It really easy and fun. I used one ball of „baby lilac“ for the main body and sepersted one ball of the stripes „mulberry bush“ into its colors for the tentacles. The many photos helped a lot, especially for the assembly. I had some trouble with the tentacles, they wouldn‘t coil. Figured out my mistake eventually, but I left them as a mix of coily and wobbly tentacles, as I thought it looked a bit more realistic.
In round 21 is this whole round using only front loops?
My tentacles are not as tight as yours and I have followed the instructions… what am I doing wrong… they are curled not just as tightly as your… thanks Cat
Can anyone thats done this post a how to video?
I love this pattern. I have made about 30 and have given to ICU for sick kids and also my daycare kids. I have made the same over 60.small jelly fish for premie babies. Gives me something to do after 33yrs of daycare. Thanks for instructions. Gives me stuff to do while in this covid thing. Pam
I cannot get the head to lay flat. I’ve restarted and restarted. Is this normal? It has major ripples no matter how loosely I try to crochet.
Such a cute plush toy, I have made 2 and have and requests to make 2 more pattern is very easy to follow
Thank you so much for sharing the giant jellyfish pattern. I really enjoyed making it.
I only started crocheting a few weeks ago but this pattern is really easy to follow and clear. I have made one for my friend as a kind of test project, and she loved it! Thankyou very much for this pattern and keep up the good work 🙂
Great Giant Crochet Jellyfish !! Thanks. The Local Observer ( https://www.localobserverdaily.com ) will help you find the best and worst places to live, raise a family or retire in United States.
Thank you for this pattern! Easy to follow, brings me and the recipients joy.
Paper.io 2 is an online multiplayer io Game
Using a chain stitch for the smile makes for a smoother arc. I also added lashes to mine to match the child receiving it.
Using a chain stitch for the smile makes for a smoother arc. I also added lashes to mine to match the child receiving it. This works up exactly as written. I love the colors in the photo but had pale pink and white lying around so I used that.
So cute and so easy. Instructions are great! I’m on my 2nd one now!