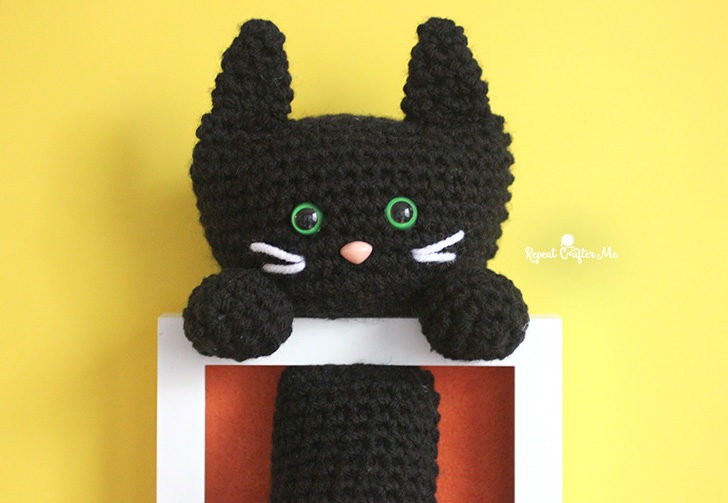
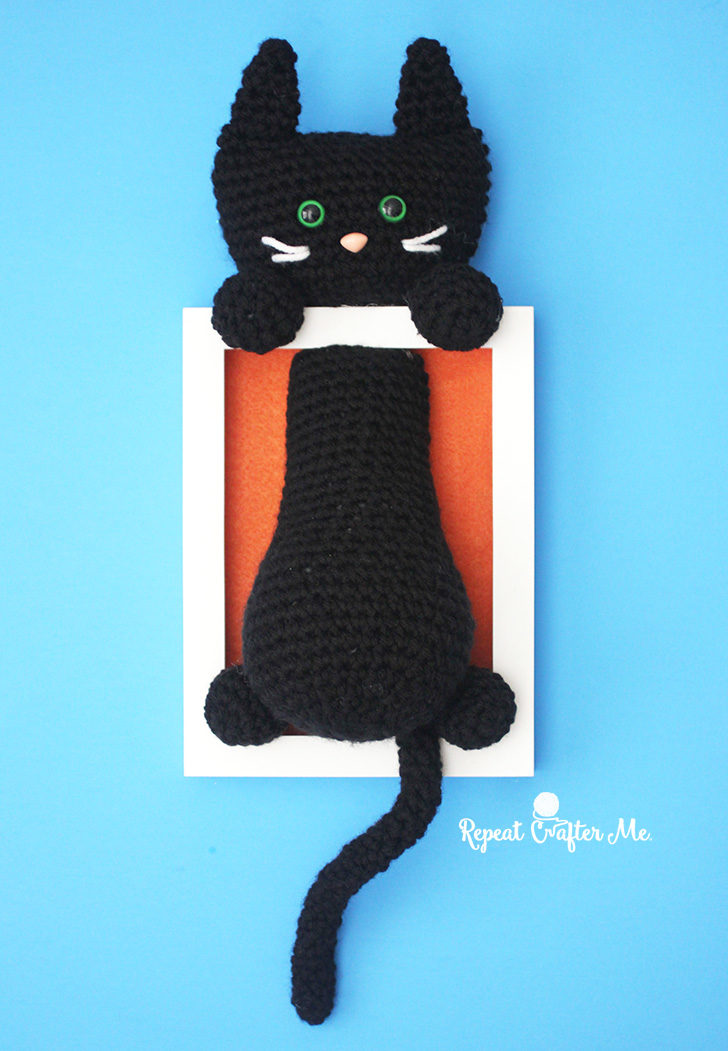
So remember a couple days ago when I talked about re-purposing patterns in the podcast with Bhooked Crochet? This project is another great example of how I take one pattern and use it to create something else just by adding in a few new elements and embellishments! If you missed the podcast I recorded with Bhooked Crochet, you can listen to it HERE. Using a shadow box frame, I created the illusion of the kitty cat peaking over a ledge! A fun piece of wall decor for Halloween (if you choose to use the black cat and the orange background) or a super sweet piece for a kids room! I’m thinking gray kitty with pink or blue background?!
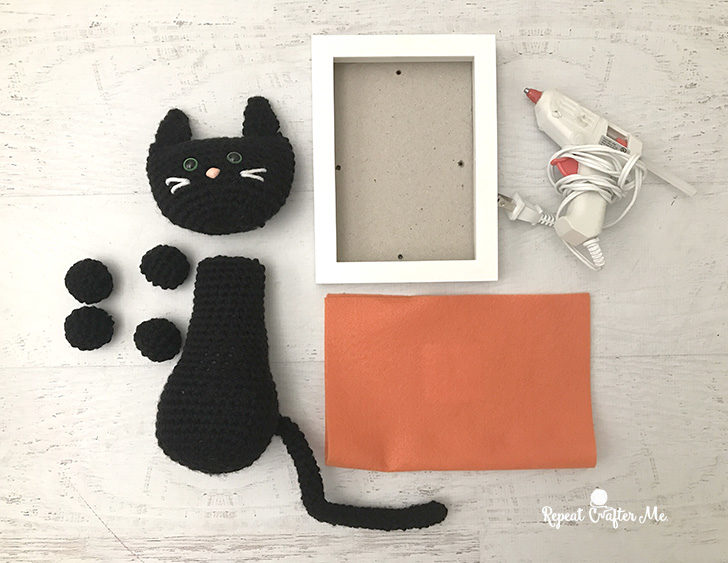
Materials:
– Bernat Super Value yarn in black. Shop yarn at Yarnspirations.com.
– Size H Crochet hook
– Hot Glue Gun
– Poly-fil Fiber Stuffing
– I piece of craft felt in any color you want the background to be. I used orange.
– 5×7 Shadow Box Studio Decor Frames. Purchased HERE at Michaels Craft Store.
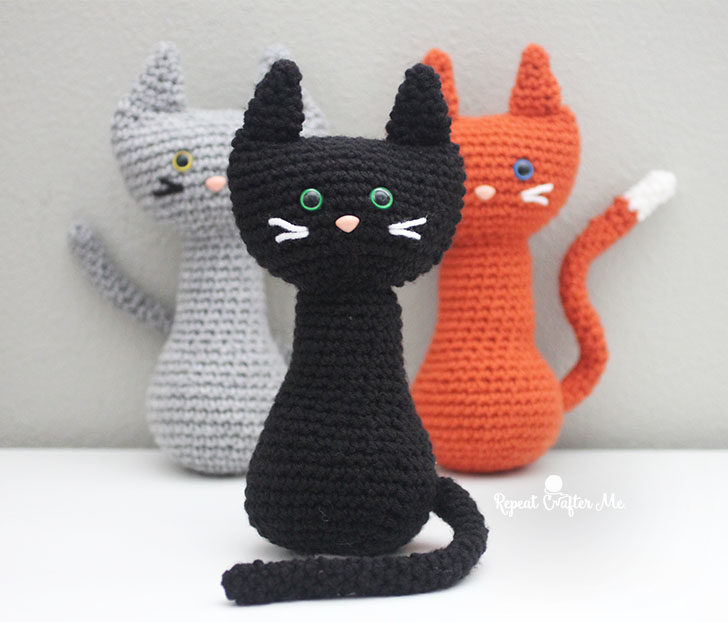
You can find the original cat pattern HERE. All I did was extend the body portion by a few rounds and add paws! Complete pattern is below for your convenience 🙂
Cat Head:
Magic ring, chain 1 and make 10 SC in ring, join to first SC, chain 1 (10 SC)
Round 2: 2 SC in each stitch around, join, chain 1 (20 SC)
Round 3: SC in each stitch around (20 SC)
Round 4: 2 SC in first, SC in next, repeat around, join, chain 1 (30 SC)
Round 5; SC in each stitch around, join, chain 1 (30 SC)
Round 6: 2 SC in first, SC in next 2, repeat around, join, chain 1 (40 SC)
Round 7-13: SC in each stitch around, join, chain 1 (40 SC)
Round 14: SC decrease, SC in next 2, repeat around, join, chain 1
Round 15: SC in each stitch around, fasten off leaving long tail.
Cat Body:
(First 6 rounds are same as head)
Magic ring, chain 1 and make 10 SC in ring, join to first SC, chain 1 (10 SC)
Round 2: 2 SC in each stitch around, join, chain 1 (20 SC)
Round 3: SC in each stitch around (20 SC)
Round 4: 2 SC in first, SC in next, repeat around, join, chain 1 (30 SC)
Round 5; SC in each stitch around, join, chain 1 (30 SC)
Round 6: 2 SC in first, SC in next 2, repeat around, join, chain 1 (40 SC)
7-10: SC in each stitch around, join, chain 1 (40 SC)
Round 11: SC decrease, SC in next two, repeat around, join, chain 1
Round 12-13: SC in each stitch around, join, chain 1
Round 14: SC decrease, SC in next, repeat around, join, chain 1
Round 15-28: SC in each stitch around, join, chain 1
Round 29: SC in back loops only, fasten off and leave long strand to sew top together after stuffing with polyfil.
Cat Ears: (make 2)
magic ring, chain and make 4 SC in ring, pull tight and continue to SC in rounds.
Round 2: SC in each stitch around (4 SC)
Round 3: 2 SC in first stitch, SC in next, repeat around (6 SC)
Round 4: SC in each stitch around (6 SC)
Round 5: 2 SC in first stitch, SC in next 2, repeat around (8 SC)
Round 6: SC in each stitch around (8 sc)
Fasten off leaving long tail to sew ears onto head
Cat Tail:
Magic ring, chain 1 and make 5 SC in ring, pull tight and continue to SC in rounds making tail as long/short as you like. Mine is about 30 rounds. After about the first 10 rounds you will want to start inserting your pipe cleaner. Fold it in half and twist it and then insert (not all the way to the end though) and crochet around it leaving about 1/2 inch still poking out.
Cat Paws (make 4):
Magic ring, chain 1 and make 6 SC in ring, join to first SC, chain 1
Round 2: 2 SC in each stitch around, join, chain 1 (12 SC)
Round 3-4: SC in each stitch around, join, chain 1 (12 SC)
Round 5: SC Decrease, SC in next 2, repeat around, join, chain 1
Round 6: SC Decrease, SC in next, repeat around, fasten off
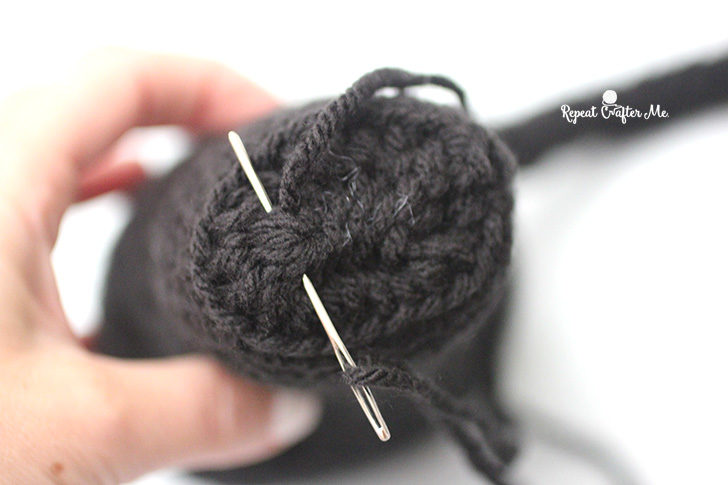
Stuff and sew shut with tapestry needle.
Once you have the cat made you should have the head assemble, the body and connected tail in a separate piece, and all 4 paws.
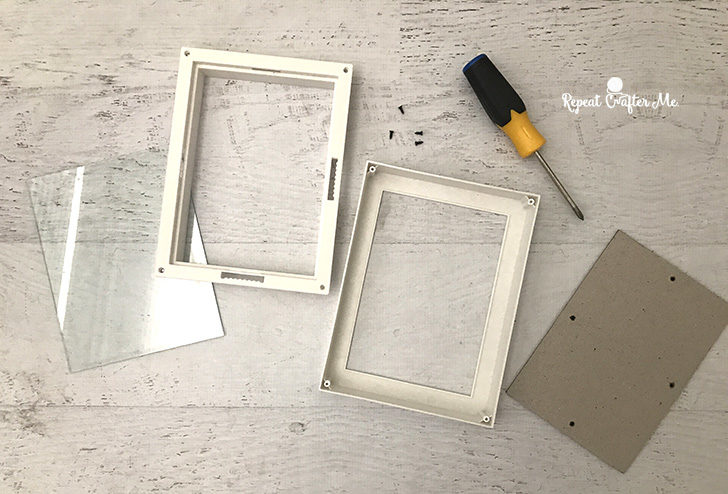
Take your frame and remove the glass. With my particular frame that required me to use a screw driver to undo the back (don’t worry, it was super easy!)
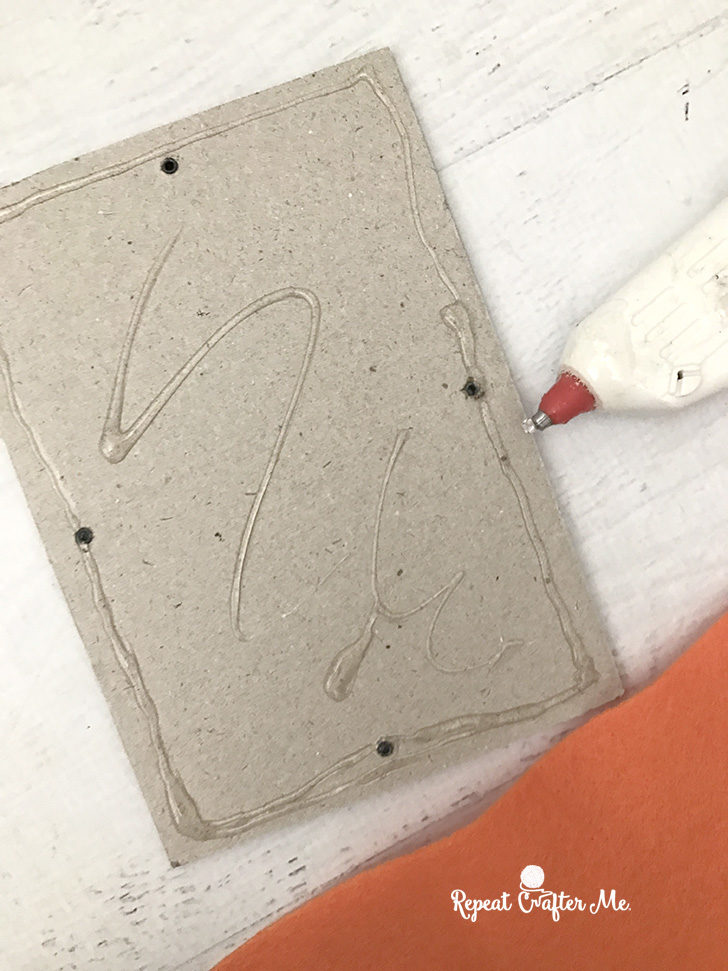
Hot glue your felt onto the back portion of the frame (the cardboard part). You will need to trim your felt once it is glued down to line up with the edges of the back of the frame.
Assemble frame back together. You should now have an open shadow box (because you removed the glass) and a colored background.
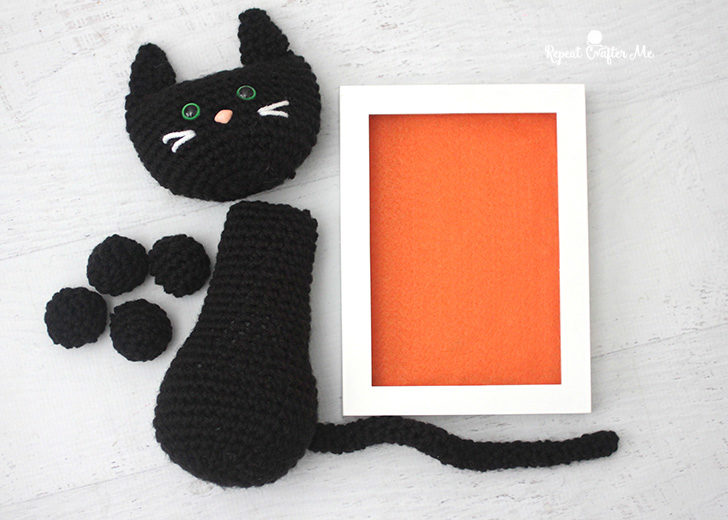
Take the hot glue and start glueing your pieces on!
First the head and the paws, then the body and the feet.
You really don’t need a lot of glue.
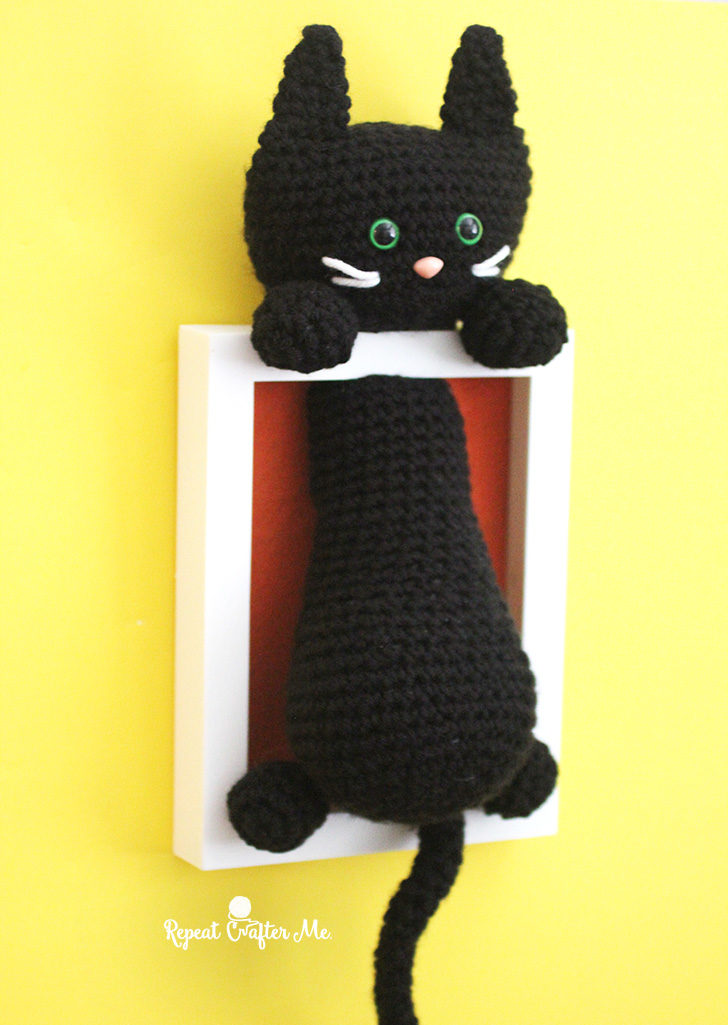
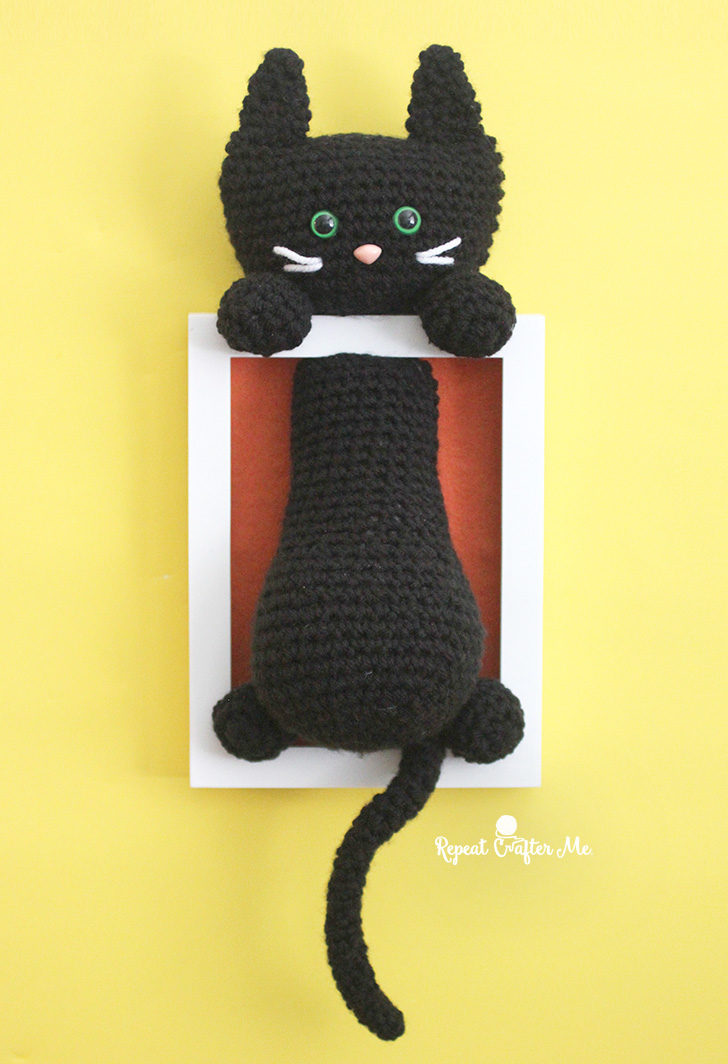
I just love how this little cutie kitty is peaking over the frame with his little paws, body outstretched and all!
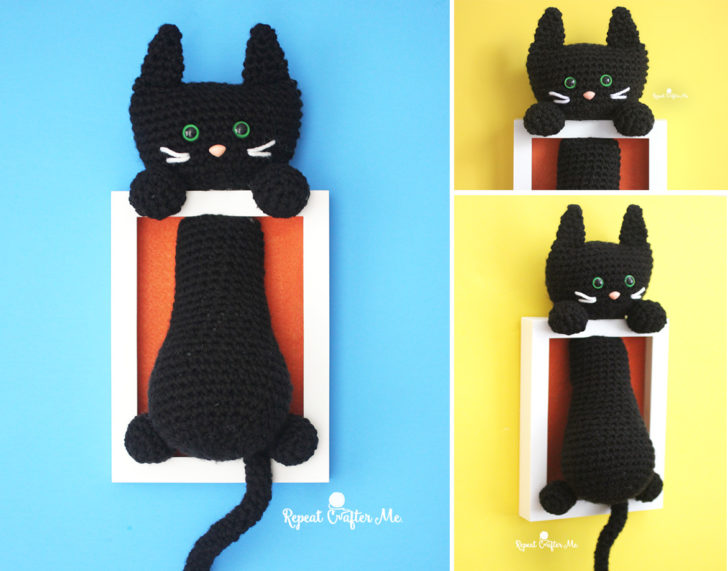
I would love to see your Crochet Cat Frames! Be sure to tag @RepeatCrafterMe on social media!

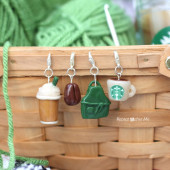 Starbucks Stitch Markers and Bottled Beverages
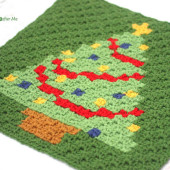 Crochet Christmas Tree Pixel Square
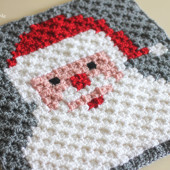 Crochet Santa Pixel Square
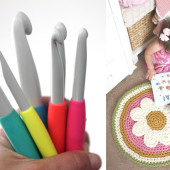 Crochet Daisy Rug with Clover Amour Large Hooks and Giveaway!


Thanks for sharing the procedure of making a cat with wool, this article seems very intersting. Hope to follow the procedure soon.
No doubt this article is very nice and informative as I have read it. Waiting for your nest article.
Absolutely fantastic posting!…….QuickBooks POS Support is an online technical support service for QuickBooks issues. We offer 24×7 support for QuickBooks Help 2017 and other older versions too.
thanks a lot.
This is a great inspiring article…….QuickBooks POS Support is the third party technical support organization providing technical support for QuickBooks Help issues.
Your blog website provided us with useful information to execute with. Each & every recommendations of your website are awesome. Thanks a lot for talking about.
Well, I love art and I love to make paintings. BTW, I am not a painter but a student, and whenever I need to write some interesting stuff for my website https://assignmentjunkie.co.uk/coursework-assist/ articles and for that I always do many searches on the internet to get the right stuff for my articles.
I am amazed at your blogging style and your writing skills.
Is it a profitable topic or have you changed it yourself?
Either way, sticking to high quality text and visiting such great blogs is rare.
Your efforts are worthwhile that is shown in your post. The information you have collected is unique and precious to read. The writing method and style is beautiful.
Unbelievable! This blog looks like my old one!
It’s a completely different subject, but approximately
Same layout and design. Amazing choice
Colors!
I was recommended this blog via my cousin. I’m now not sure whether this put
up is written via him as nobody else recognise such
designated about my problem. You’re incredible! Thanks!
This article is indeed a satisfying article that can help new Internet users.
Who needs help with blogging? You can also visit my website. I hope to help you
Do not waste your energy, I know a place where you can buy gorgeous nursery signs https://crawoo.com/products/custom-wooden-nursery-sign as well as many other decorative elements. It seems to me that you will choose something for yourself anyway and you will be grateful to me.
India’s #1 Matka Play website. We offer you the platform to try your luck. Play and win a huge amount every day Matka Play Read for more information visit our website.
Joining a professional organization may be quite beneficial in acquiring adequate information and becoming a carbon capture petrophysics Read for more information visit our website.
We’re truly amazed at your decoration skills. This cat shadow box looks great!
This cat shadow box wall art is absolutely adorable! I love how you’ve taken a basic cat pattern and turned it into a creative and unique piece of decor. The idea of having the kitty peeking over the ledge in the shadow box is genius. The choice of colors for Halloween or a kid’s room is fantastic, and the step-by-step instructions make it seem so doable. I can imagine making a gray kitty with a pink background as a sweet addition to a nursery. Thanks for sharing this inspiring and fun project!