Something really special happened last weekend… and it sparked a brand new crochet idea!
At my daughter Zoe’s skating competition, there was a maker selling Squish-a-saurus dinos (made from my pattern!), and the kids were going absolutely crazy for them. I’m talking full-on excitement… and they SOLD OUT!
It was one of those moments where I had to pause and smile. Seeing something I designed years ago still bringing joy to both makers and kids is truly the best feeling.
But it also gave me a little lightbulb moment…I needed to make a MINI Squish-a-Saurus!
The Perfect Skate Bag Buddy
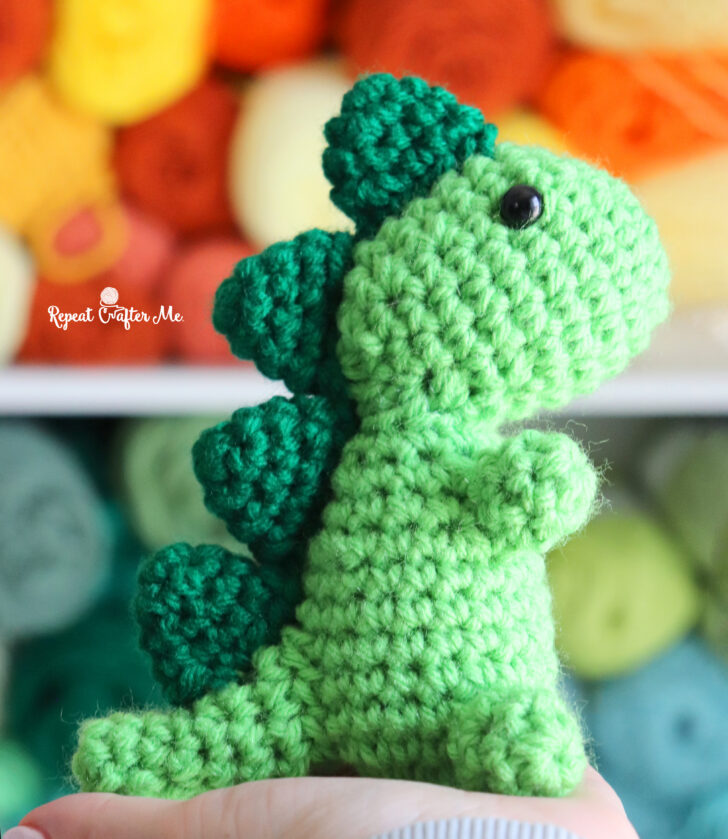
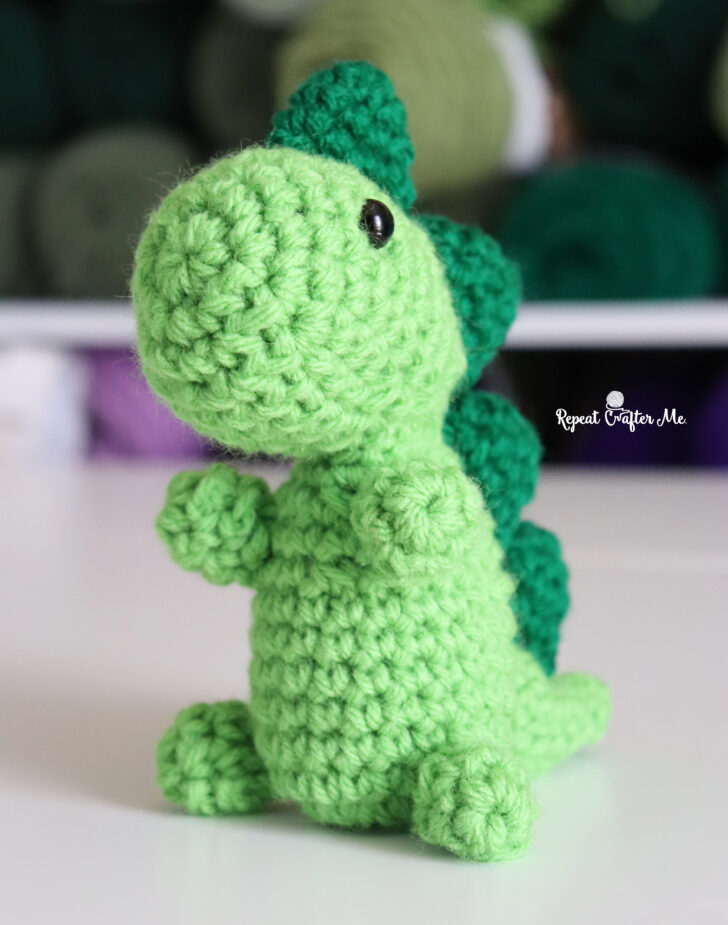
These mini dinos are the cutest little companions! Add a keyring and they are the perfect size to clip onto: ZUCA bags, Skate totes, Backpacks, Purses, Crossbody bags, and more!
If you’re in the figure skating world, you know all about those rink-side skate totes: the compact bags that sit right on the boards holding everything from water bottles and guards to gloves, tissues, and phones. And right now? It’s totally trendy to clip keychains onto them. That’s exactly where these mini squish-a-saurus dinos come in! After seeing Zoe and her friends light up over these dinos at the competition, I knew this mini version would be the perfect fit for their skating world.
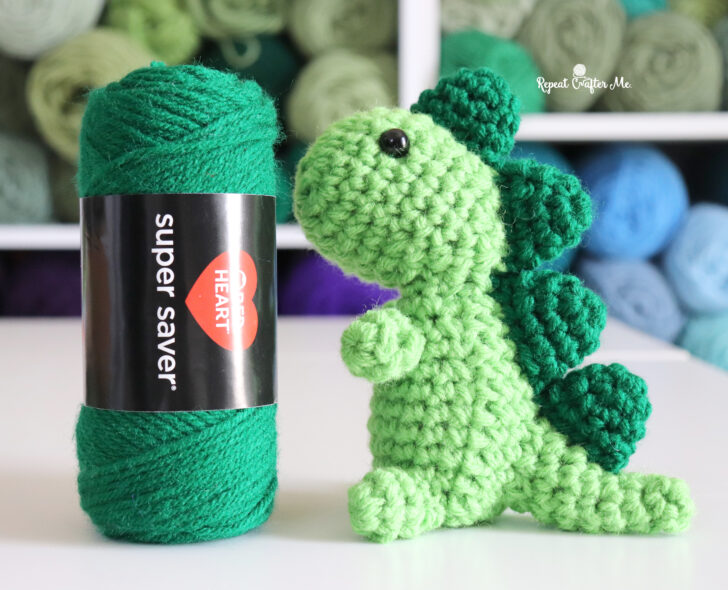
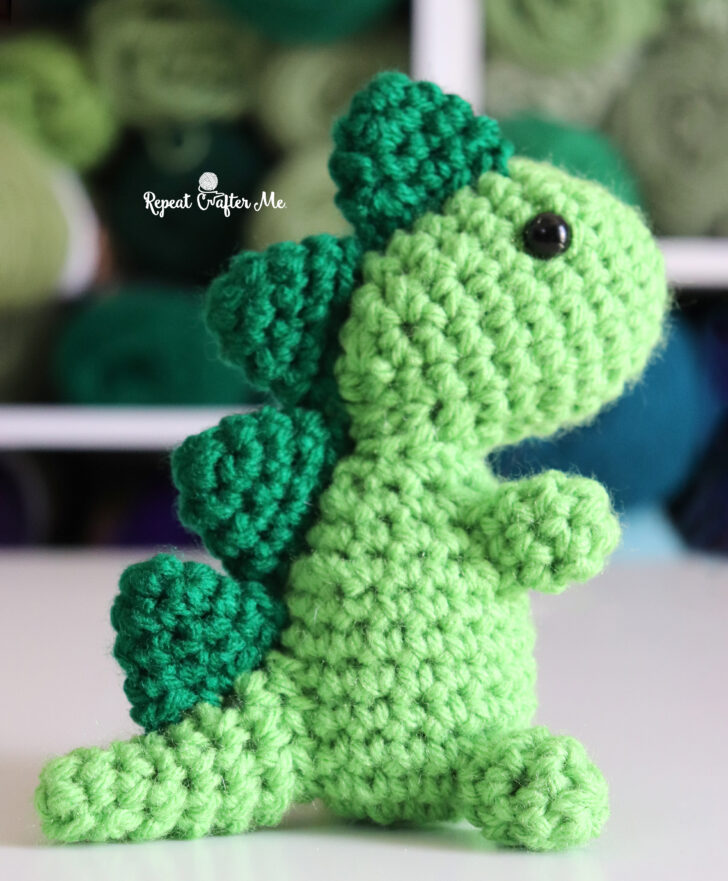
Finished size is approximately 6 inches tall x 5 inches wide, making them perfectly palm-sized.
Mini Skeins = Mini Dino Magic
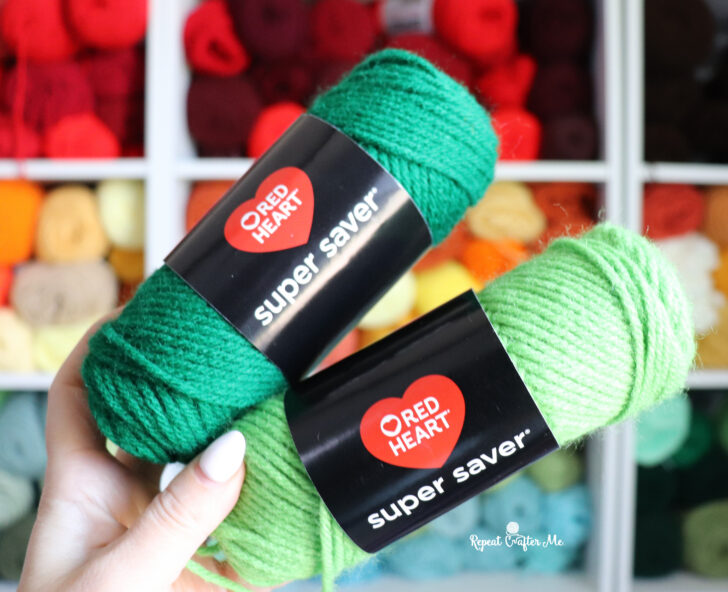
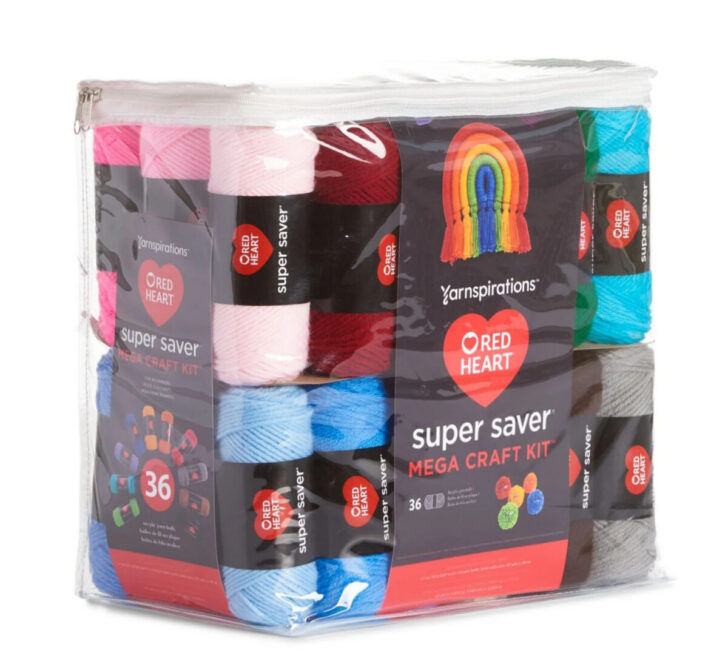
I’m using yarn from the Red Heart Super Saver Mega Craft Kit, and it honestly couldn’t be more perfect for this project.
- One mini skein can make TWO dino bodies 🙌
- Endless color combos = endless dino personalities
- Perfect stash-busting project!
I’m already planning to make a whole rainbow set of these using every color in the kit.
>>> Shop the Red Heart Super Saver Mega Craft Kit HERE on Yarnspirations.com <<<
PS – I’ve been using these mini skeins a lot lately so grab a pack or two!
Don’t Be Intimidated!
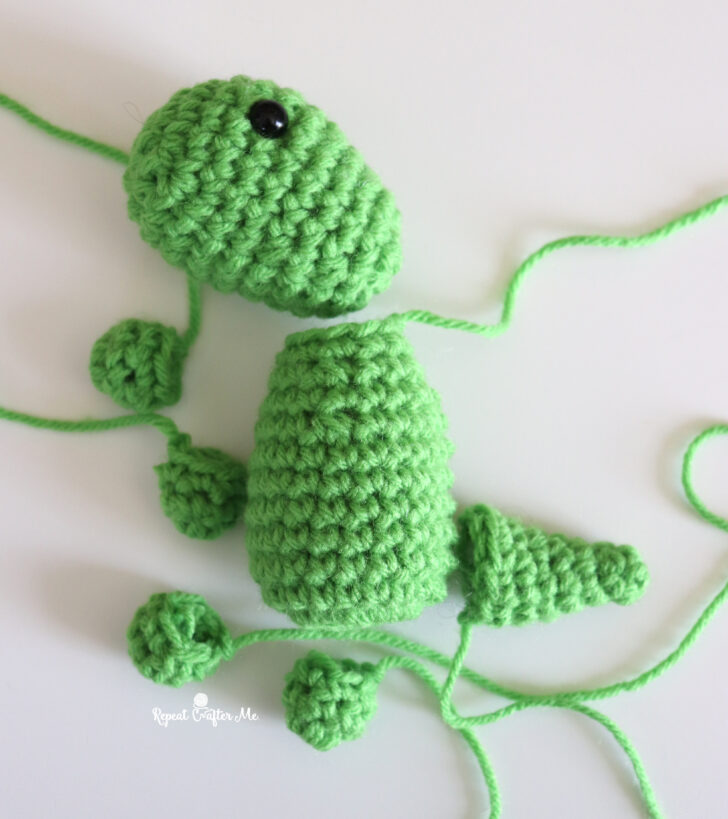
I purposely designed this pattern with multiple small pieces and I promise, it’s easier than it looks!
Each piece uses simple stitches, and working them separately actually gives the dino a sturdy structure, helps it hold that classic Squish-a-saurus shape, makes it extra cute and dimensional.
Materials
- Red Heart Super Saver Mini Skeins (Spring Green for body, Paddy Green for spikes)
- Size H Crochet Hook (body)
- Size F Crochet Hook (spikes)
- Polyfil Fiber Stuffing
- Two 12mm black safety eyes
- Tapestry Needle
Mini Squish-a-Saurus Dinosaur Pattern
Head:
Magic Ring, chain 1 and make 8 SC in ring, join, chain 1
Round 2: 2 SC in first, SC in next, repeat around, join, chain 1
Round 3: 2 SC in first, SC in next 2, repeat around, join, chain 1
Round 4: 2 SC in first, SC in next 3, repeat around, join, chain 1
Round 5-7: SC in each stitch around, join, chain 1 (20 SC)
Round 8: SC Decrease, SC in next 3, repeat around, join, chain 1
Round 9: SC in each stitch around, join, chain 1
Add safety eyes between rounds 5 and 6 (about 6 stitches apart)
Start stuffing with polyfil
Round 10: SC Decrease, SC in next 2, repeat around, join, chain 1
Round 11: SC in each stitch around, join, chain 1
Round 12: SC Decrease, SC in next, repeat around, join
Fasten off, finish stuffing, and close opening.
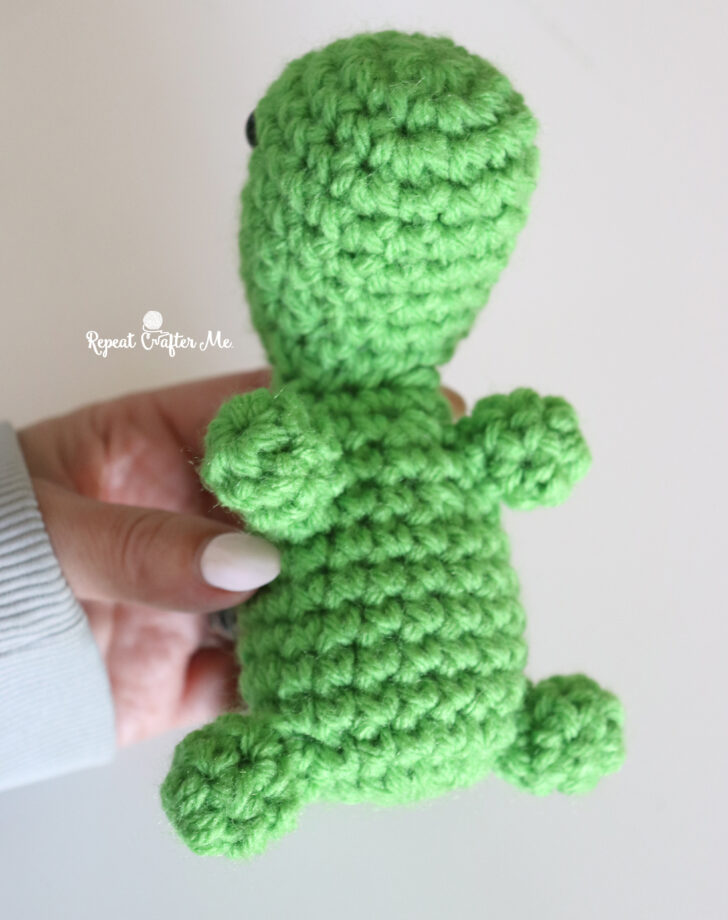
Body:
Magic ring, chain 1 and make 10 SC in ring, join, chain 1
Round 2: 2 SC in each stitch around, join, chain 1
Round 3-8: SC in each stitch around (20 SC), join, chain 1
Round 9: SC Decrease, SC in next 3, repeat around, join, chain 1
Round 10: SC in each stitch around, join, chain 1
Round 11: SC Decrease, SC in next 2, repeat around, join, chain 1
Round 12: SC in each stitch around, join
Fasten off leaving long tail.
Stuff with polyfil and leave top open.
Tail:
Magic Ring, chain 1 and make 4 SC in ring, join, chain 1
Round 2: SC in each stitch around, join, chain 1
Round 3: SC in first, 2 SC in next 2, SC in last, join, chain 1
Round 4: SC in each stitch around (6 SC), join, chain 1
Round 5: SC in first two, 2 SC in next 2, SC in last two, join, chain 1
Round 6: SC in each stitch around (8 SC), join, chain 1
Round 7: SC in first three, 2 SC in next 2, SC in last three, join
Fasten off leaving long tail. Lightly stuff.
Feet/Arms (make 4):
Magic Ring, chain 1 and make 6 SC in ring, join, chain 1
Round 2-3: SC in each stitch around
Fasten off after round 3, leave long tail. Do not stuff.
Spikes (make 4):
Using darker green yarn and a size F hook:
Magic Ring, chain 1 and make 6 SC in ring, join, chain 1
Round 2: 2 SC in first, SC in next, repeat around, join, chain 1 (9 SC)
Round 3: SC in each stitch around, join, chain 1 (9 SC)
Round 4: 2 SC in first, SC in next 2, repeat around, join
Fasten off leaving long tail. Do not stuff.
Assembly
Now it’s time to bring your Mini Squish-a-Saurus to life!
Take your time with placement. This is what gives your dino its personality and sturdy shape.
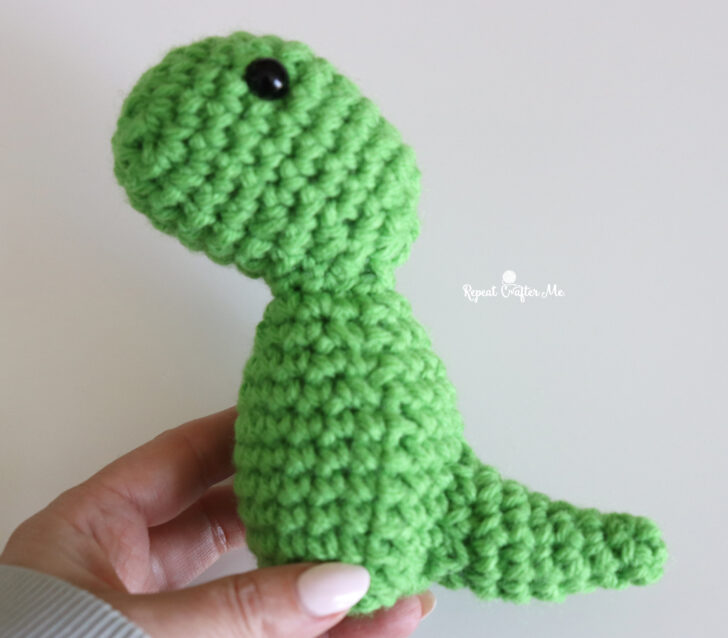
Step 1: Attach Head to Body
Place the head on top of the body, slightly tilted forward so the dino has that cute, rounded look.
- The head should sit right over the opening of the body
- Use the long tail from the body or head to stitch the two pieces together
- Sew all the way around, making sure it is secure
- Add extra stuffing if needed before closing completely
Step 2: Attach Tail
Position the tail on the back lower portion of the body.
- Place it centered on the back, slightly angled downward
- Stitch around the base of the tail using the long tail
- Make sure it’s secure and lightly stuffed for shape
Step 3: Attach Feet (Bottom Legs)
Take two of your pieces and use them as the feet.
- Position them at the very bottom front of the body
- Space them evenly apart
- Angle them slightly outward so your dino can sit nicely
Stitch securely in place, going through both the foot and body stitches multiple times.
Step 4: Attach Arms
The remaining two pieces are the arms.
- Place them about 2 rows down from the base of the head on each side of the body
- Angle them slightly forward, like the dino is holding something (or ready for a hug!)
Stitch firmly into place.
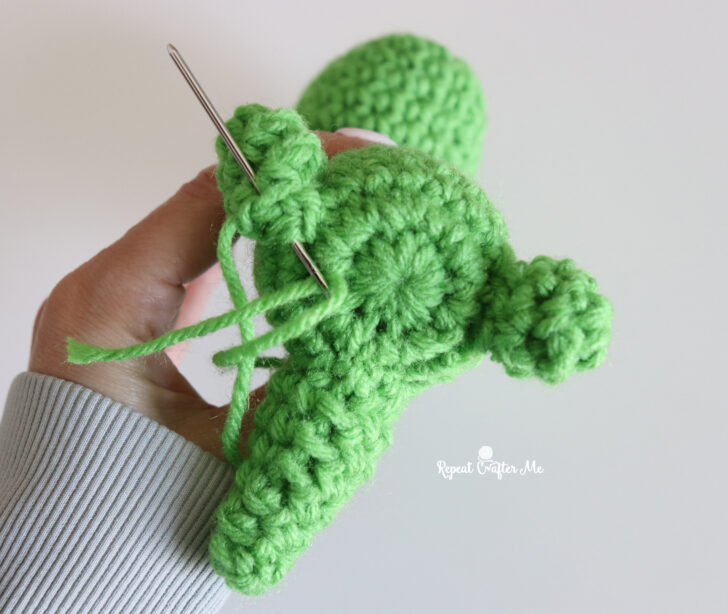
Step 5: Attach Spikes
This is what really brings your dino to life!
- Start with the first spike on top of the head, centered between the eyes
- Use a tapestry needle to stitch through both the edge of the spike and the stitches of the head
- Once secure, place the next spike directly behind it
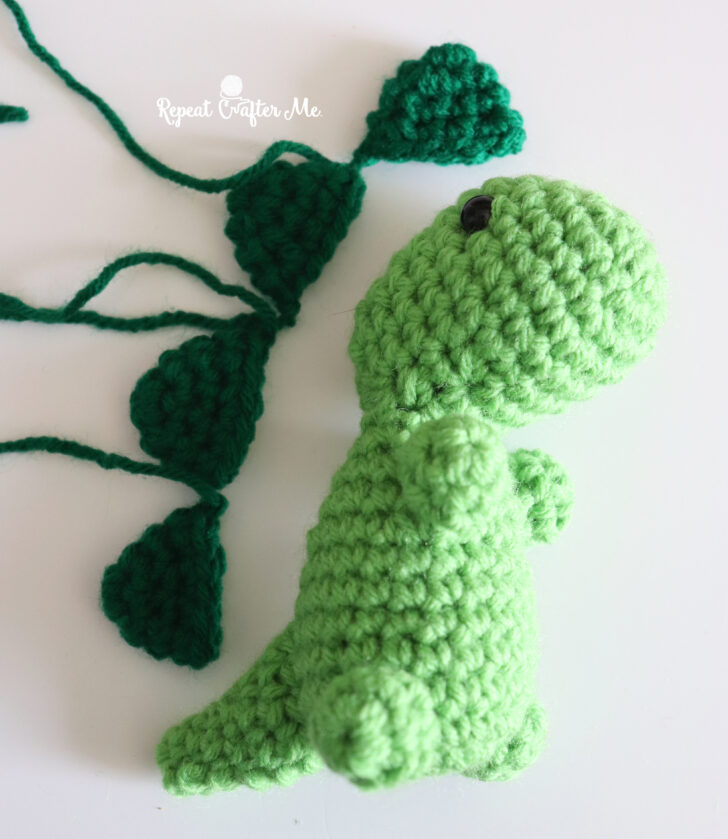
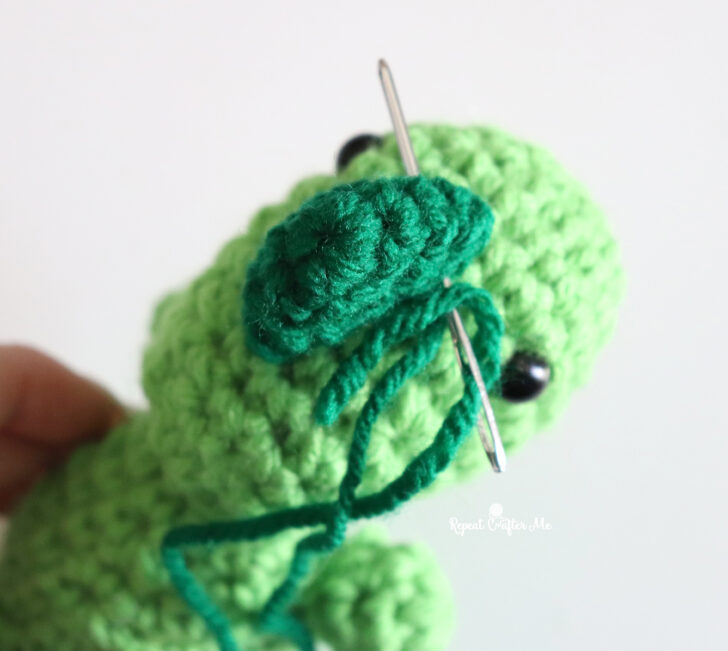
Continue attaching all spikes in a straight line down the back of the head and body.
- Space them evenly
- Slightly overlap if needed for a seamless look
Step 6: Add a Keyring (Optional but Highly Recommended!)
Turn your Mini Squish-a-Saurus into the perfect tote accessory!
- Thread a piece of yarn through the top of the head, just behind the first spike
- Attach a keyring or lobster clasp by weaving yarn through bottom of keyring or clasp.
Final Touch
Give your dino a little squeeze and adjust the shape as needed.
Now you’ve got the cutest little Mini Squish-a-Saurus ready to clip onto a bag or gift to a lucky kid!
Want More Squish-a-Saurus Fun?
The original Squish-a-Saurus is a pattern I designed for Yarnspirations several years ago and it has truly stood the test of time. Seeing it still loved makes my heart so full.
Over the years, Yarnspirations actually updated the pattern with a newly crocheted sample and refreshed layout. The construction is very similar, but the updated version is a bit cleaner and easier to follow.
So now there are two official versions available:
Both will give you the same adorable Squish-a-Saurus so feel free to use whichever you prefer!
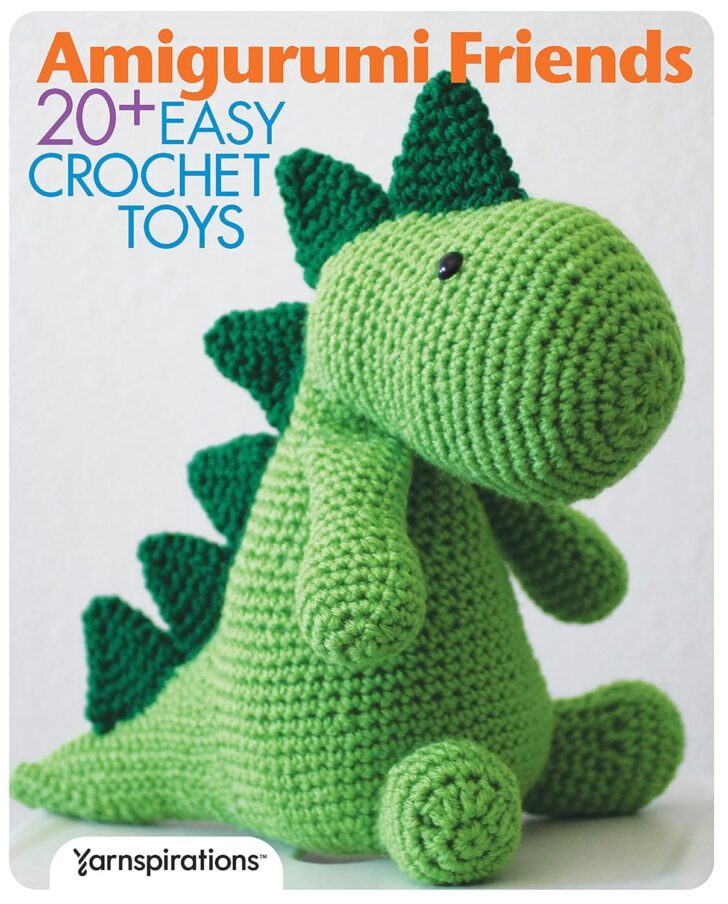
This dino is extra special to me because it’s also featured in a published crochet book… and it even made the cover! If you love having patterns in print or want a collection of cute crochet projects all in one place, you can grab it here: >>> Amigurumi Friends: 20+ Easy Crochet Toys <<<
>>> And don’t miss the JUMBO cuddly version made with Bernat Blanket Yarn <<<
This little mini version was inspired by such a sweet, real-life moment… and I have a feeling these tiny dinos are going to be just as loved
If you make one, I would LOVE to see it! Tag me so I can share your creations!
Let’s stay connected!
Subscribe to my NEWSLETTER for free patterns straight to your inbox!
Repeat Crafter Me Facebook
Repeat Crafter Me Instagram
Repeat Crafter Me Pinterest
Repeat Crafter Me YOUTUBE

 Starbucks Stitch Markers and Bottled Beverages
 Crochet Christmas Tree Pixel Square
 Crochet Santa Pixel Square
 Crochet Daisy Rug with Clover Amour Large Hooks and Giveaway!
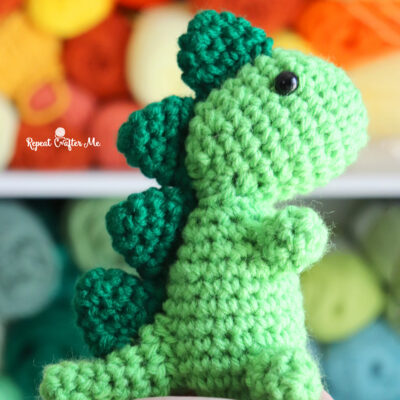
Leave a Reply