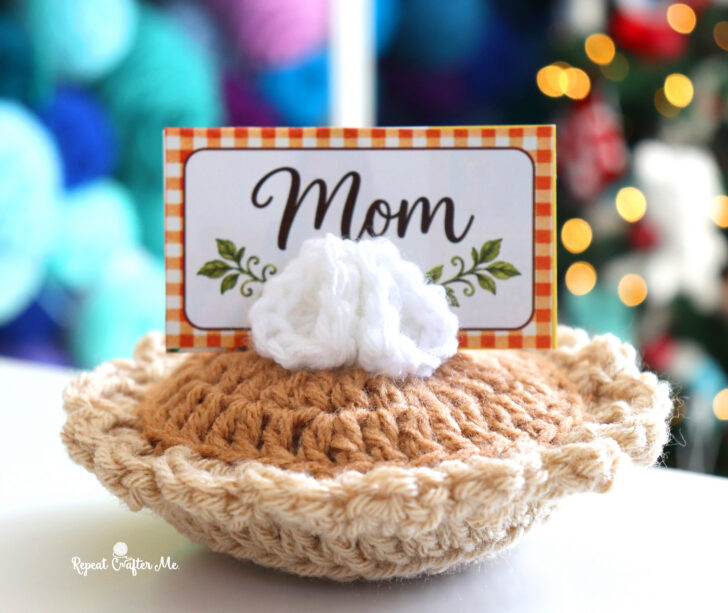
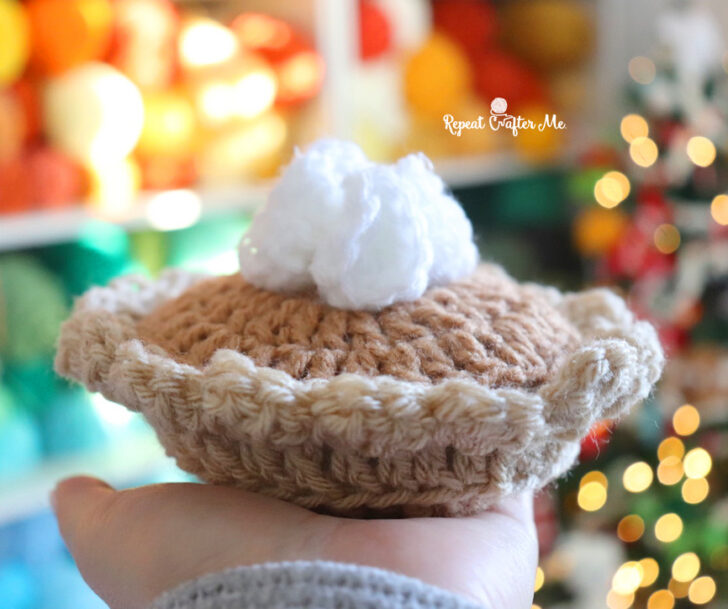
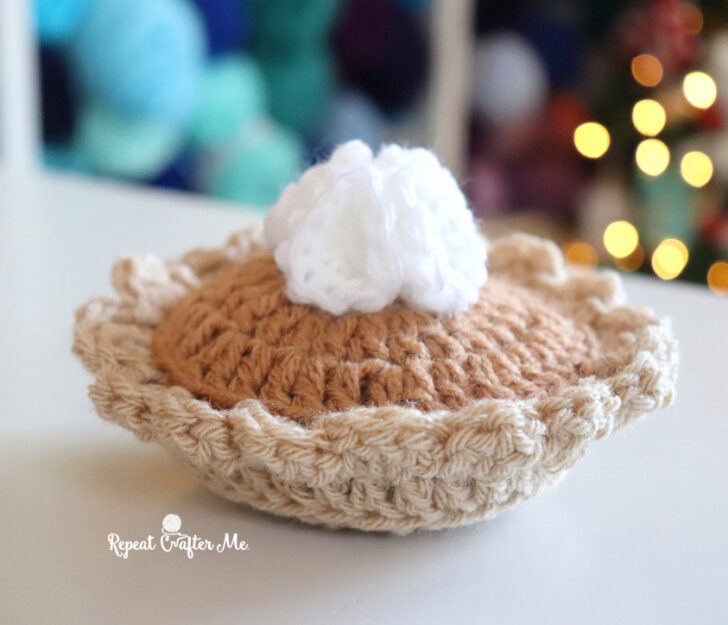
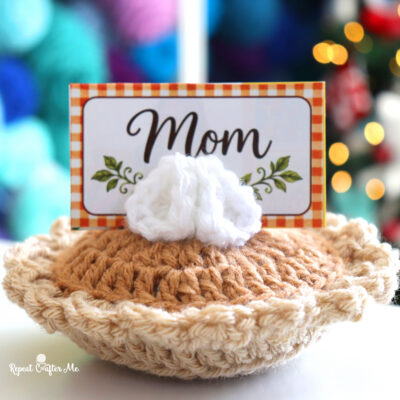
How adorable are these little crochet pumpkin pies?! Complete with a scalloped crust and a fluffy dollop of whipped cream, they are the sweetest addition to your Thanksgiving or Christmas table!
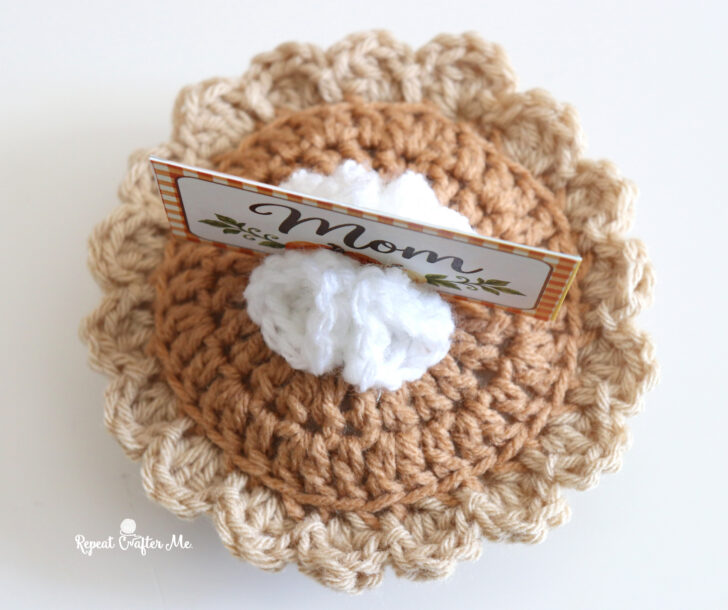
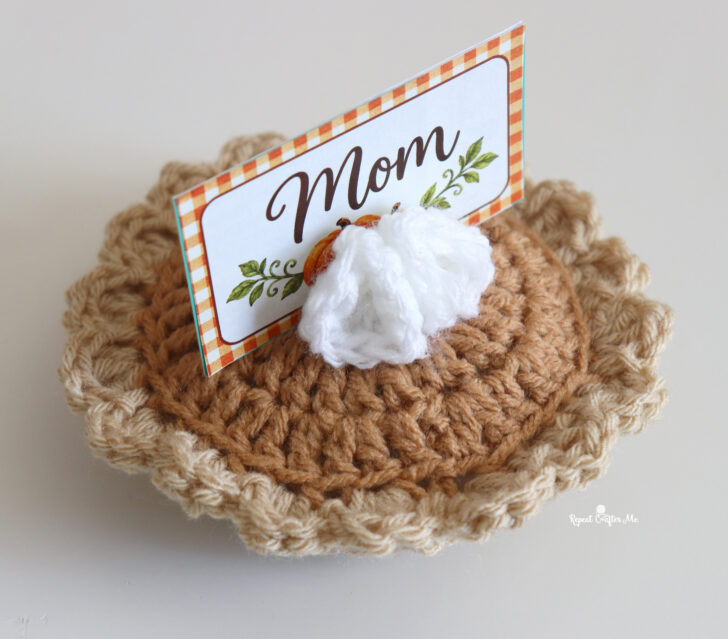
And here’s the clever part! The whipped cream is actually constructed to hold a placecard with your guest’s name on it!
Each little pie measures approximately 5 x 5 inches and is surprisingly simple to make. We’re talking two basic crochet circles, some scalloped edging, and a few little folded circles as dollops of whipped cream!
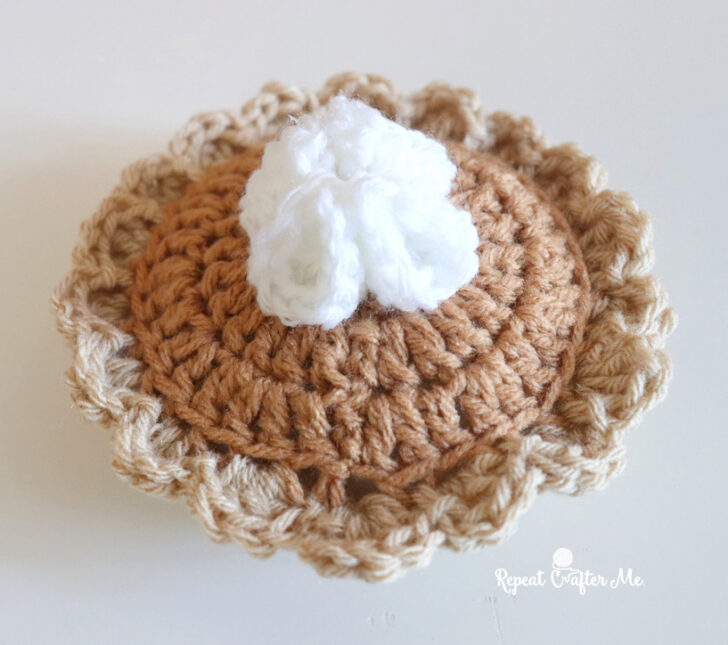
While I designed these as placecard holders, they would also make adorable little plushies, ornaments, oversized keychains, or gift toppers! You could even make a whole batch to give your Thanksgiving guests a handmade (calorie-free!) treat to take home.
Let’s get crocheting!
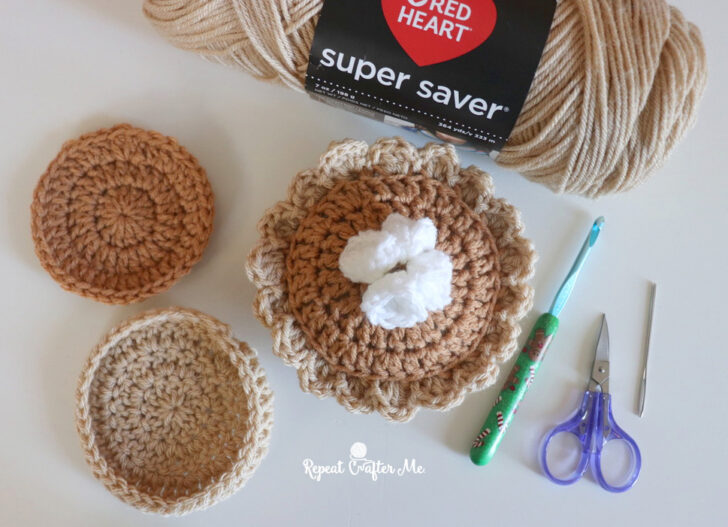
Crochet Pumpkin Pie Placecard Holder Pattern
Finished Size: Approximately 5 x 5 inches
Skill Level: Easy
Materials
- Red Heart Super Saver Yarn in Buff Beige (bottom crust and scalloped edging)
- Bernat Super Value Yarn in Topaz (top pumpkin pie filling)
- Red Heart Super Saver Yarn in White (whipped cream)
- Size H-8 (5.0 mm) Crochet Hook
- Poly-fil Stuffing
- Tapestry Needle
- Hot Glue Gun
- Scissors
- Printable Placecards (download HERE)
A little note about the yarn: Have I mentioned how much I love Bernat Super Value in Topaz?! It’s the perfect warm golden-brown shade for holiday crochet projects. I use it for all my gingerbread projects, too! Apparently it’s my go-to color for crocheting delicious holiday treats!
>>> Shop Bernat Super Value Yarn HERE on Yarnspirations <<<
Abbreviations
- CH = Chain
- DC = Double Crochet
- SL ST = Slip Stitch
- ST = Stitch
- BLO = Back Loops Only
Pattern is written in US crochet terms. Beginning CH 2 does not count as a stitch.
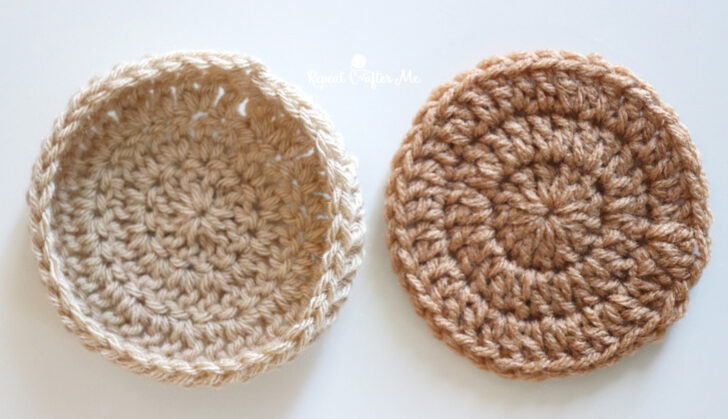
Pumpkin Pie Filling (Top Circle)
With Bernat Super Value yarn in Topaz:
Round 1: Magic Ring, CH 2, make 12 DC in ring. Join with a SL ST to first DC, CH 2. (12 DC)
Round 2: Make 2 DC in each stitch around. Join with a SL ST to first DC, CH 2. (24 DC)
Round 3: Make 2 DC in first stitch, DC in next stitch. Repeat around. Join with a SL ST to first DC. Fasten off and weave in ends. (36 DC)
Set aside while you crochet the bottom crust!
Pumpkin Pie Crust (Bottom Circle)
With Red Heart Super Saver yarn in Buff Beige:
Round 1: Magic Ring, CH 2, make 12 DC in ring. Join with a SL ST to first DC, CH 2. (12 DC)
Round 2: Make 2 DC in each stitch around. Join with a SL ST to first DC, CH 2. (24 DC)
Round 3: Make 2 DC in first stitch, DC in next stitch. Repeat around. Join with a SL ST to first DC, CH 2. (36 DC)
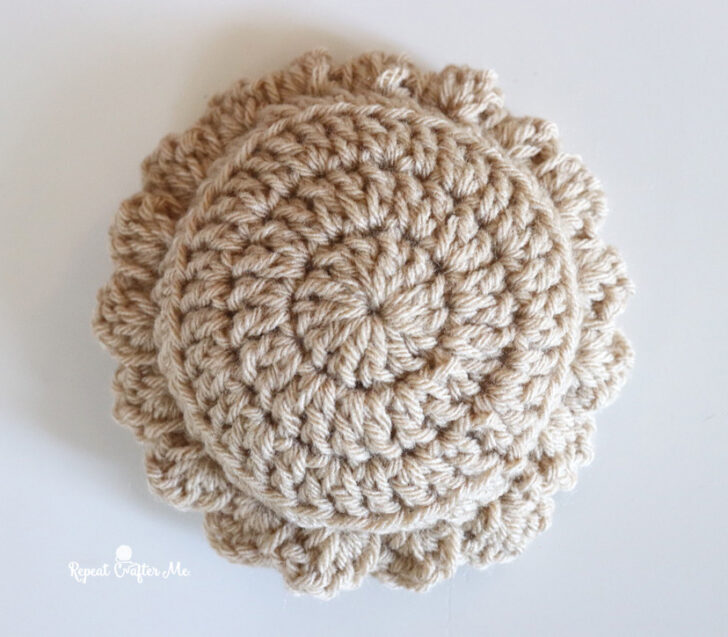
Round 4: Working in the back loops only, DC in each stitch around. Join with a SL ST to first DC. Fasten off and weave in ends. (36 DC)
Working Round 4 in the back loops creates a little raised edge that gives the bottom crust its pie dish shape!
Joining the Pie and Making the Scalloped Crust
Now for the fun part! We’re going to join our two circles together while creating that adorable pinched pie crust edging.
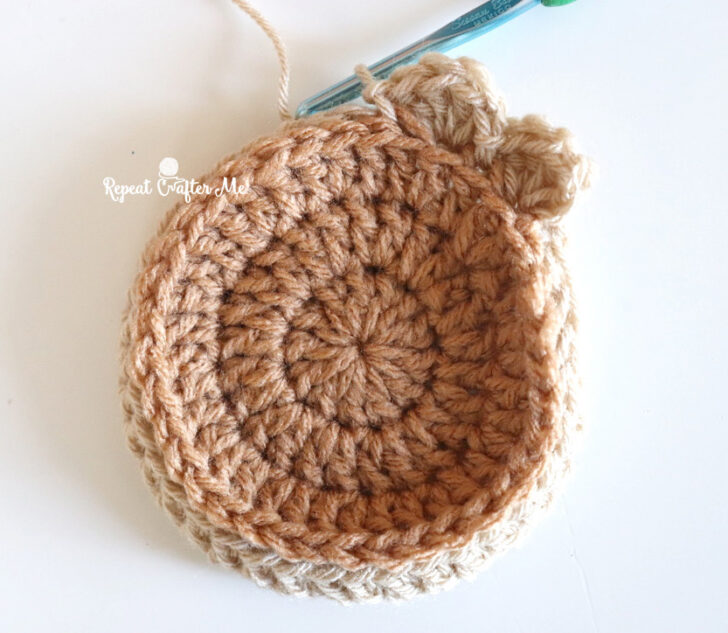
Place the Topaz pie circle on top of the Buff Beige crust circle, making sure the edges line up.
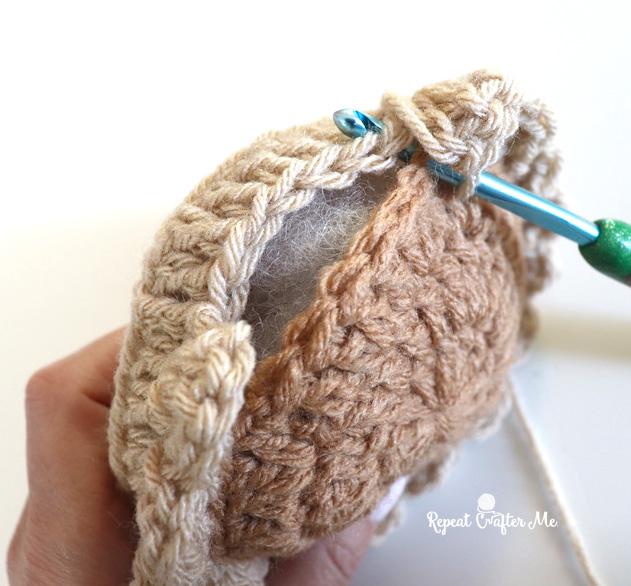
With Buff Beige yarn, insert your hook through the back loop of the top pie circle and both loops of the bottom crust circle. Join your yarn and CH 2.
Make 4 DC all in the same stitch.
SL ST into the next stitch, working through the back loop of the pie and both loops of the crust.
Make 4 DC in the next stitch, then SL ST into the following stitch.
Repeat this pattern all the way around:
(4 DC in next stitch, SL ST in next stitch)
Before completely closing the pie, add a little Poly-fil stuffing between the two circles. You only need enough to give your pumpkin pie a slightly rounded, puffy shape.
Continue crocheting the scalloped edging until the pie is completely closed.
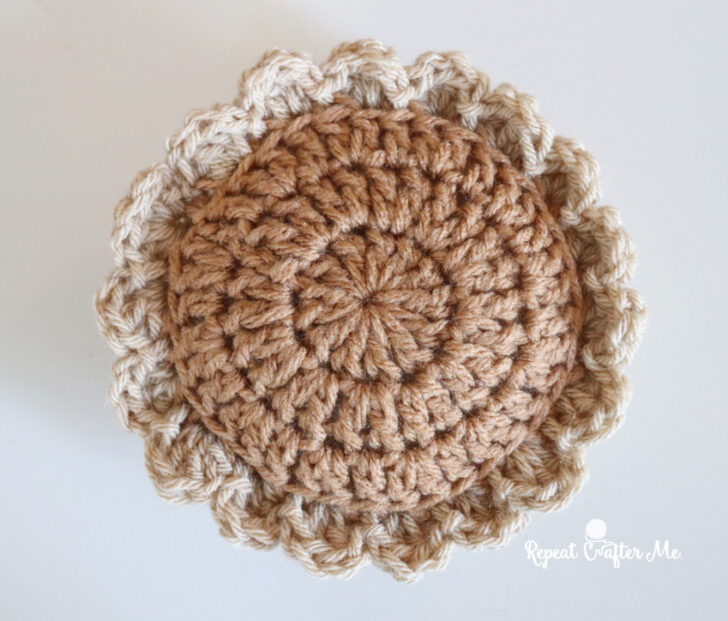
You should have 18 pinched crust scallops when finished!
Fasten off and weave in ends.
Look at that! We have a whole little crochet pumpkin pie! Now all we need is the whipped cream!
Crochet Whipped Cream
With Red Heart Super Saver yarn in White:
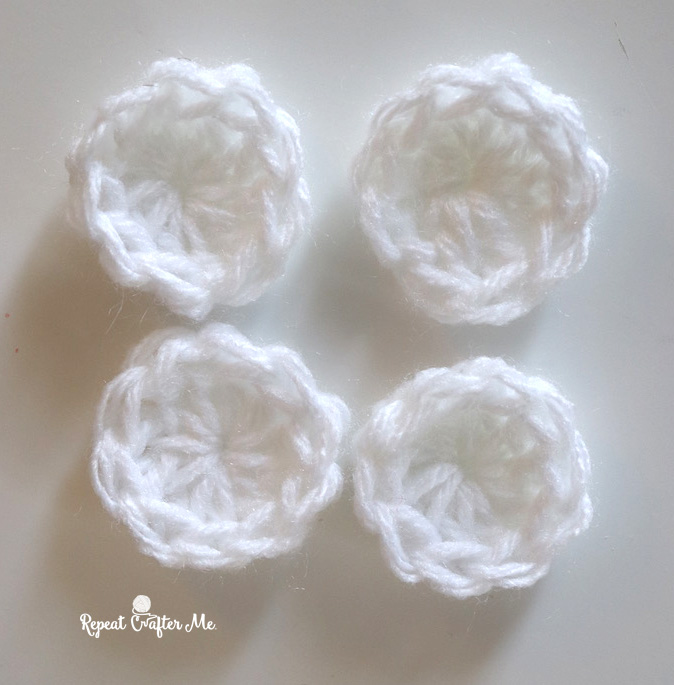
Make 4 circles.
Round 1: Magic Ring, CH 2, make 10 DC in ring. Join with a SL ST to first DC. Fasten off and weave in ends. (10 DC)
That’s it! Four little white circles are all you need to create our whipped cream topping.
Assembling the Whipped Cream Placecard Holder
This is my favorite part of the entire project because we’re turning a simple dollop of whipped cream into a functional placecard holder!
I found that using a hot glue gun was the easiest way to secure the whipped cream in place.
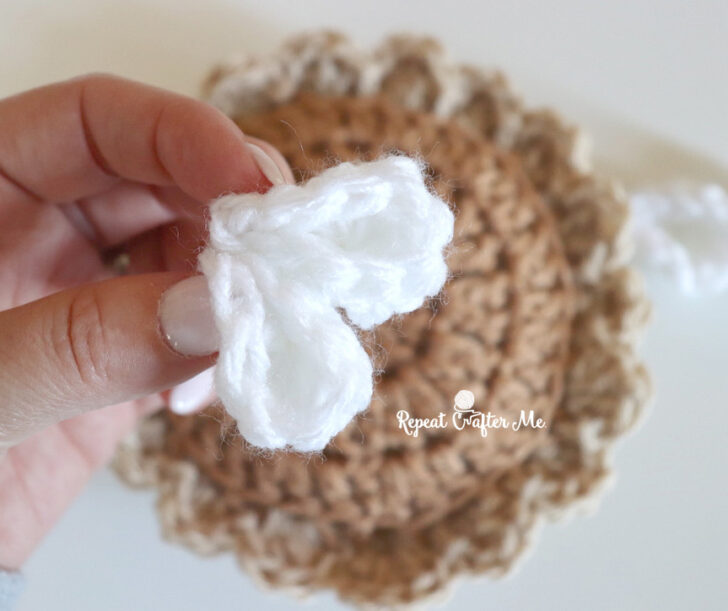
- Take two of your white crochet circles and pinch them together to create a fluffy little clump of whipped cream.
- Use a small amount of hot glue to secure the two circles together and attach them to the center of your pumpkin pie.
- Repeat with the remaining two white circles, creating a second clump of whipped cream right next to the first.
- Here’s the important part! Do NOT glue the two clumps of whipped cream together! You want to leave a little space between them.
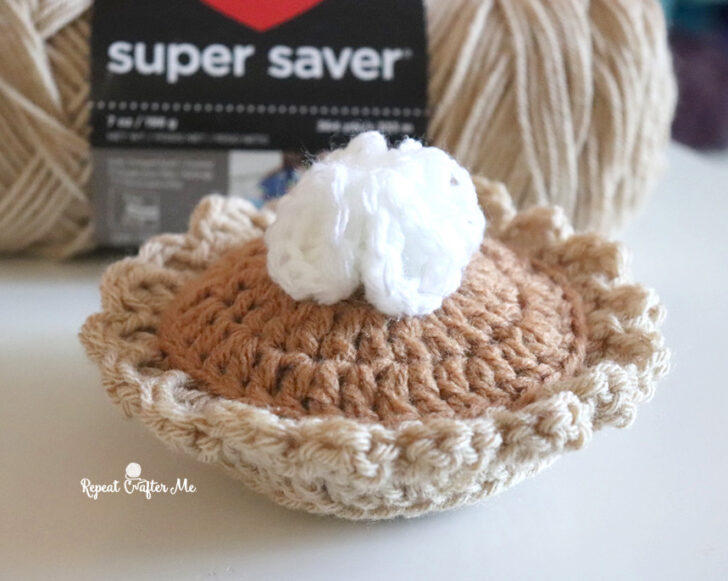
That small opening between the two clumps is what holds your placecard!
Once the glue has cooled and everything is secure, gently slide your placecard between the whipped cream dollops.
How clever is that?!
You now have an adorable little pumpkin pie with whipped cream that holds your guests’ names!
Free Printable Placecards
Of course, we need some cute placecards to go with our crochet pumpkin pies!
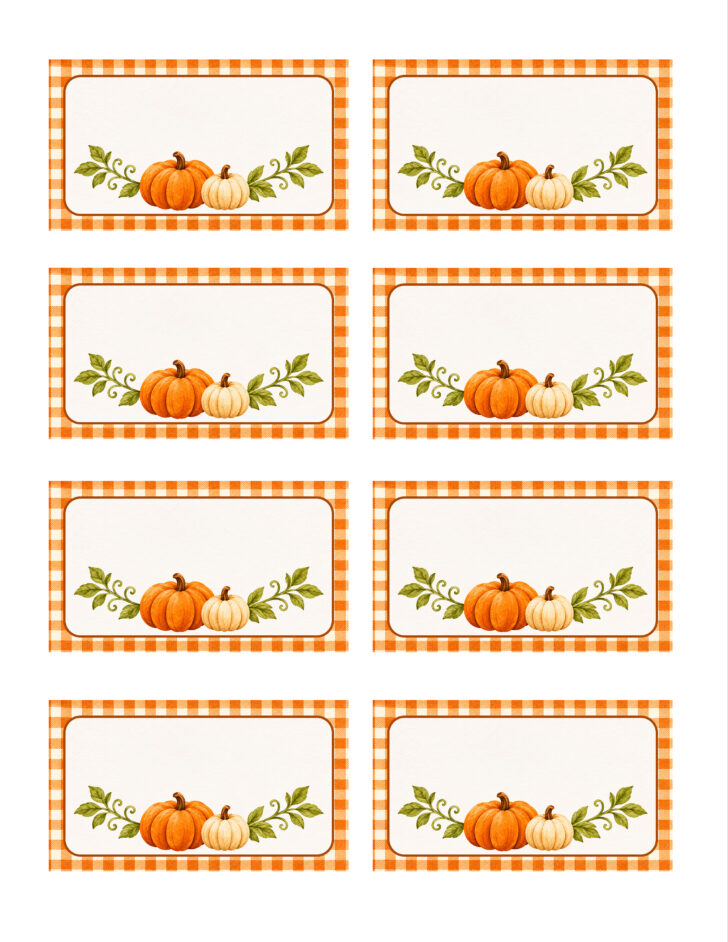
I’ve created a coordinating printable with a festive orange gingham border and little pumpkins. Simply download, print, cut out the cards, and write in your guests’ names!
[Download the Free Printable Pumpkin Pie Placecards Here]
The placecards measure approximately 3.5 x 2 inches, which is a standard business card size. You can even glue the printable onto a business card or piece of cardstock to make it a little sturdier.
Tuck the finished card between the two whipped cream dollops and your holiday table is ready!
A Sweet Handmade Touch for the Holidays
I just love projects that are both cute and functional! These little crochet pumpkin pies are such a fun way to add a handmade touch to your Thanksgiving or Christmas table.
And because the pattern is so simple, you can easily crochet several in time for your holiday gatherings!
Of course, you don’t have to use them as placecard holders. Leave off the card and you’ve got an adorable little crochet pumpkin pie plushie. Add a loop for an ornament, attach a keychain ring, or use one as a festive gift topper!
However you decide to use them, I hope these little pumpkin pies bring a little extra sweetness to your holiday celebrations.
Happy Crocheting and Happy Holidays!

 Starbucks Stitch Markers and Bottled Beverages
 Crochet Christmas Tree Pixel Square
 Crochet Santa Pixel Square
 Crochet Daisy Rug with Clover Amour Large Hooks and Giveaway!


Leave a Reply