Mother’s Day is coming up as well as Teacher Appreciation Week! I hate giving expensive bouquets of flowers ever year that die within days. And this year, my sons teacher has bad allergies so real flowers is probably not the best idea. But crocheted flowers will be perfect! You can crochet them in the recipients favorite color, they don’t have any pollen, and they will last forever!

But if I was going to crochet a big bouquet, I needed a QUICK flower pattern. None of these time consuming patterns that have multiple rounds or separate pieces to sew together. I came up with a pattern that works in one long strip, and you only have to chain 20. It may not be the most elaborate flower out there but its simple and looks great in a group.
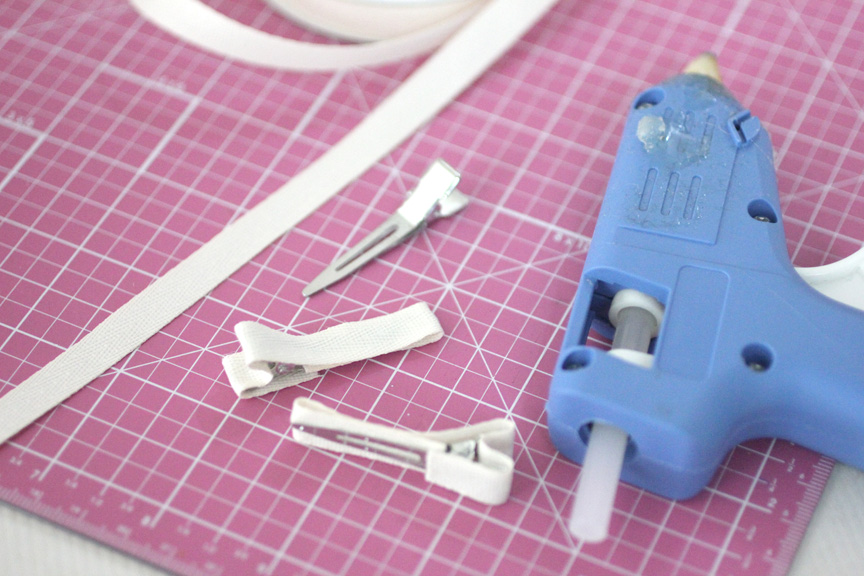
Materials:
-Size G Crochet hook
-Worsted weight yarn
-Small buttons for center of flower
-Tapestry needle
-Floral wire or jewelry wire
-Washi tape (green) or floral tape
Abbreviations:
ch = chain
sl st = Slip Stitch
SC = Single Crochet
HDC = Half Double Crochet
DC = Double Crochet
TR = Triple Crochet
Flower Pattern:
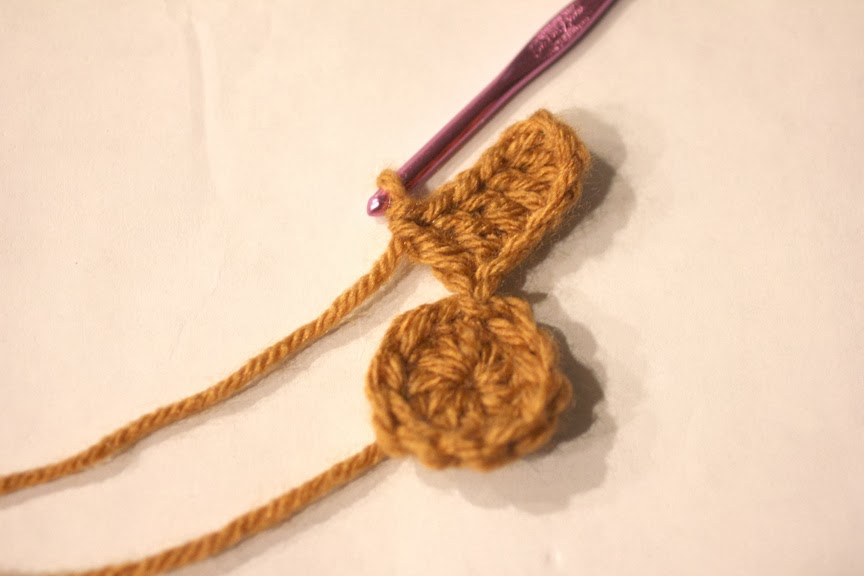
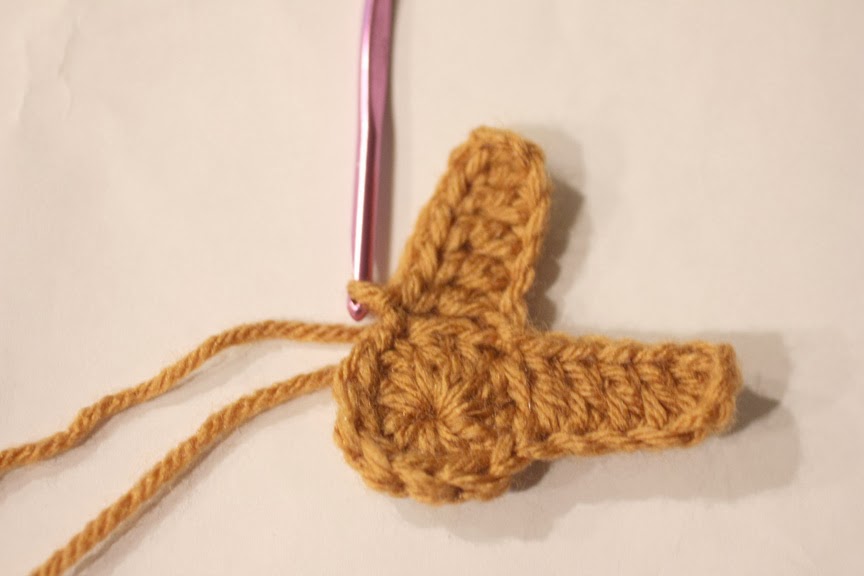
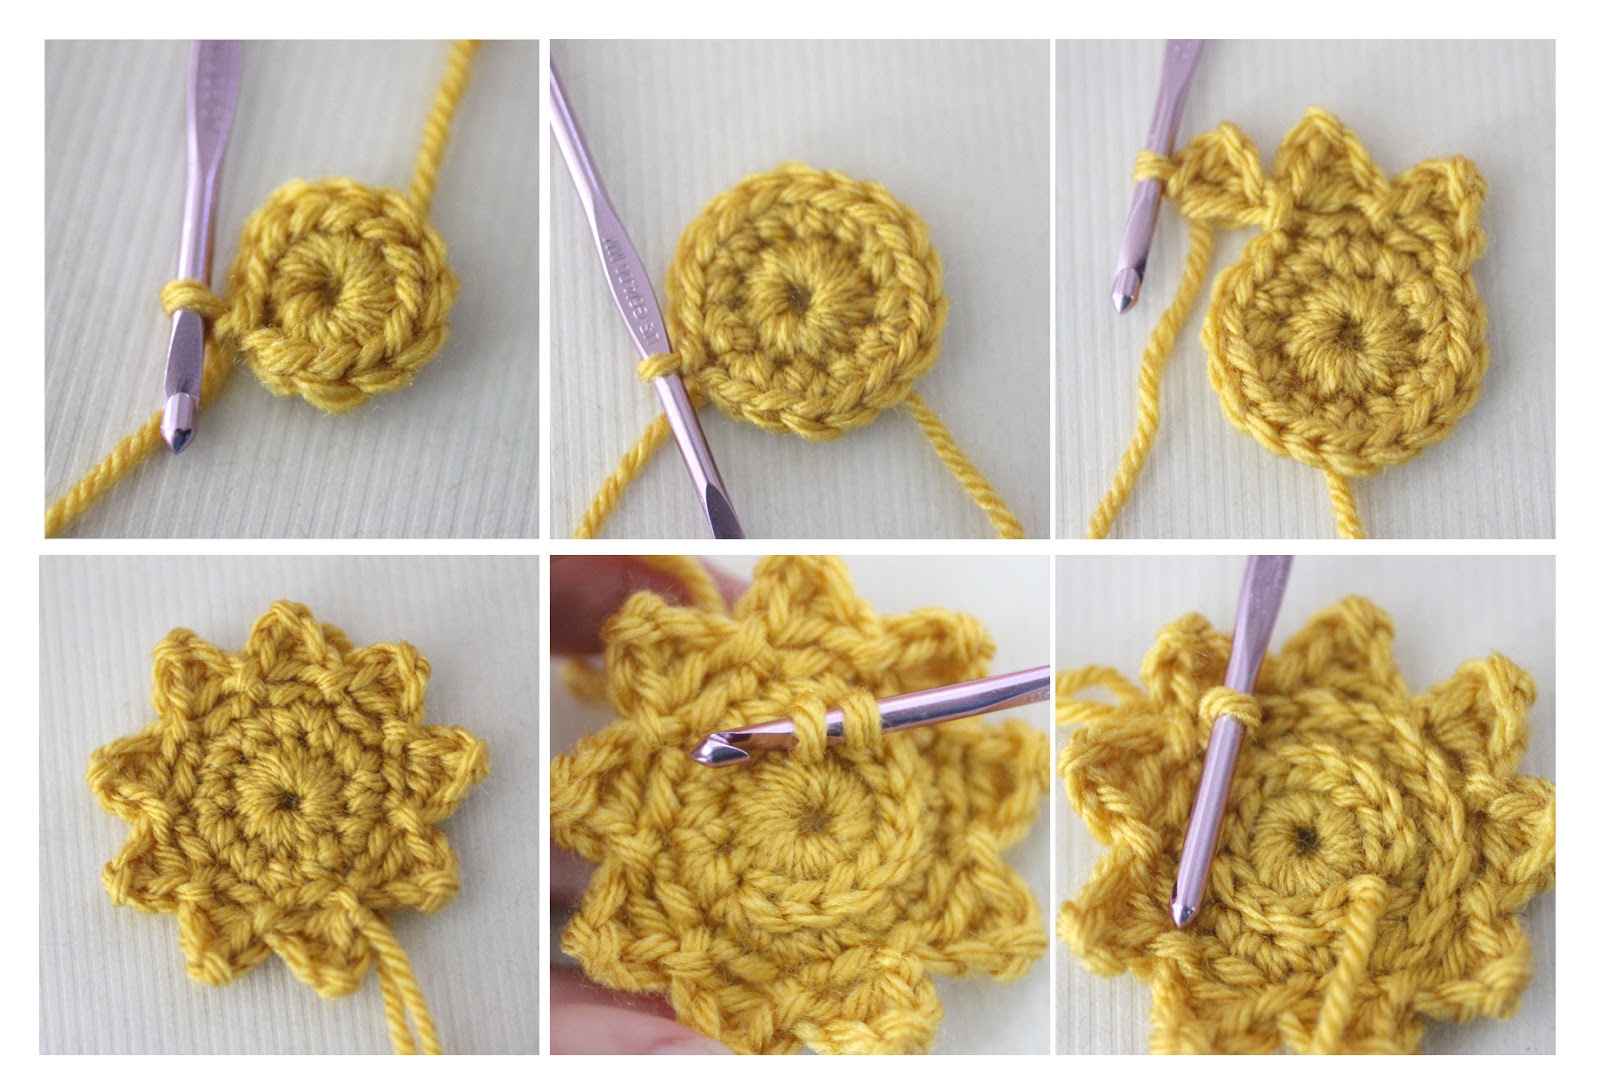
Chain 20, in third chain from hook [DC+ch 1+TR+ch 1+DC+ch 1+HDC+sl st], sl st in next stitch, *[HDC+ch 1+DC+ch 1+TR+ch 1+DC+ch 1+HDC+sl st] all in one stitch, sl st in next stitch, repeat from * down the entire chain. You should end up with 9 petals.
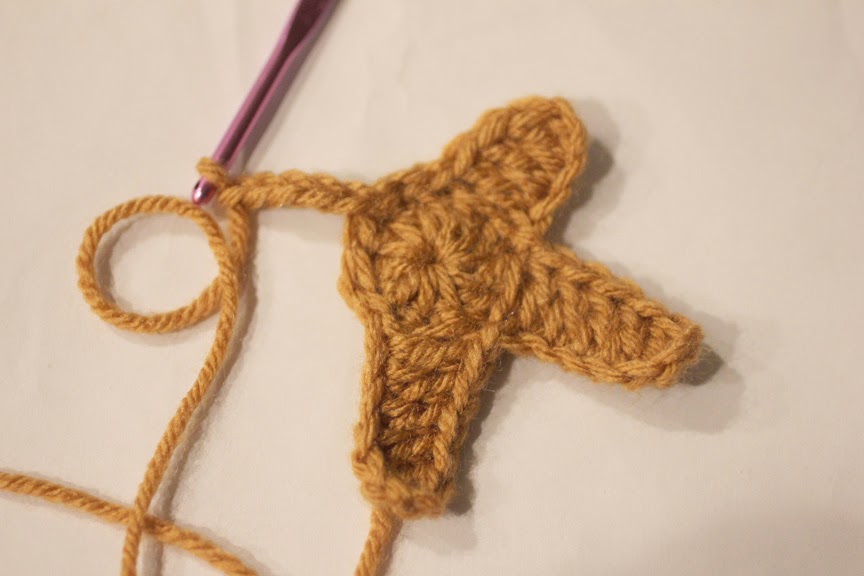
Fasten off leaving long tail.


When you are done with the pattern, you will have a clumpy cluster of petals like this.

Starting with your first petal start to twist them around in a spiral. Hold the top down with your thumb and forefinger to hold in place while you flair the petals out.

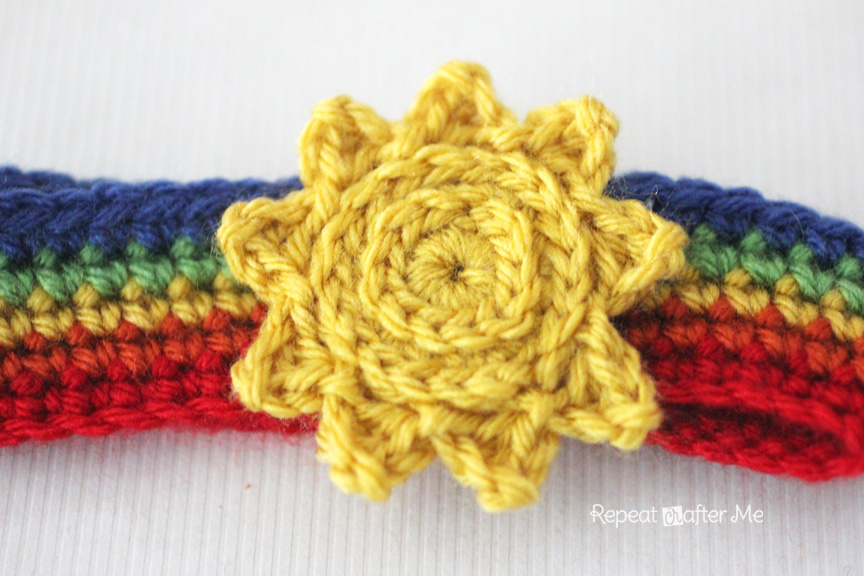
After a minute and your flower should look like this!

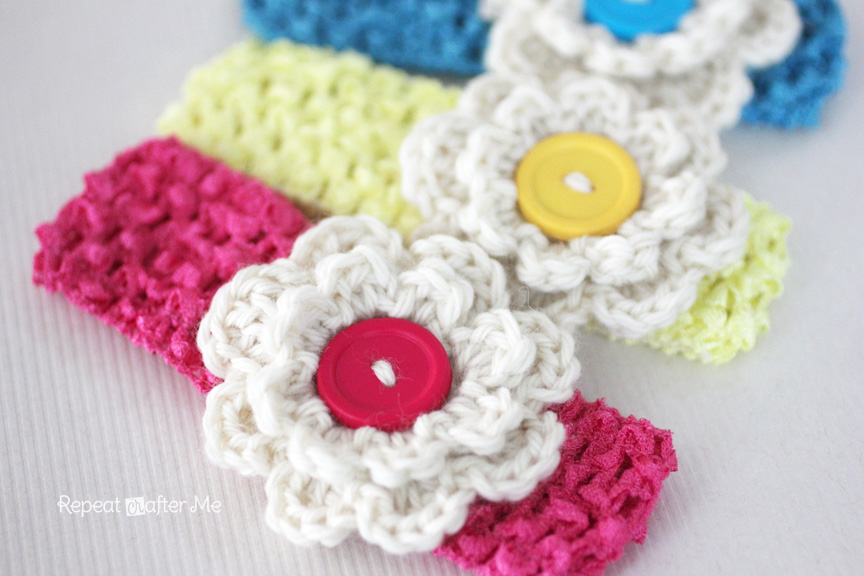
Using your tapestry needle, weave your tail up through the flower, securing the petals together. There is really no rhyme or reason to this. Just weave your needle in and out a couple of times so the petals stay in place. Add your button too!

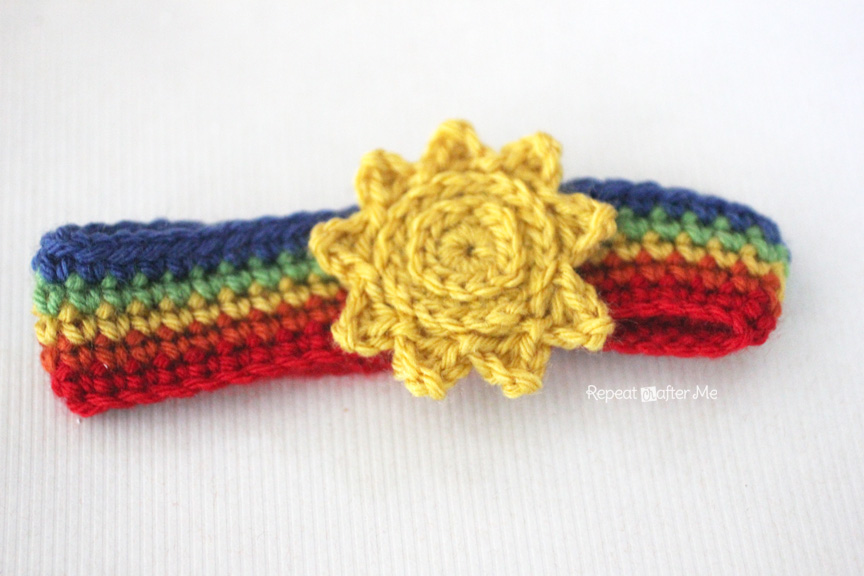
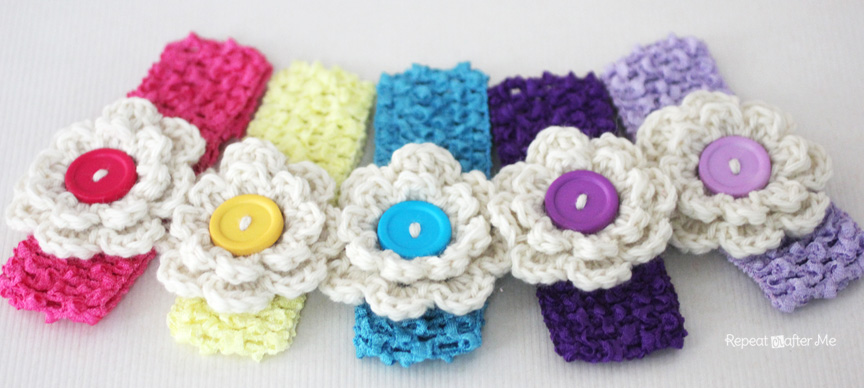
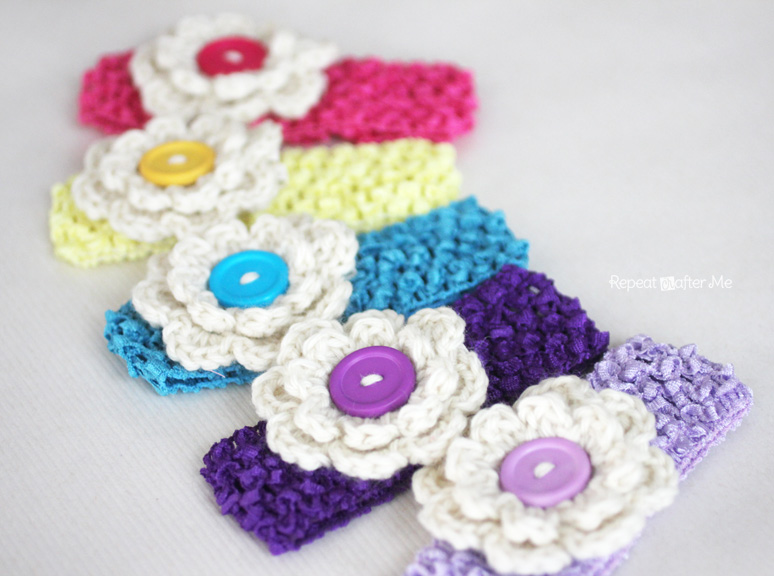
Your flowers should look somewhat like this! Pretty!

Now you are ready to add your stem.
I used a piece of 20 gauge jewelry wire and green washi tape, but you could use floral wire (you can find this at the dollar store!) and floral tape.

Cut a long piece of wire (about 18-24″) and fold it in half. Slip it through the bottom of your flower.

Twist the two pieces together and fold up the bottom part of the wire so it doesn’t poke anyone. Wrap washi tape (or floral tape) around the wire. I started from and tried to get as close to the crochet flower with my tape as possible.

Now you have your first flower!

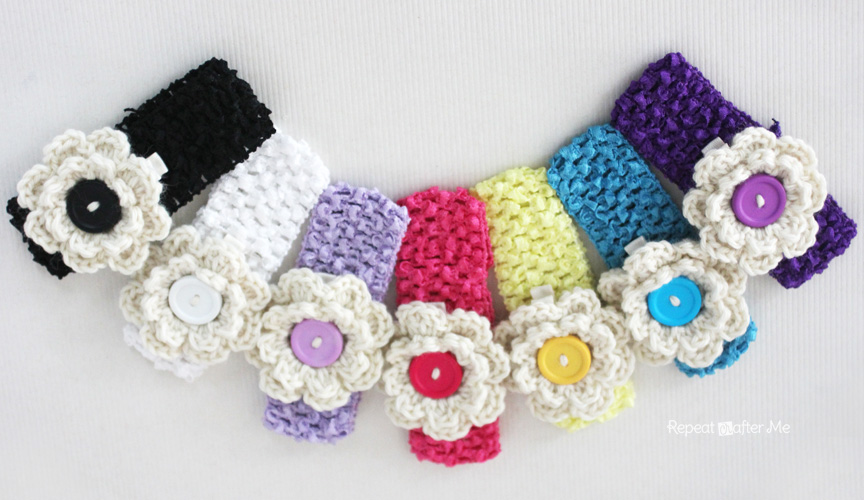
Once you make a bunch of these, you can tie the stems together with ribbon or place them in a small vase.


I would love to see your crochet bouquets!
*** You may make and sell products from my patterns but if you do I ask that you link back to my post. Please do not copy and post this pattern and claim it as your own. Please do not re-publish photos as your own.***
Want more free patterns? Keep in touch on my Repeat Crafter Me Facebook Page for new pattern sneak peeks and when they will be available on my blog! And feel free to post pictures of your finished hats and/or links to your shops on my Facebook wall so all can see.


 which I purchased from Amazon.