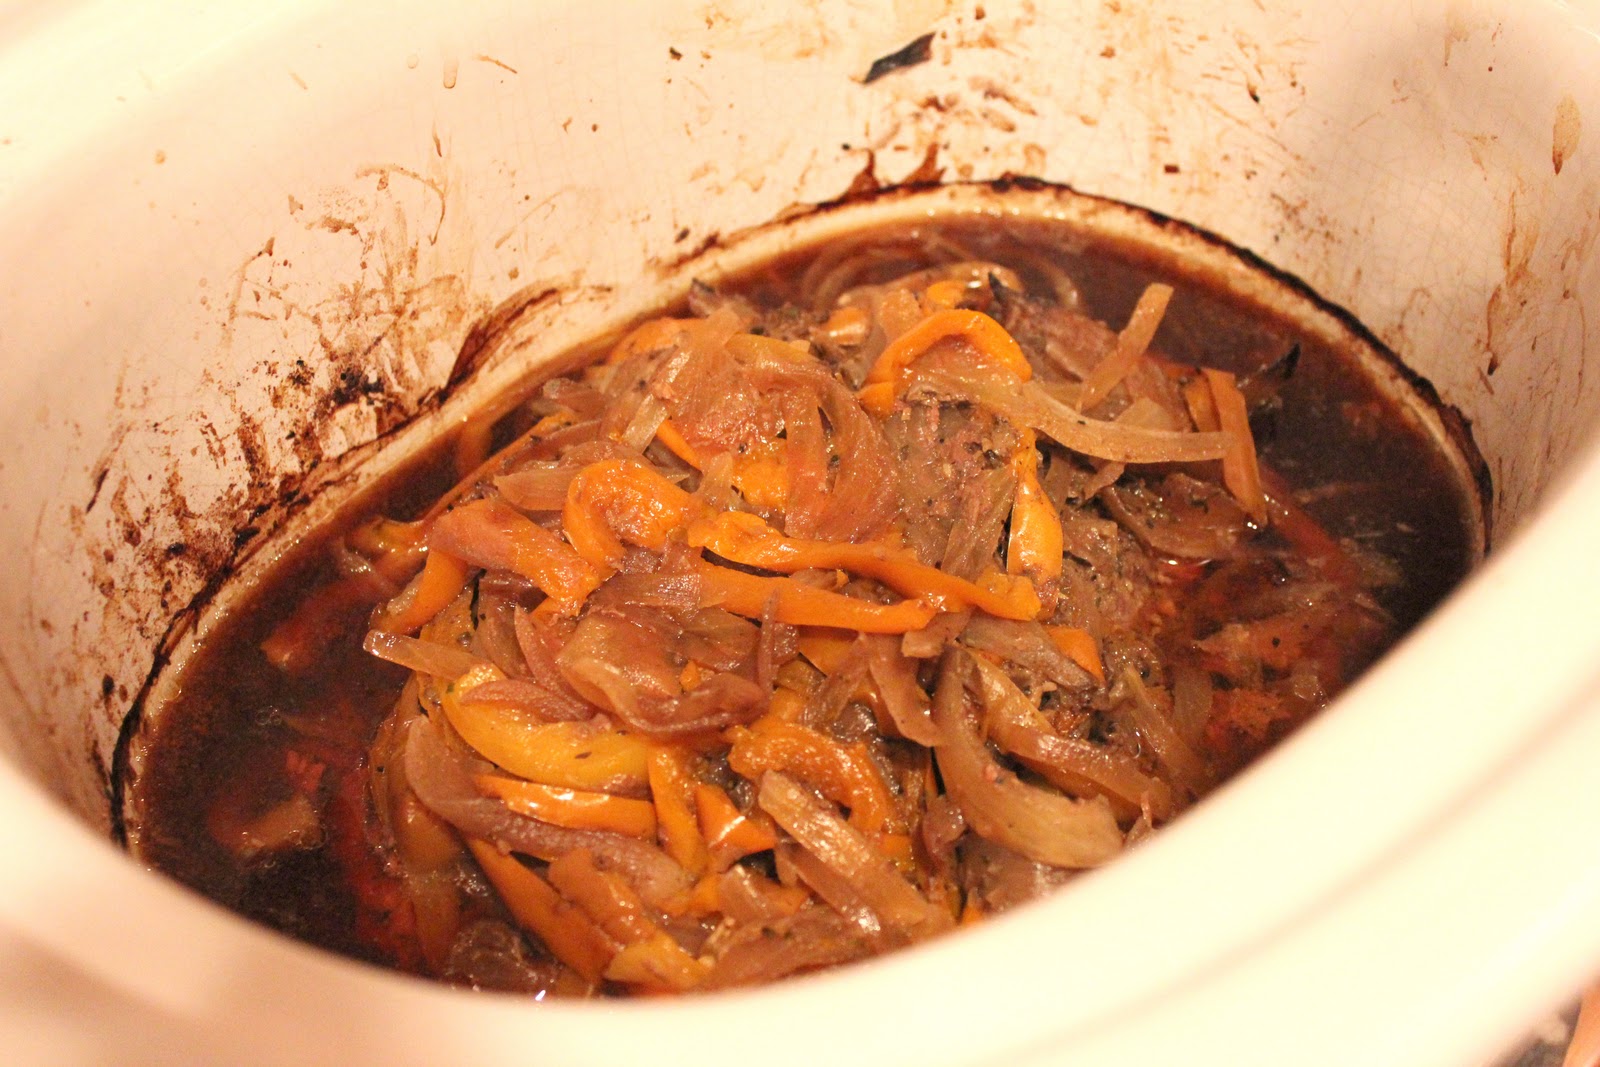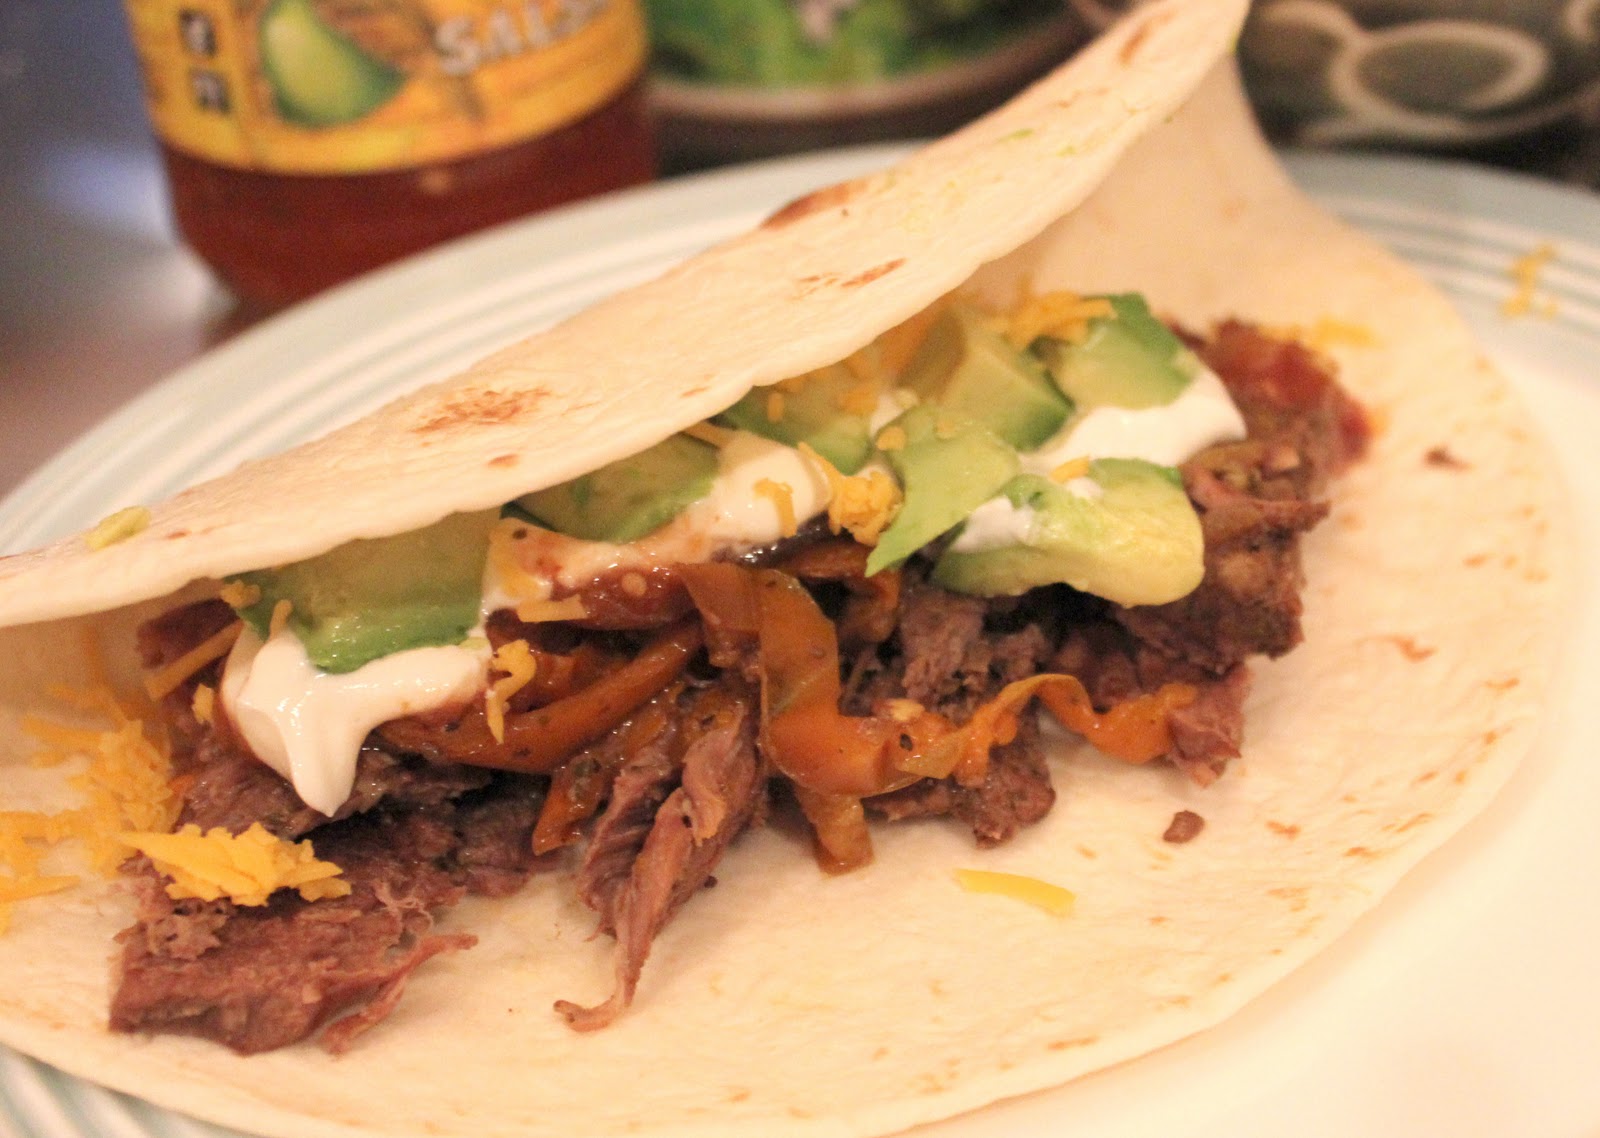
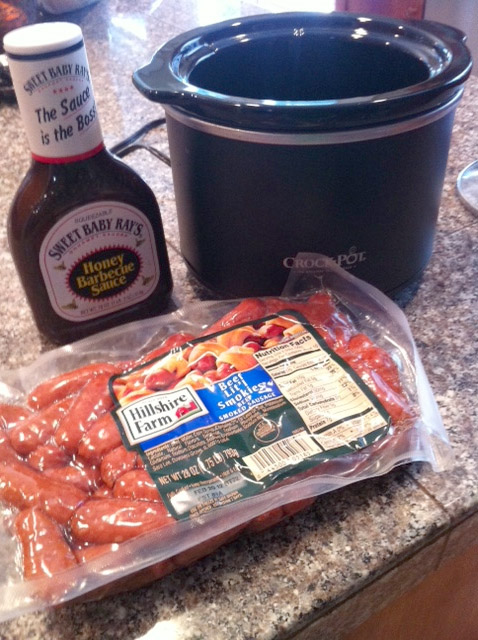
Wow, what a great afternoon filled with football, friends and food! My good friend the Vermont Debutante and her husband came over to watch the Superbowl and she cooked so much good food! If you haven’t figured it out by now, the reason I love my Crock Pot is because I can’t cook and you really can’t screw up a slow cooker recipe. This was about the extent of what I contributed to the party:
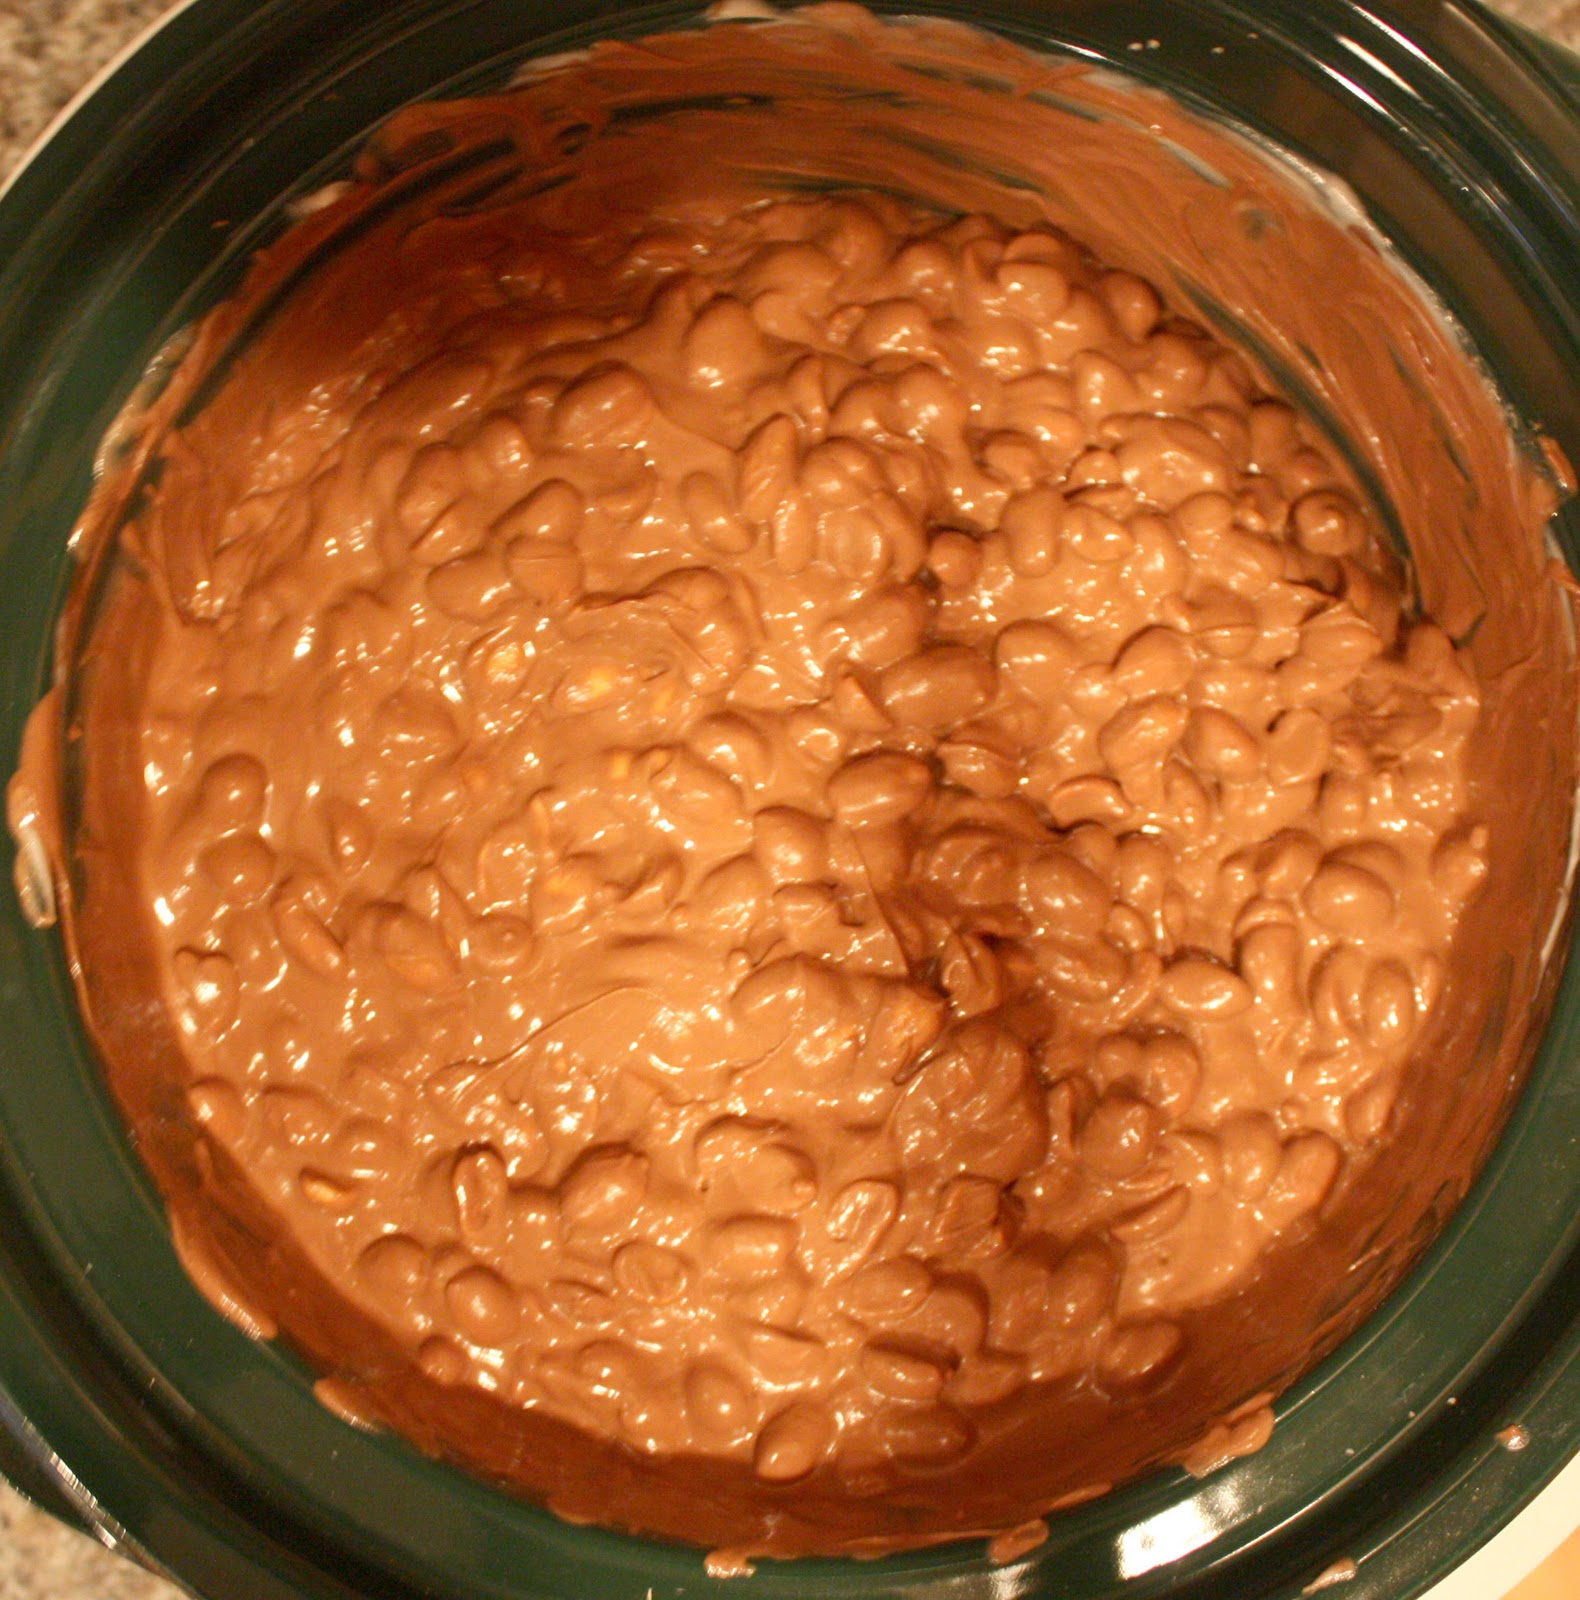
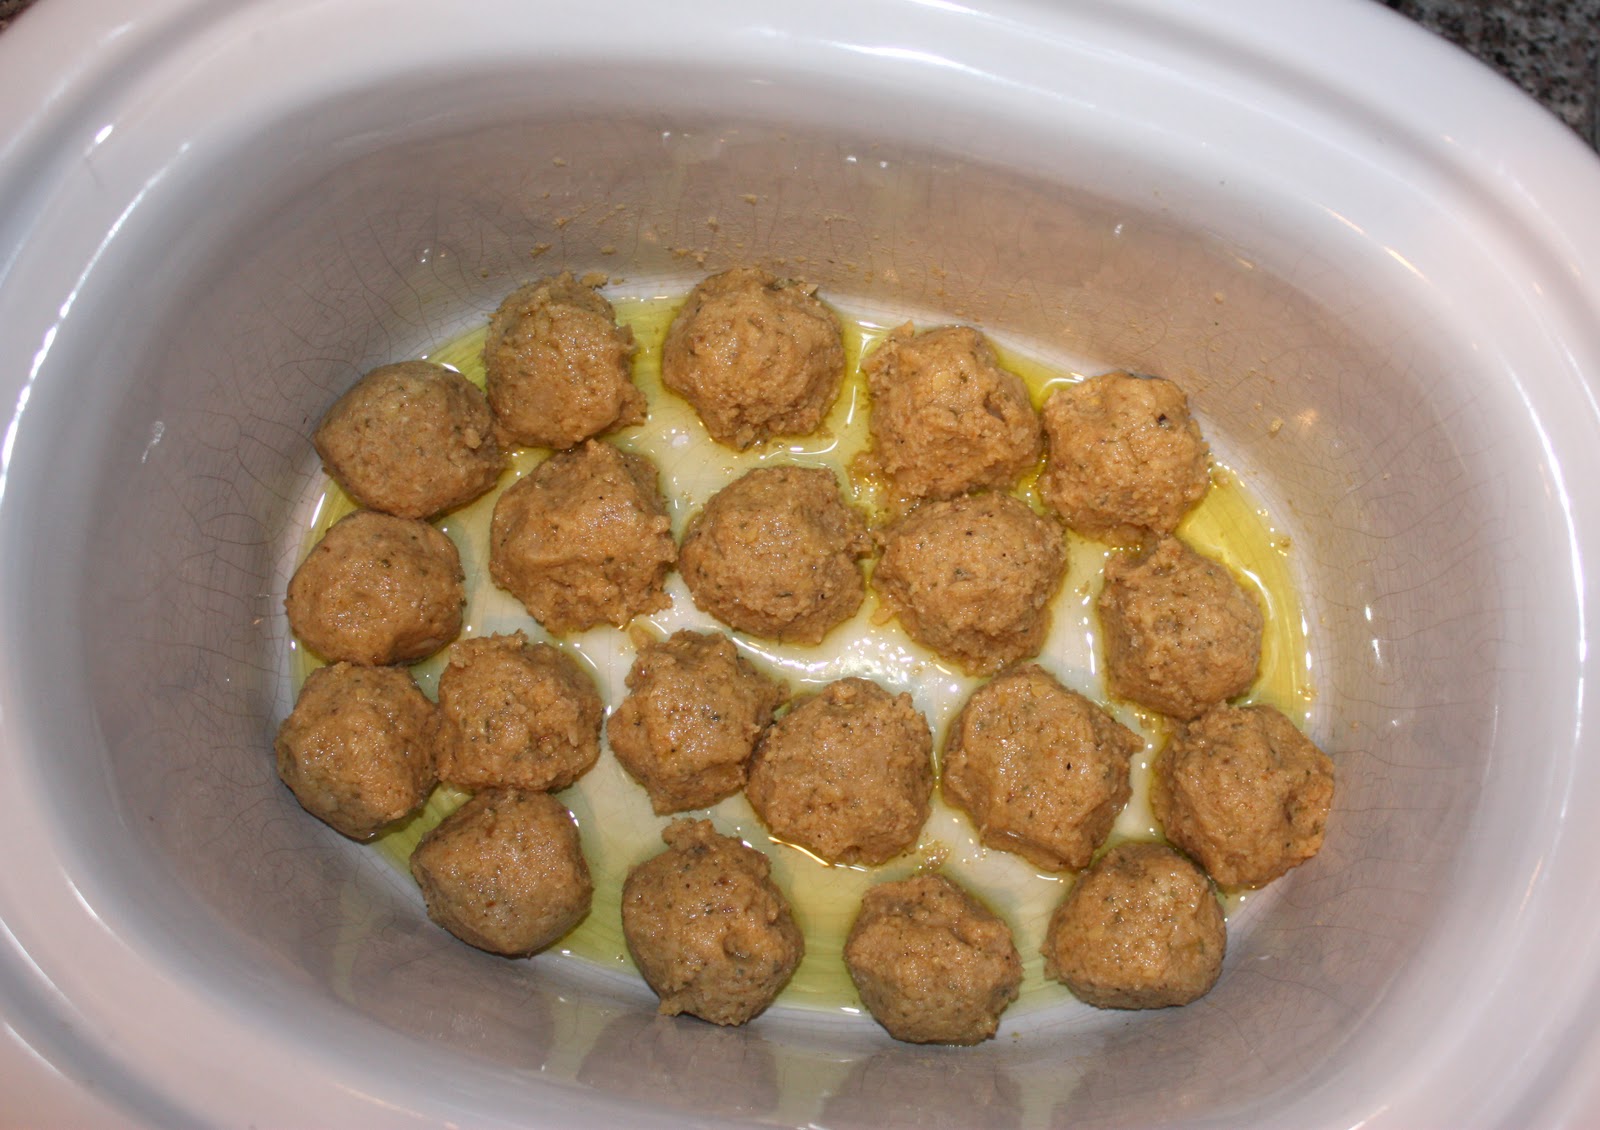
Lil Smokies and BBQ sauce together in the Crock Pot.
They were good but doesn’t even compare to what I am about to show you.
Here is what she made:
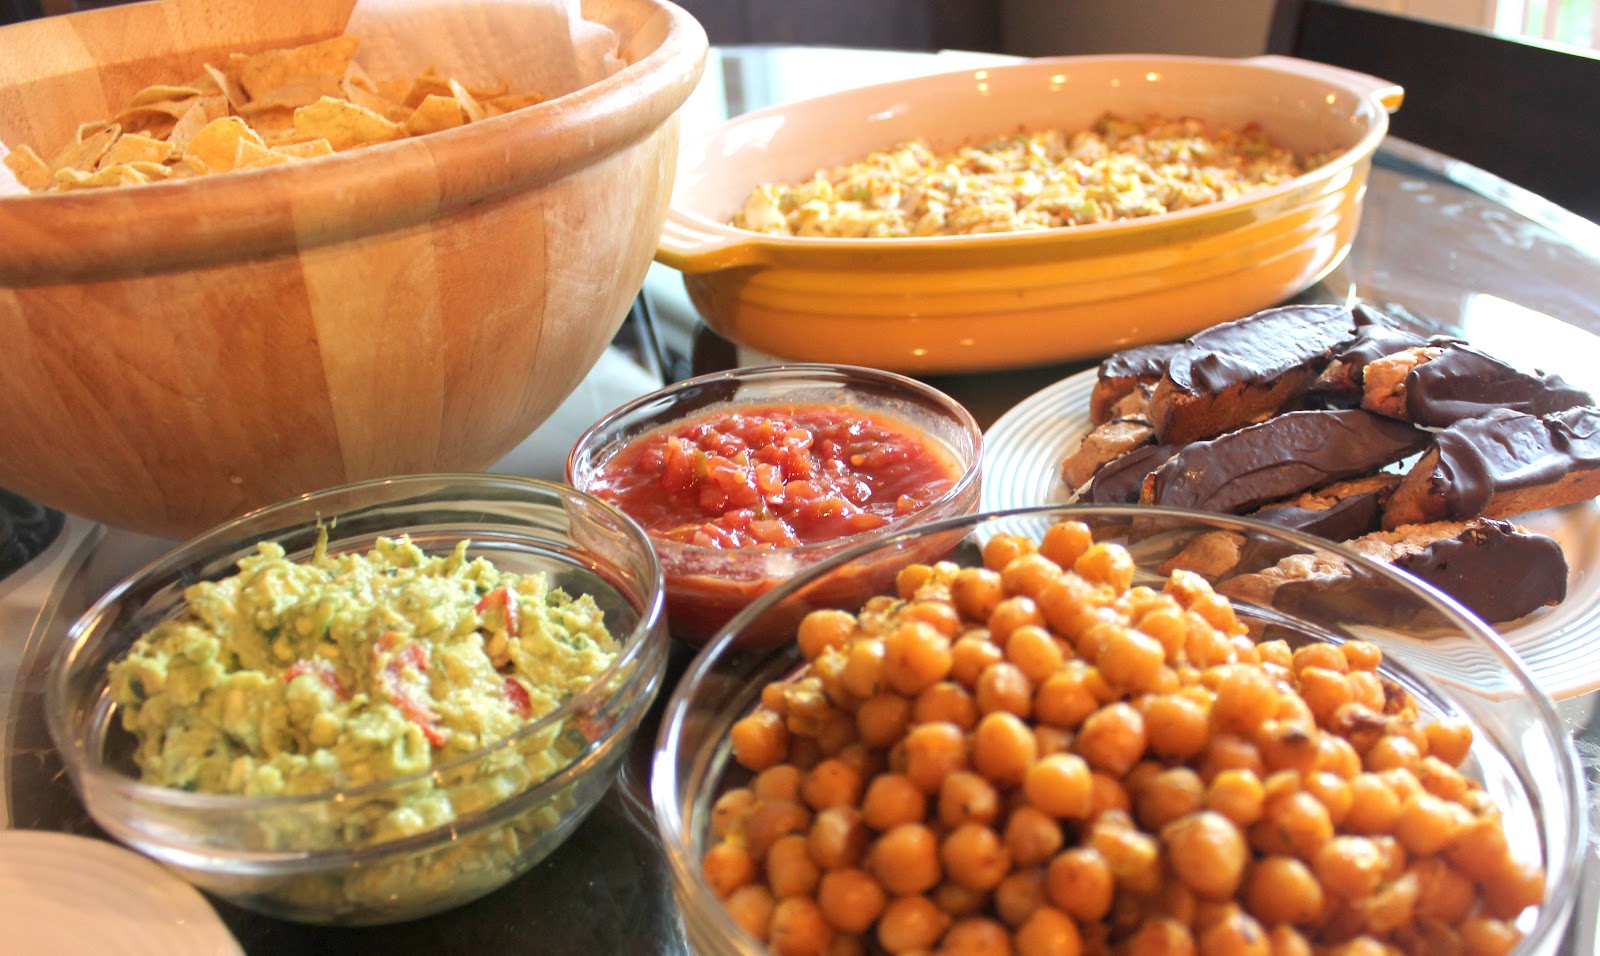
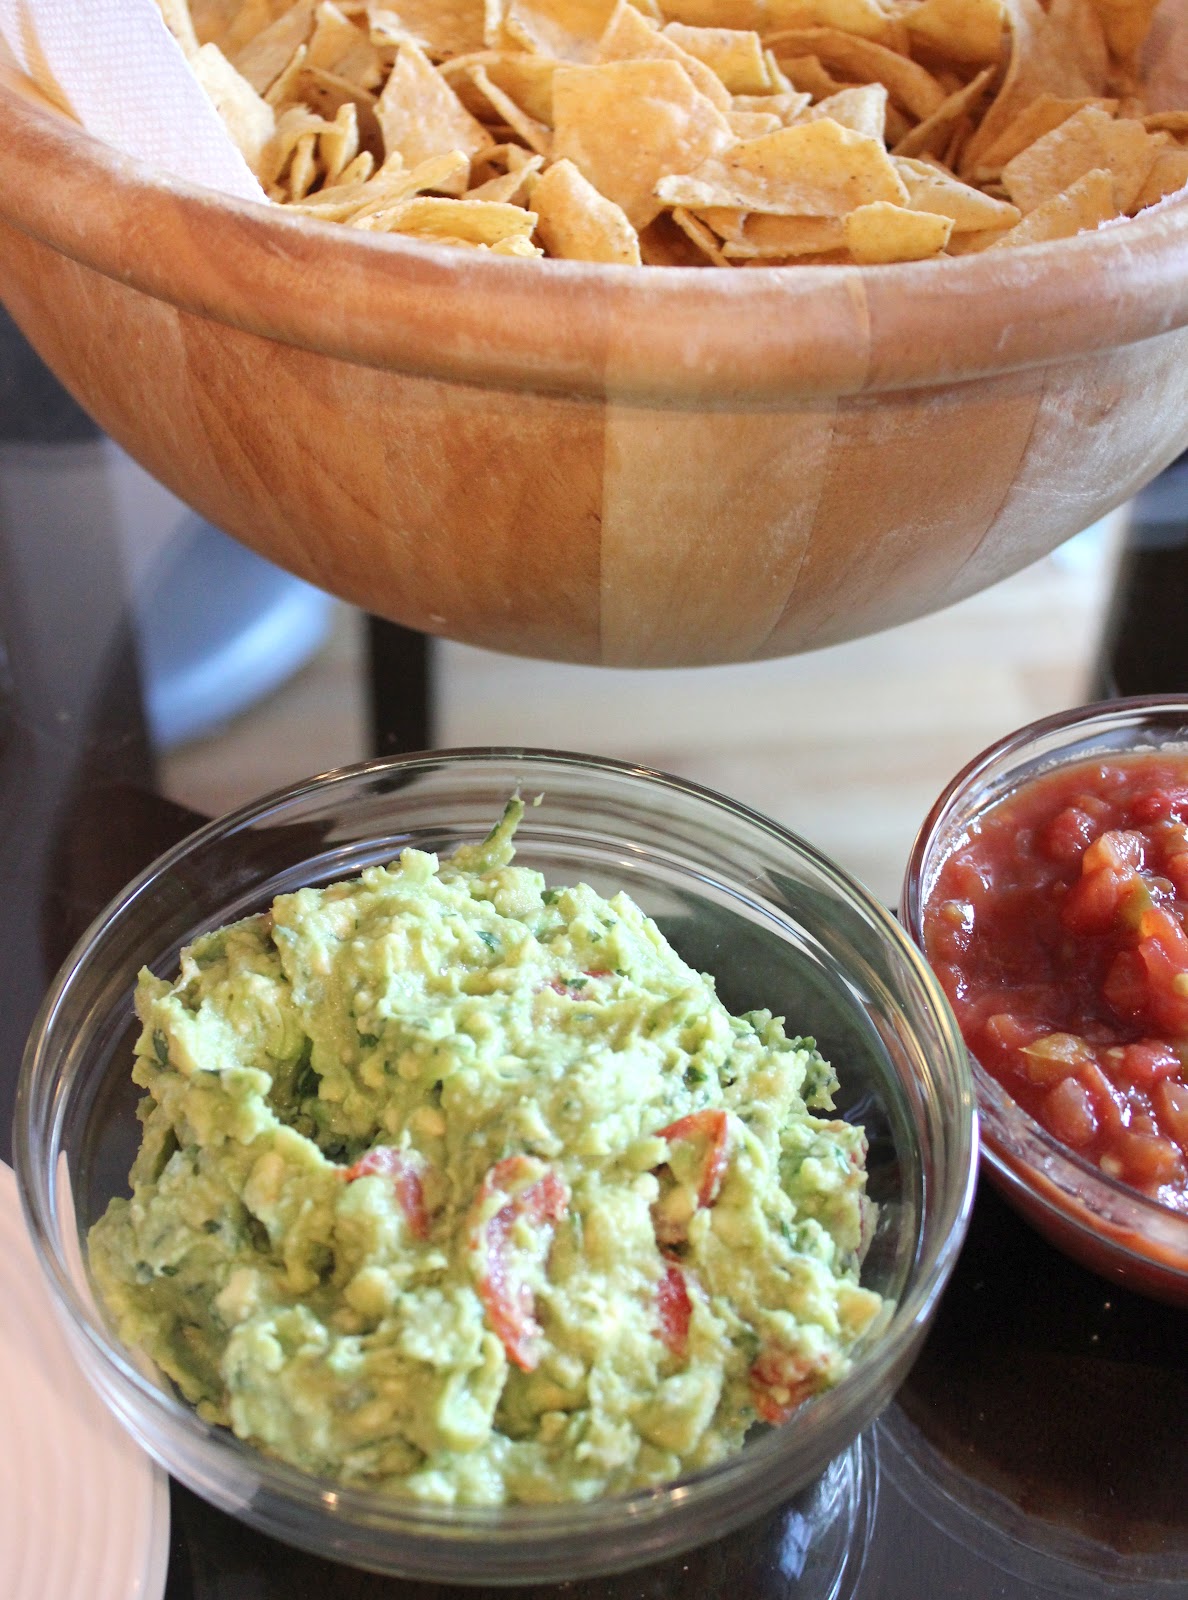
Homemade Guacamole
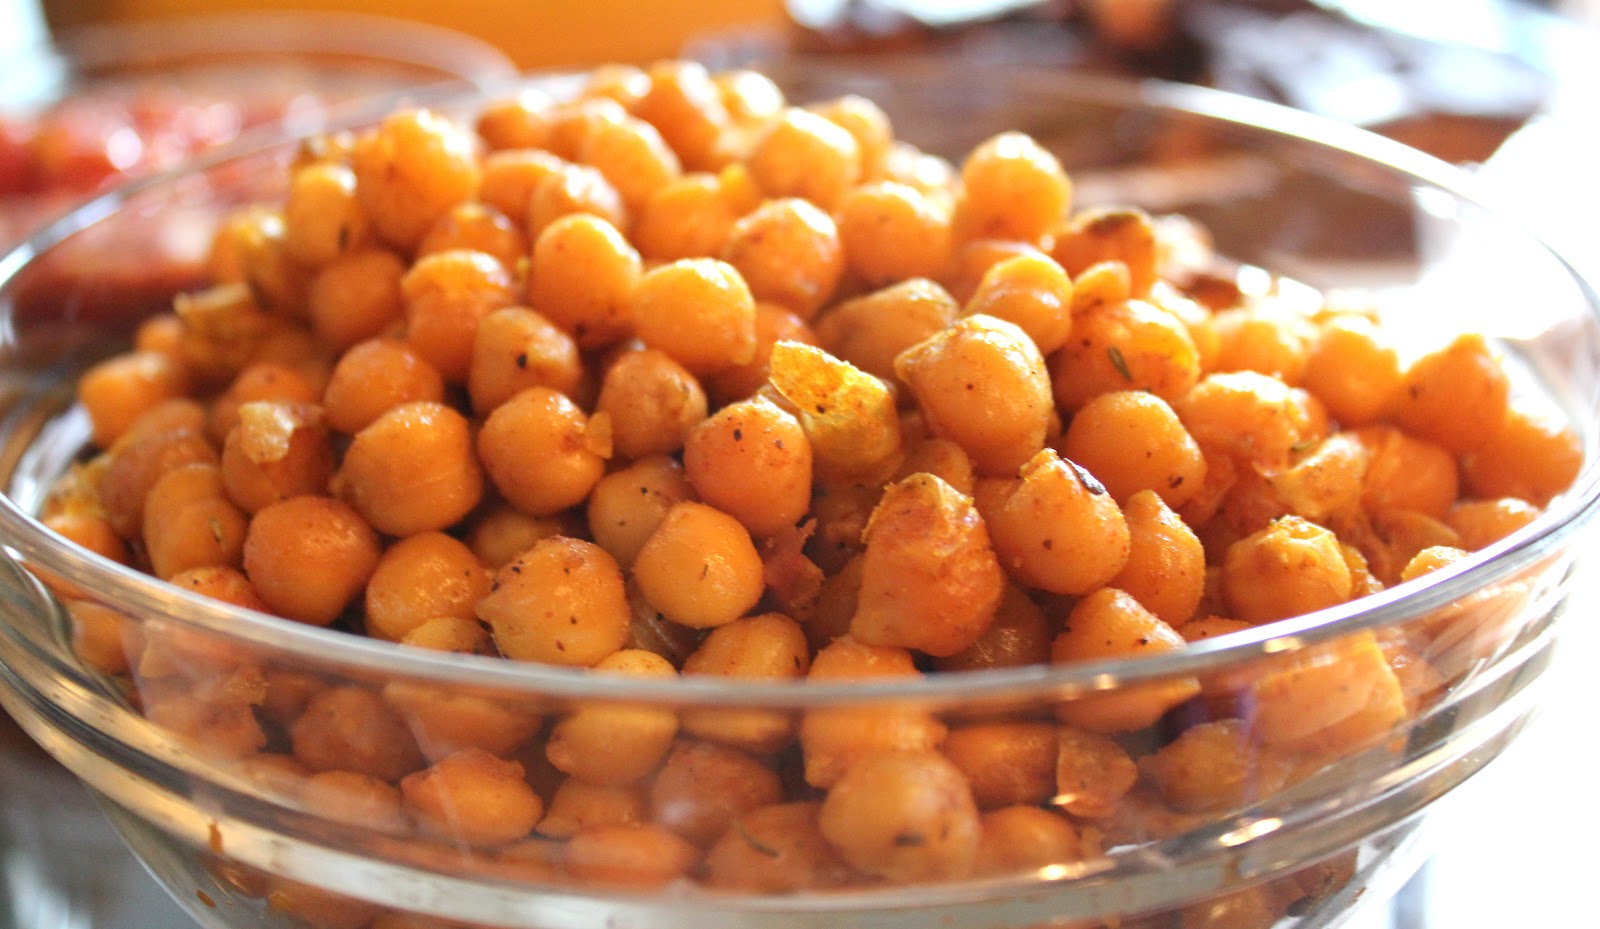
Mediterranean Roasted Garbanzo Beans
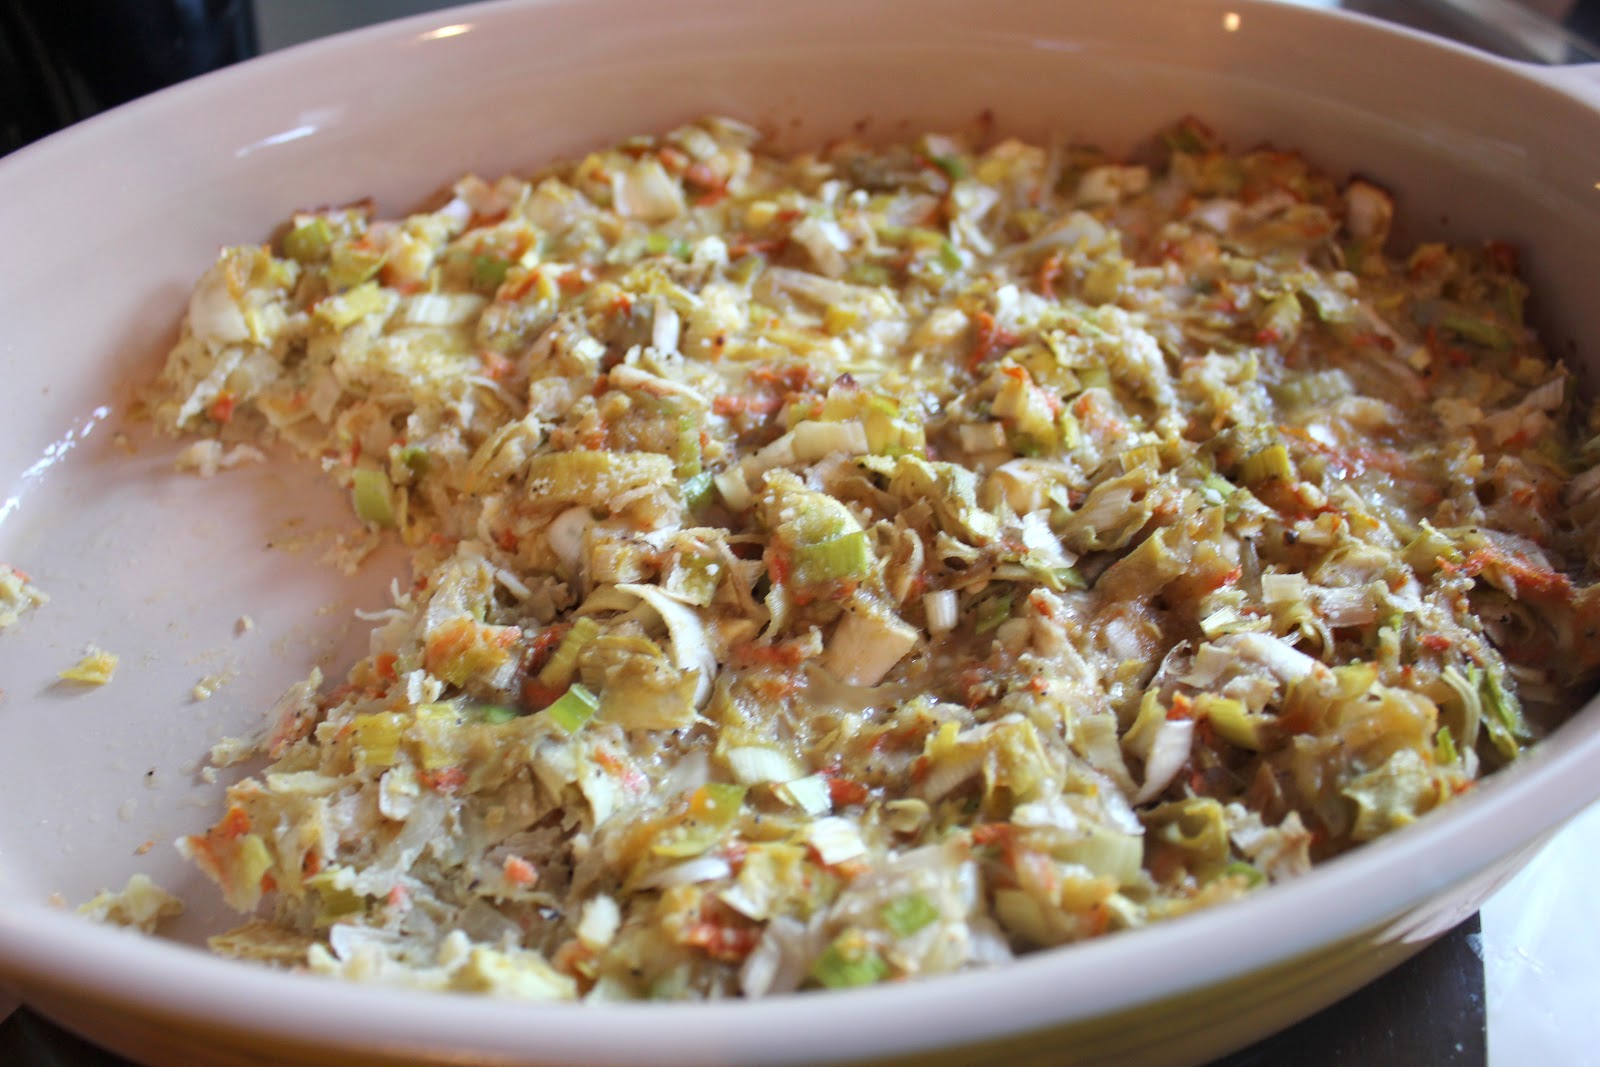
Potato Leek Tartlette
Chocolate Dipped Chocolate Chip Biscottis

The Vermont Debutante is a new blogger but she has been documenting her recipes for over a year! Keep your eye on her page to see the recipes for these dishes and much more!