Keep your hands and your hearts warm this winter with these homemade hand warmers! This would make a great last minute holiday gift, or plan ahead and make this for your sweetheart for Valentine’s Day.
It requires a little bit of sewing, but if you have a sewing machine this project would be even easier. Sorry, no gluing allowed.
You will need:
– Felt (in colors of your choice) or you could use Fleece. Make sure it is non-synthetic, otherwise it could melt in microwave.
– Yarn or embroidery thread for sewing
– Needle
– Cup of uncooked rice
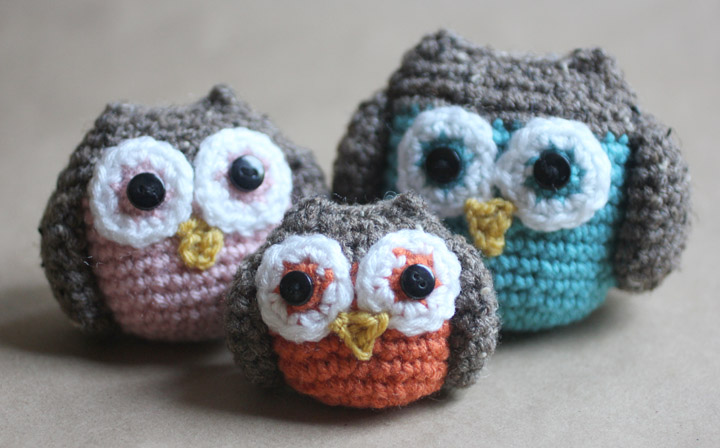
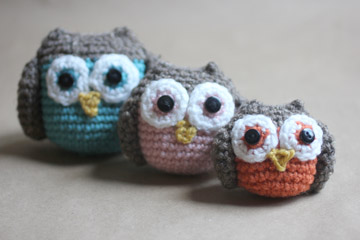
Nothing is cuter and cozier than a sweet little owl and I am providing the template I used to create my owl shaped hand warmers. But you could make any shape you want. The simpler the shape, the less sewing you will need to do.
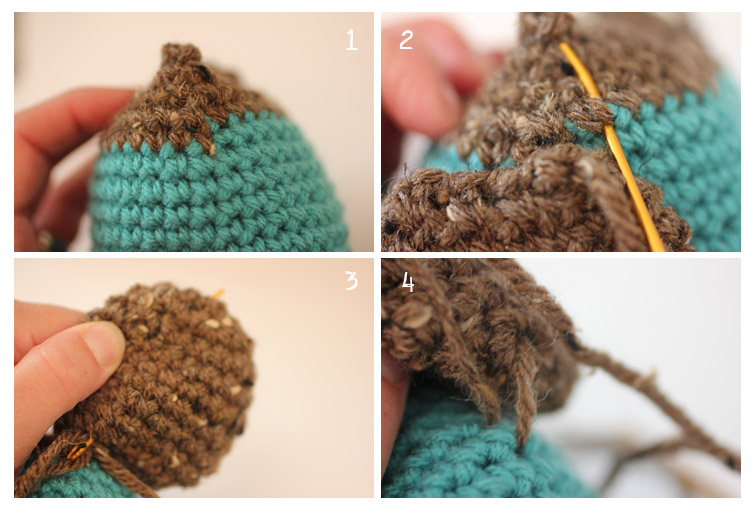
First, use the template to cut out the shapes from felt. Make sure you cut two pieces for the body. Then begin sewing each piece together. You will want to start by sewing the heart to the tummy, then the tummy to the top body piece, then the eyes, then the beak. I used a small tapestry needle and 2-ply yarn to stitch each piece together. Again, much easier if you have a sewing machine. But you could also just make a simple heart shape and use a blanket stitch to sew the edges together.
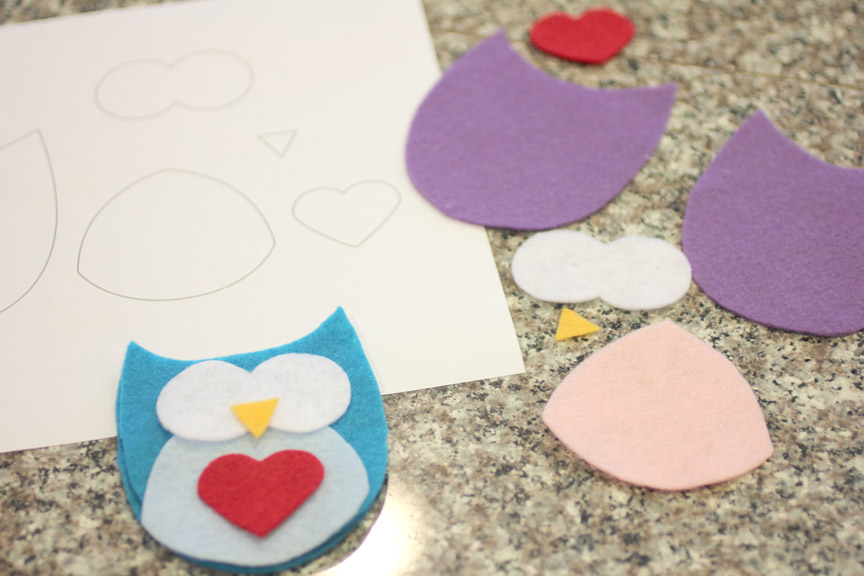
Before you finish sewing the two body pieces together, fill with rice then sew closed.

When ready to use, heat in microwave for approx. 30 seconds and enjoy up to 30 minutes of heat.
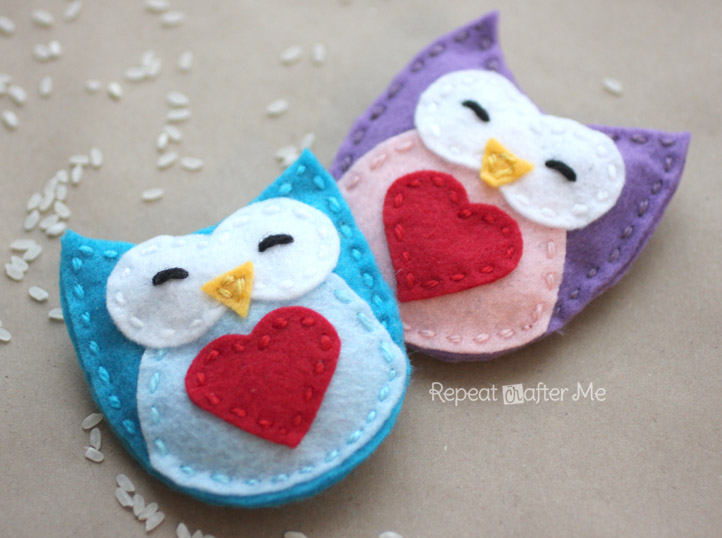
Make “His & Her” owls for a couples gift! Or one for each of your children to keep their hands warm while walking to school or waiting for the bus. 
Need other handmade gift ideas? #MyFavoriteBloggers has a great roundup of 12 DIY gifts under $20!