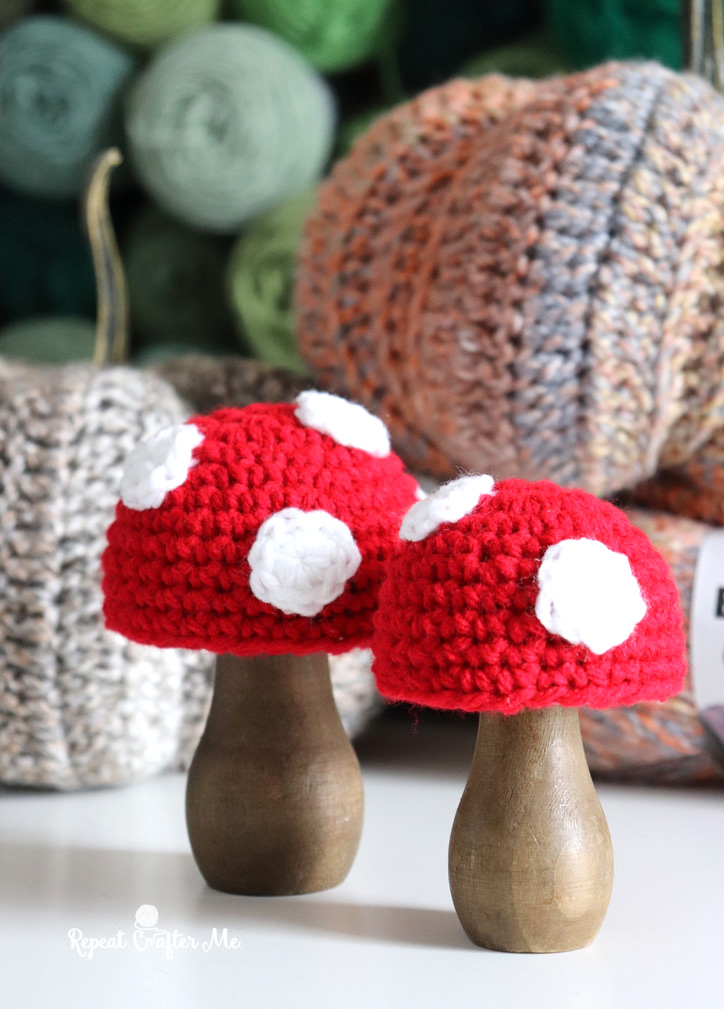
It’s officially autumn! And apparently that means I need to make just one more pumpkin.
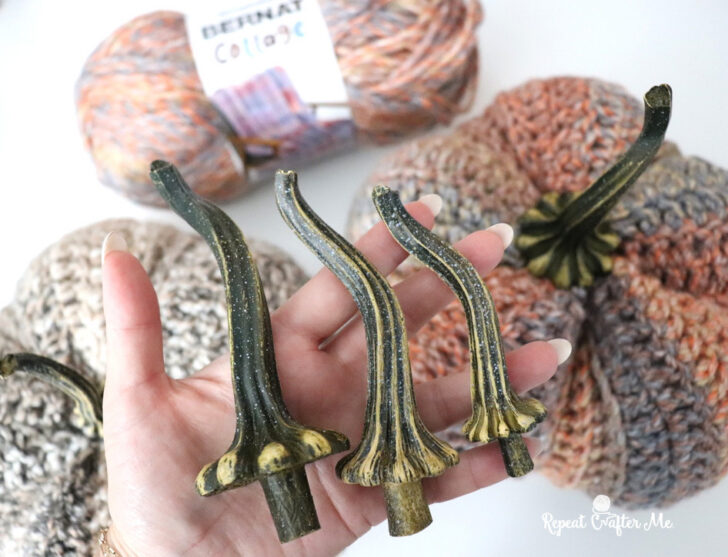
You may remember my Bernat Cottage Crochet Pumpkin from a few weeks ago. While I was making that pumpkin, I stumbled across these beautiful faux pumpkin stems on Amazon from a small handmade business called Your Heart’s Content. I loved how easily the stem gave my crochet pumpkin that finished, realistic look.
And then something extra sweet happened.
Inside my Amazon order was a little note that said “Thank you for shopping handmade.” As a fellow maker, that made my heart so happy! I ended up connecting with the owner, Michelle, on Instagram, and she was kind enough to send me a package with a few more stem sizes to try — plus these adorable unfinished wood mushrooms!
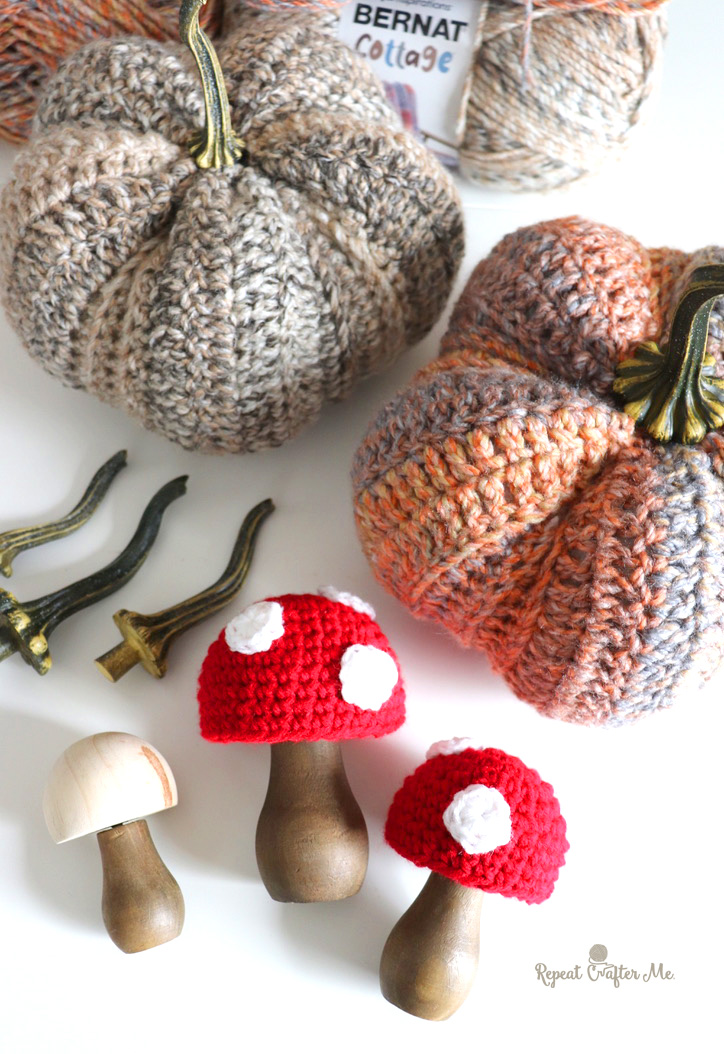
Of course I immediately knew what I wanted to do with them.
>>> Faux Pumpkin Stems on Amazon <<<
>>> DIY Wood Mushrooms on Amazon <<<
>>> Shop Your Heart’s Content on Amazon <<<
As an Amazon Associate, I earn from qualifying purchases.
Another Bernat Cottage Pumpkin!
First things first: I had to get another Bernat Cottage Pumpkin on my hook.
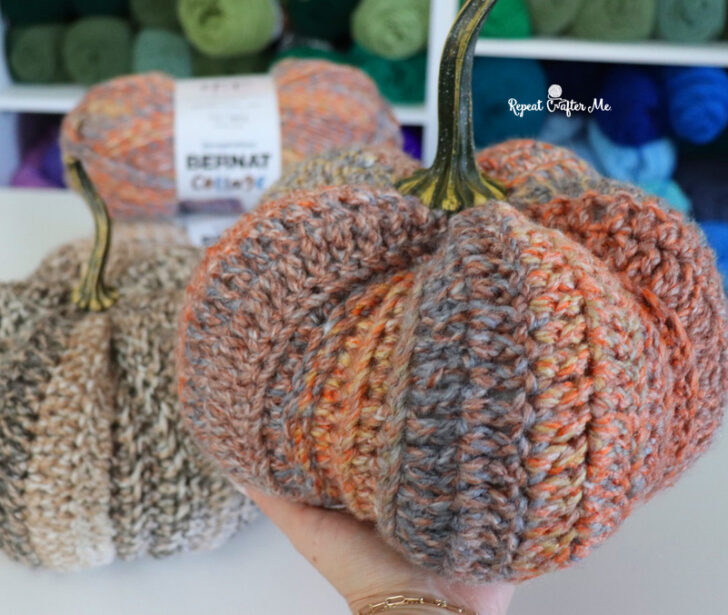
This time I used the color Seashells, and I LOVE how different it looks from my first pumpkin. The soft neutral shades give it such a pretty natural look, while the subtle color changes do all the work for you.
This pattern is worked in one long strip and then
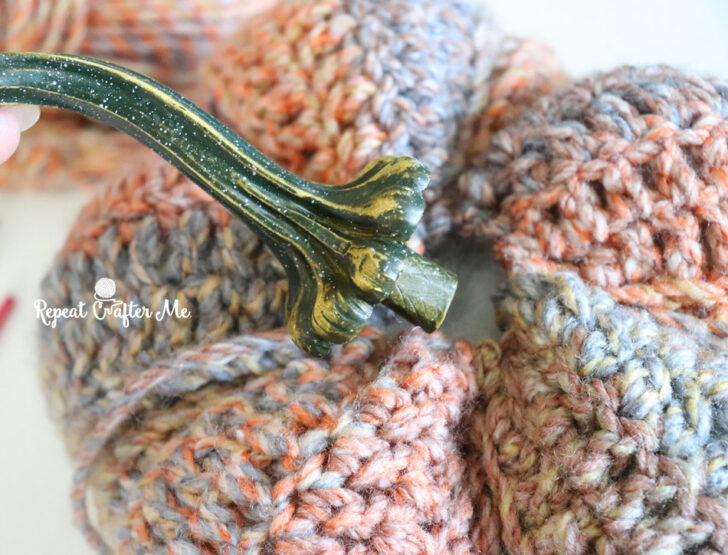
I also tried one of the larger faux stems this time. It’s such a simple way to finish a handmade pumpkin, and I love the contrast of the realistic-looking stem with the crochet texture. Just cinch it into the top with a little hot glue before closing!
>>> Shop Bernat Cottage Yarn on Yarnspirations <<<
>>> FREE Bernat Cottage Crochet Pumpkin Pattern <<<
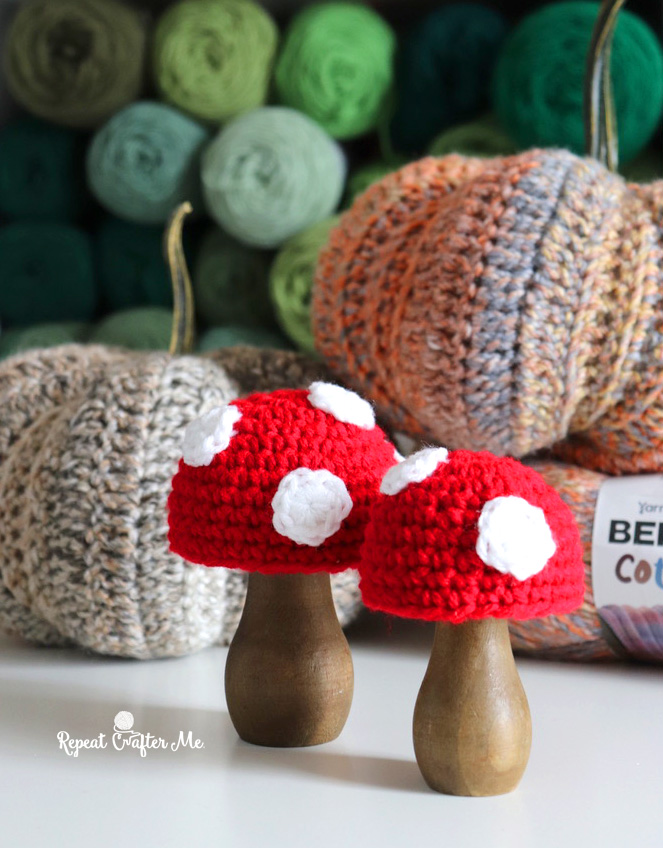
DIY Wood Mushrooms… But Make Them Crochet!
Now for the mushrooms!
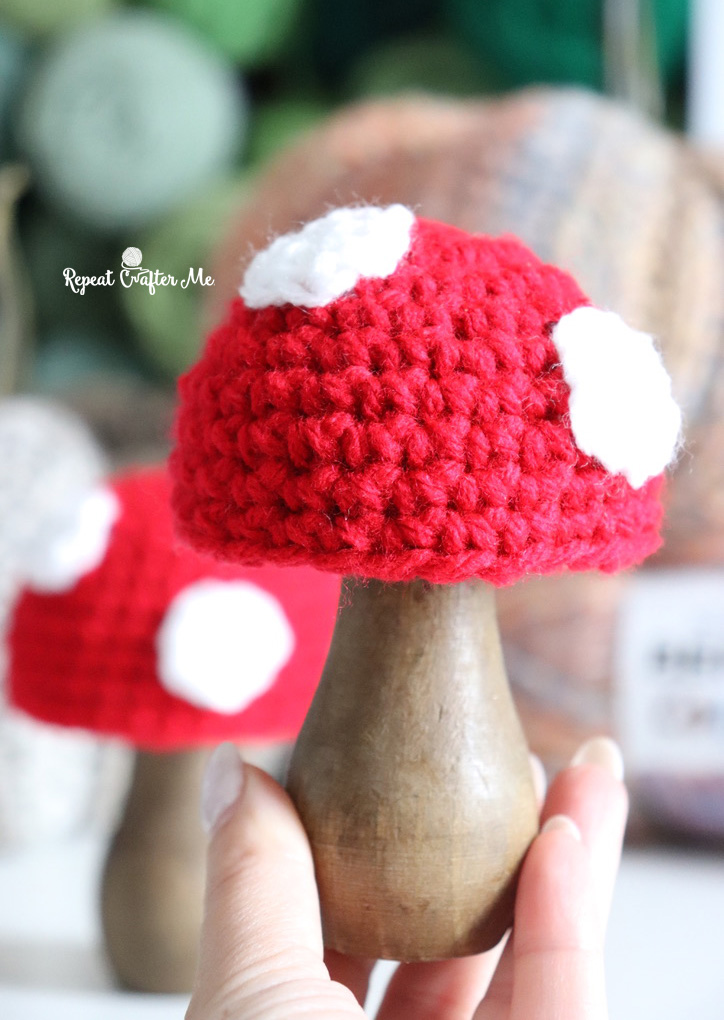
Michelle also sent me these unfinished wood mushrooms, which are adorable all by themselves. You could paint them, stain them, or decorate them in all sorts of ways.
But obviously I had to crochet them.
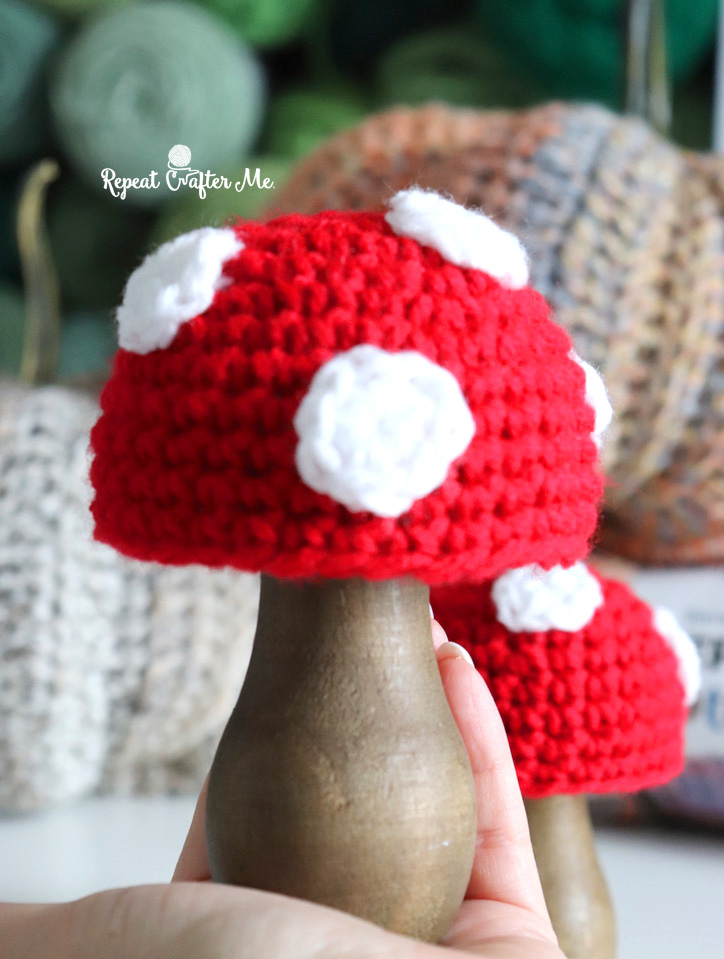
I left the wooden bases unfinished and made little red-and-white mushroom caps that slip right over the tops. I LOVE the combination of the natural wood with the crochet. And the best part is that the wood base gives you a perfectly sturdy mushroom without having to crochet, stuff and shape the entire thing.
They look so cute tucked in with the pumpkins for fall, but I could also see these being used for woodland decor, fairy gardens, Christmas decorations or even made in different colors throughout the year.
Materials:
>>> DIY Wood Mushrooms on Amazon <<<
– Worsted Weight Yarn in Red and White
– Size H Crochet Hook
– Tapestry Needle
Crochet Mushroom Cover Pattern
Large Mushroom Cover
With red yarn:
Round 1: Make a magic ring, ch 1 and work 10 SC into ring. Join to first SC, ch 1. (10)
Round 2: 2 SC in first st, SC in next st. Repeat around. Join, ch 1. (15)
Round 3: 2 SC in first st, SC in next 2 sts. Repeat around. Join, ch 1. (20)
Round 4: SC in each st around. Join, ch 1. (20)
Round 5: 2 SC in first st, SC in next 3 sts. Repeat around. Join, ch 1. (25)
Round 6: 2 SC in first st, SC in next 4 sts. Repeat around. Join, ch 1. (30)
Rounds 7–11: SC in each st around. Join and ch 1 after each round.
Fasten off and weave in ends.
Small Mushroom Cover
With red yarn:
Round 1: Make a magic ring, ch 1 and work 10 SC into ring. Join to first SC, ch 1. (10)
Round 2: Work 2 SC in each st around. Join, ch 1. (20)
Rounds 3–4: SC in each st around. Join, ch 1. (20)
Round 5: 2 SC in first st, SC in next 3 sts. Repeat around. Join, ch 1. (25)
Rounds 6–9: SC in each st around. Join and ch 1 after each round.
Fasten off and weave in ends.
Mushroom Spots
With white yarn:
Make a magic ring, ch 1 and work 10 SC into ring. Join to first SC and fasten off.
Make several spots for each mushroom and stitch them randomly around the red mushroom cap.
TIP: I actually like that the spots aren’t perfectly uniform. Different placement gives each mushroom its own personality.
A Little Handmade Supporting Handmade
I think this might be my favorite part of this project. I originally found the pumpkin stems simply because I was searching Amazon for something to finish my crochet pumpkin. I had no idea there was another maker behind them!
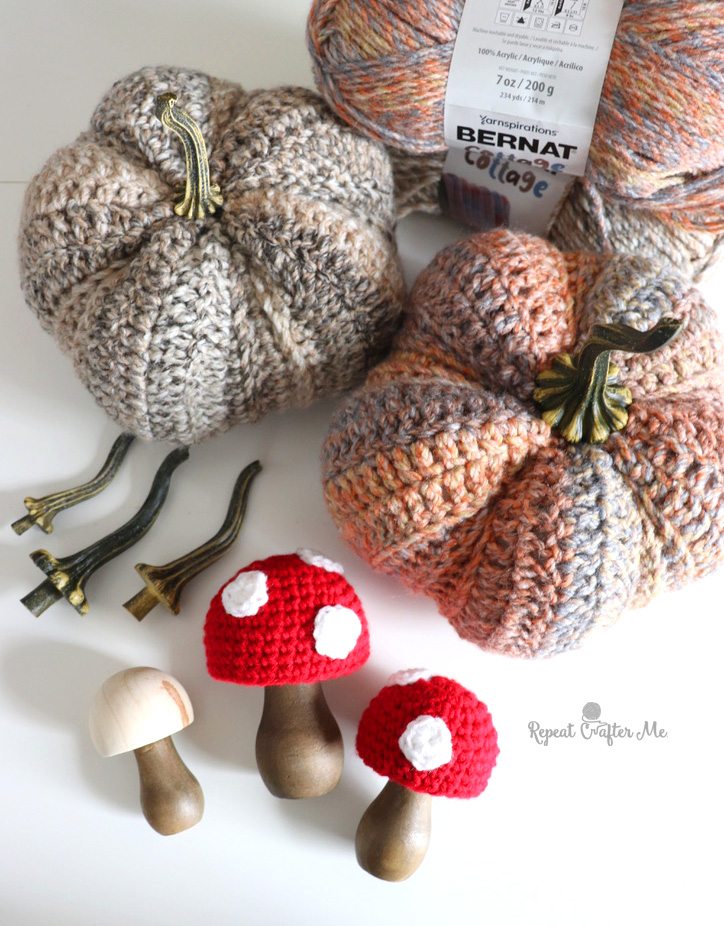
And now I have a little fall collection of pumpkins and mushrooms that all look pretty darn cute together.

 Starbucks Stitch Markers and Bottled Beverages
 Crochet Christmas Tree Pixel Square
 Crochet Santa Pixel Square
 Crochet Daisy Rug with Clover Amour Large Hooks and Giveaway!
Leave a Reply