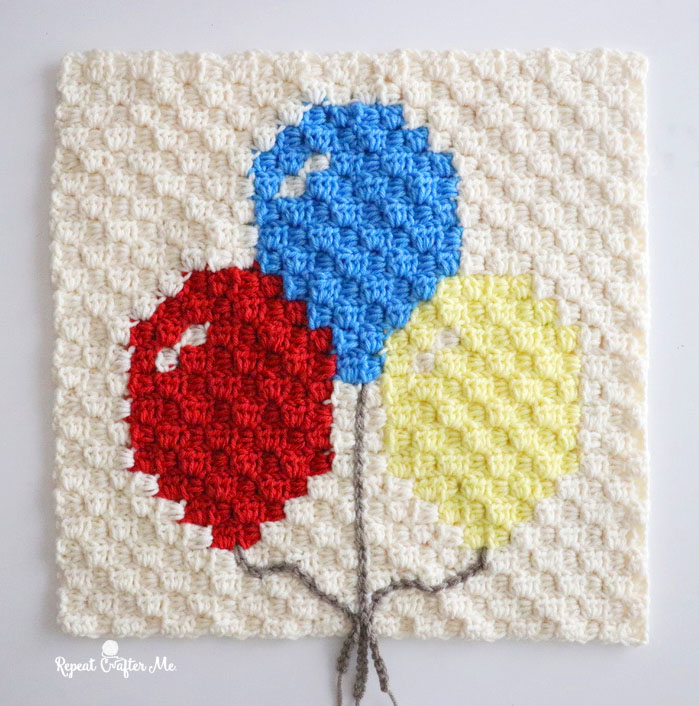
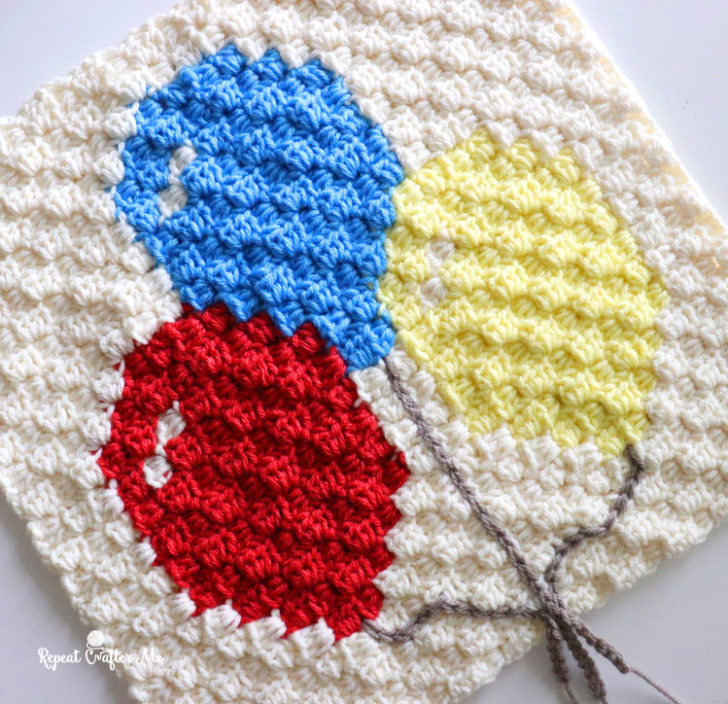
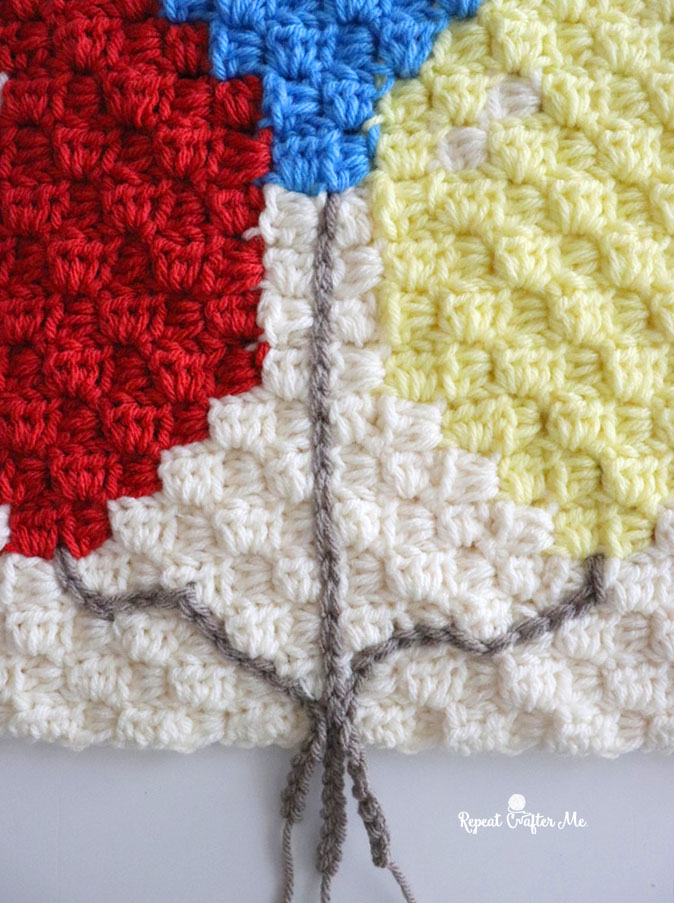
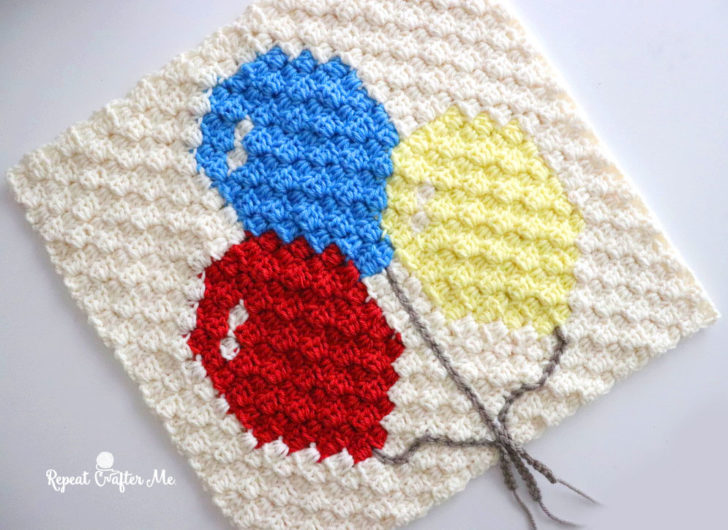
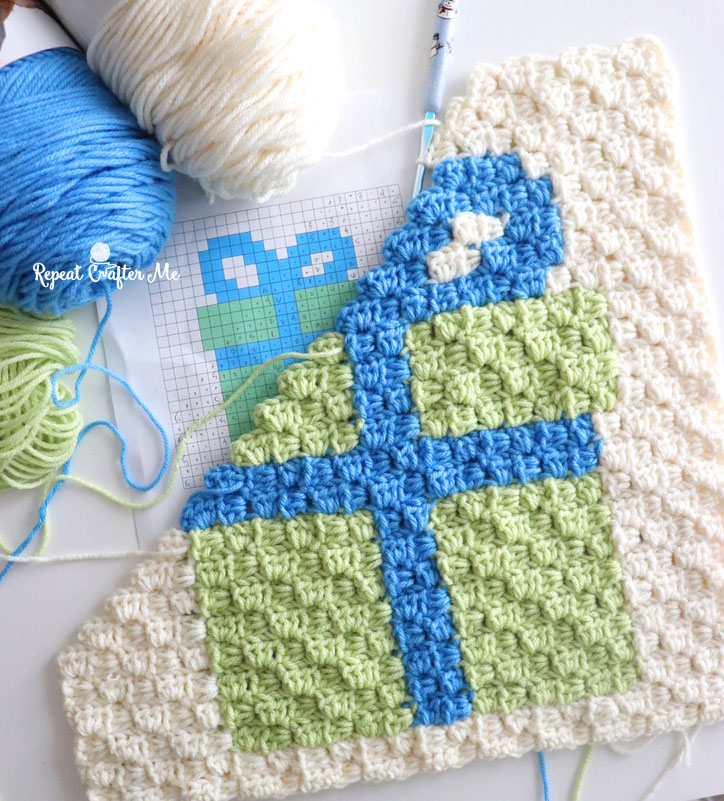
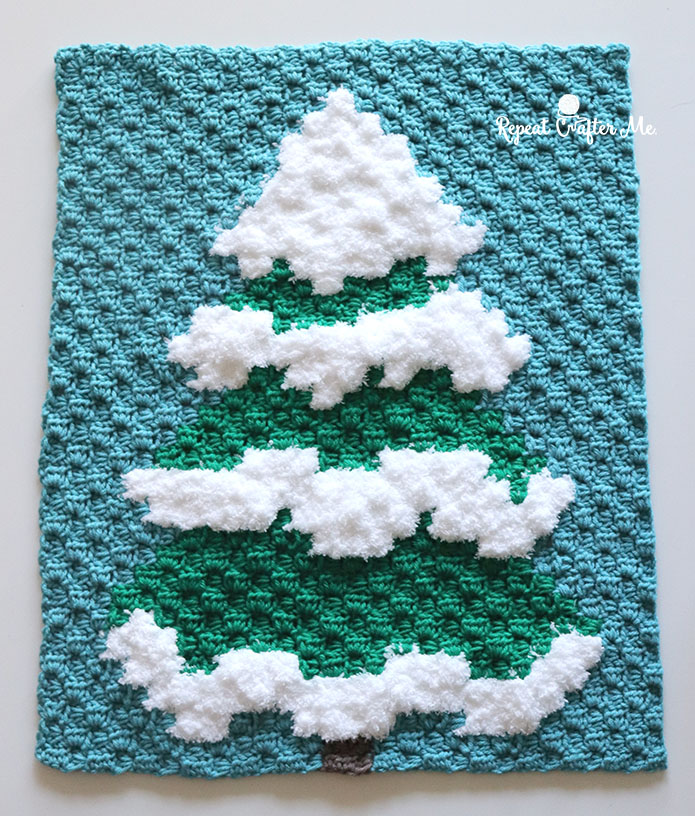
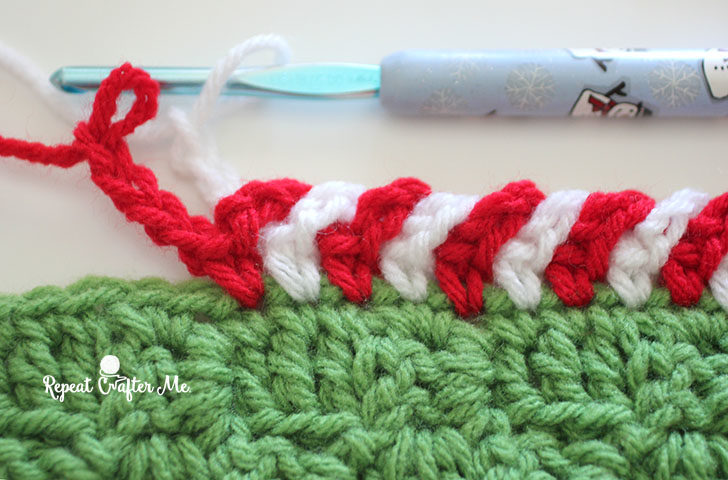
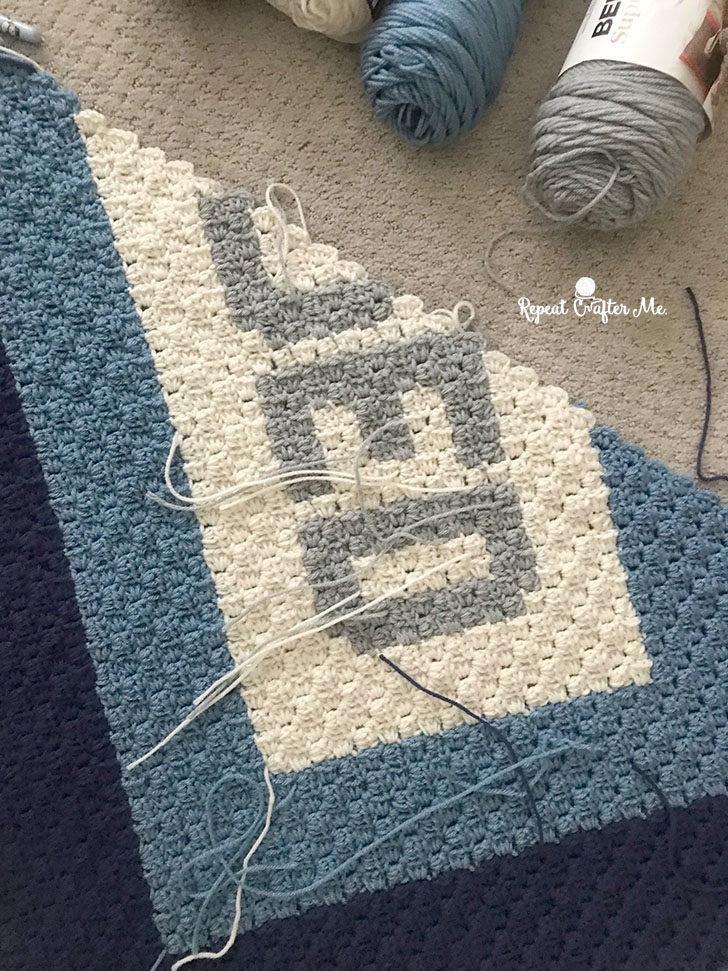
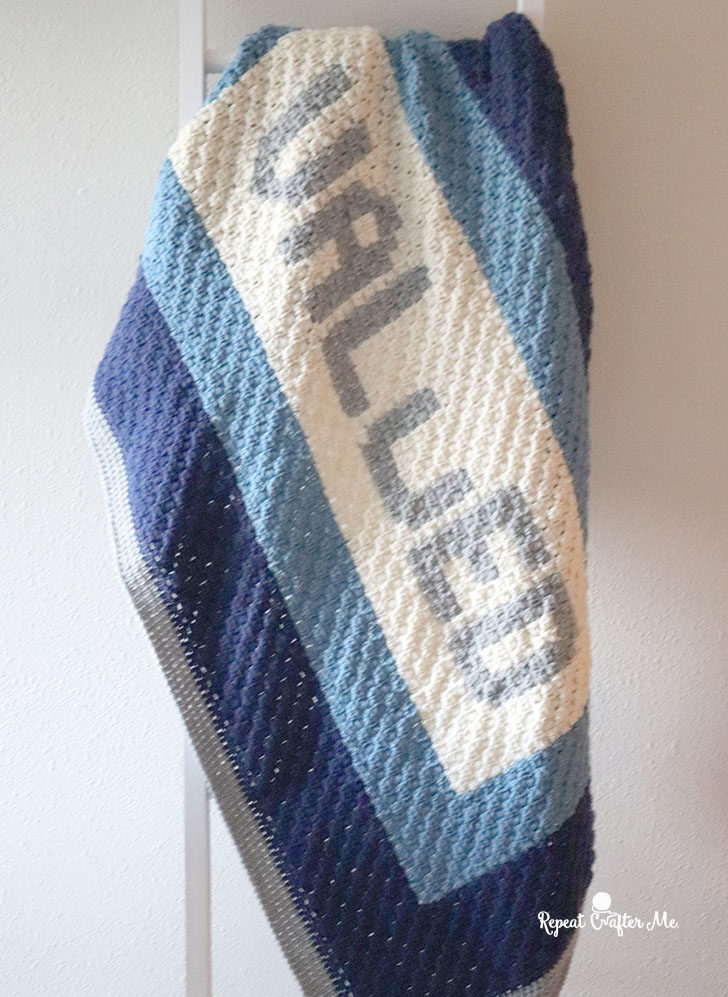
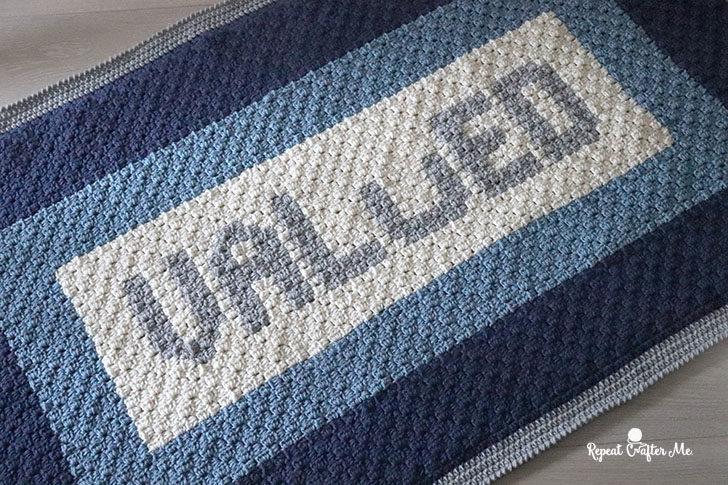
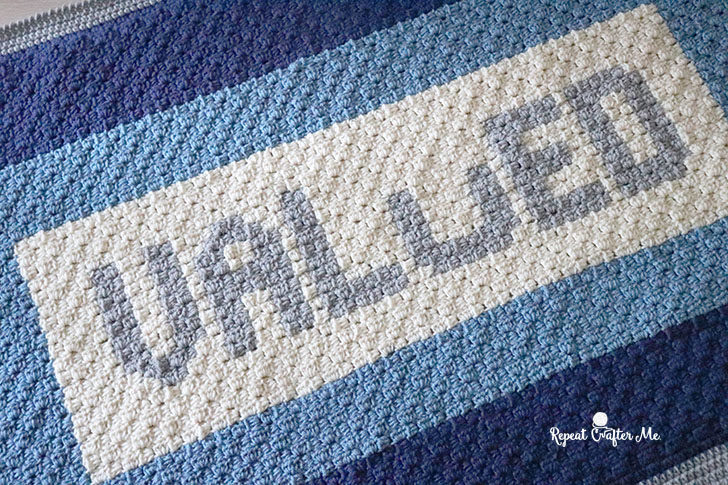
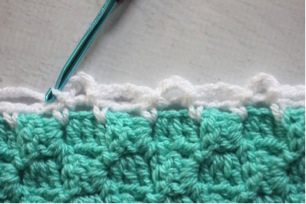
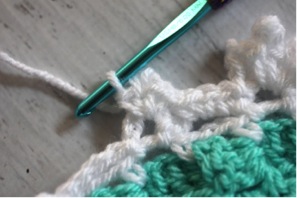
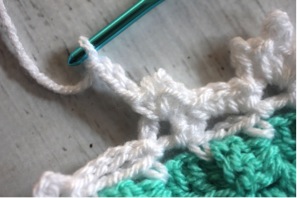
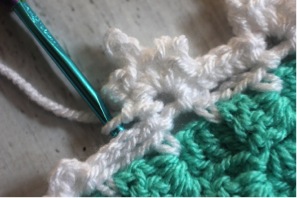
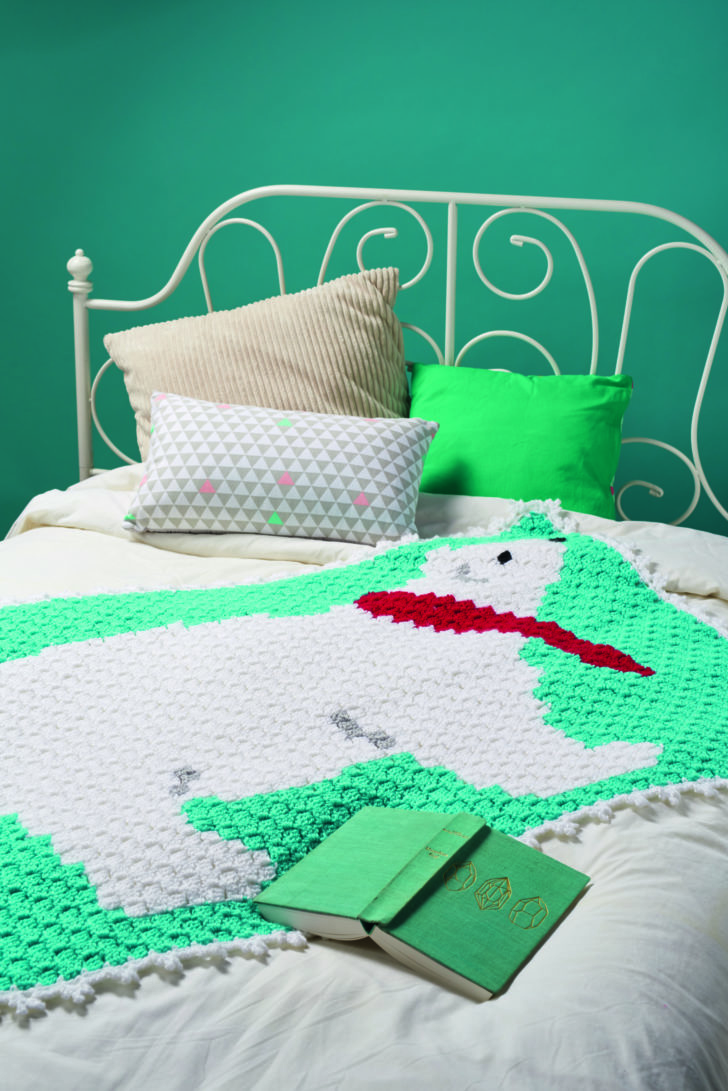
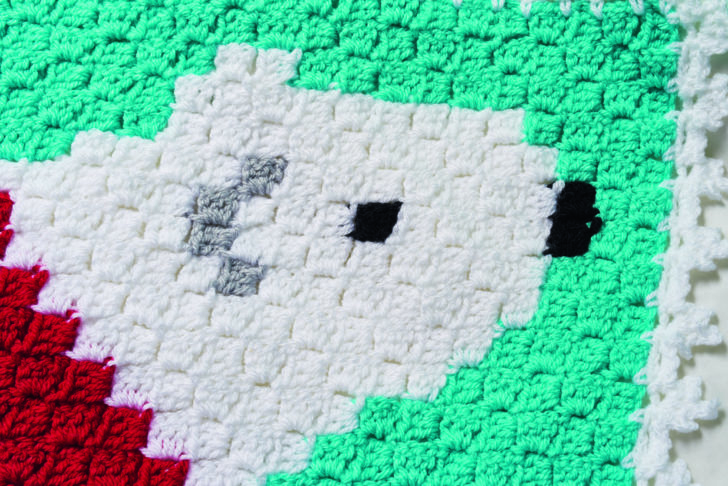
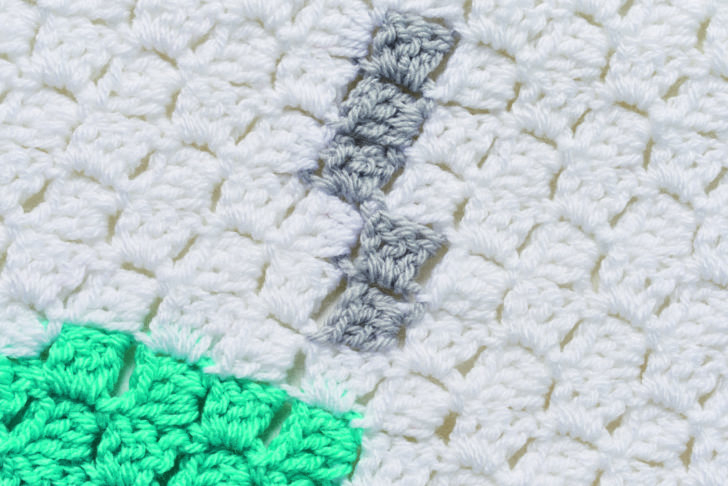
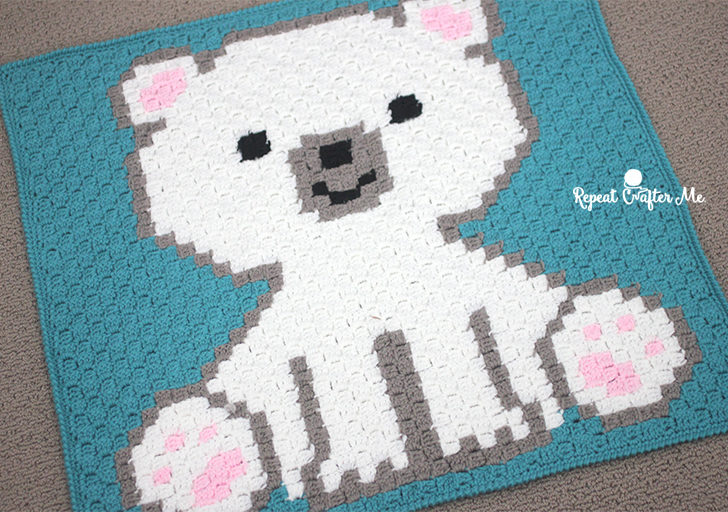
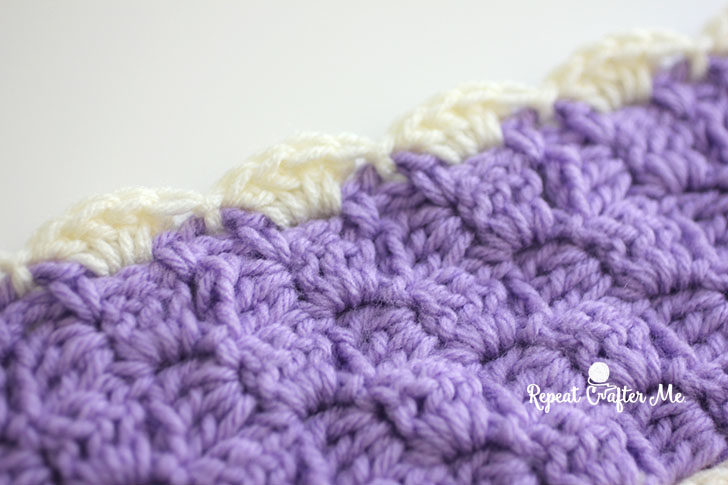
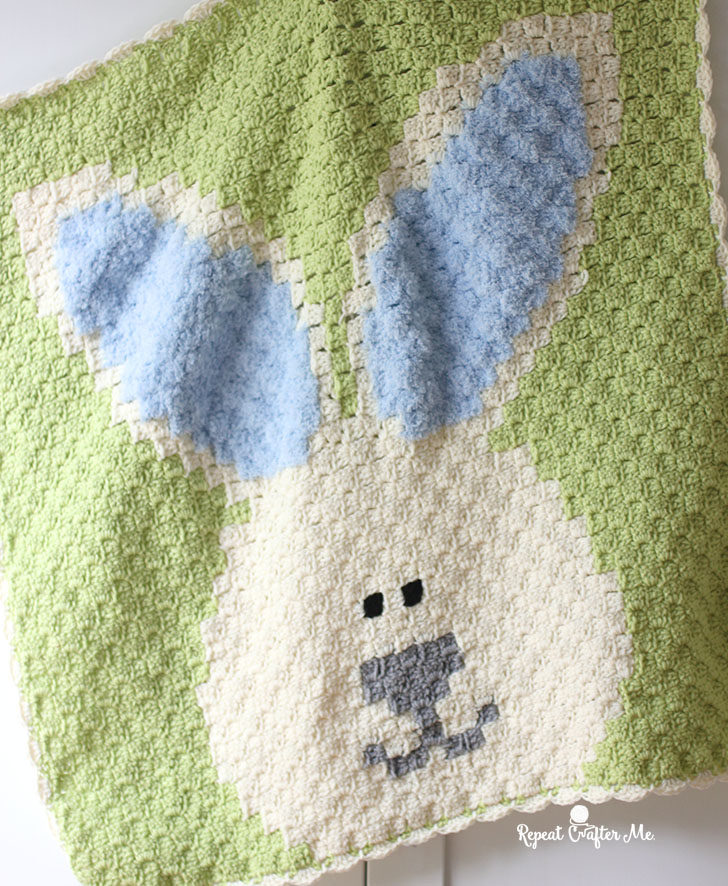
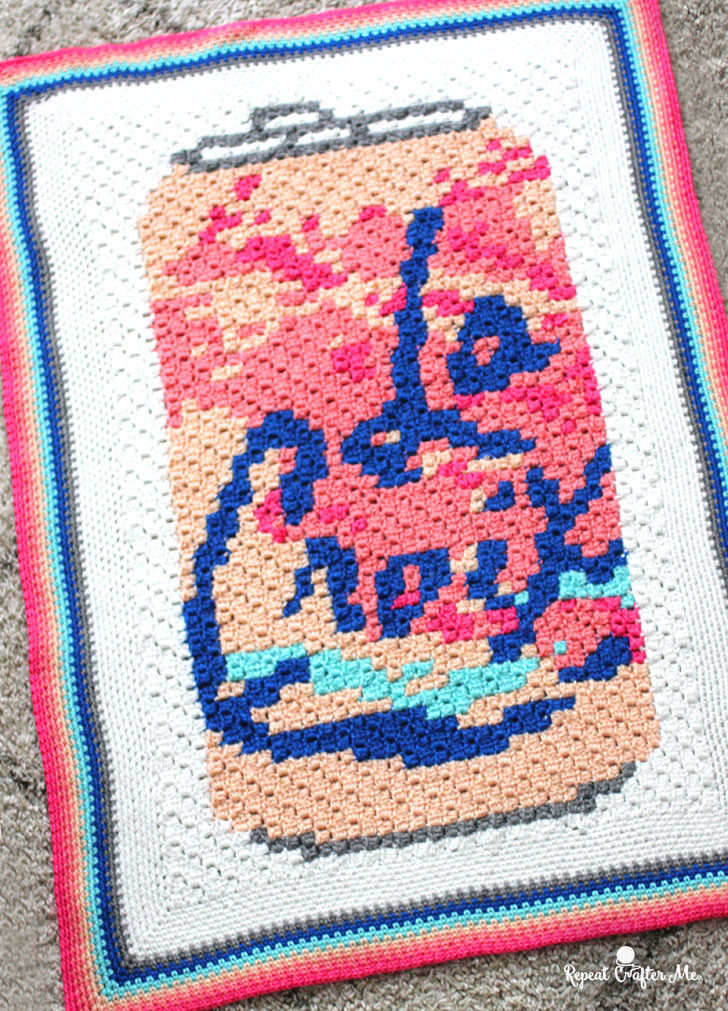
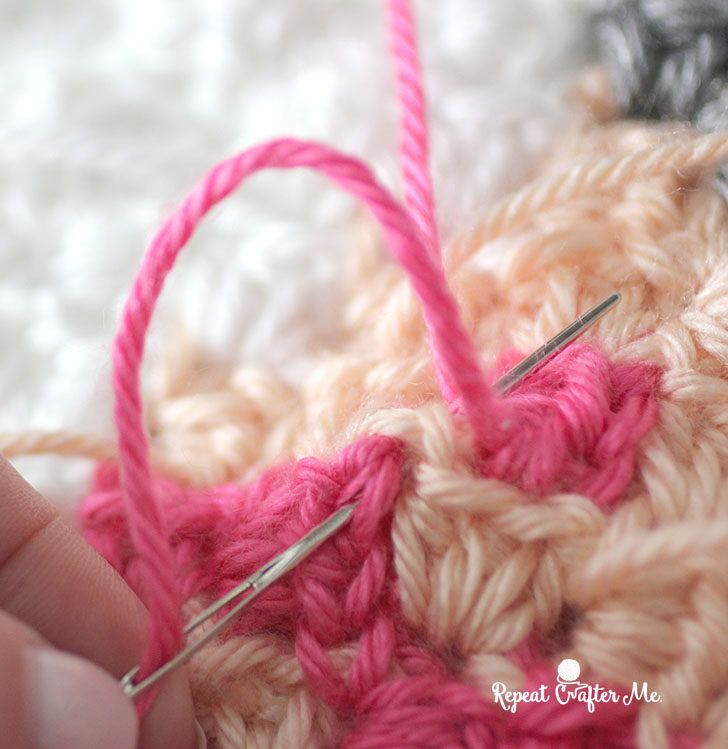
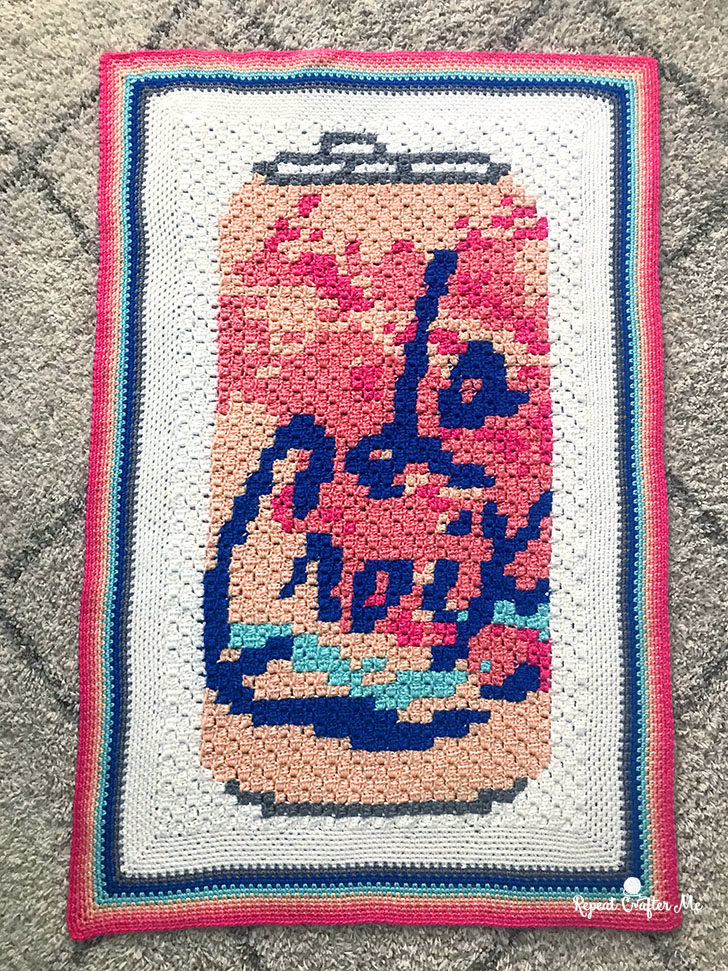
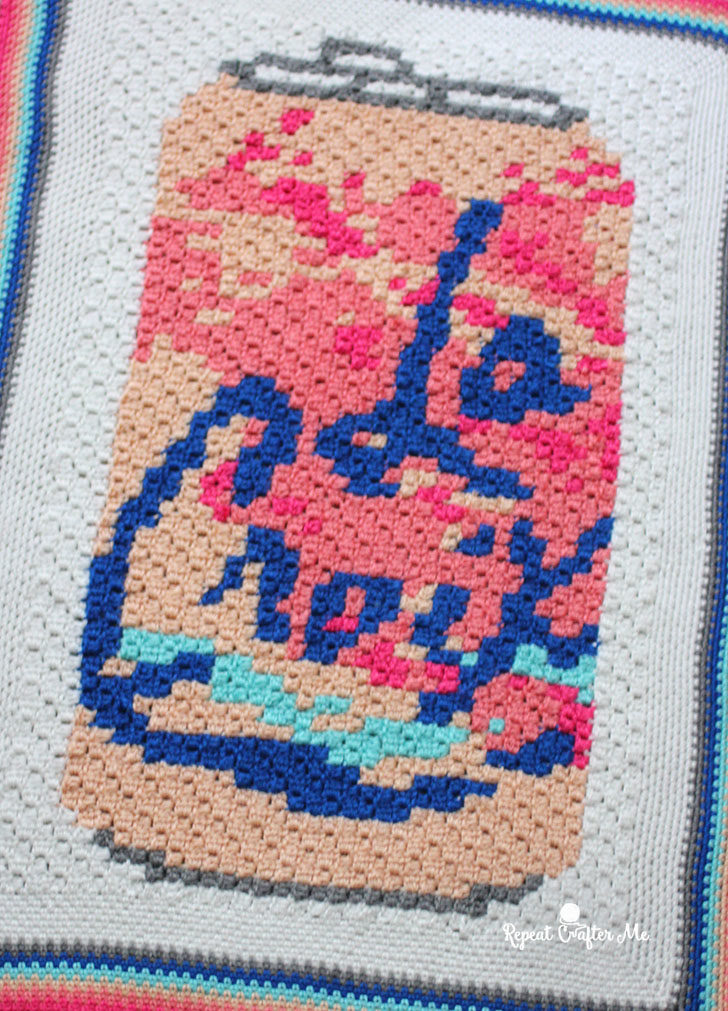
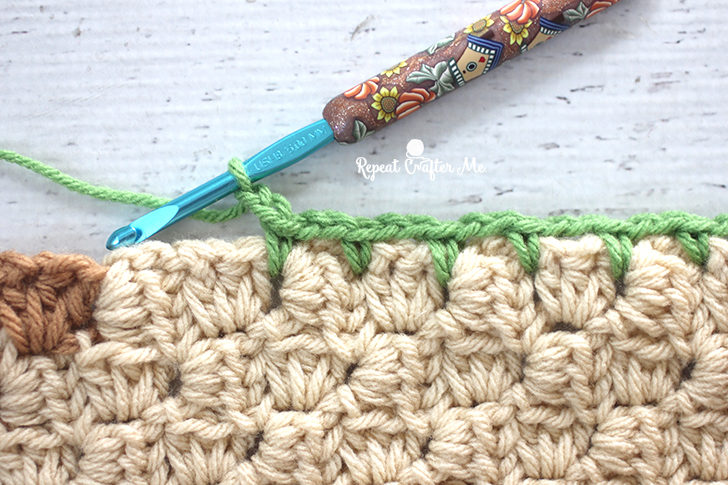
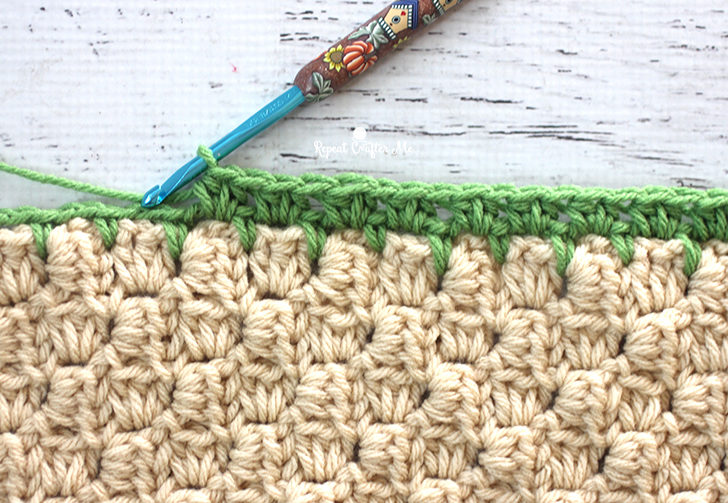
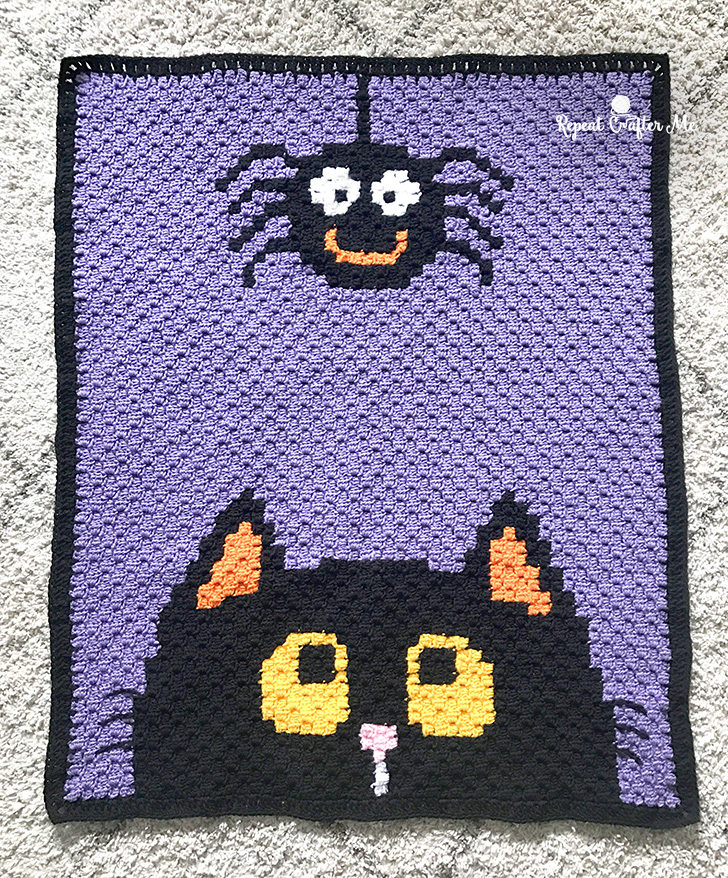
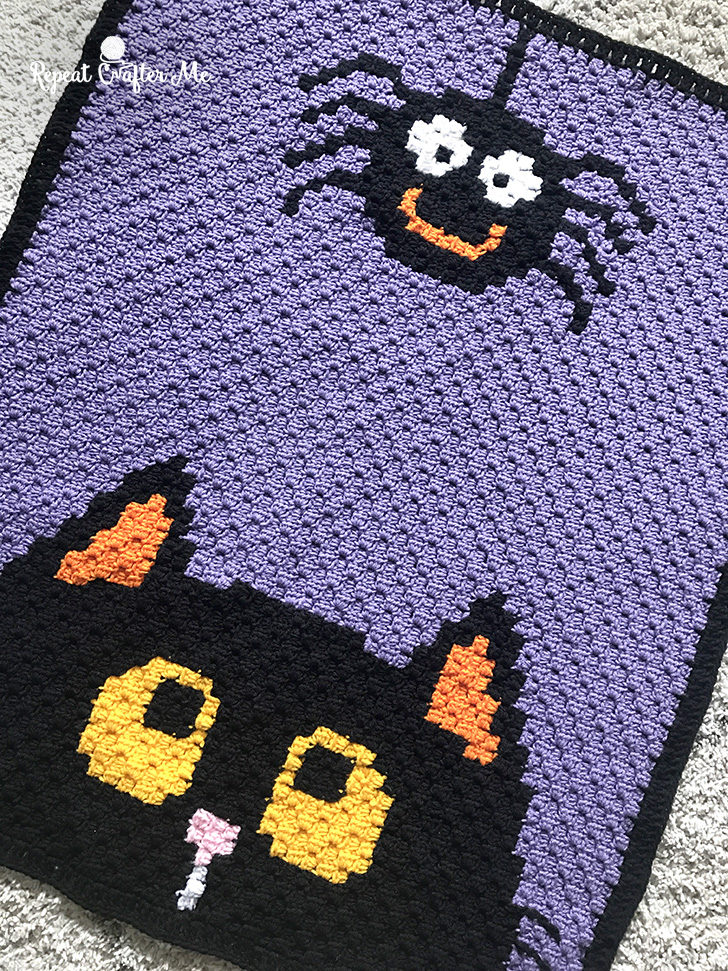
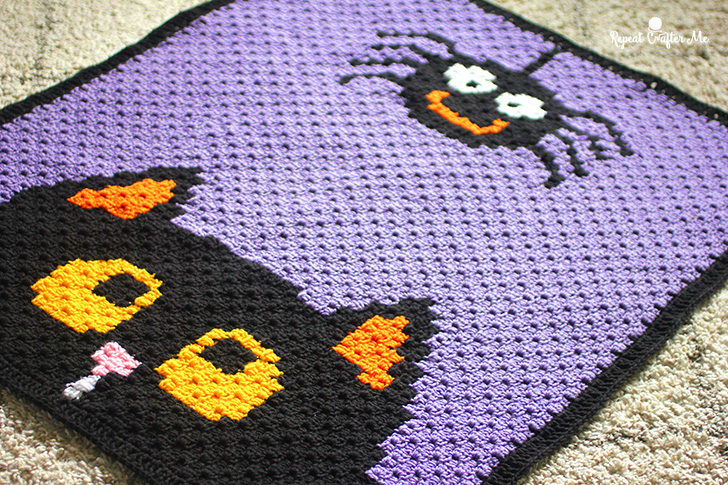
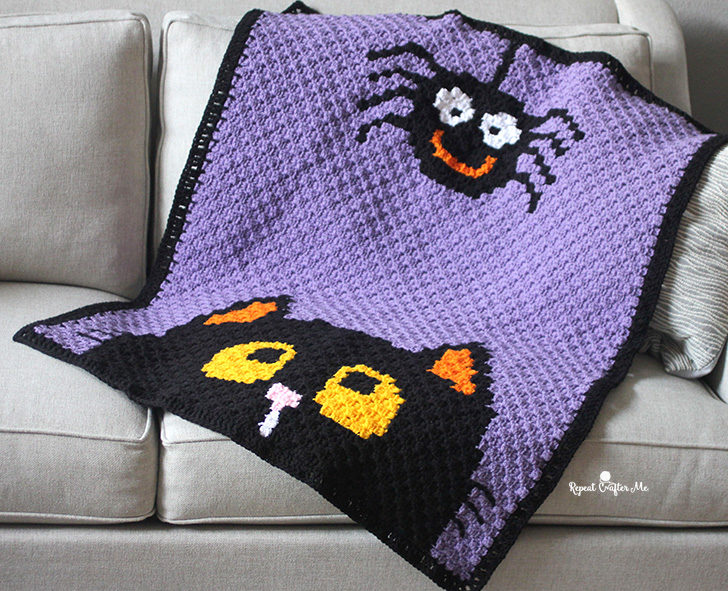
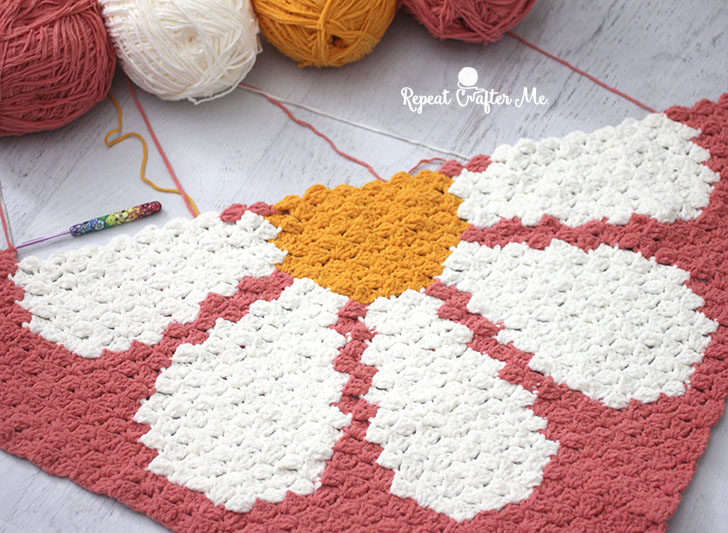
It’s not a party without balloons! The Balloon Corner-to-Corner Crochet Square is the third square in my Celebration C2C Blanket! The surface slip stitch worked perfectly for the balloon strings. I even left them hanging over the edge a little bit. Thinking outside the box on this one!
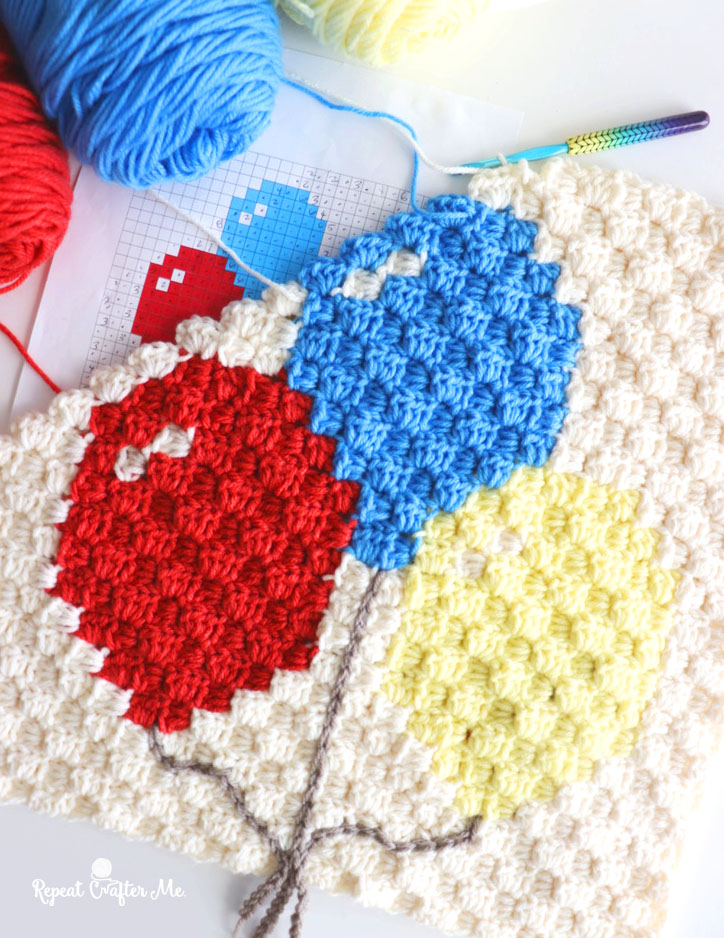
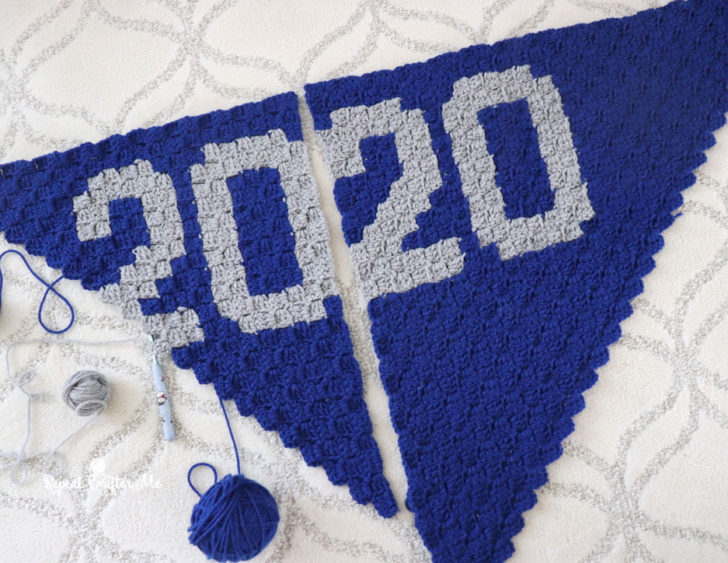
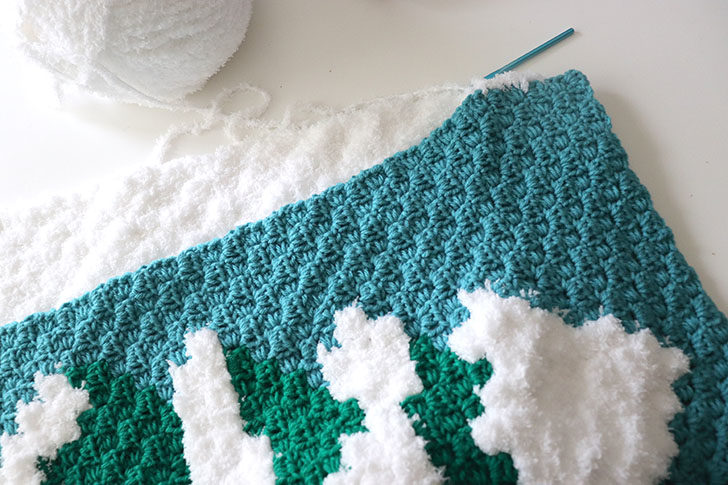
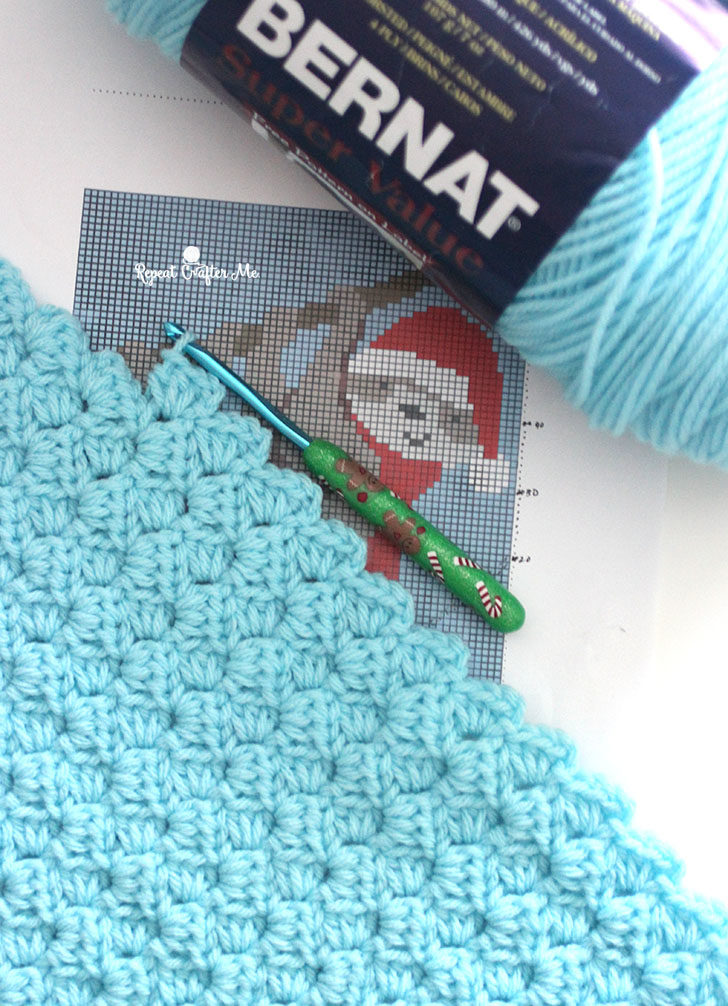
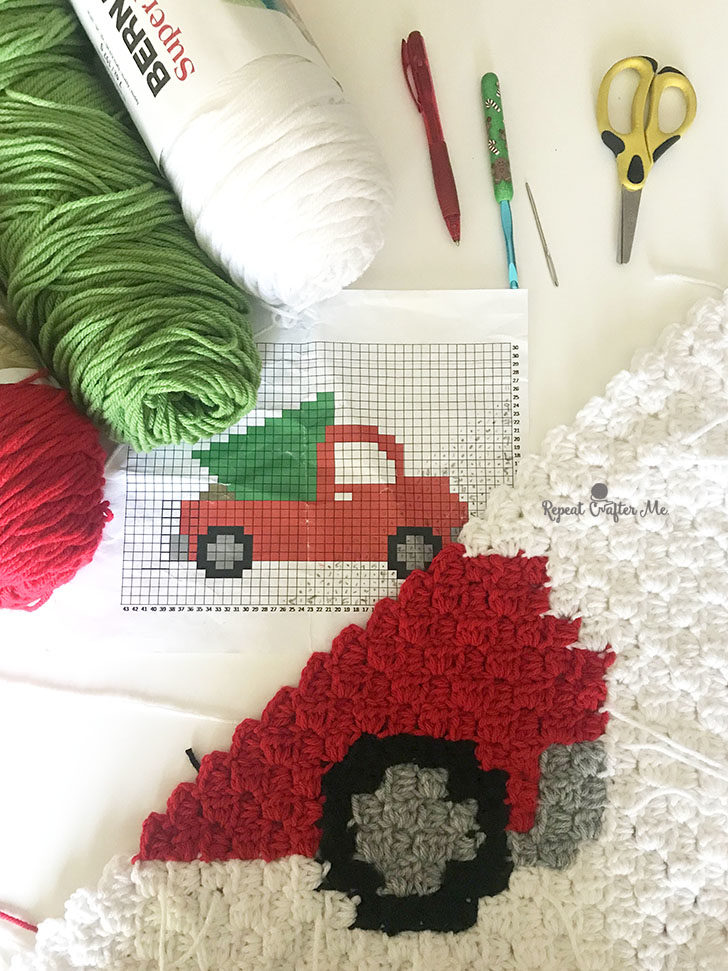
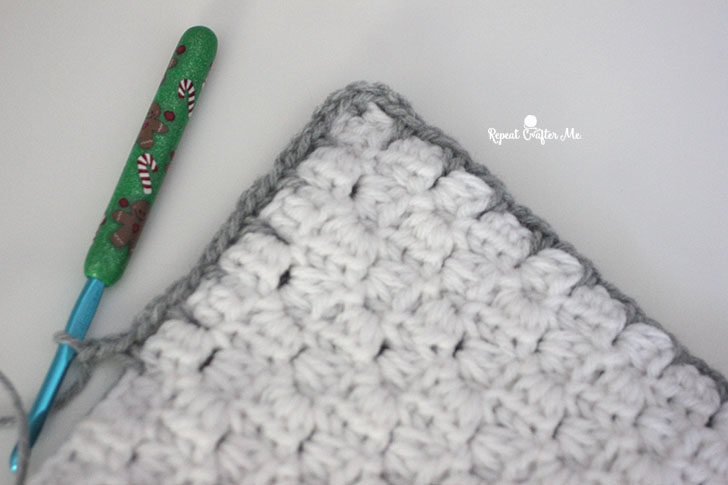
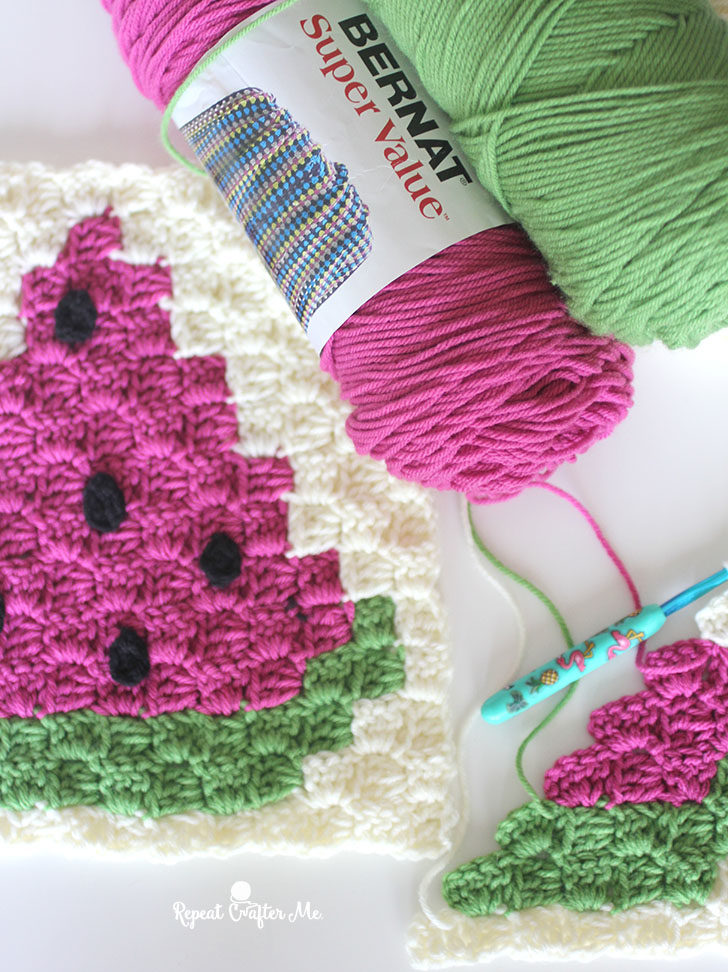
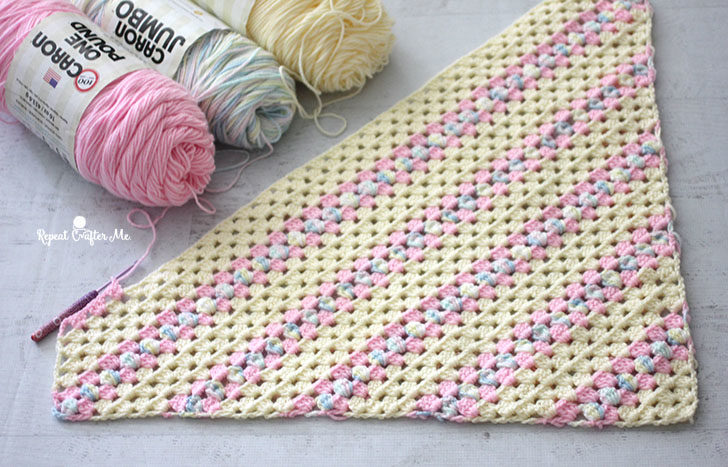
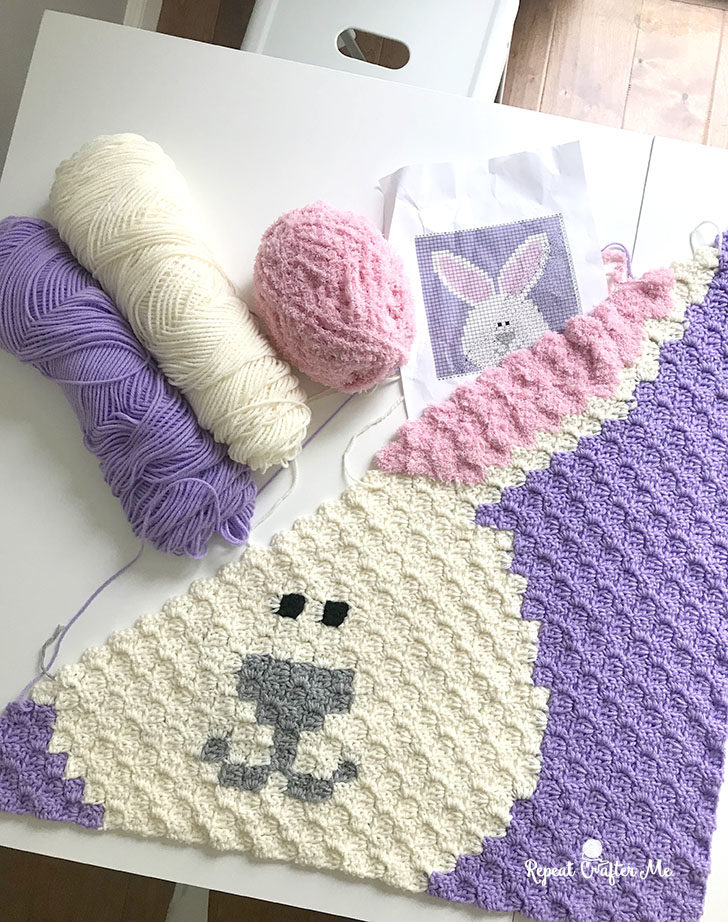
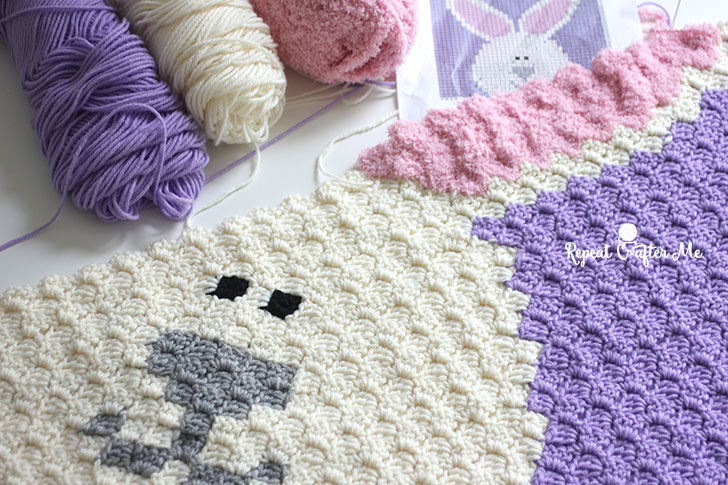
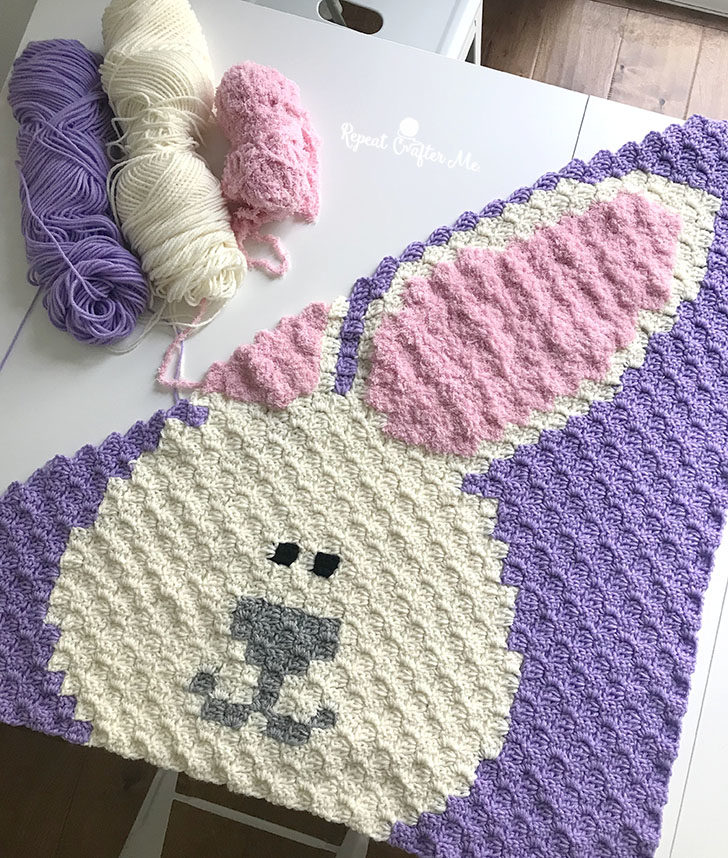
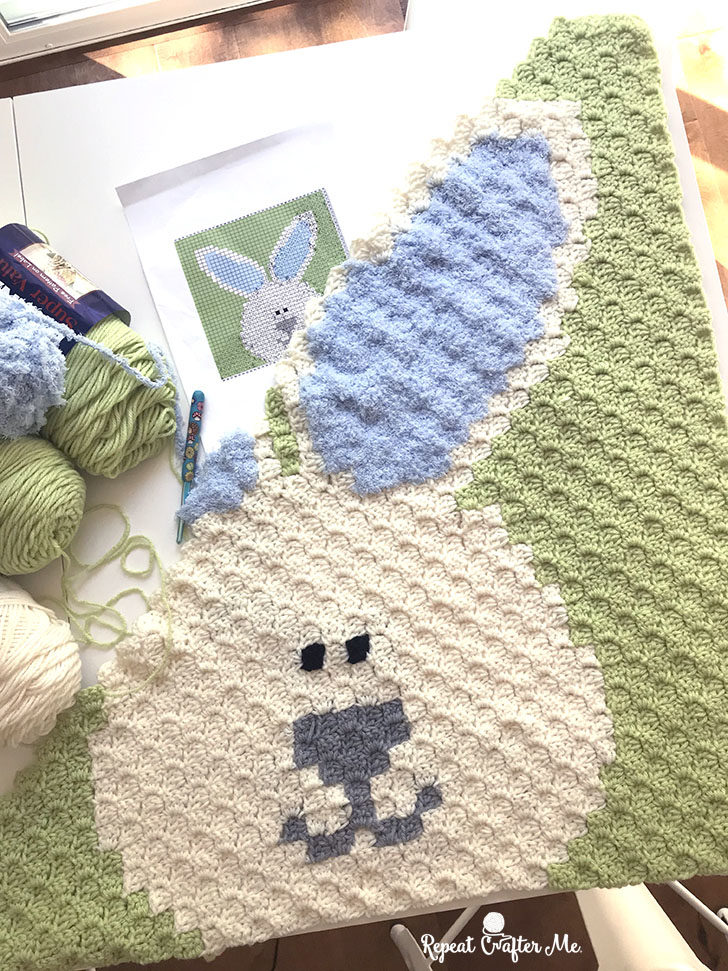
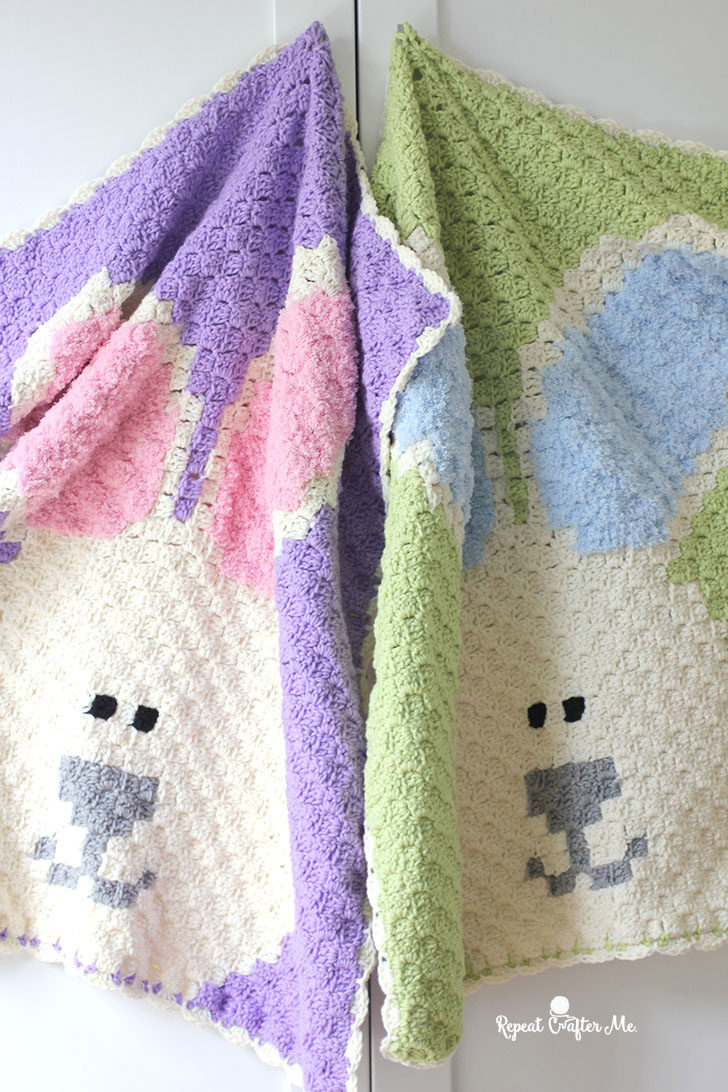
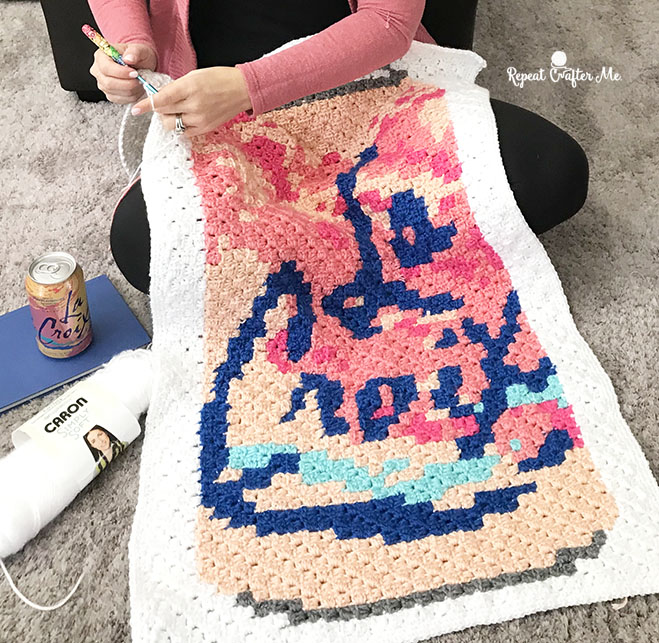
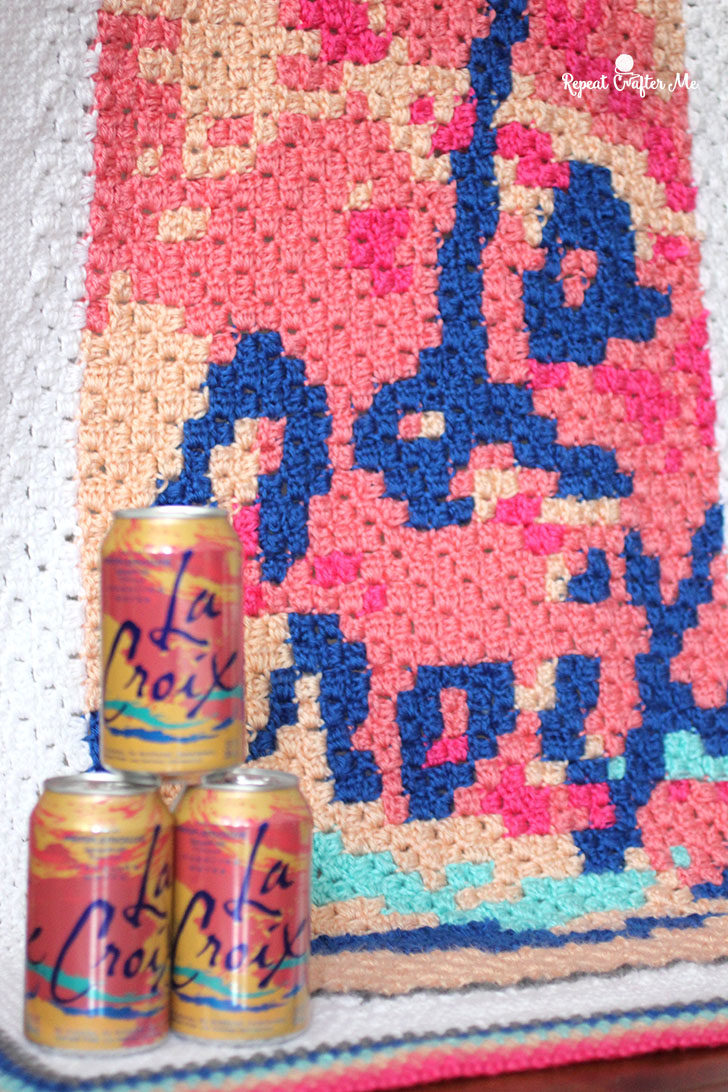
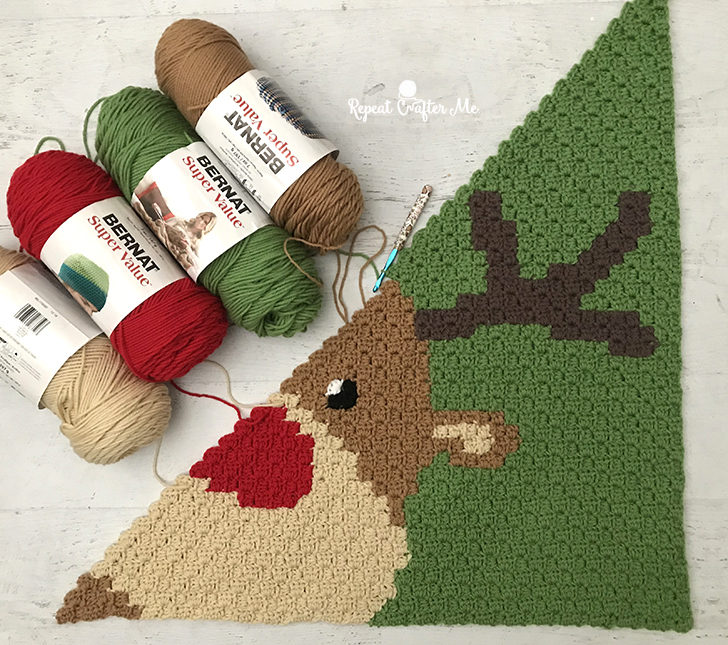
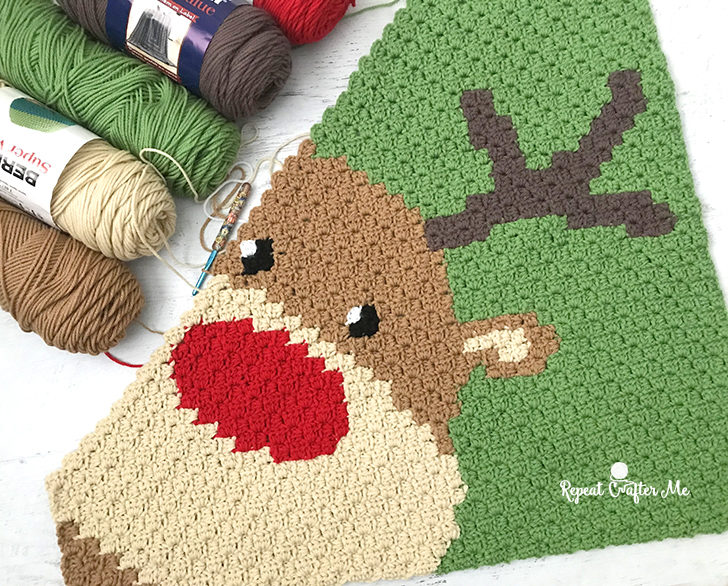
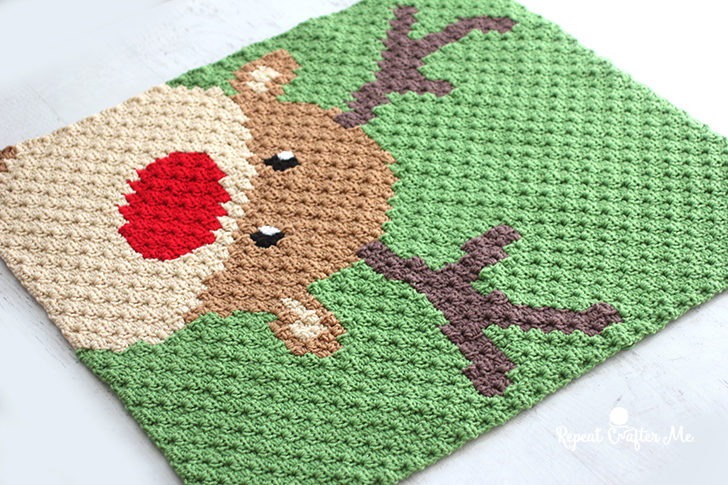
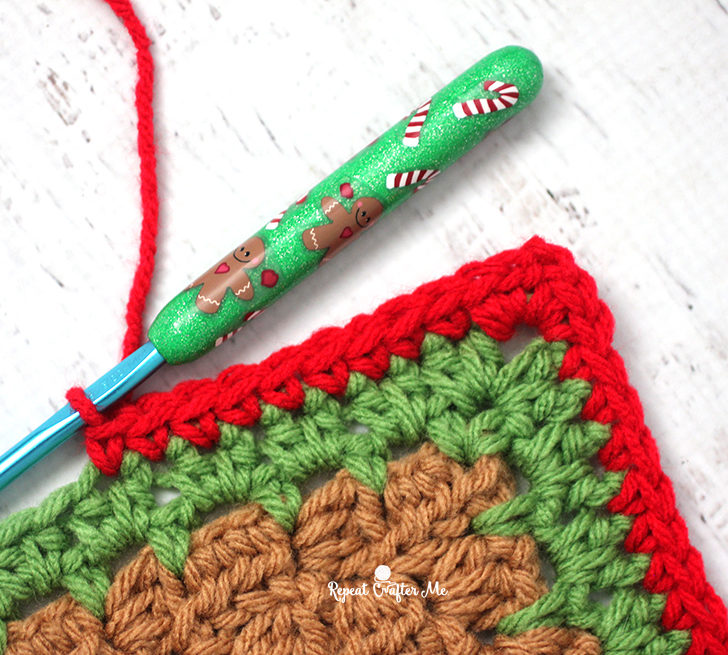
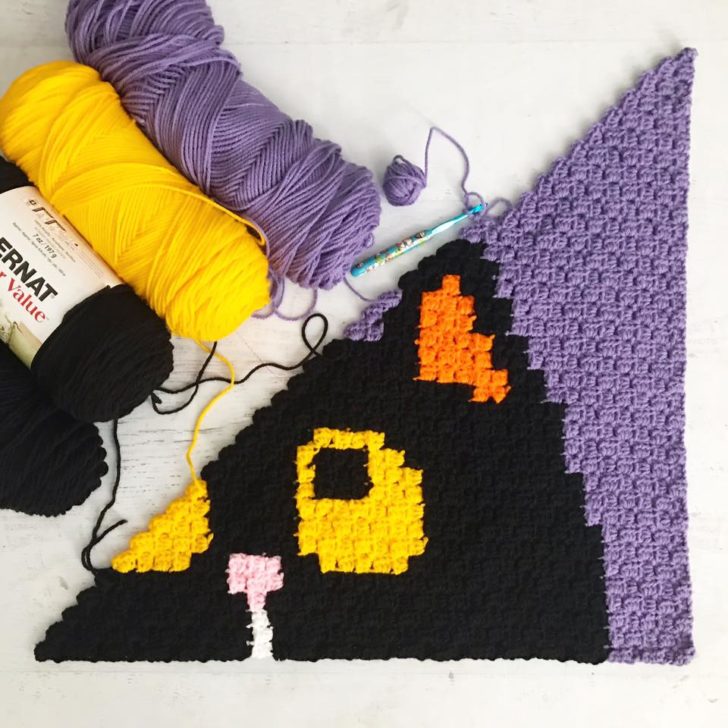
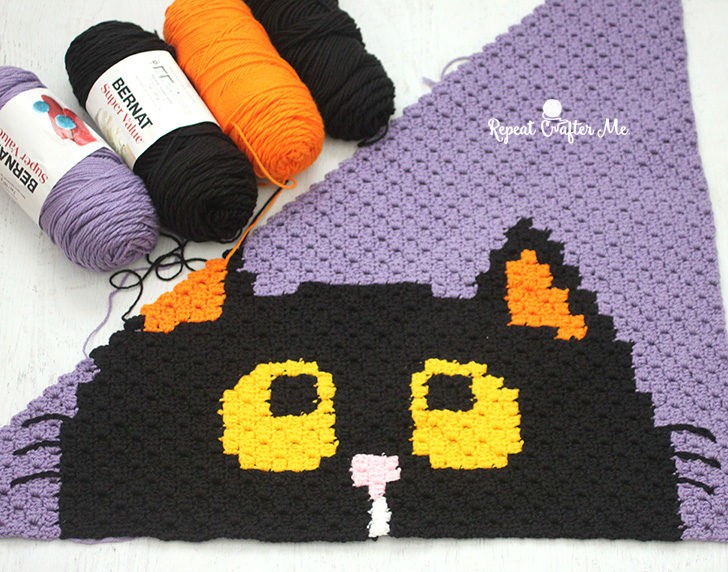
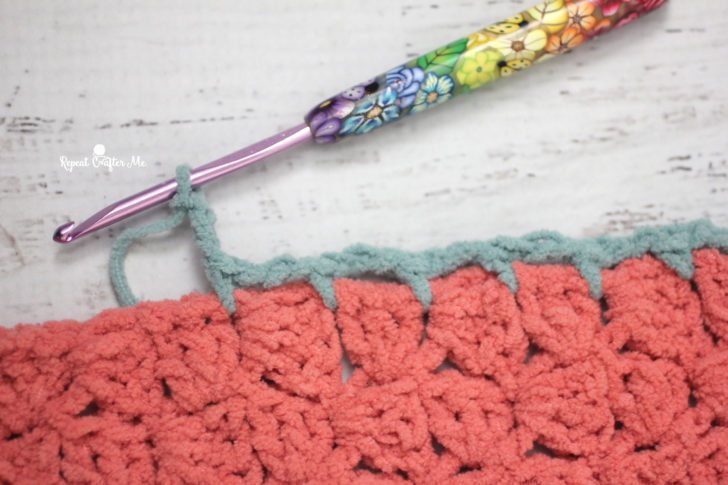
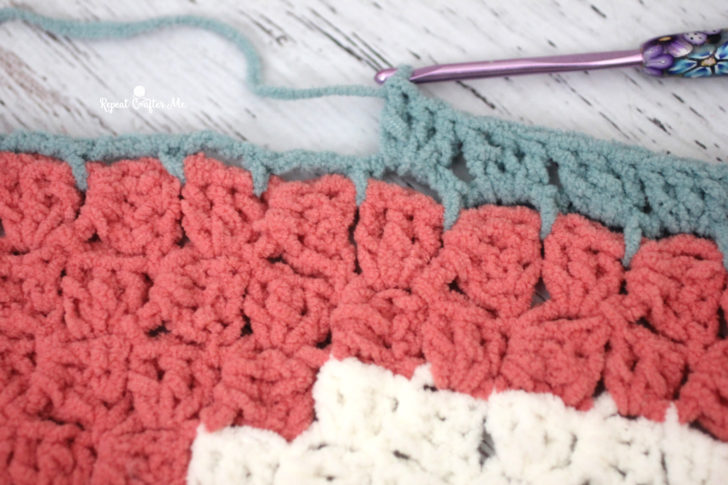
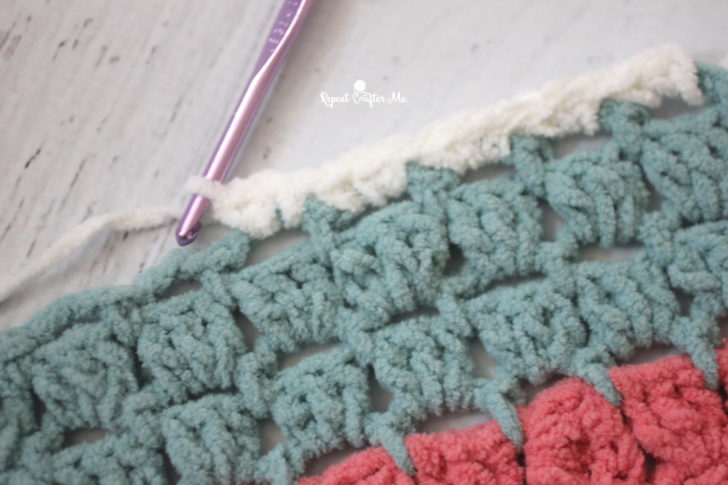
I used the C2C (corner-to-corner) technique to crochet each square. Follow THIS VIDEO DEMONSTRATION by The Crochet Crowd for more explanation on how to crochet C2C afghans. I used a size H crochet hook and worsted weight yarn . Specifically Bernat Super Value. Each square takes less than a skein. I do not currently have a count on how many skeins for the entire blanket.
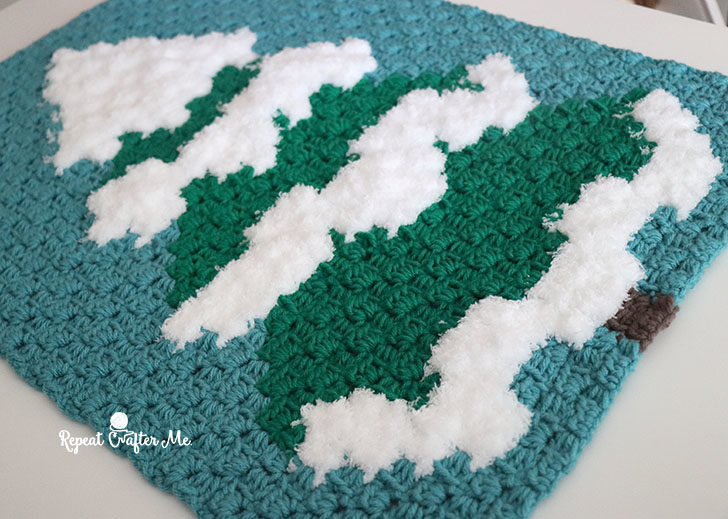
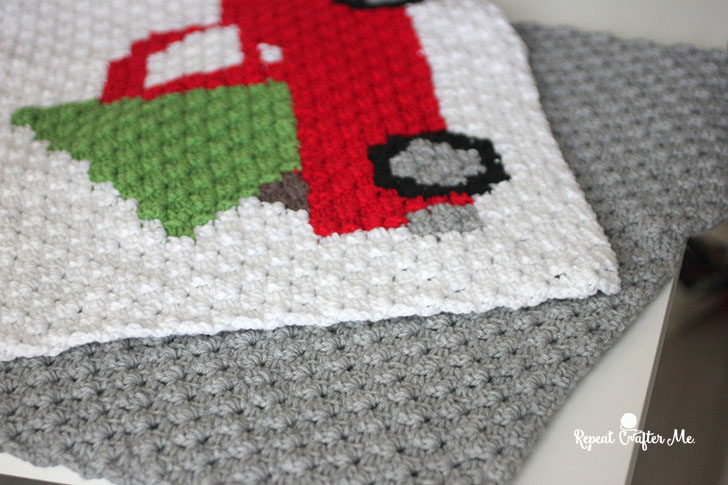
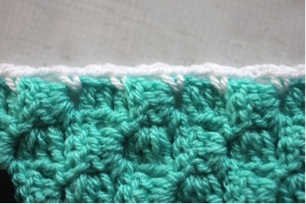
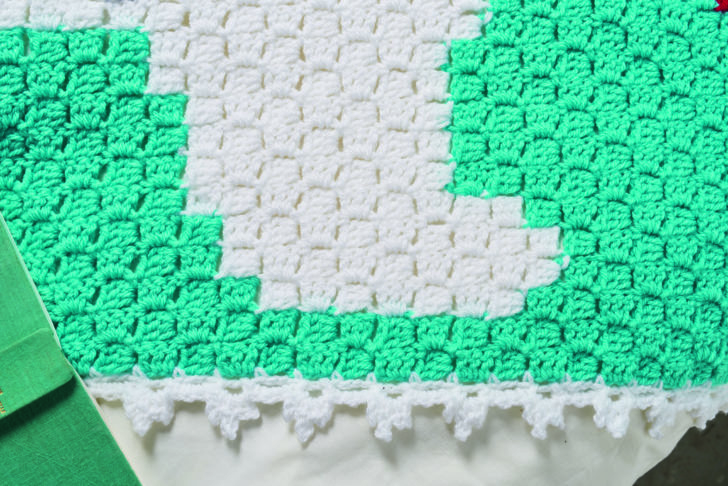
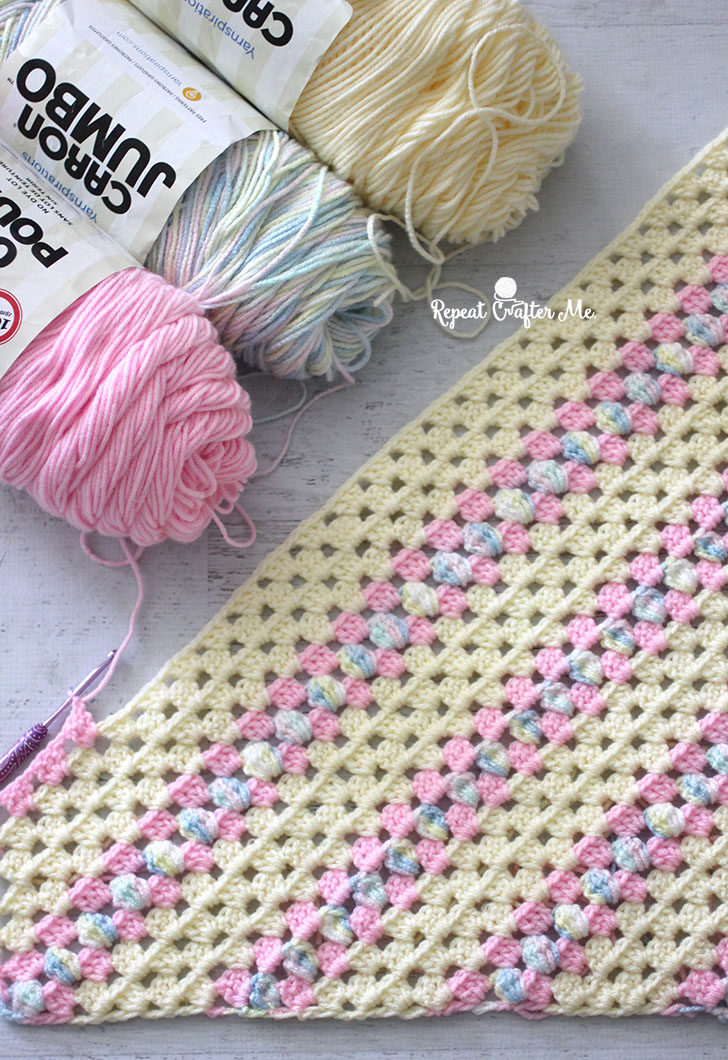
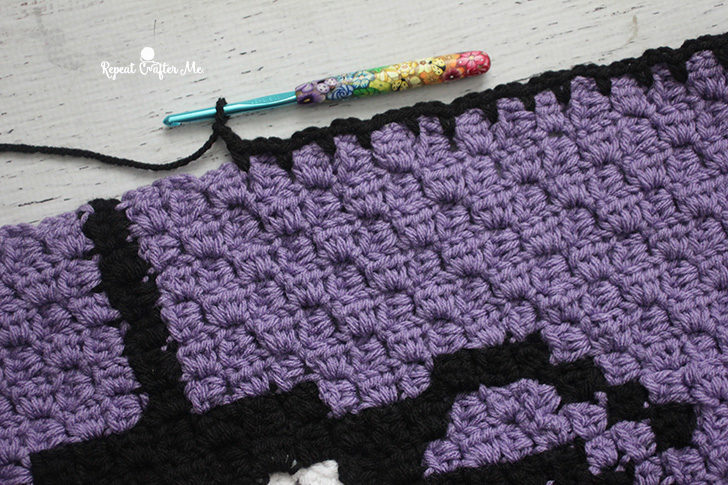
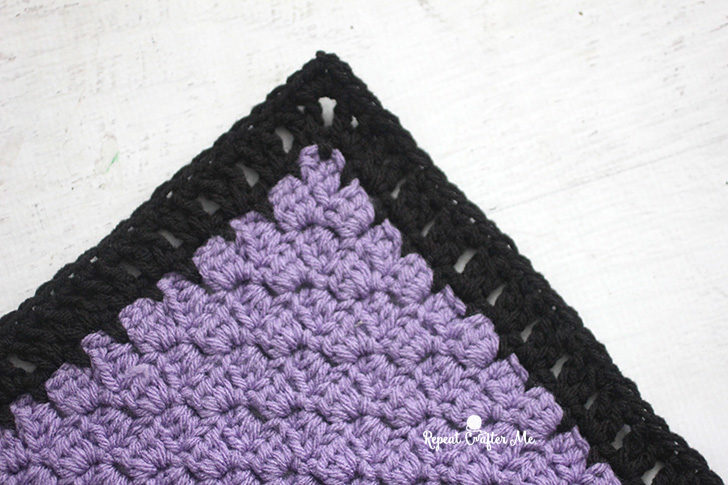
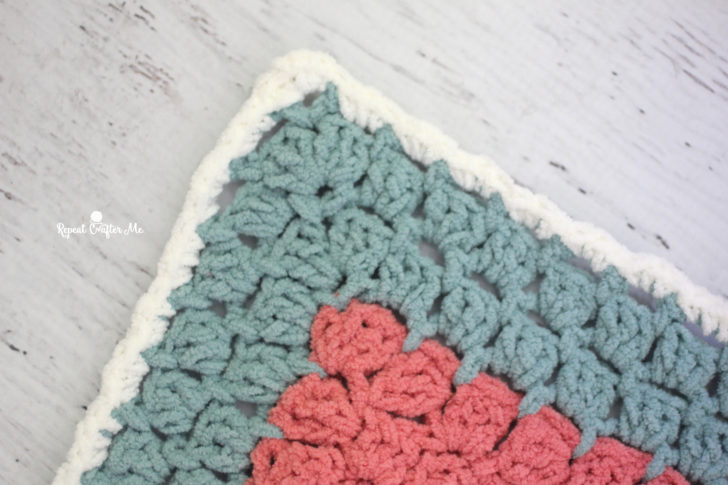
VERY IMPORTANT: Instead of the traditional C2C method of using DC’s and chain 3’s to make each pixel, I used HDC’s and only chained 2 (and chained 5 instead 6 on the increase stitches). I like the way the overall stitches look tighter and neater. You can absolutely use the traditional method! Keep in mind that it will take a little bit more yarn and your overall project will be larger (which isn’t a bad thing!)
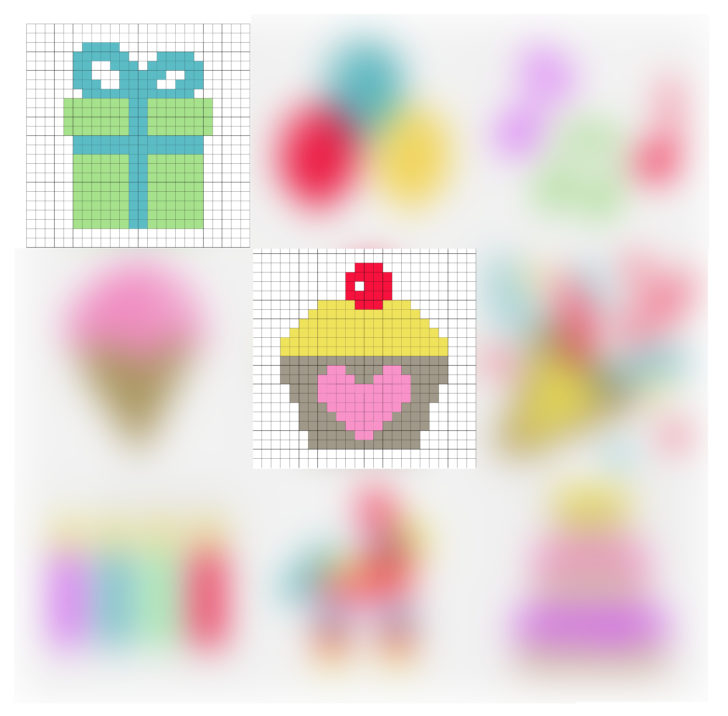
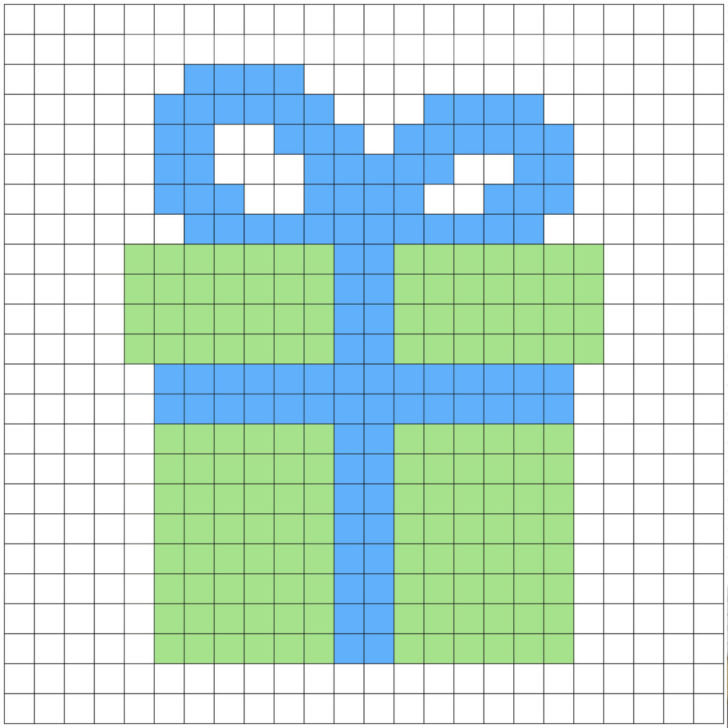
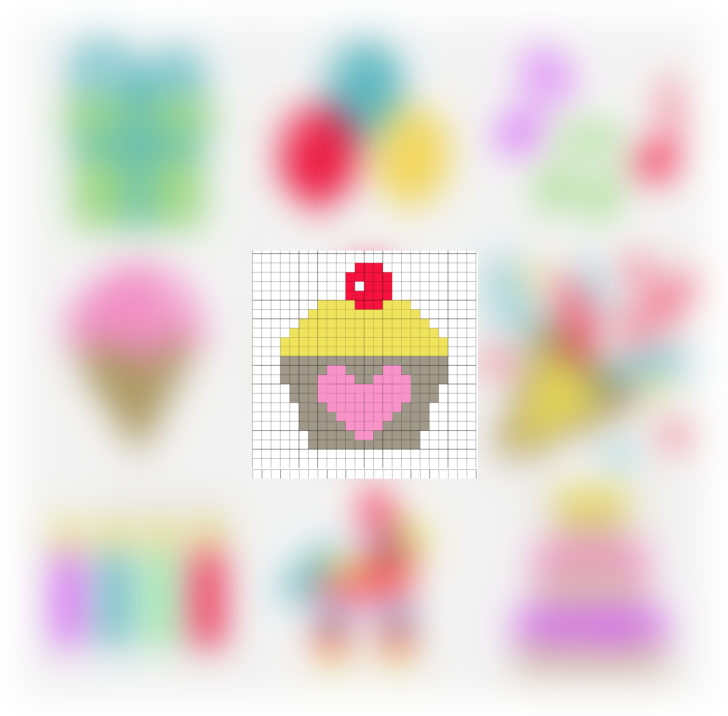
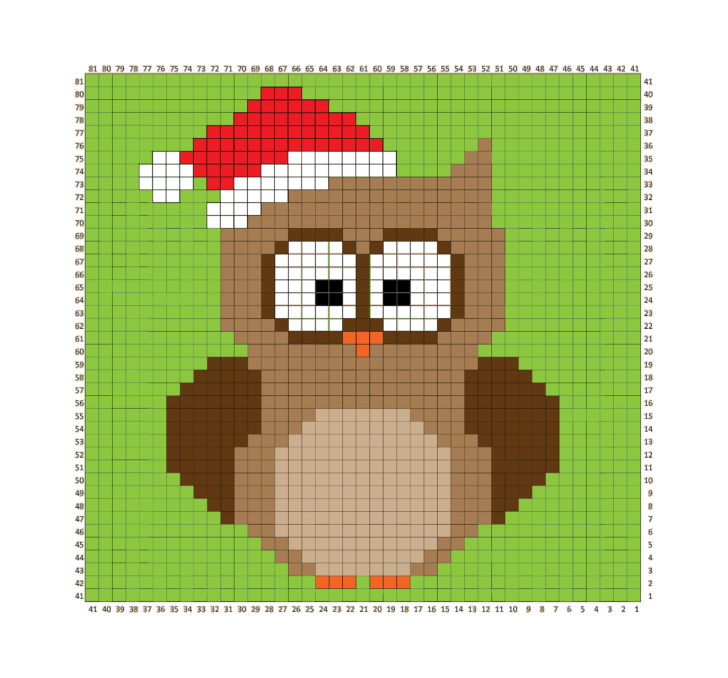
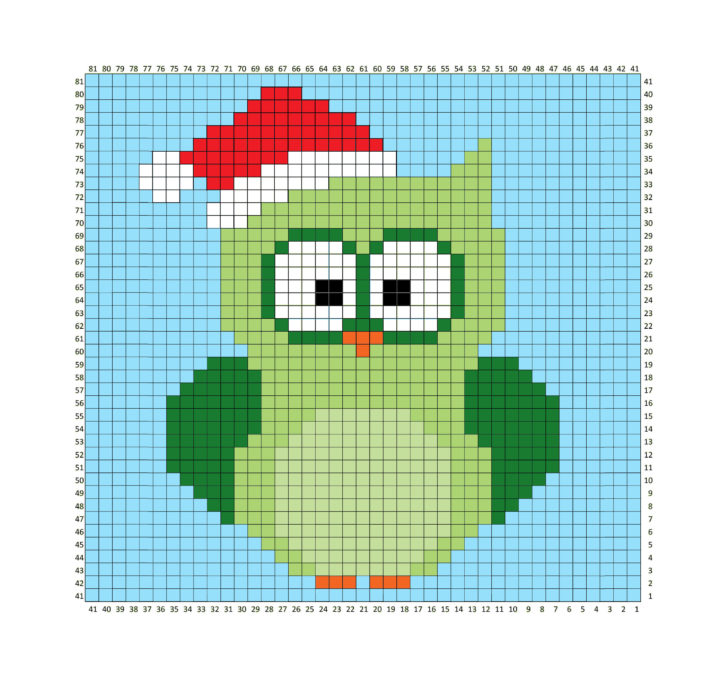
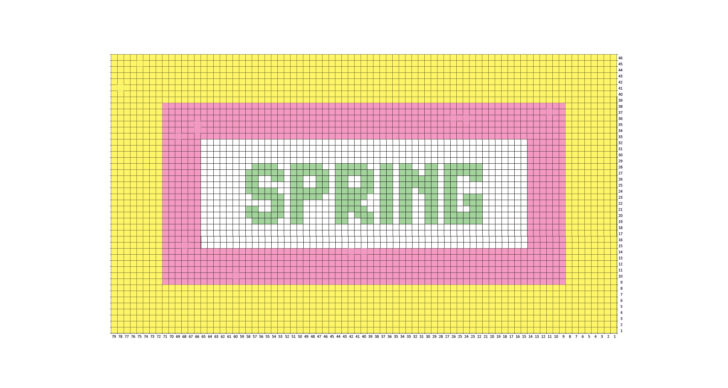
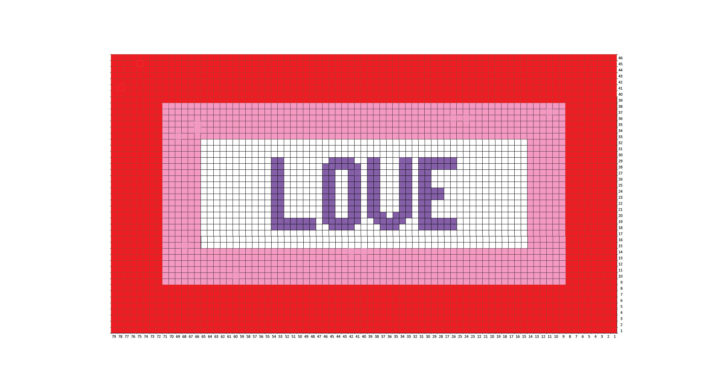
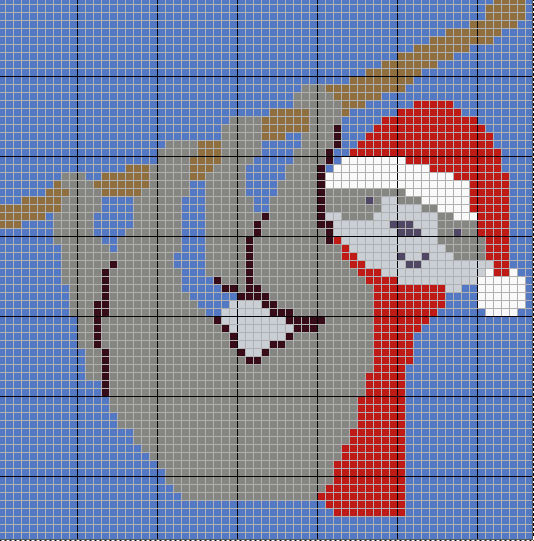
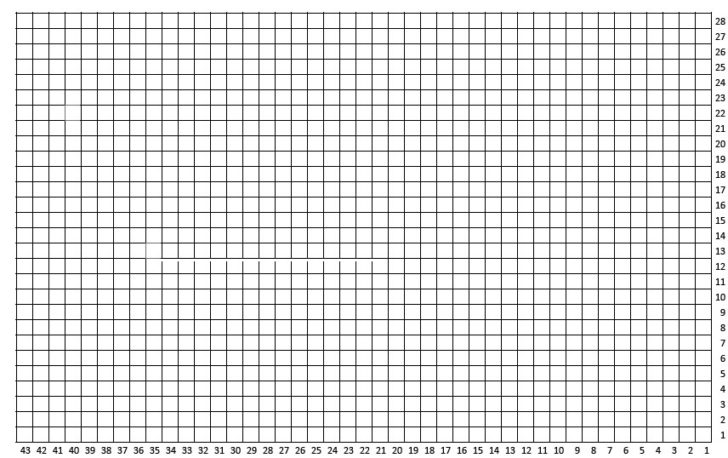
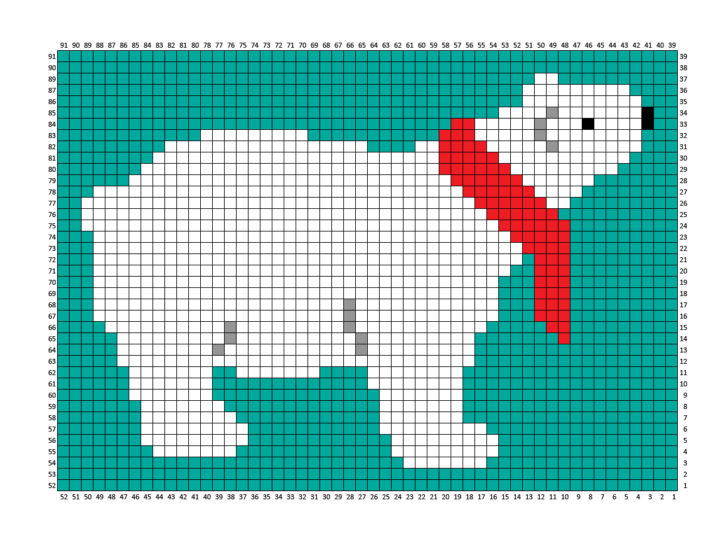
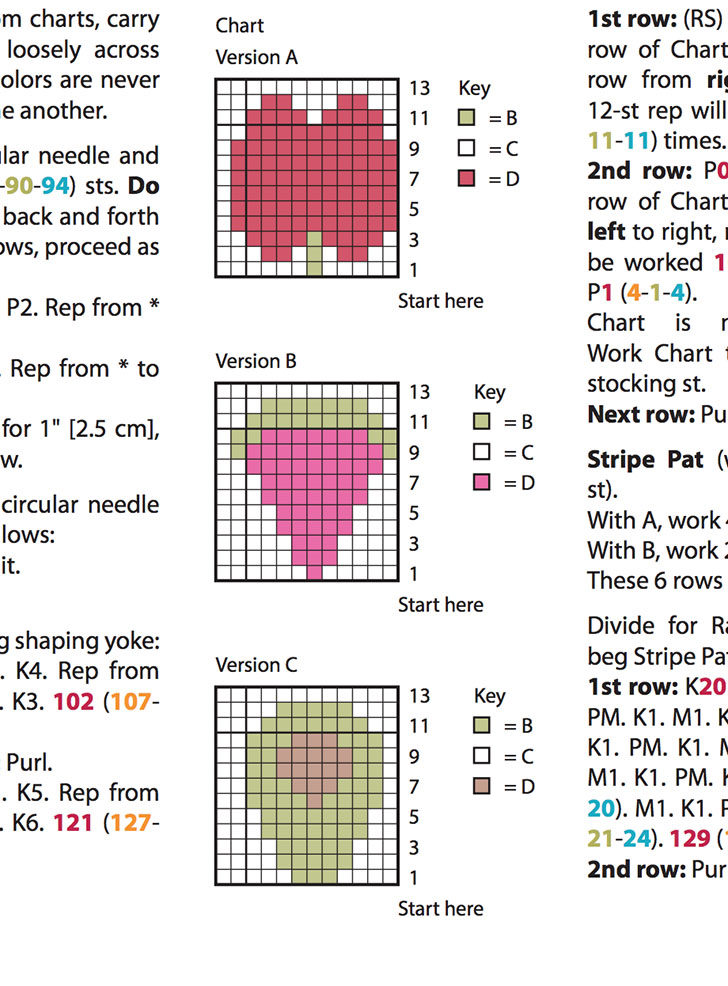
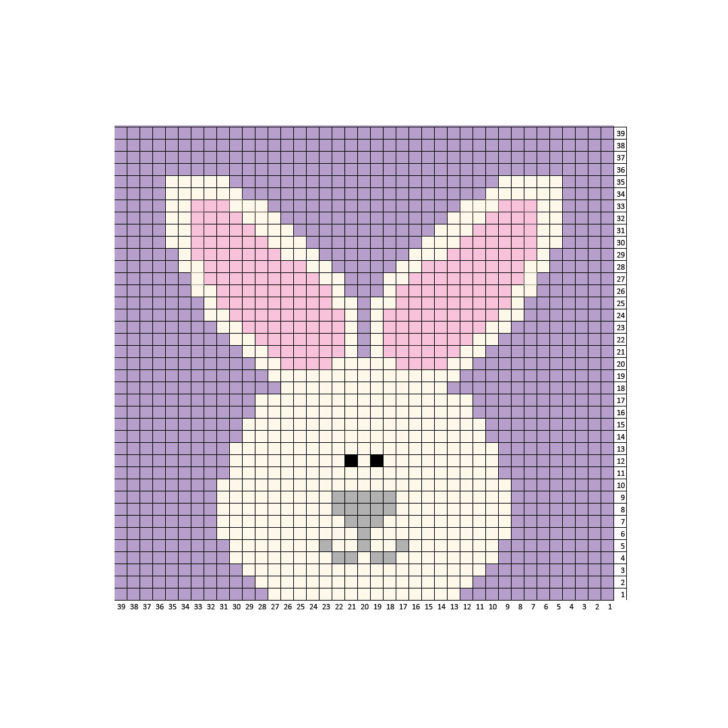
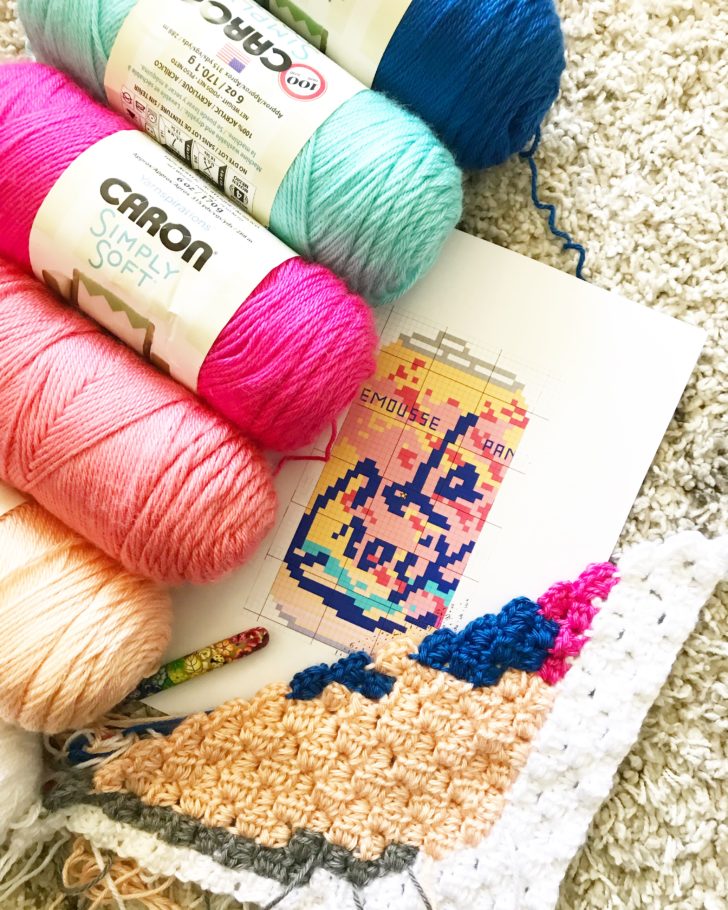
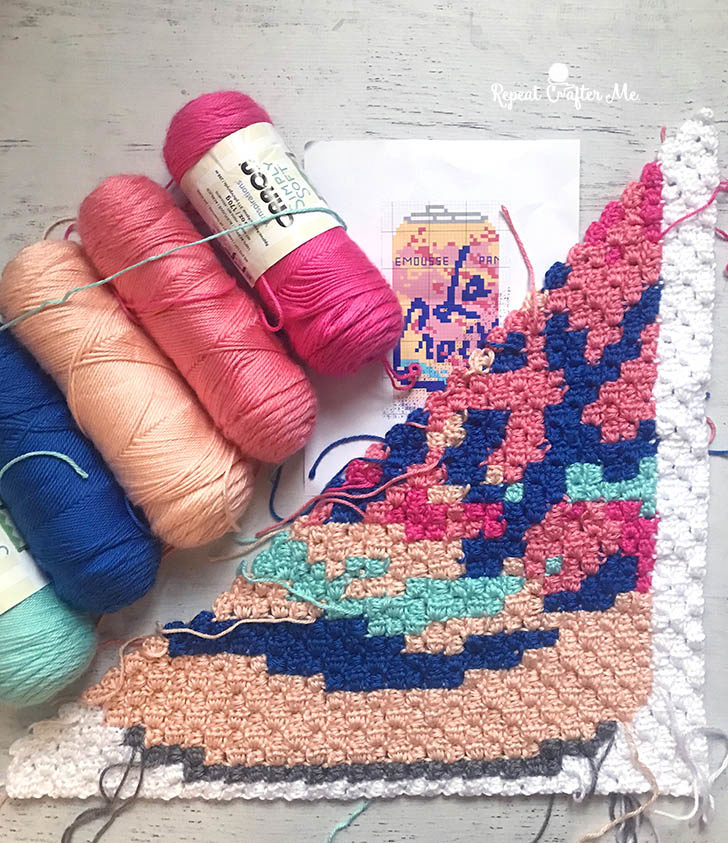
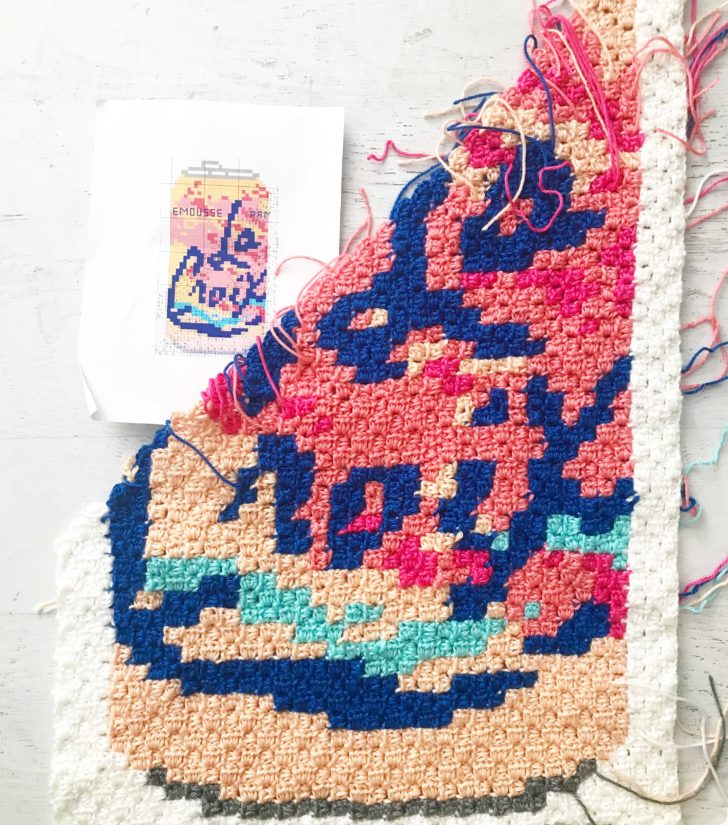
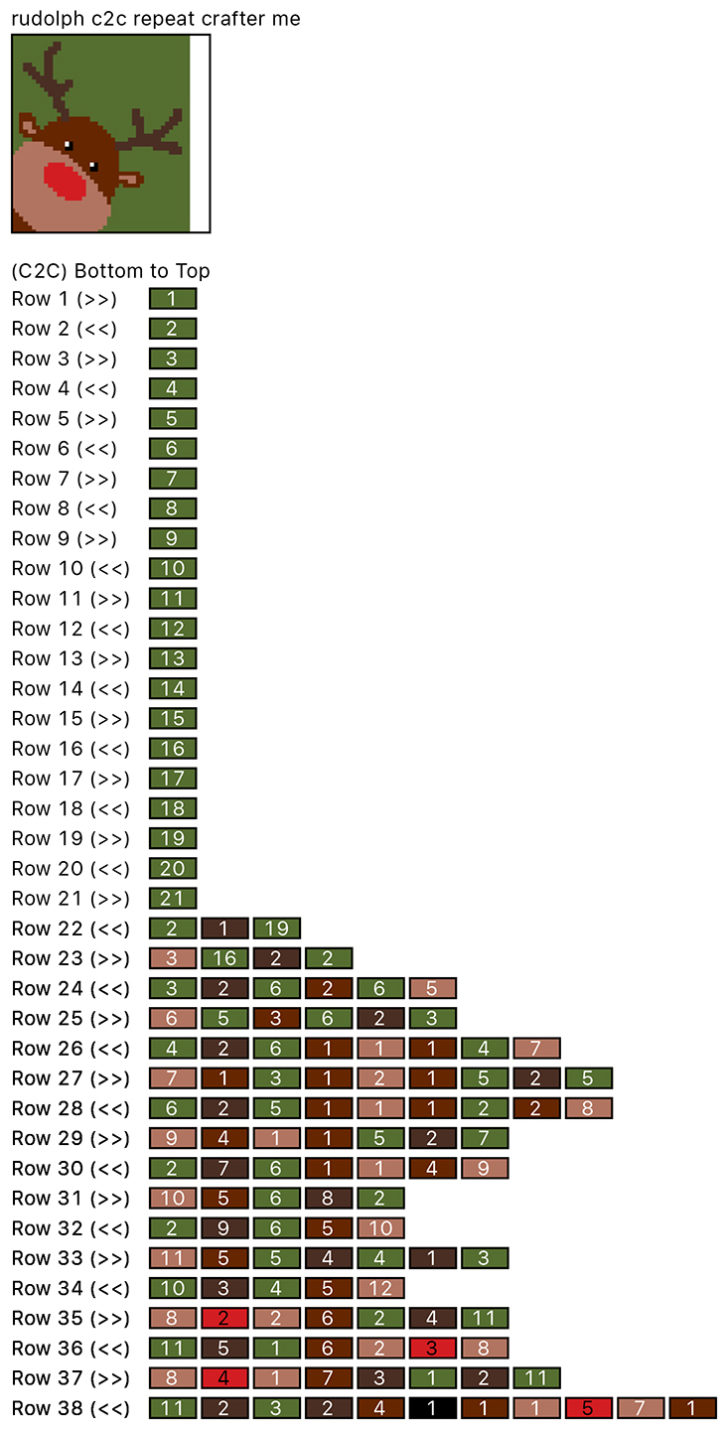
– Ballon Pixel Graph. Download HERE.
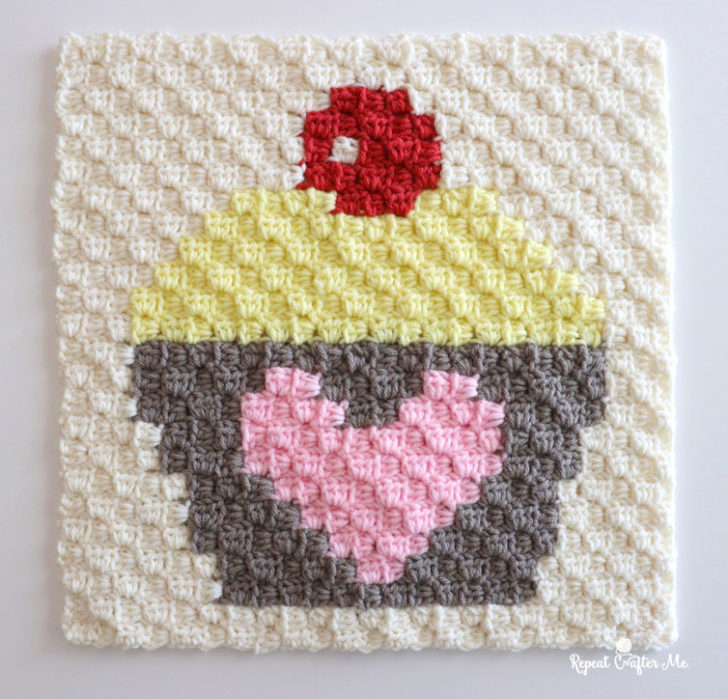
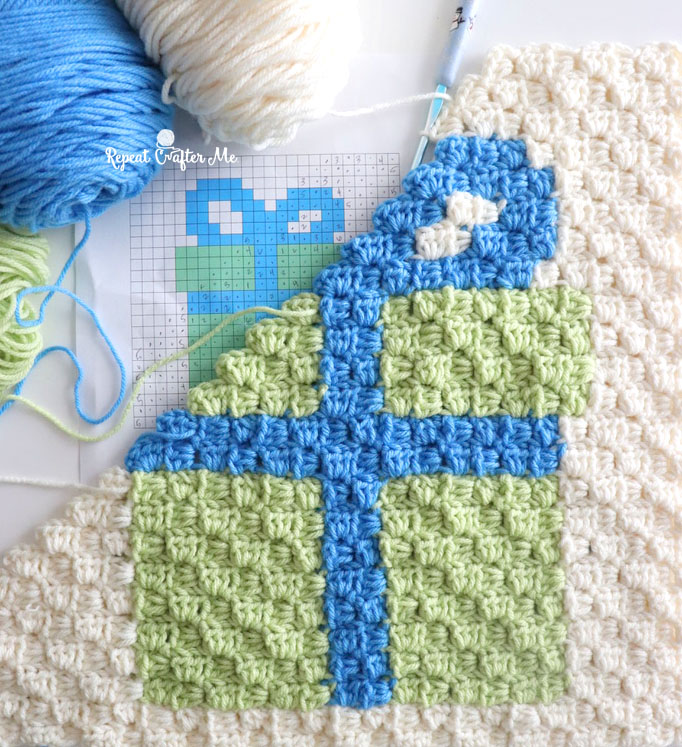
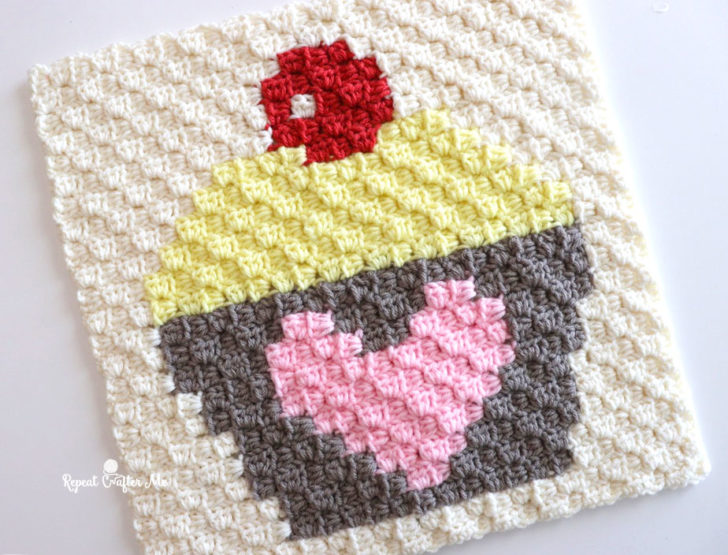
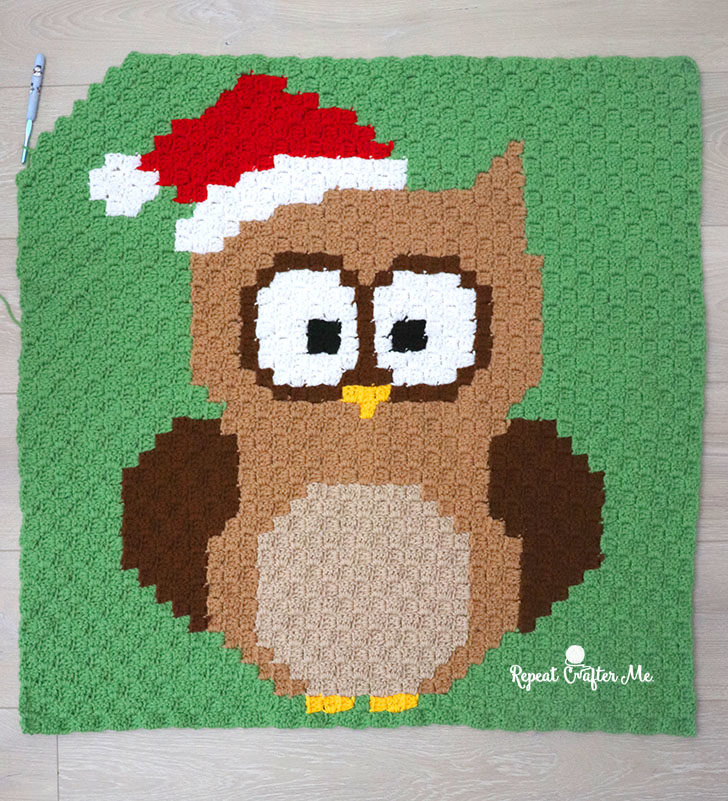
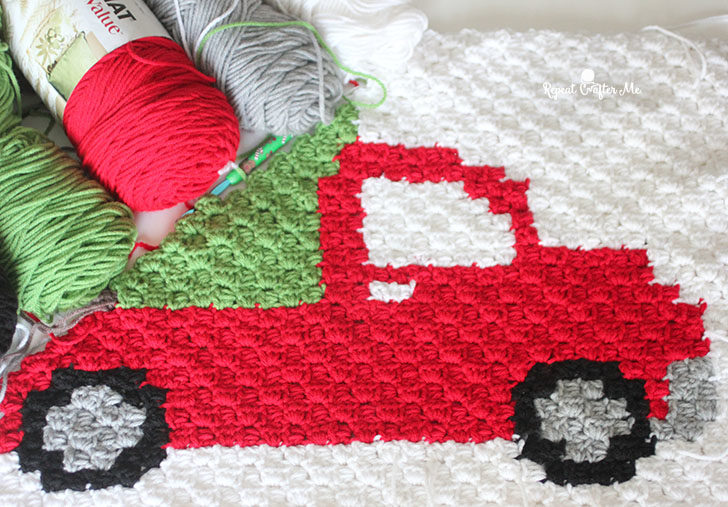
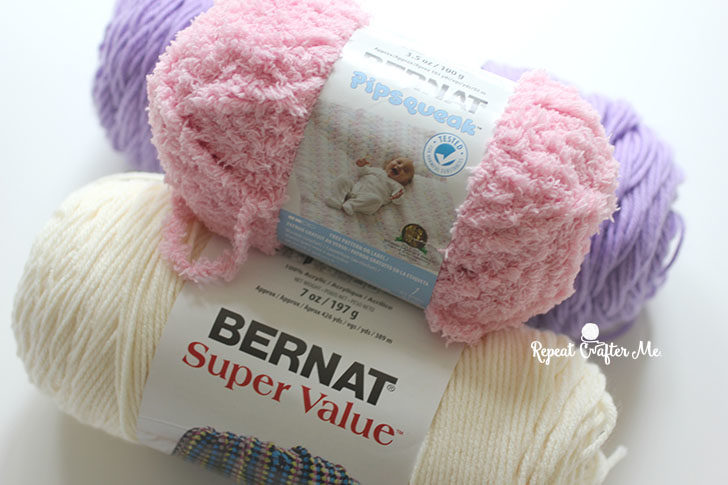
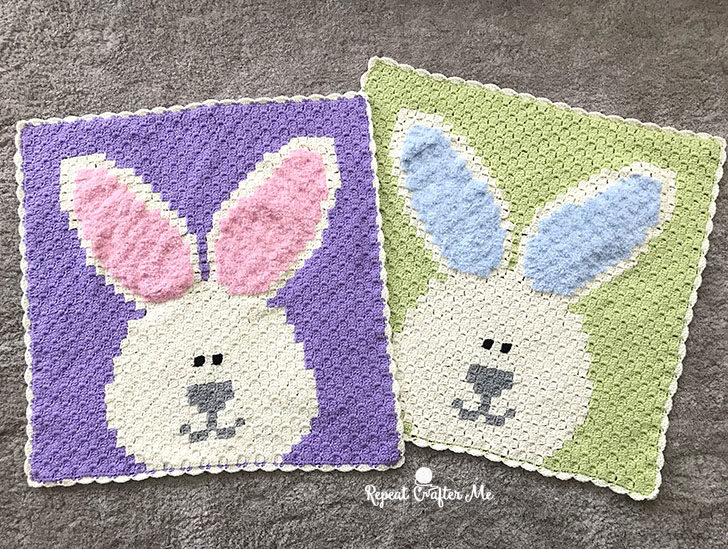
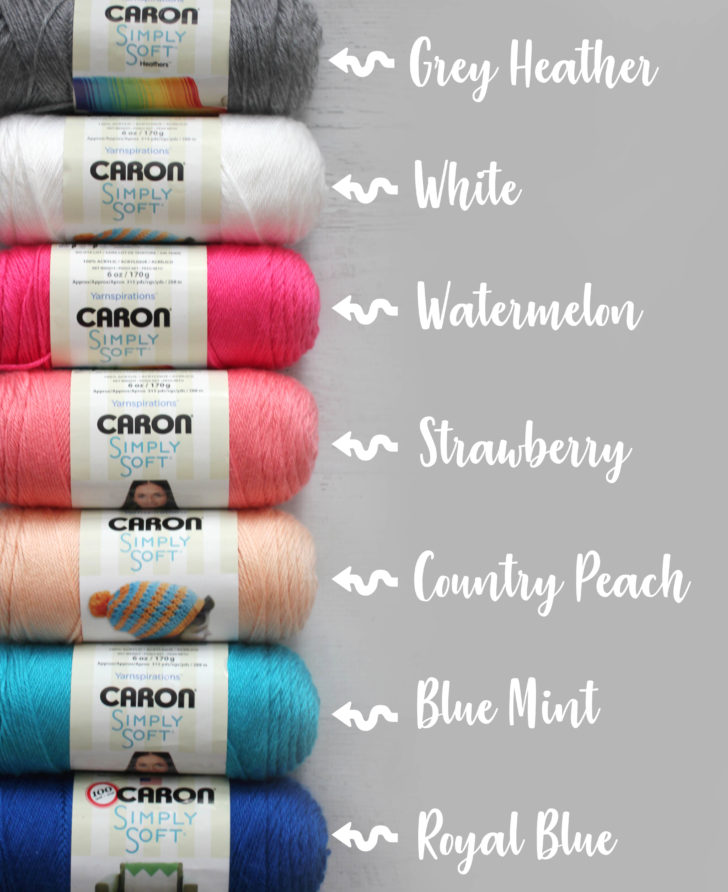
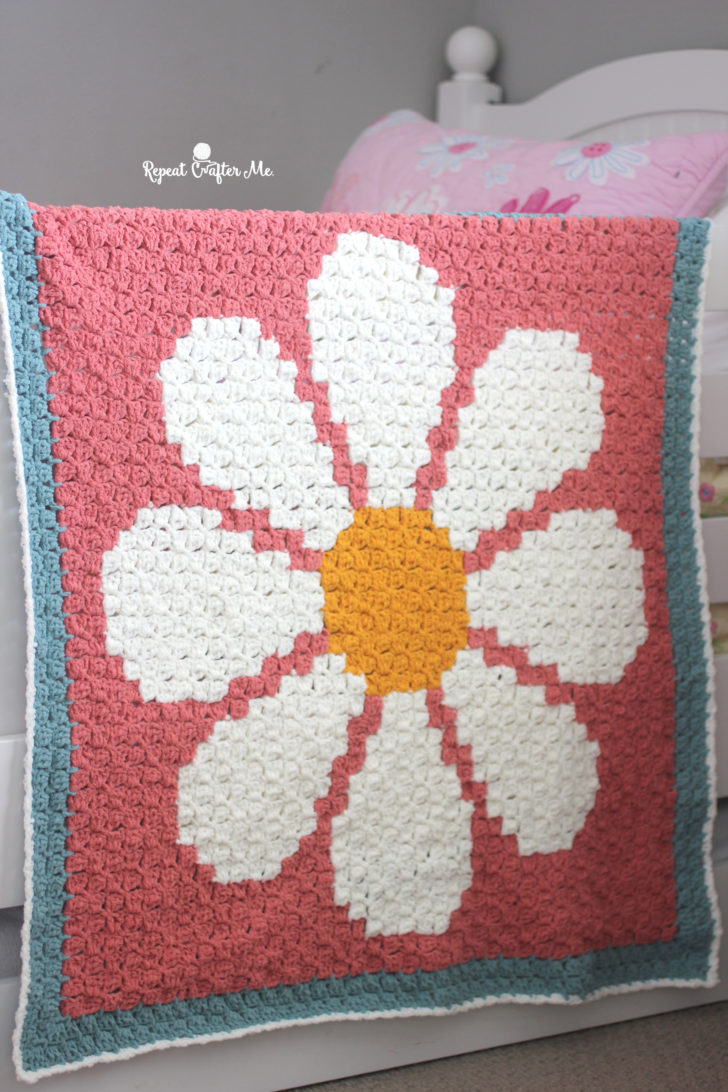
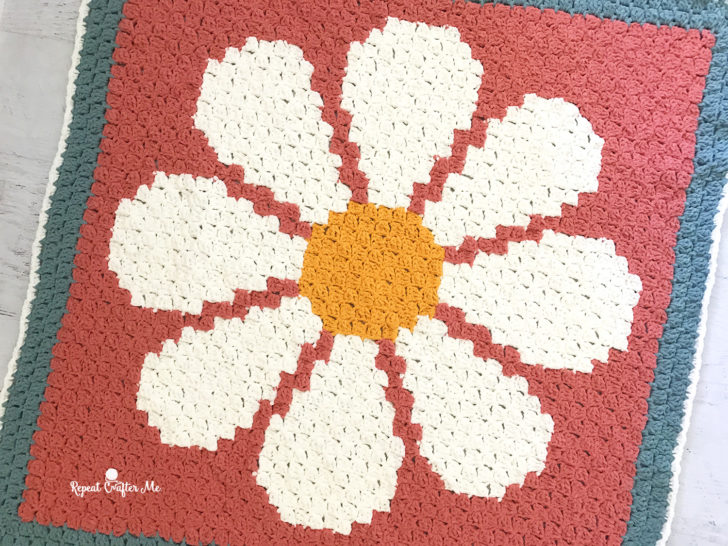
– Bernat Super Value Yarn in colors, Natural, Yellow, Rouge, and Hot Blue. And a bit of Brown (Clay) that I used in the cupcake for the Balloon Strings Feel free to choose your own colors! Shop all colors of Bernat Super Value Yarn HERE on Yarnspirations.com.
– Size H Crochet Hook
– Tapestry Needle
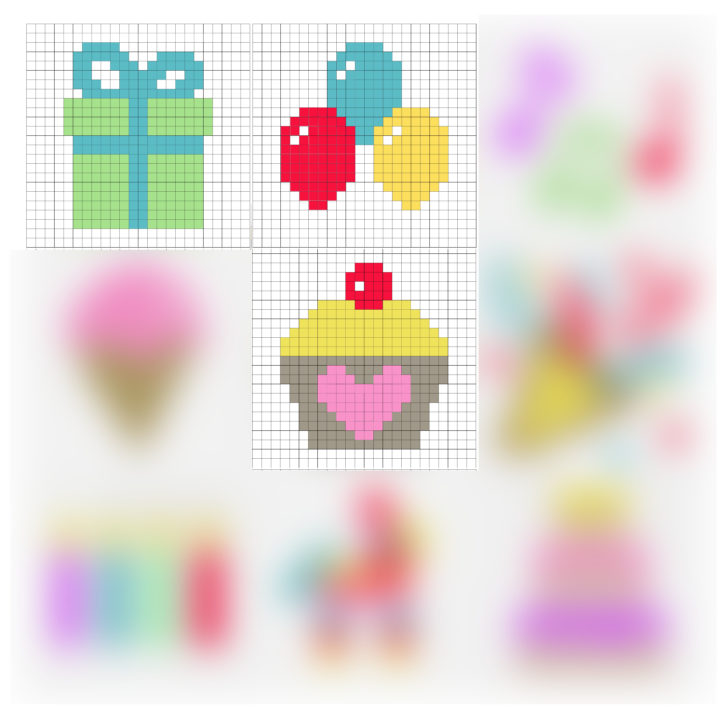
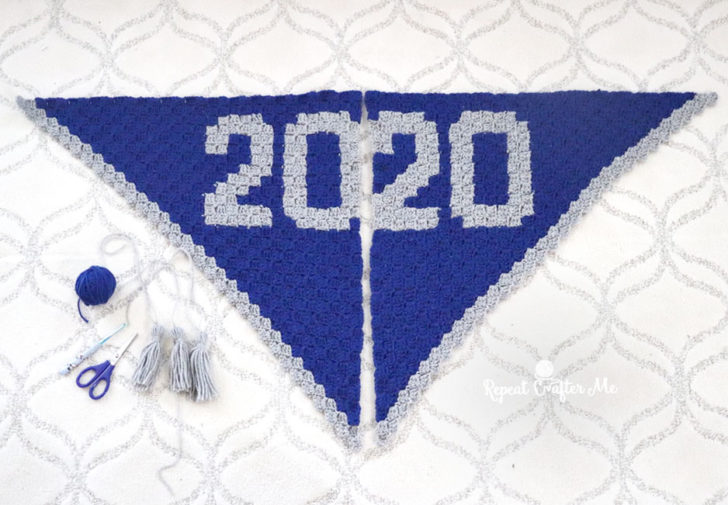
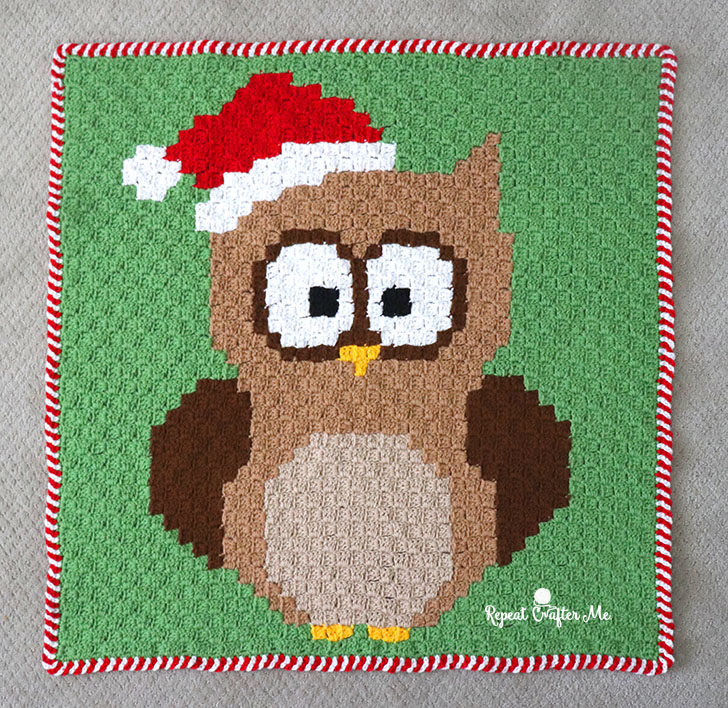
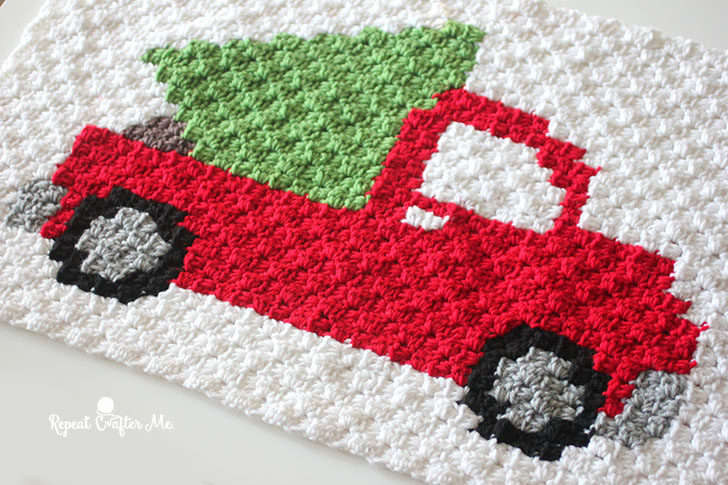
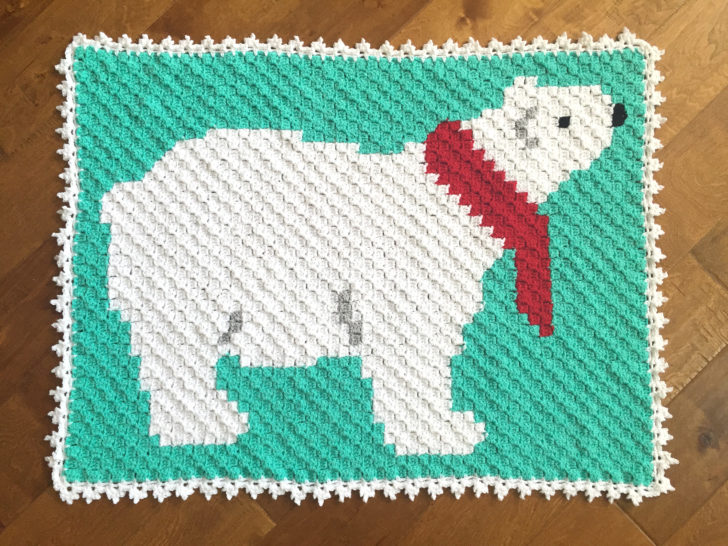
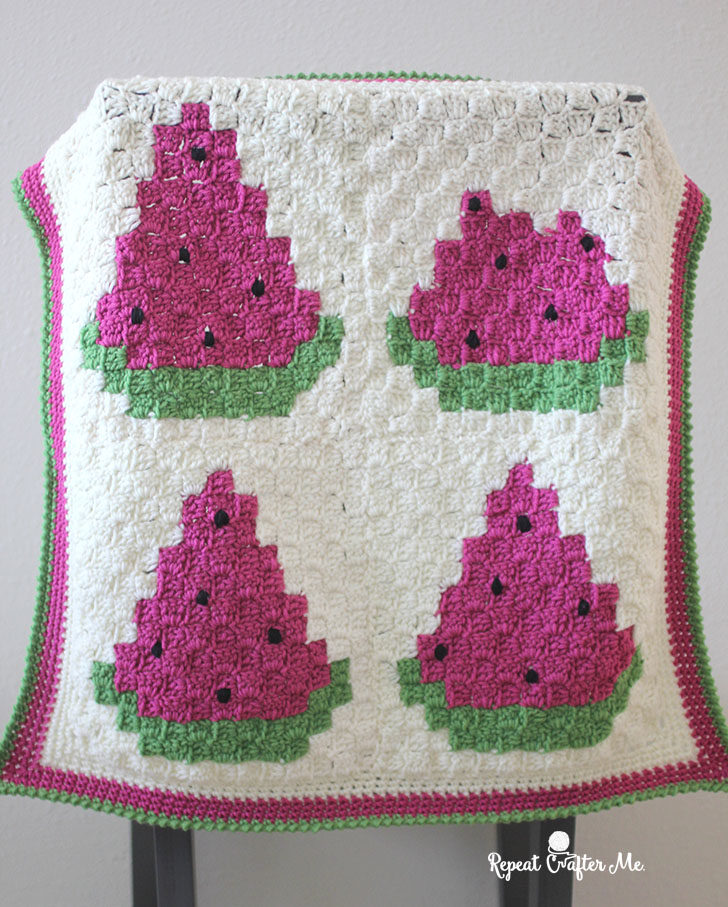
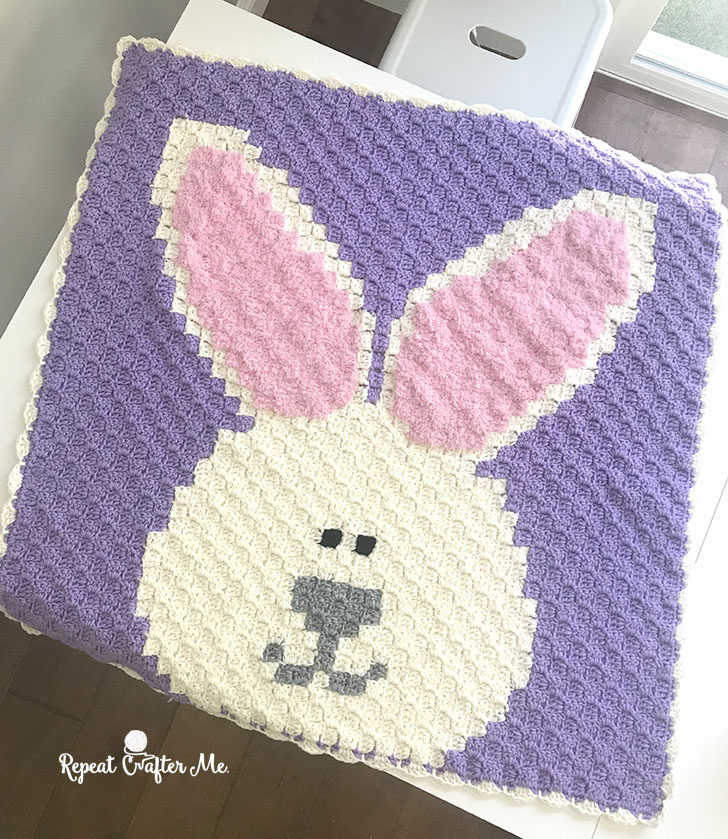
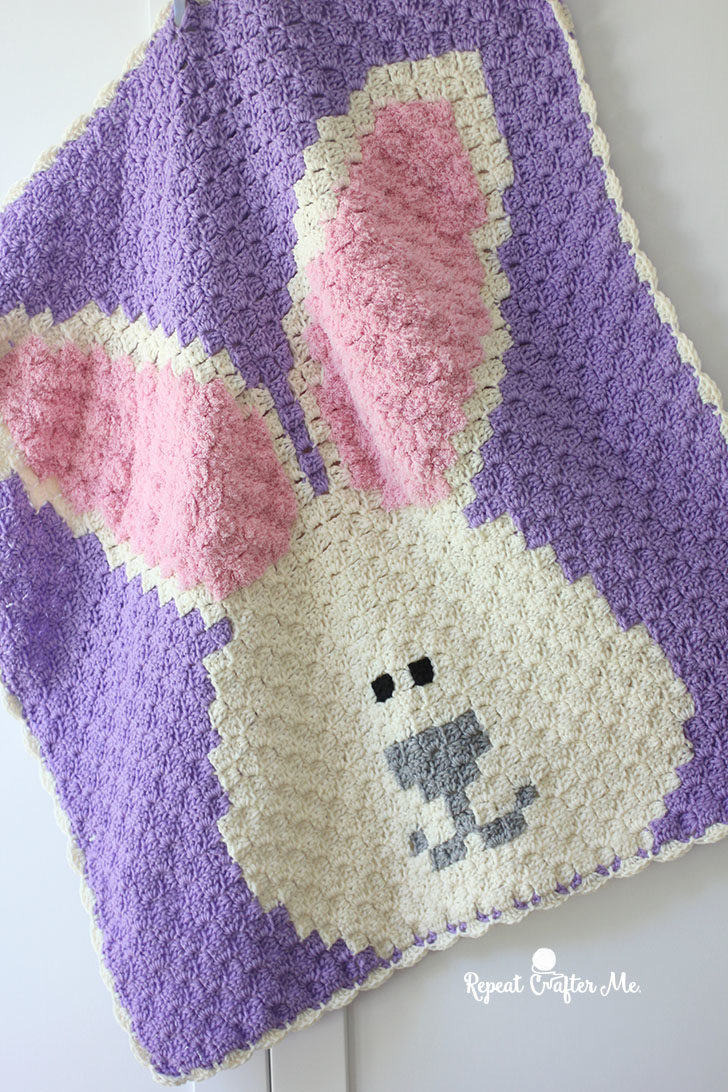
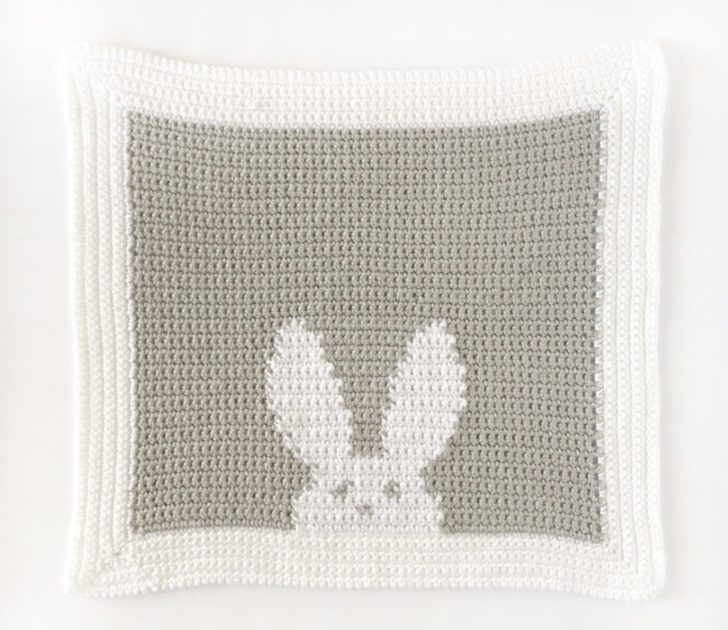
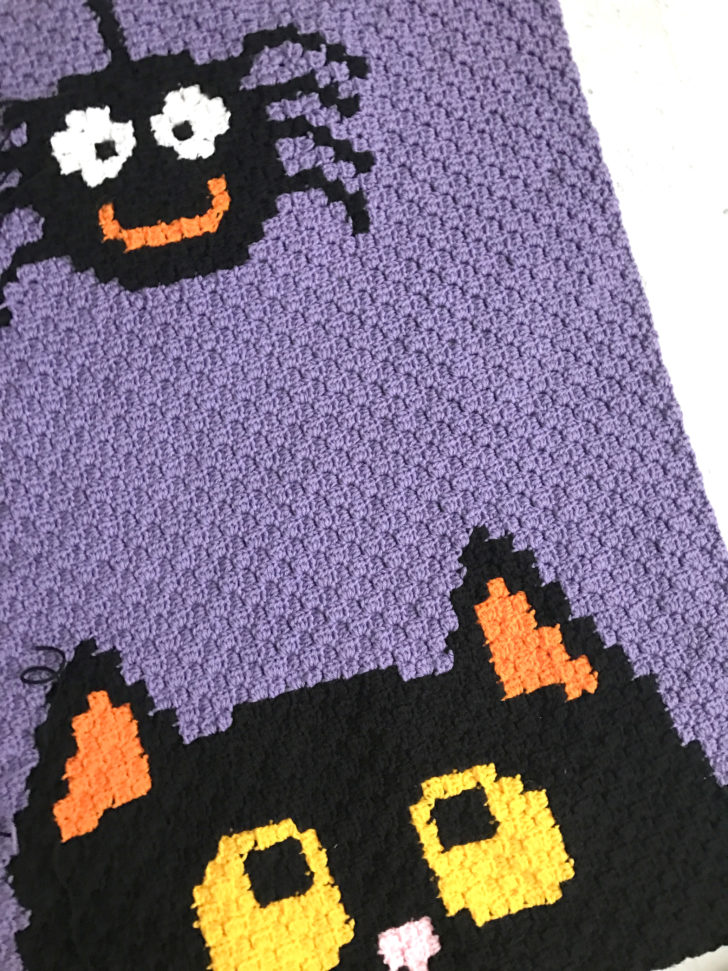
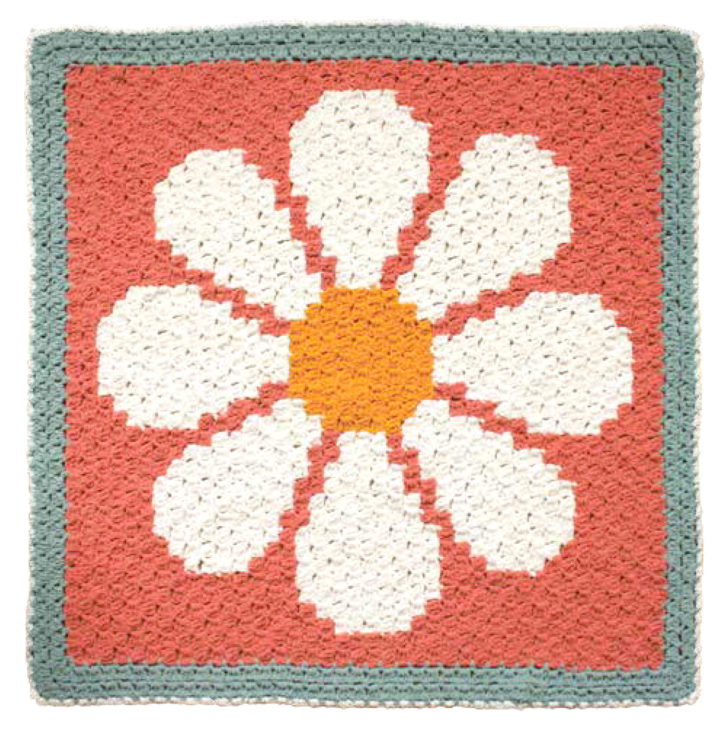
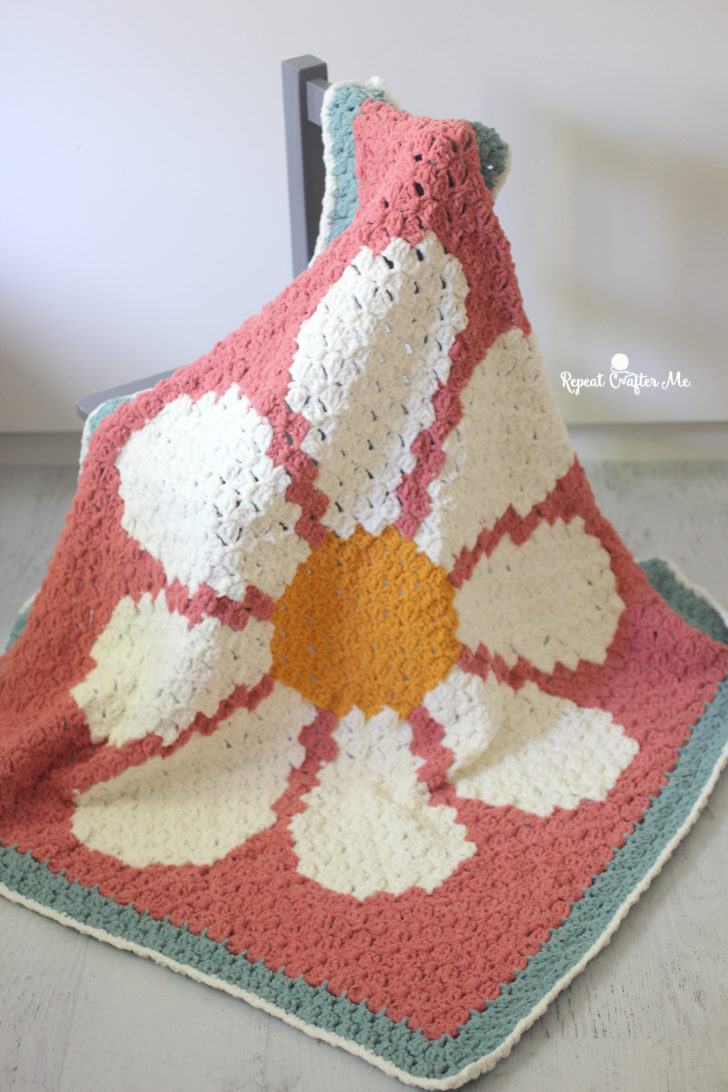
Each pixel graph is 24×24 squares. The finished size of each square after it is crocheted is approximately 16×16 inches. I have not added a border to it.
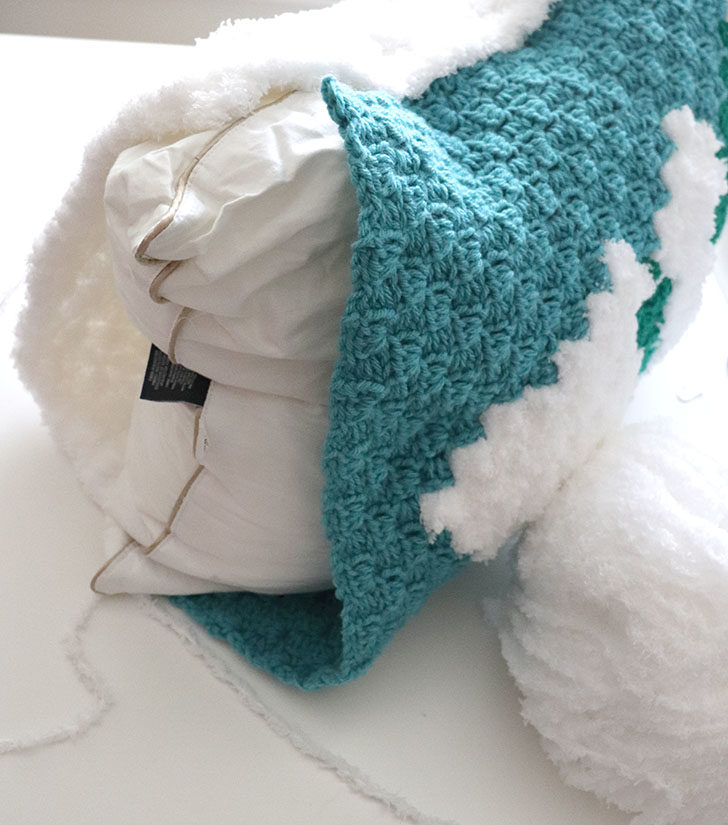
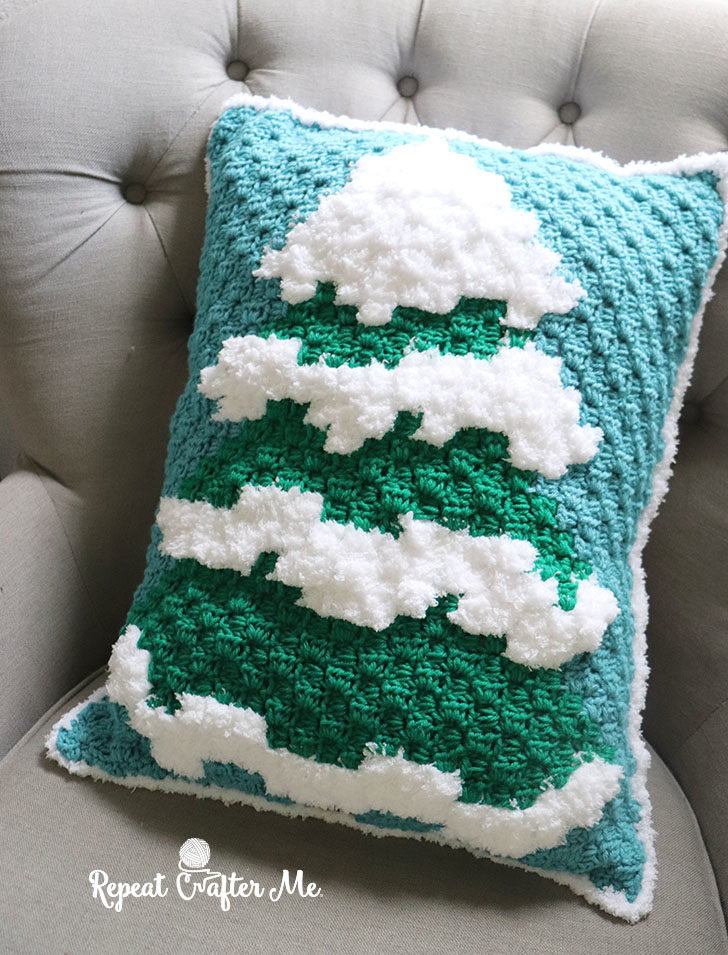
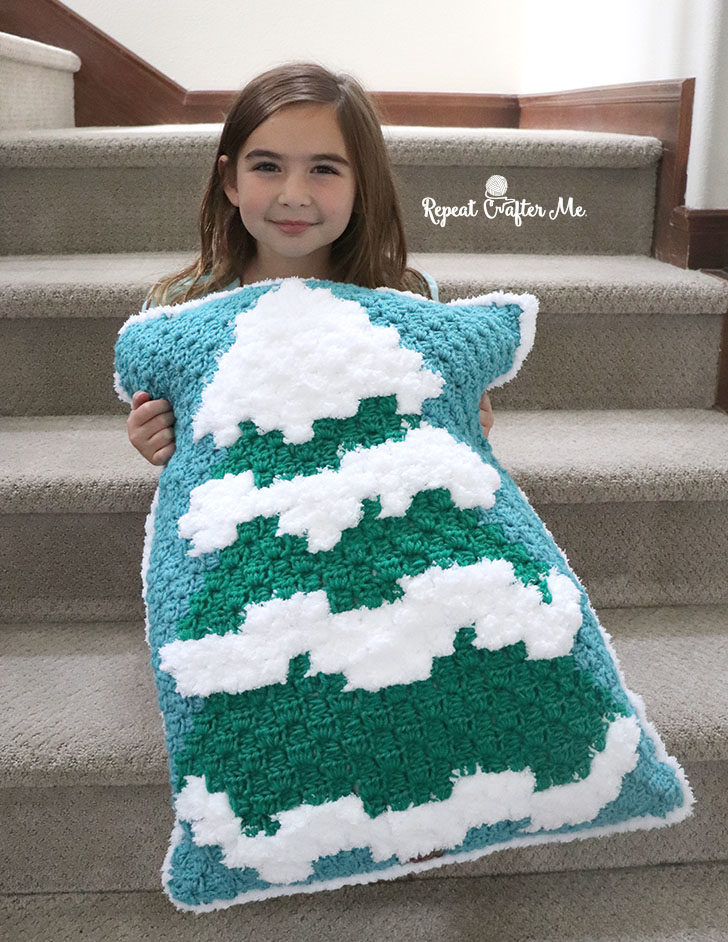
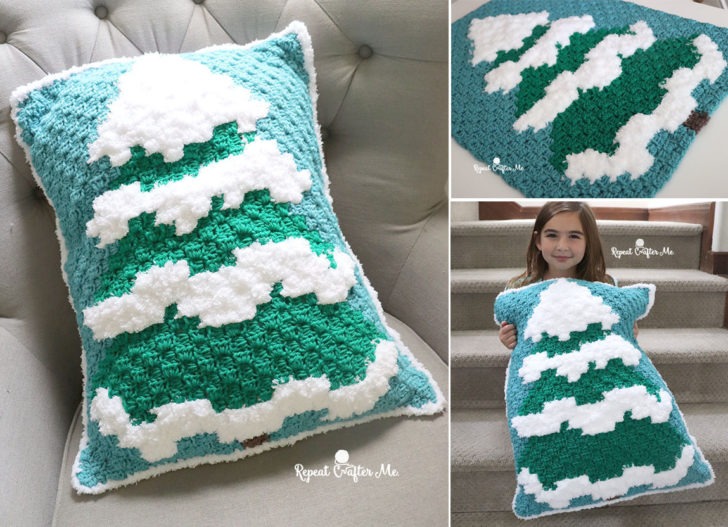
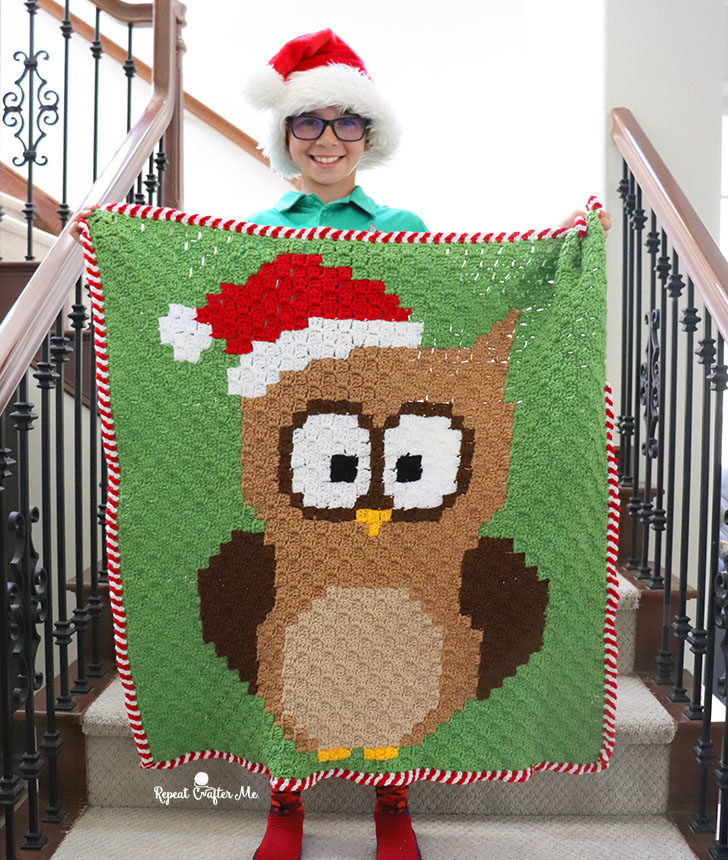
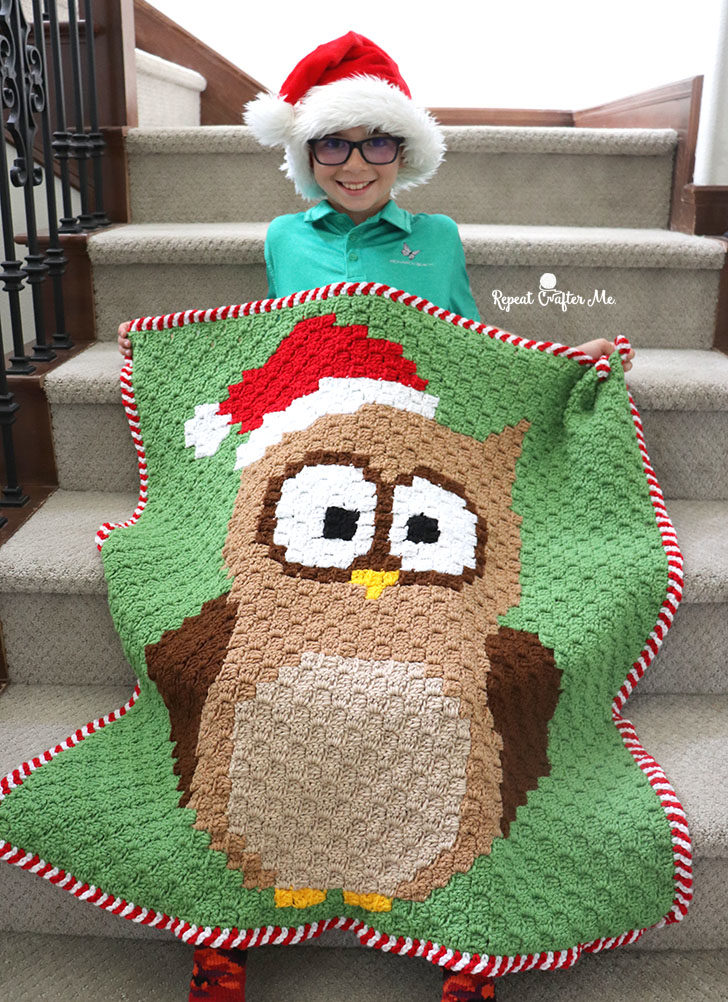
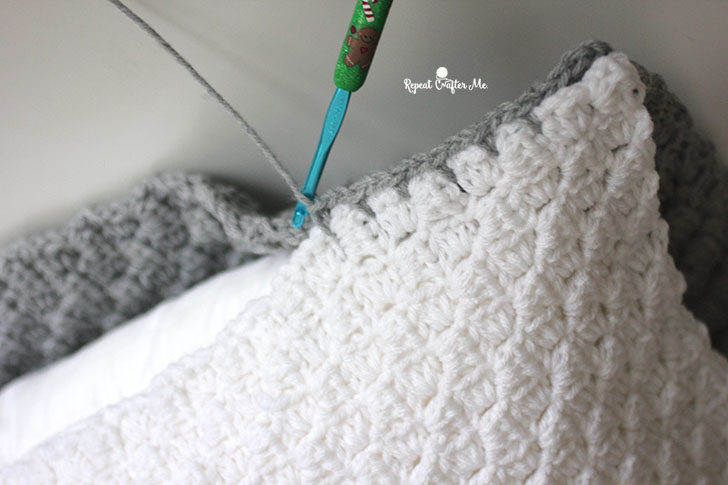
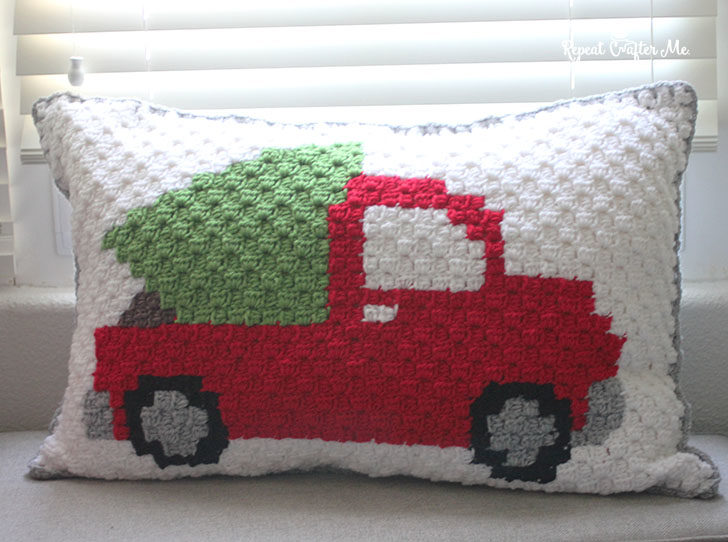
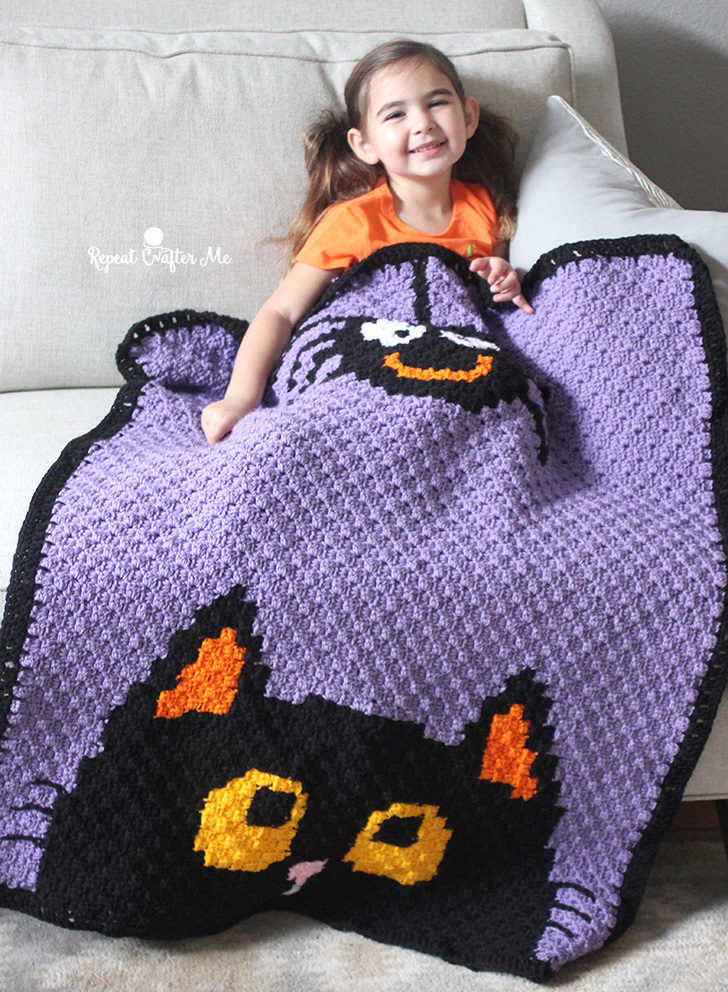
No better time to start a big project than now! Celebrate your loved ones! Create this blanket with as many (or as little) squares as you’d like! You can also turn any of these squares into individual pillows. Lots of ways to use them!
Be sure to see the other squares that have been posted:
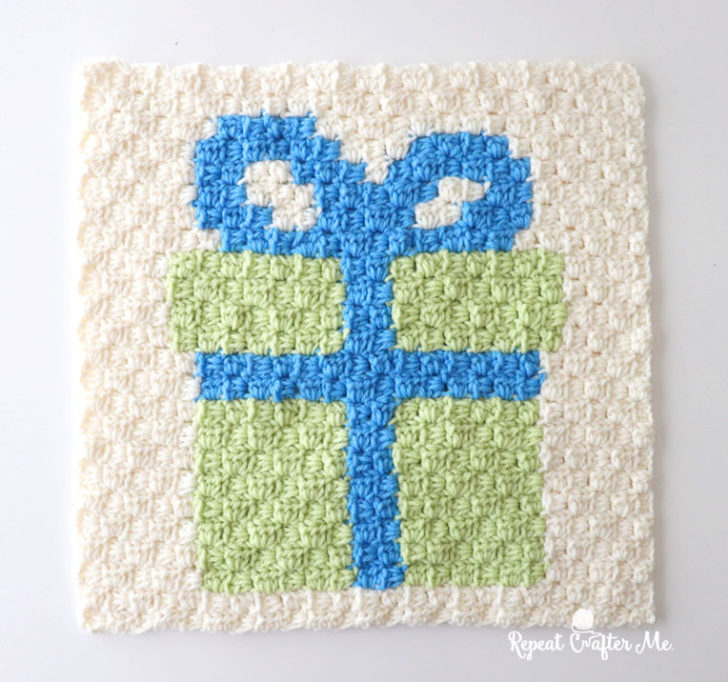
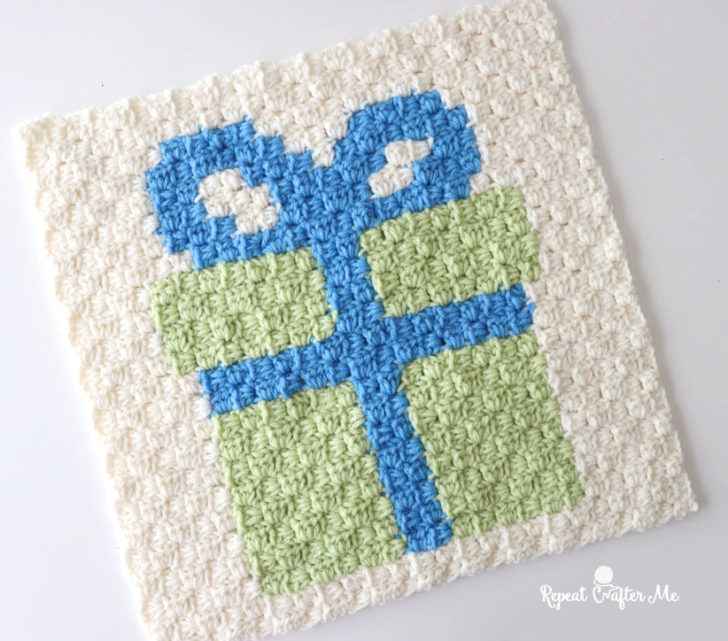
Present (Gift Box) Crochet Square


