
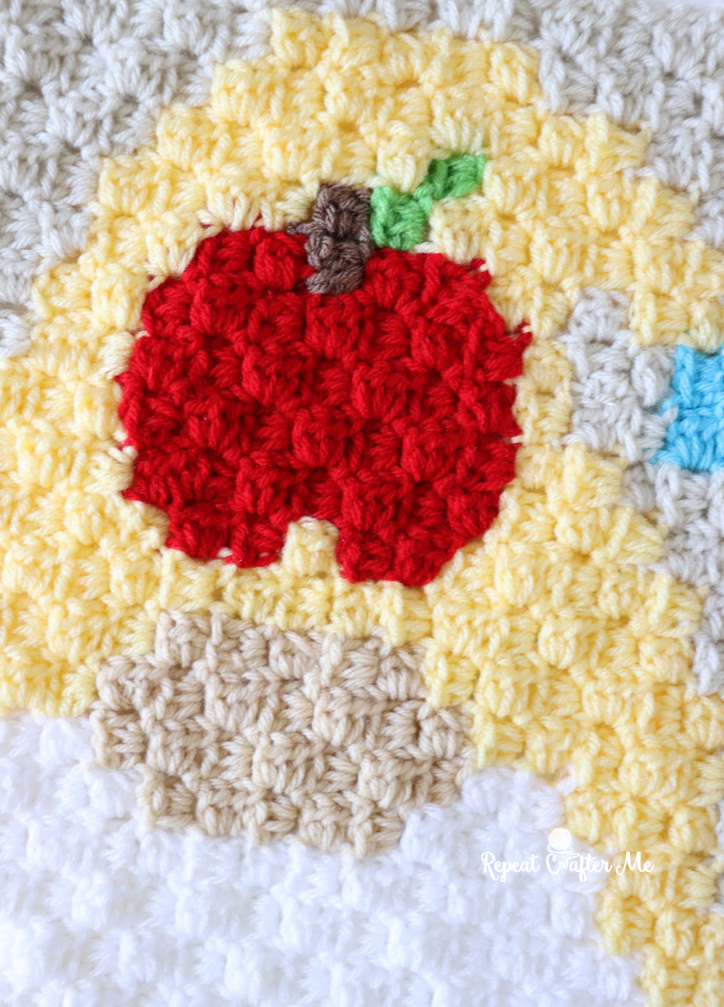
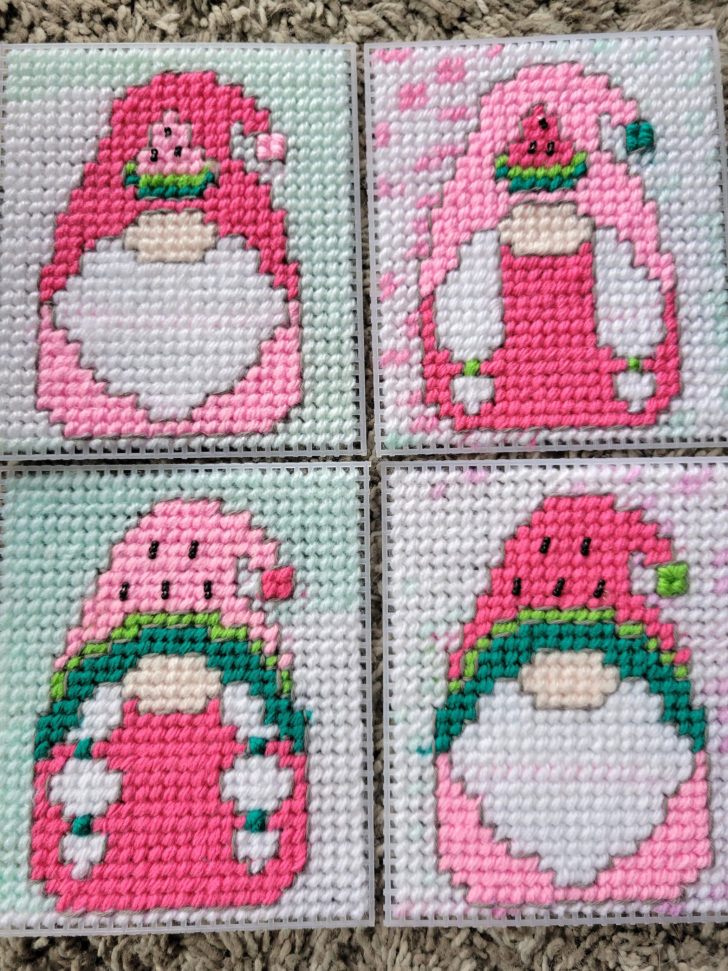
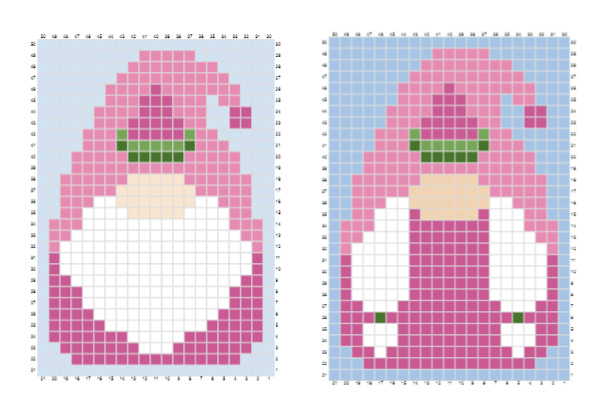
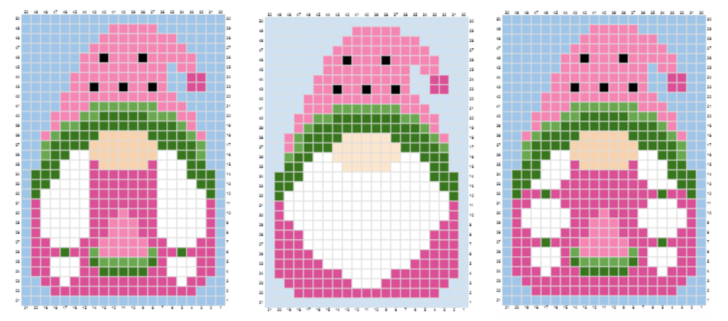
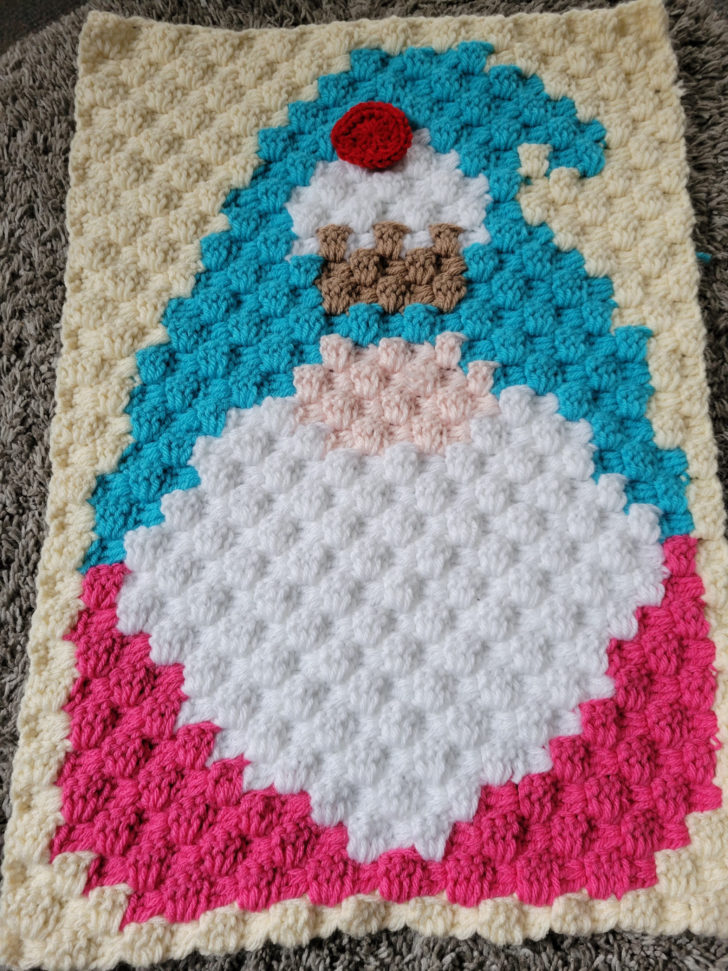
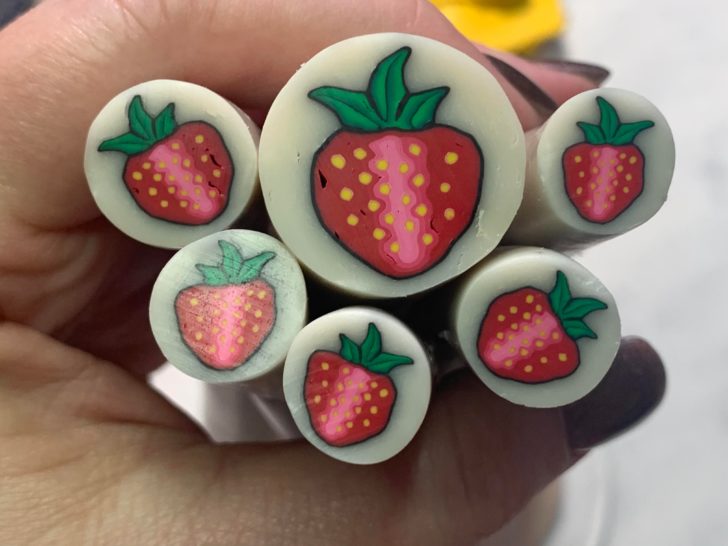
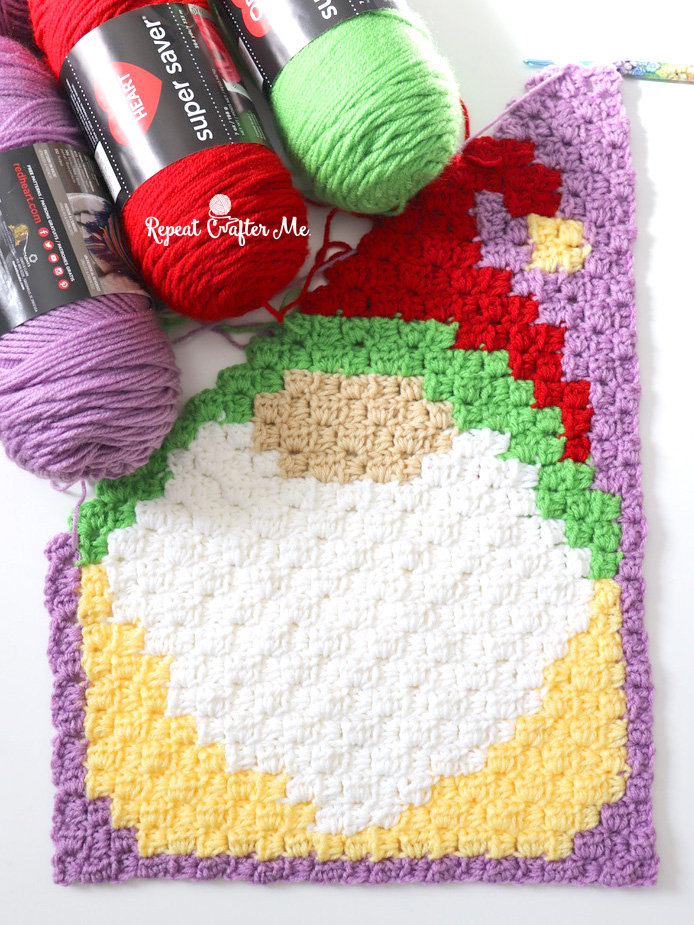
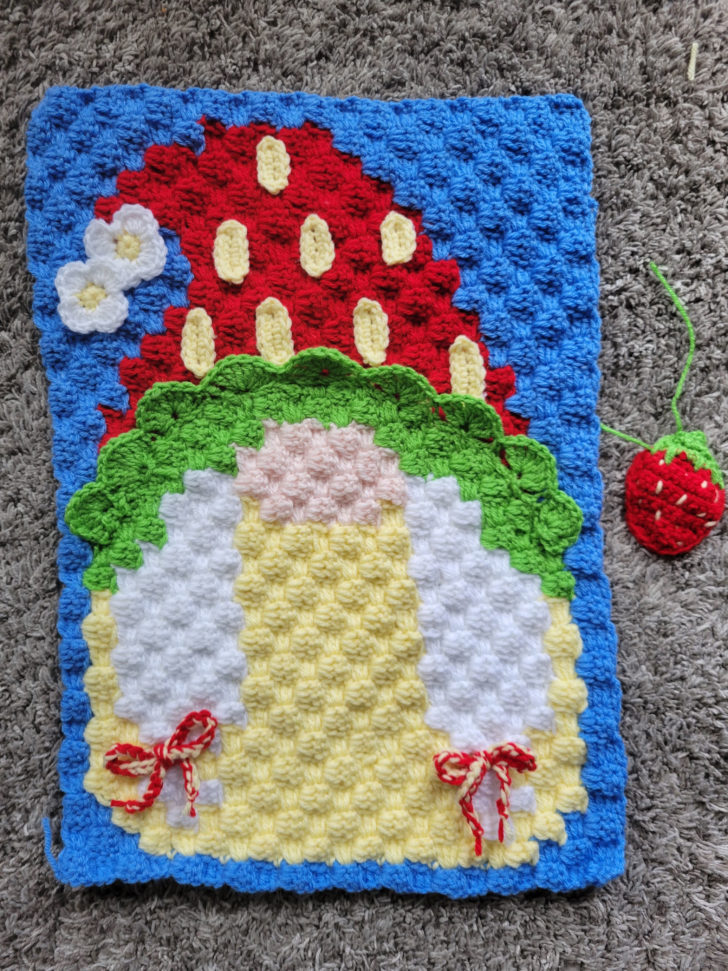
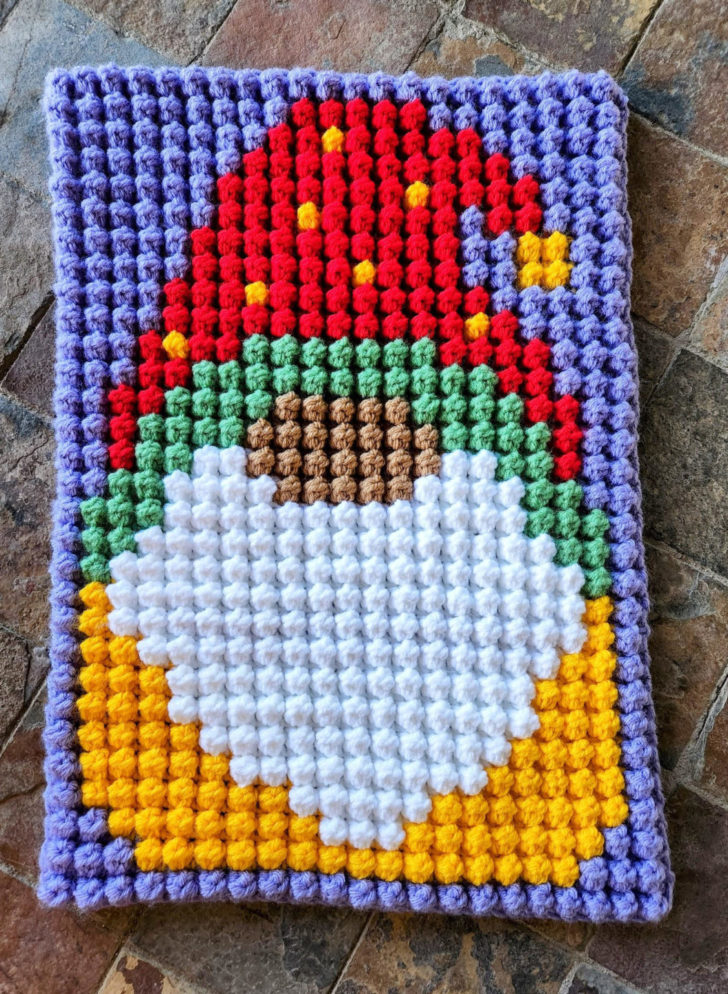
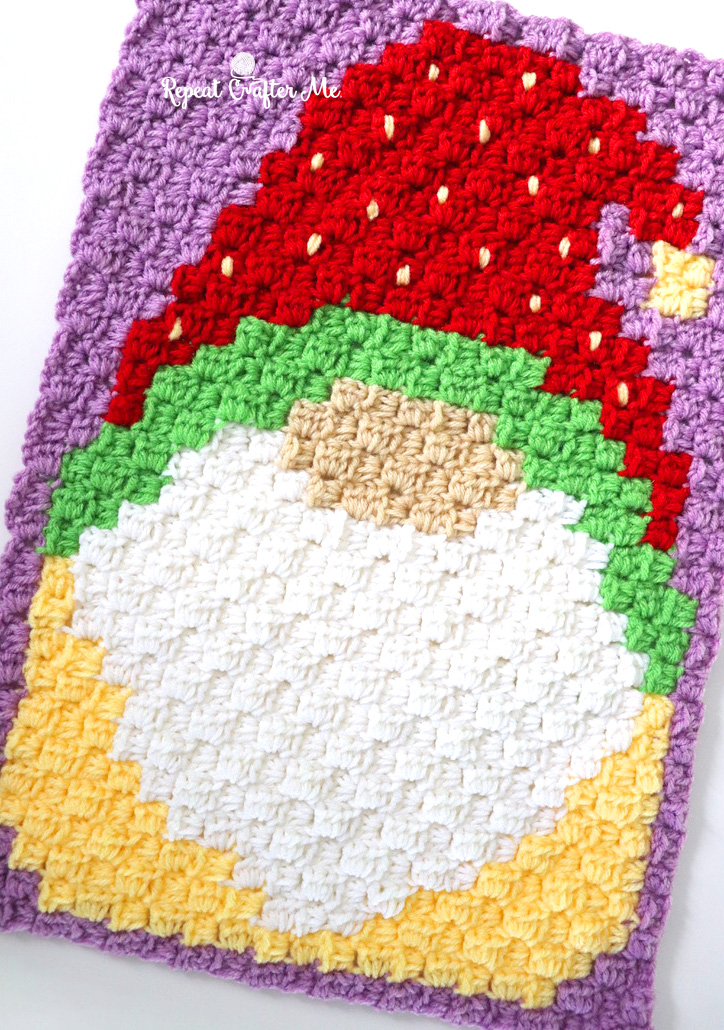
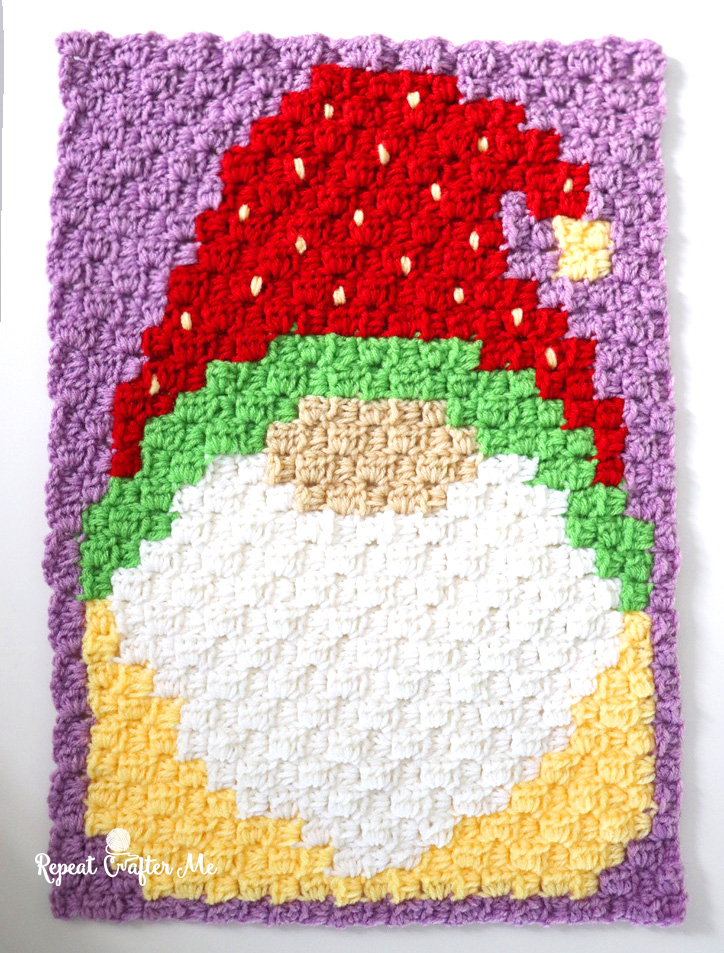
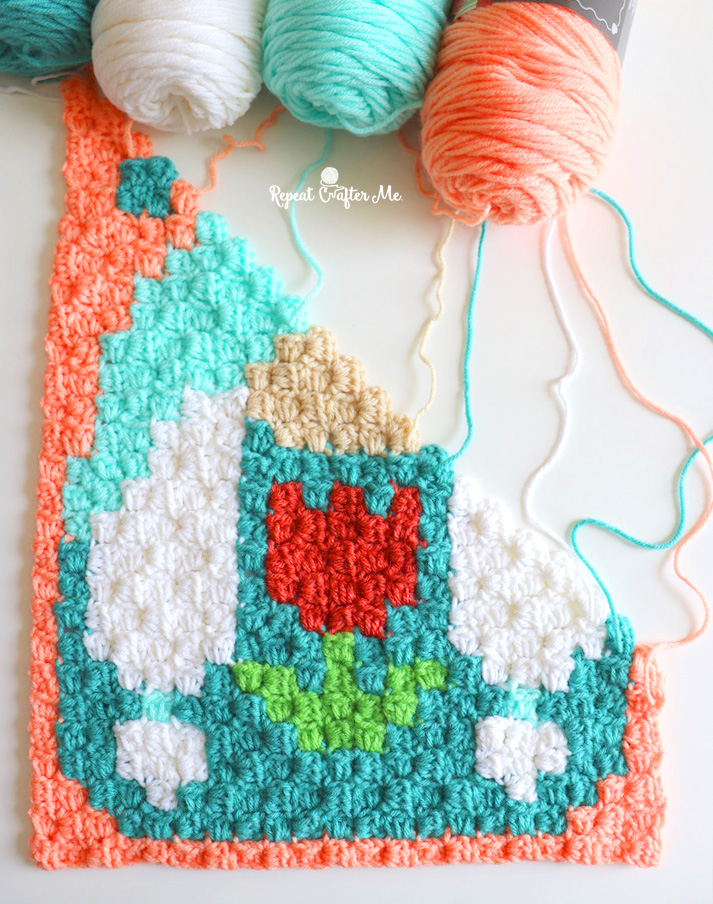
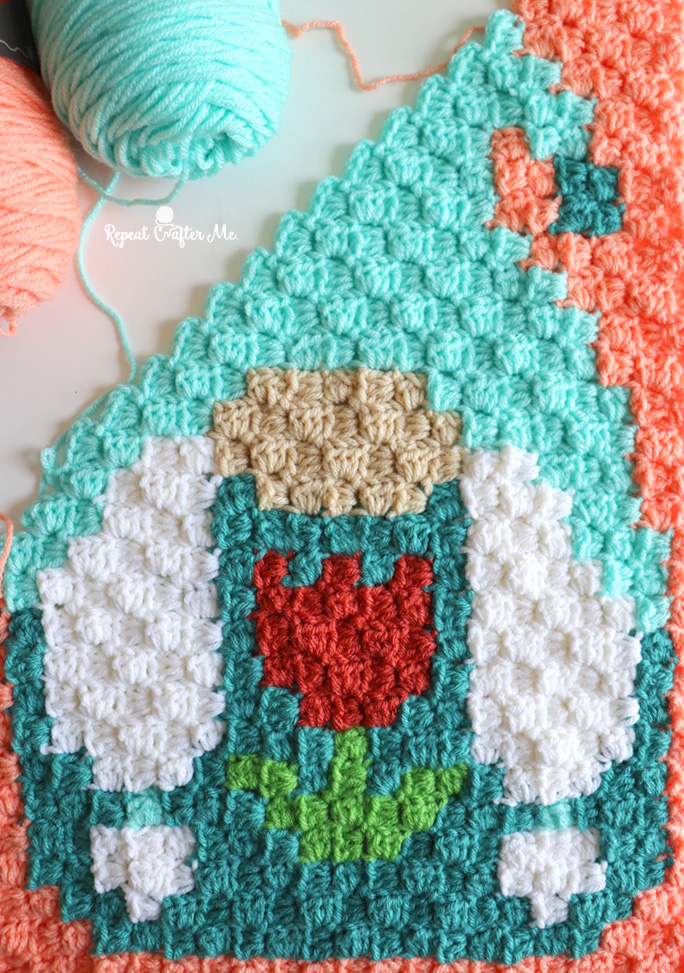
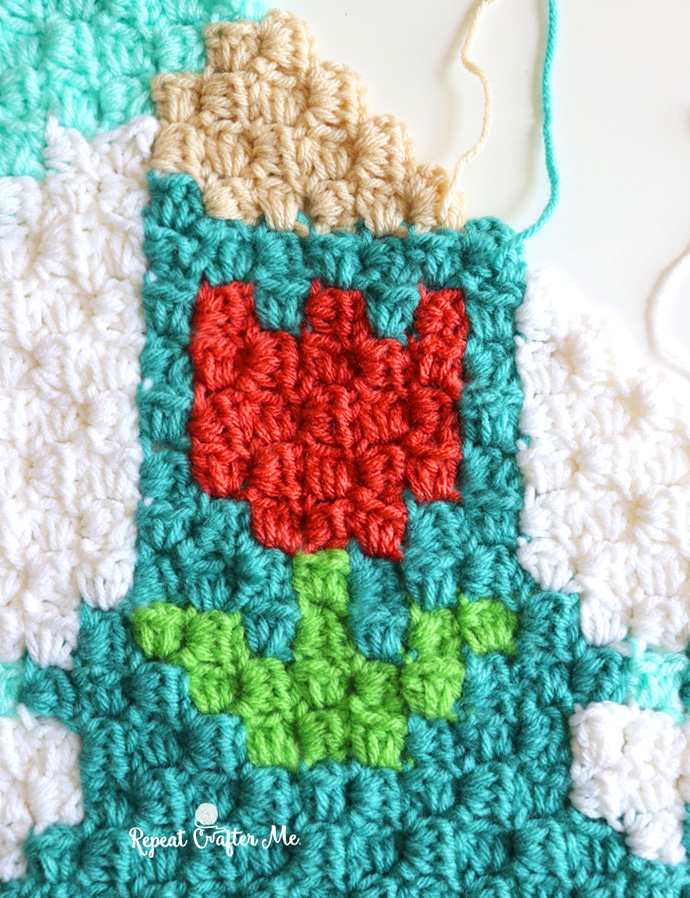
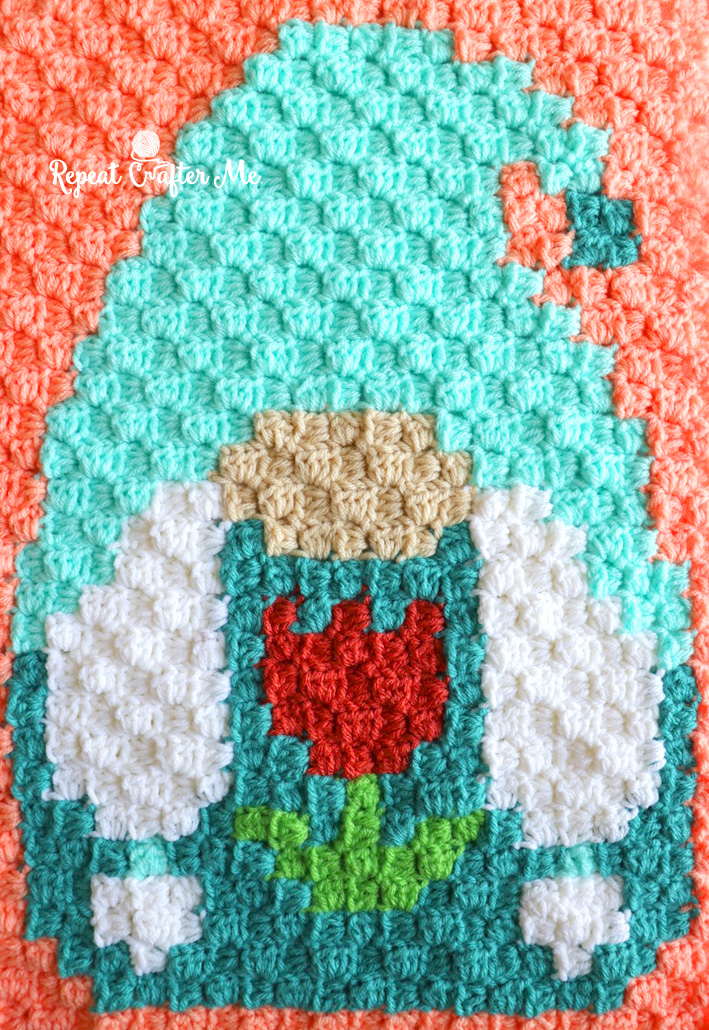
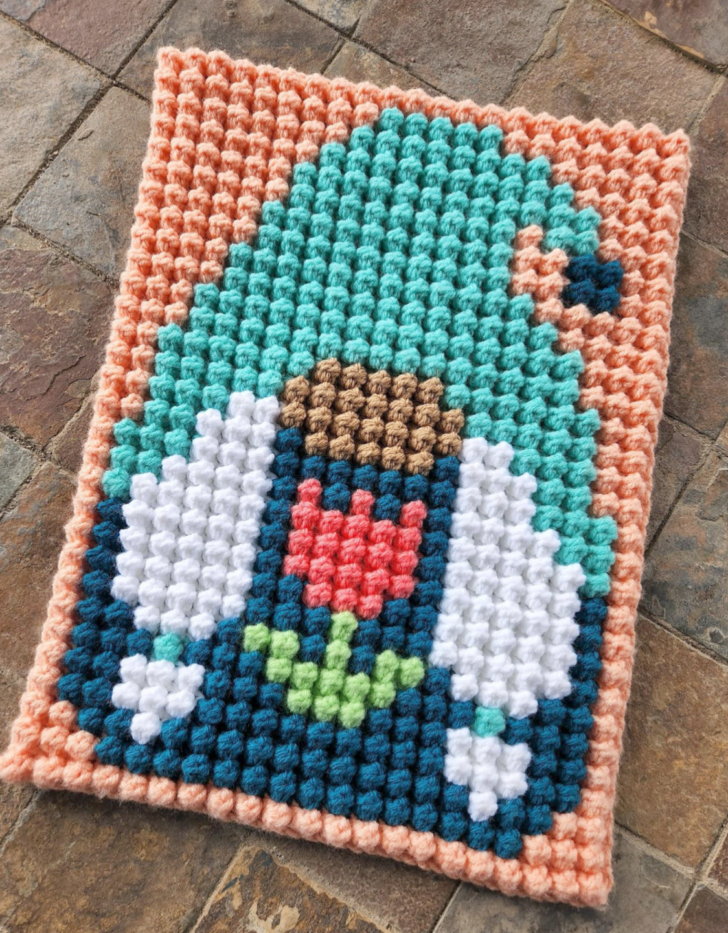
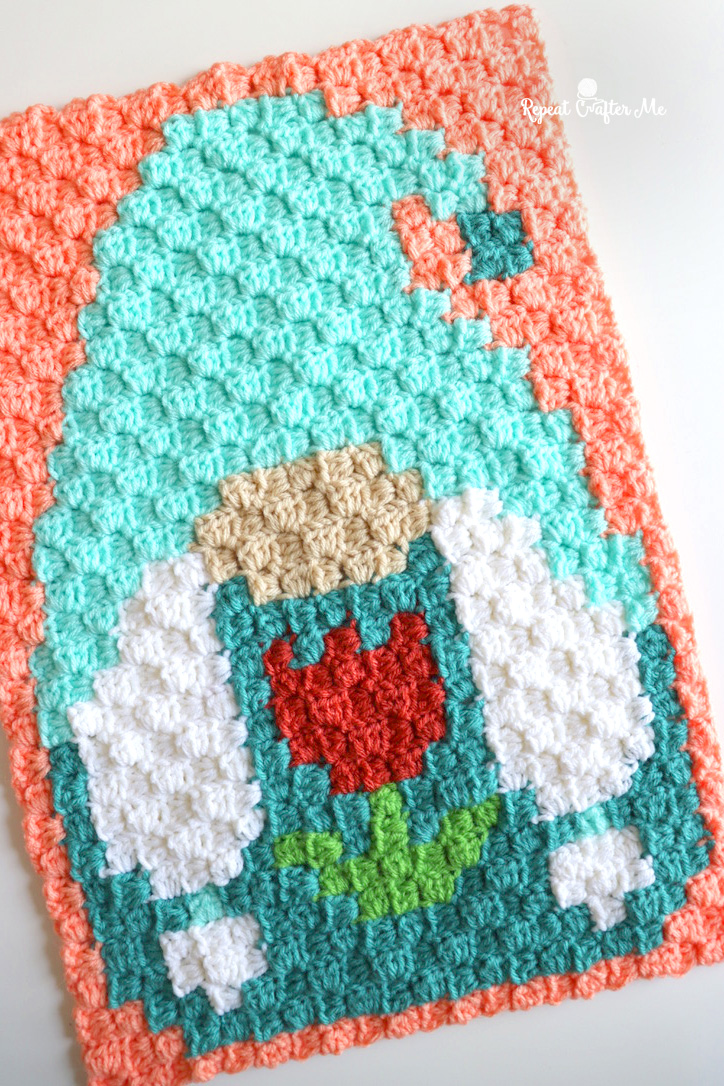
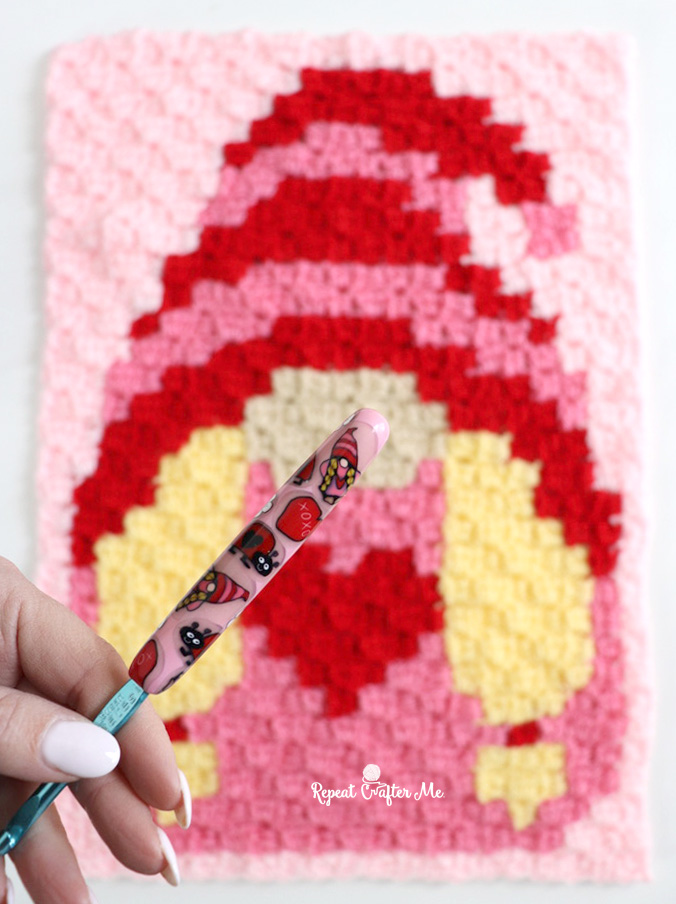
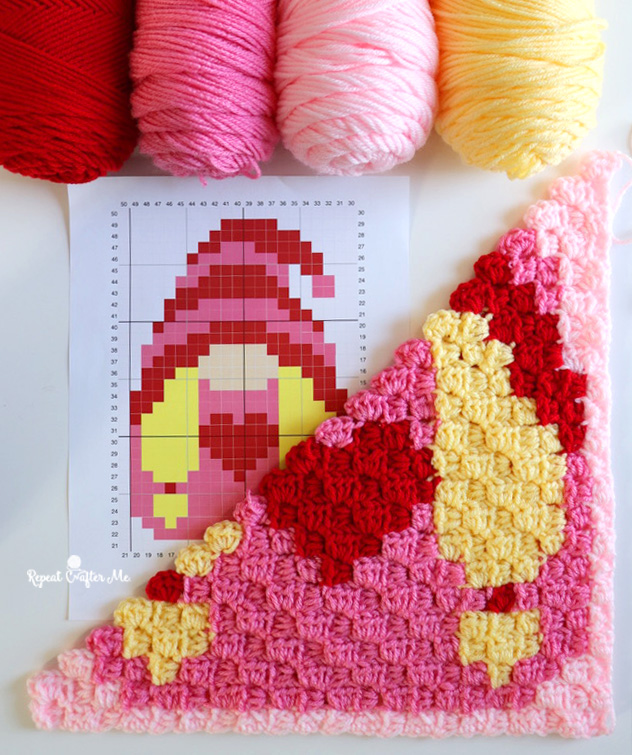
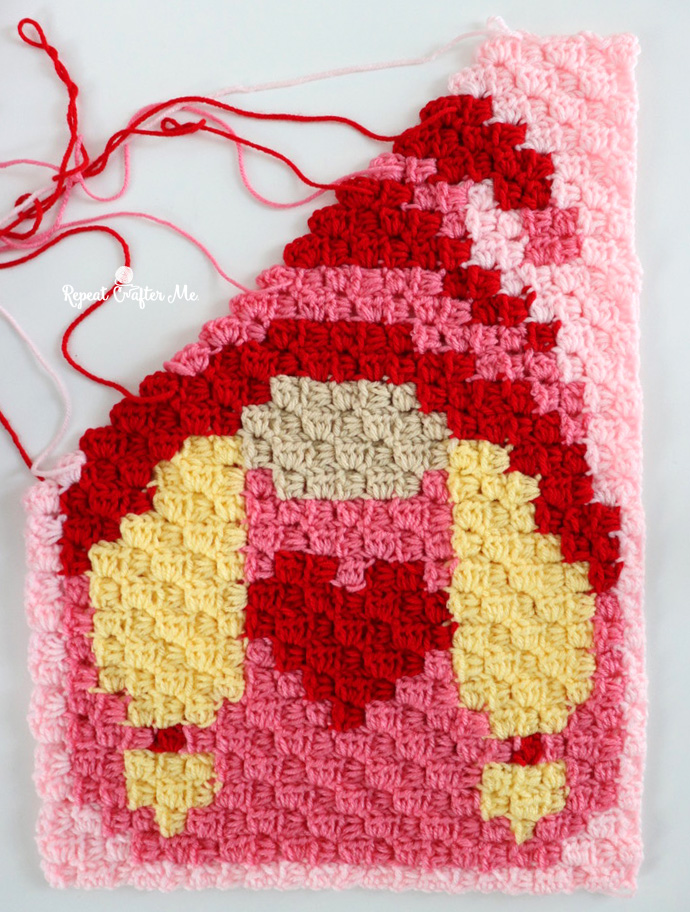
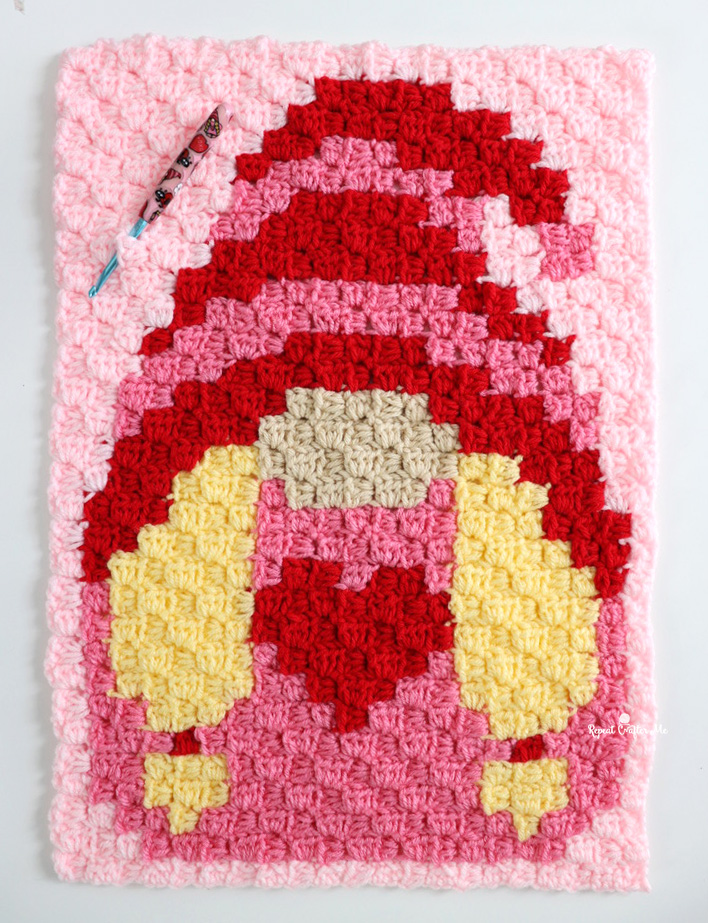
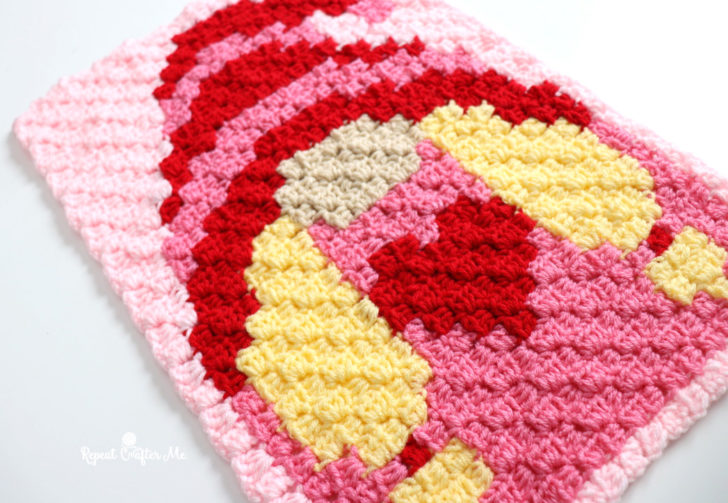
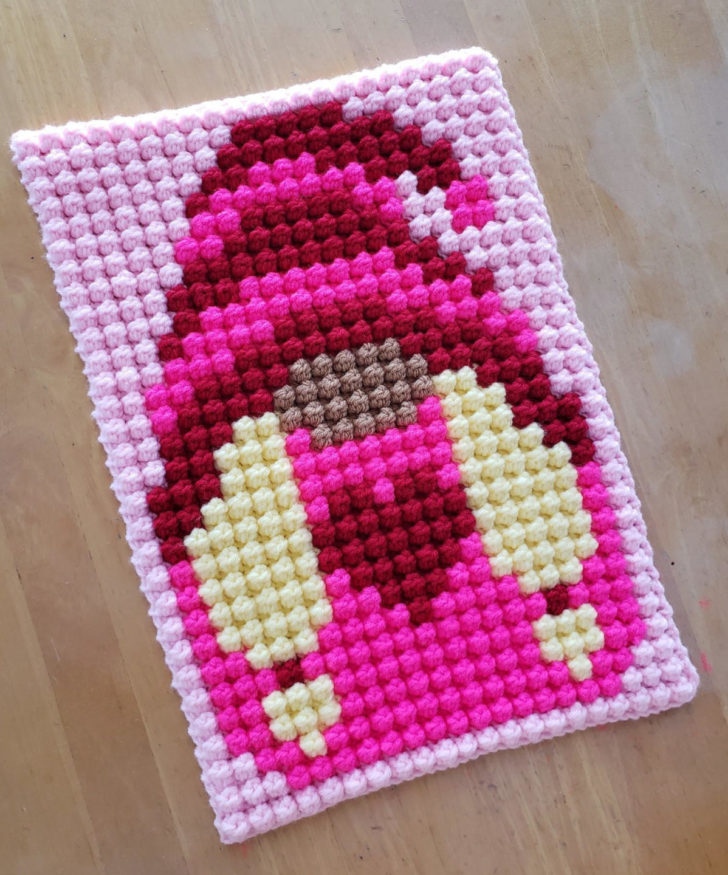
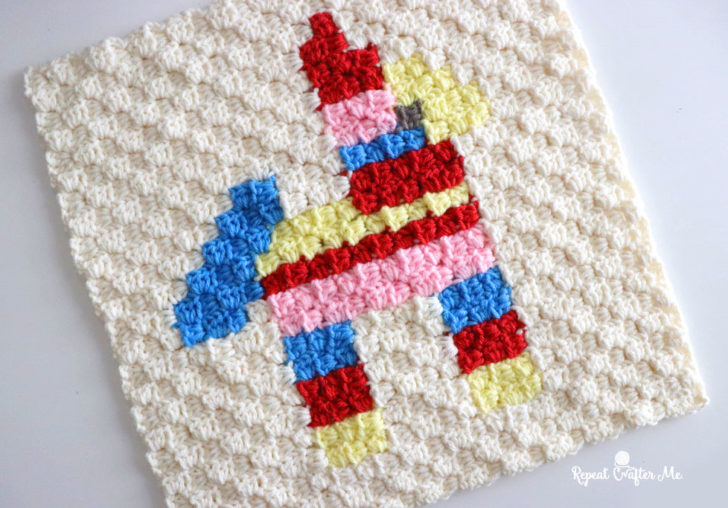
The Strawberry is our last fruit C2C square! And just like the apple, you can make it in two different colors. Choose between the red strawberry or the pink strawberry!
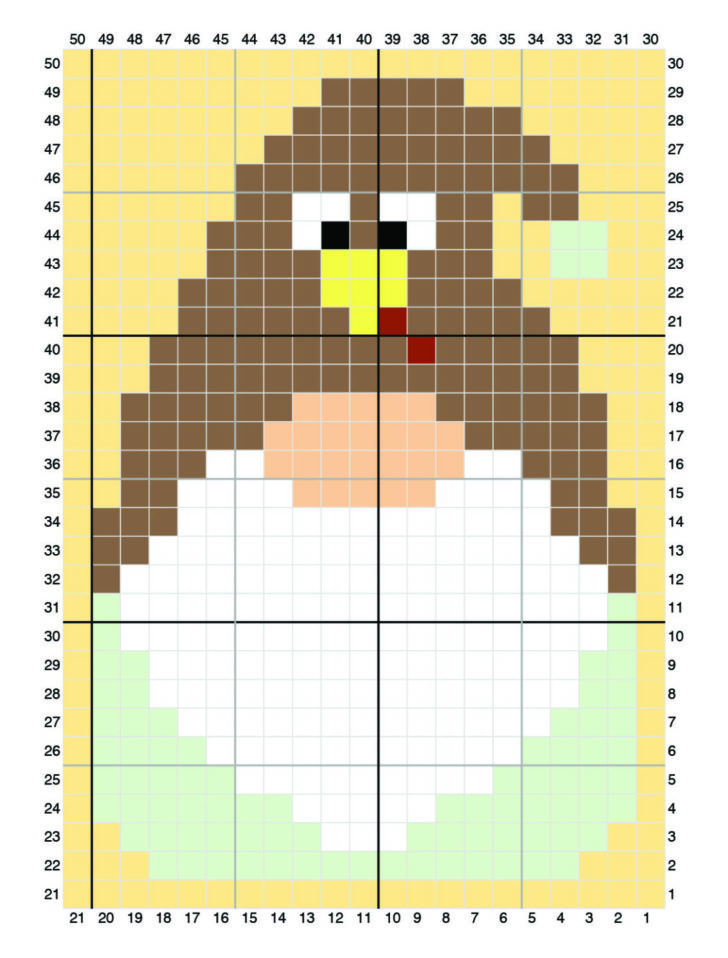
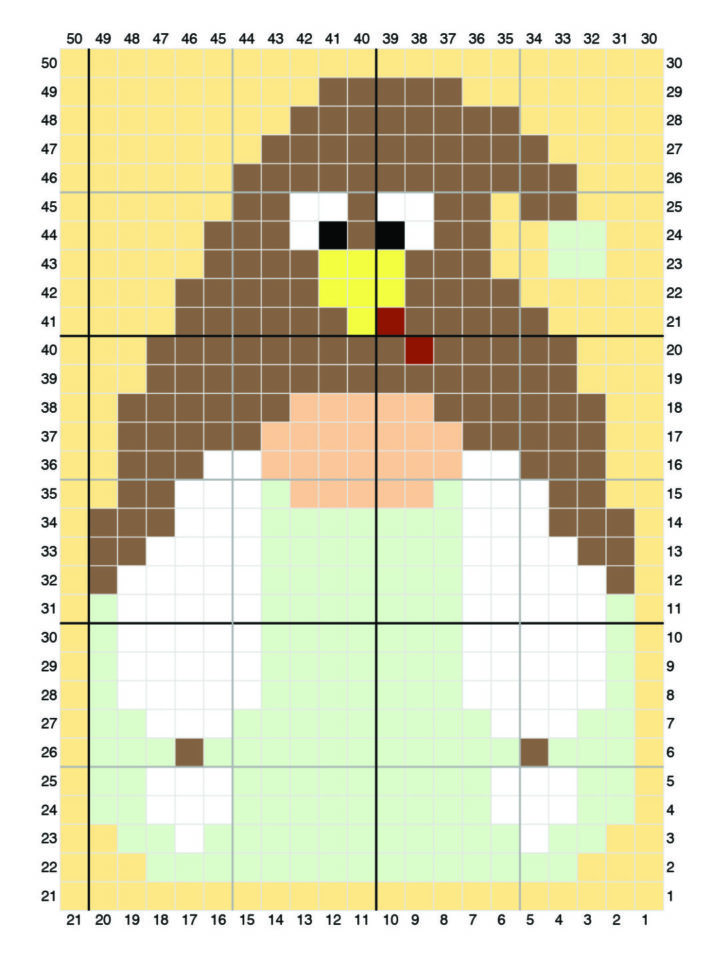
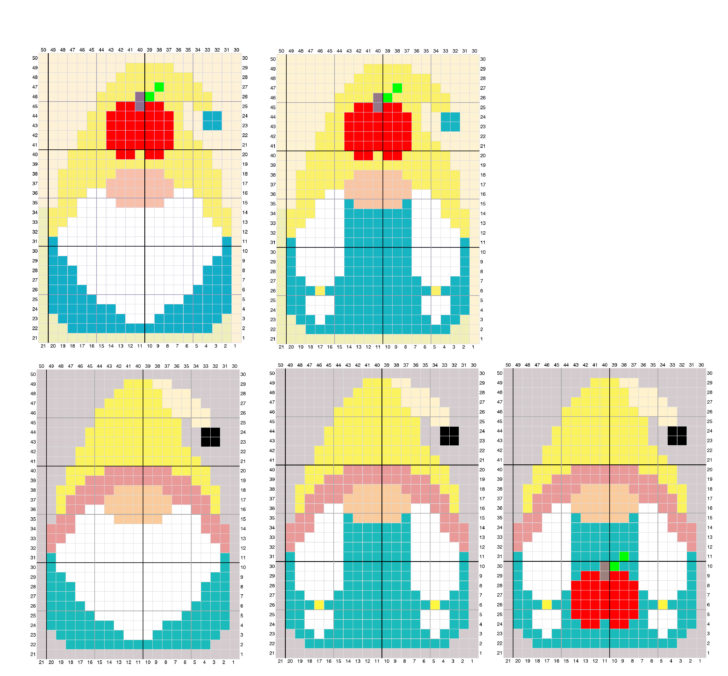
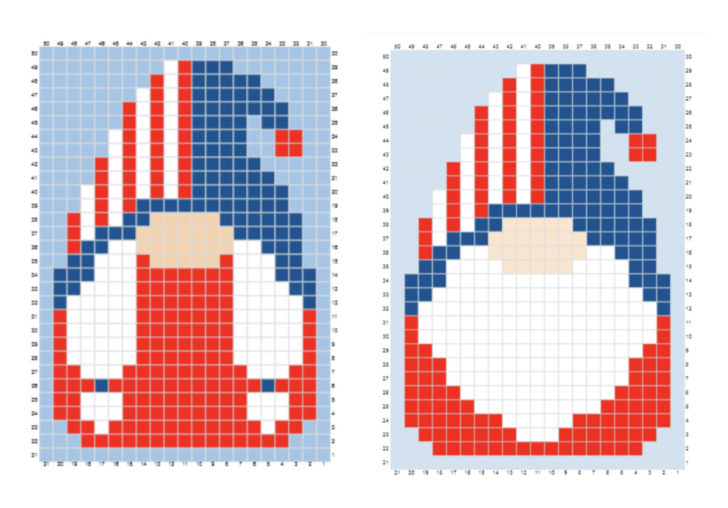
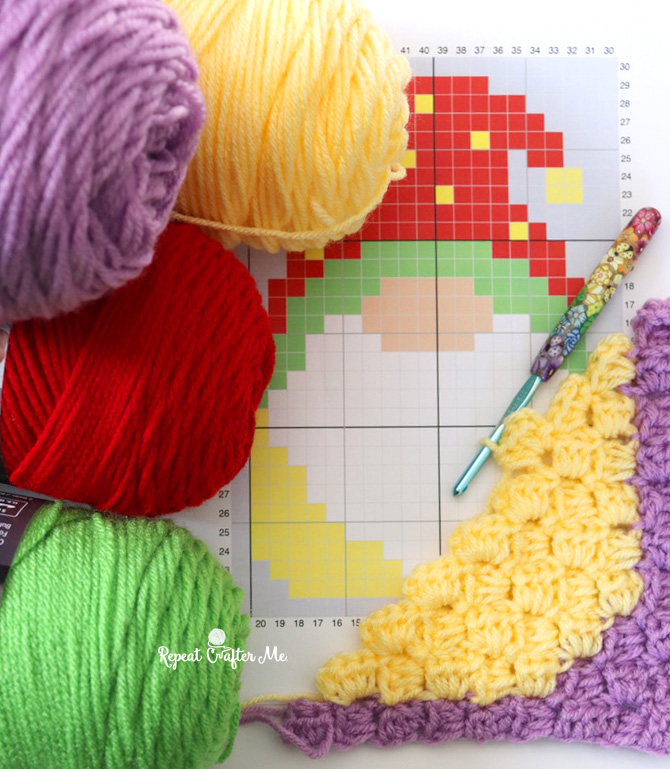
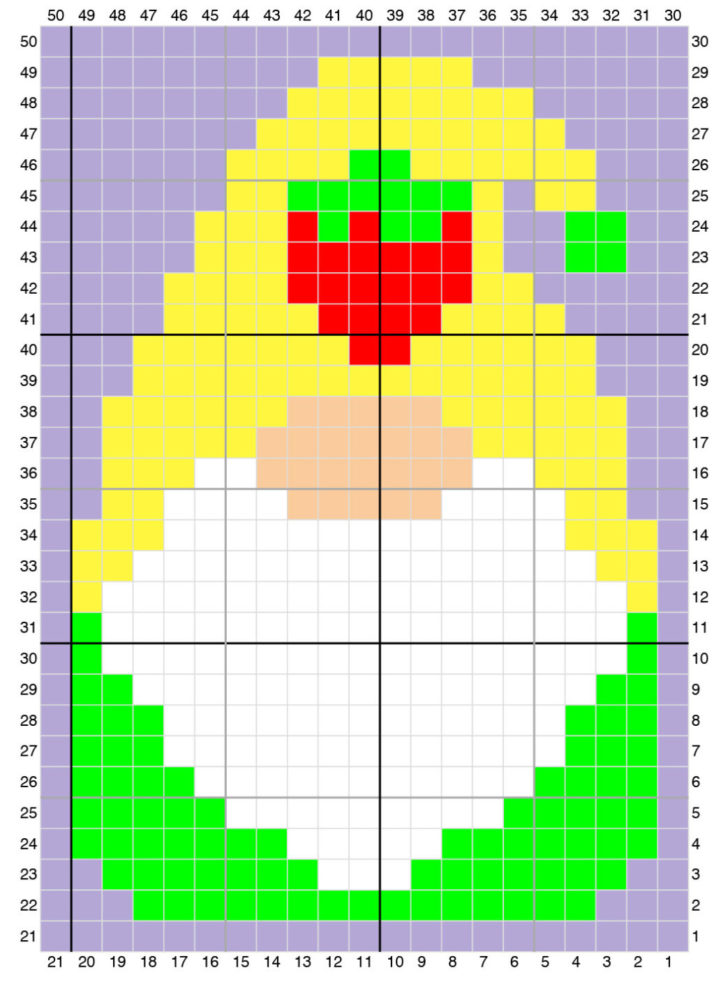
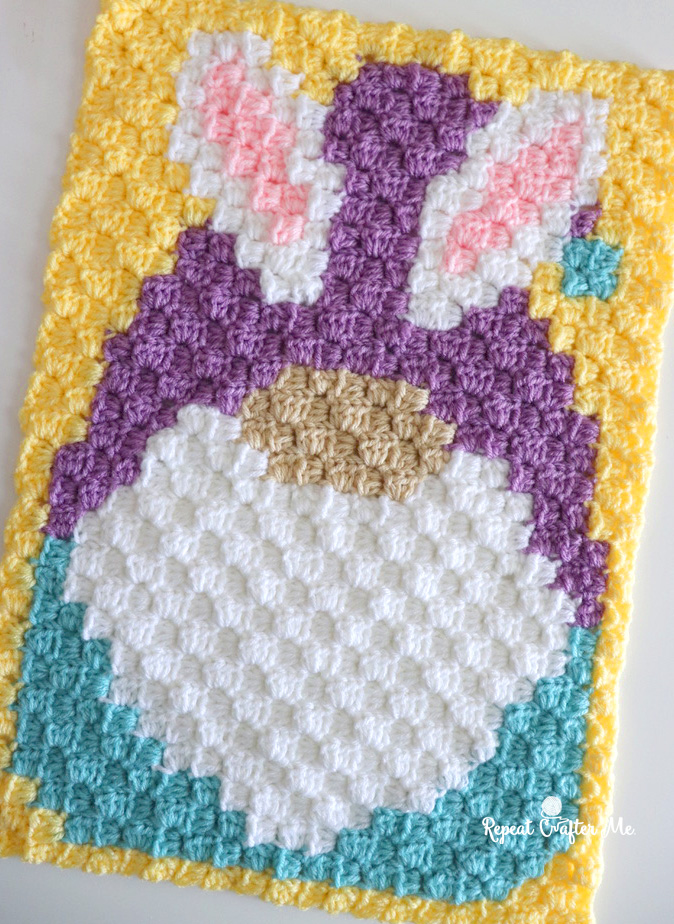
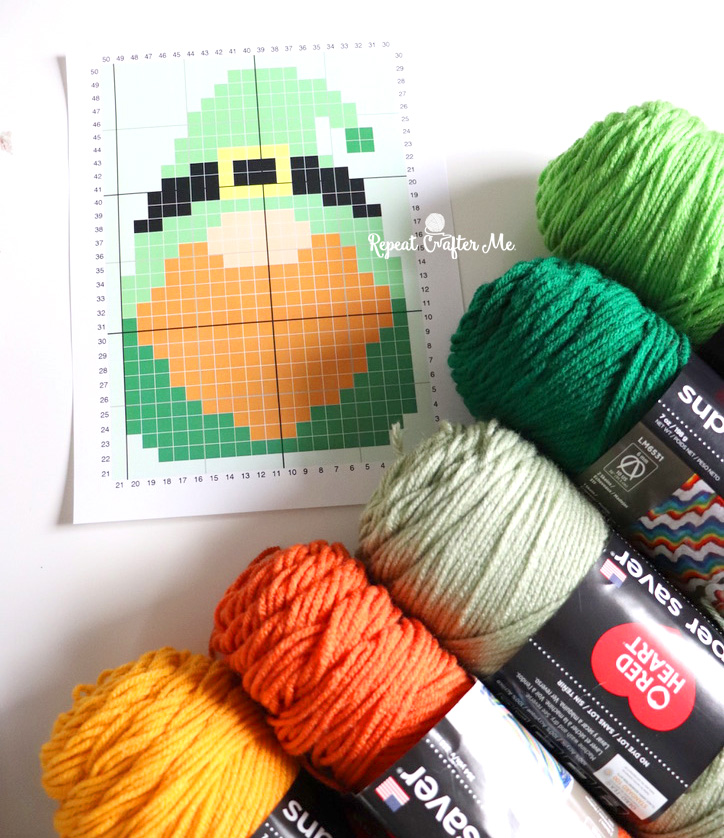
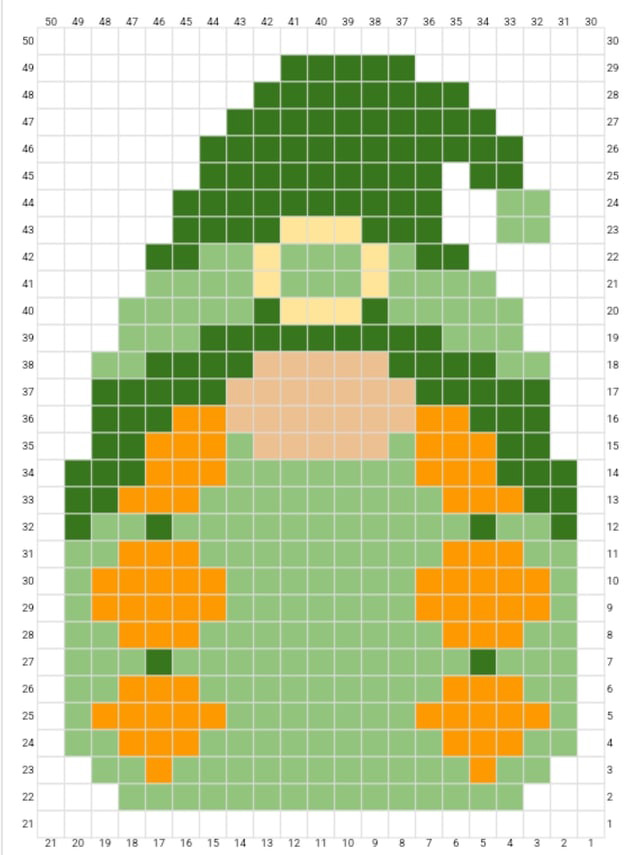
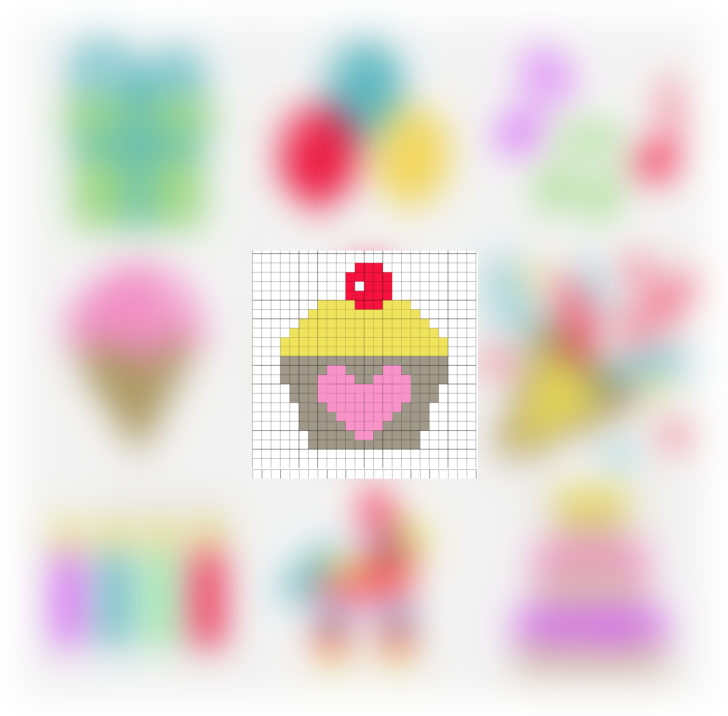
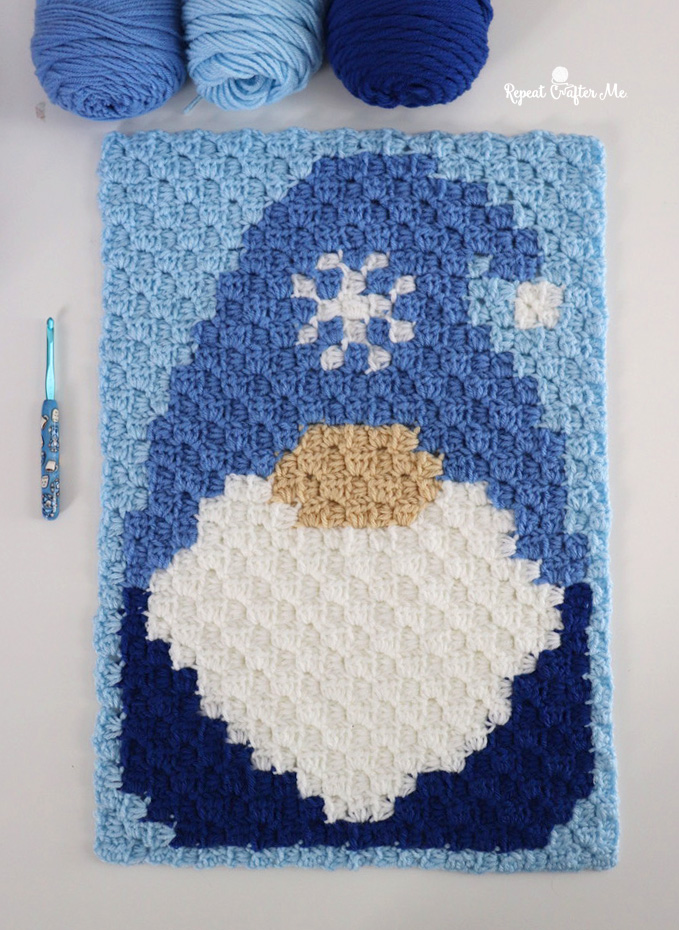
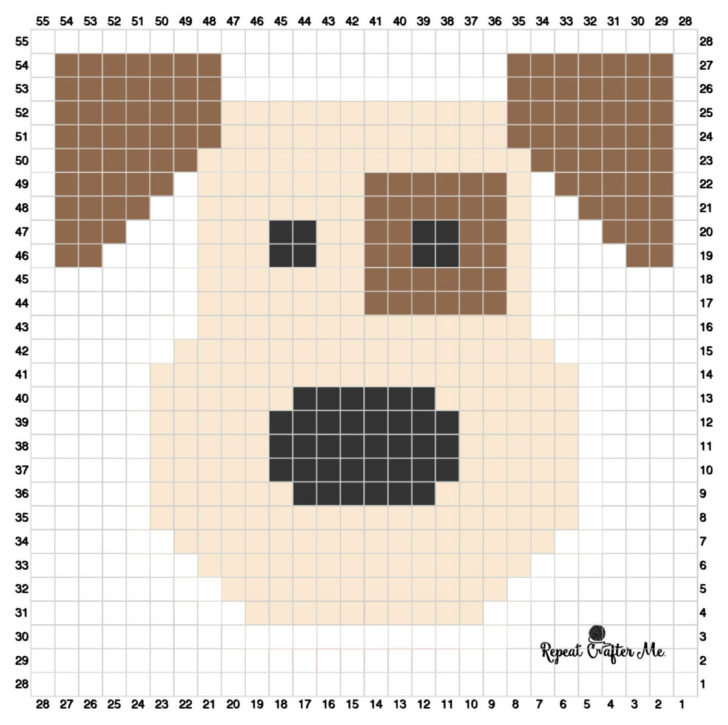
This graph is 11 x 13 pixel squares and has a finished size of about 8 x 9 inches.
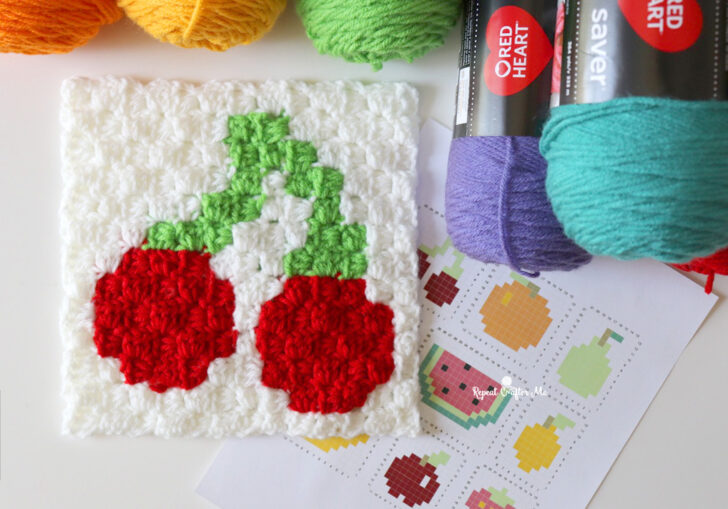
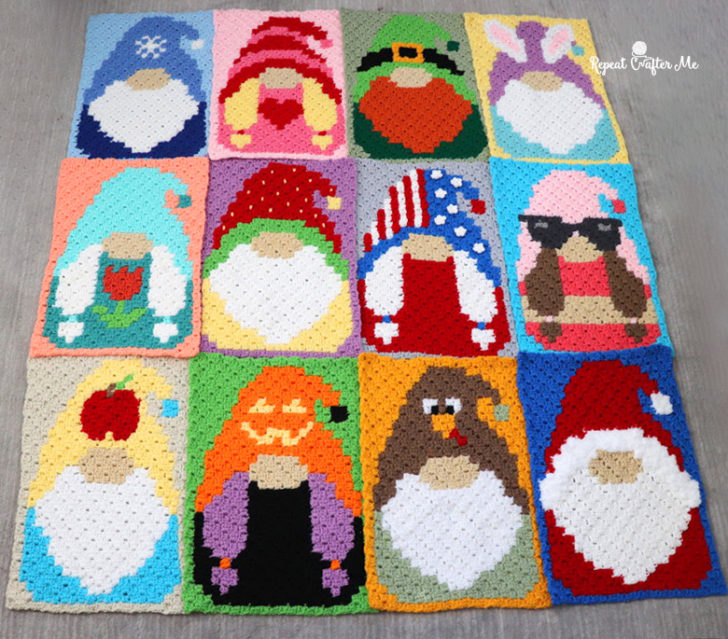
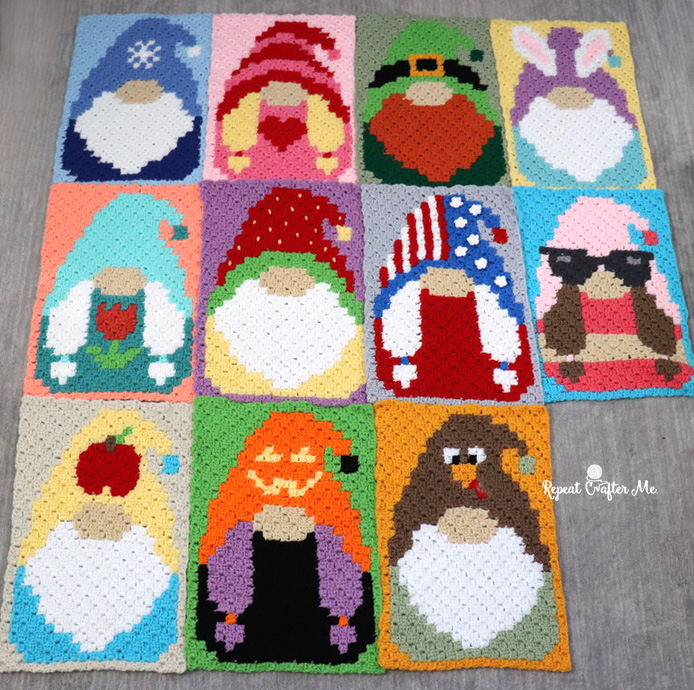
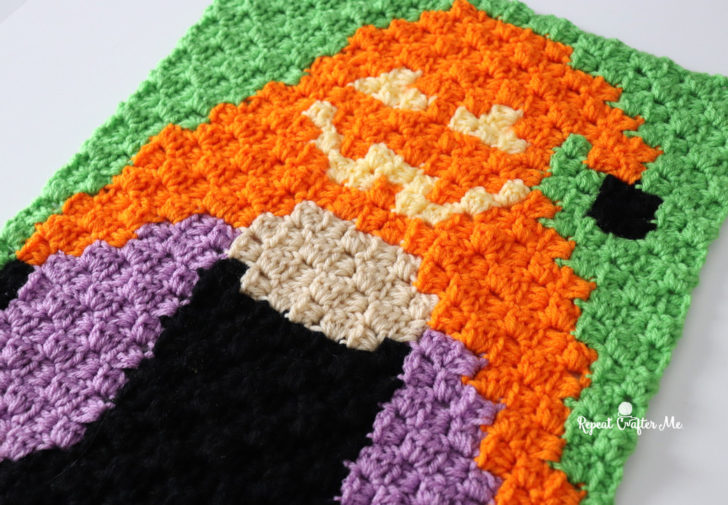
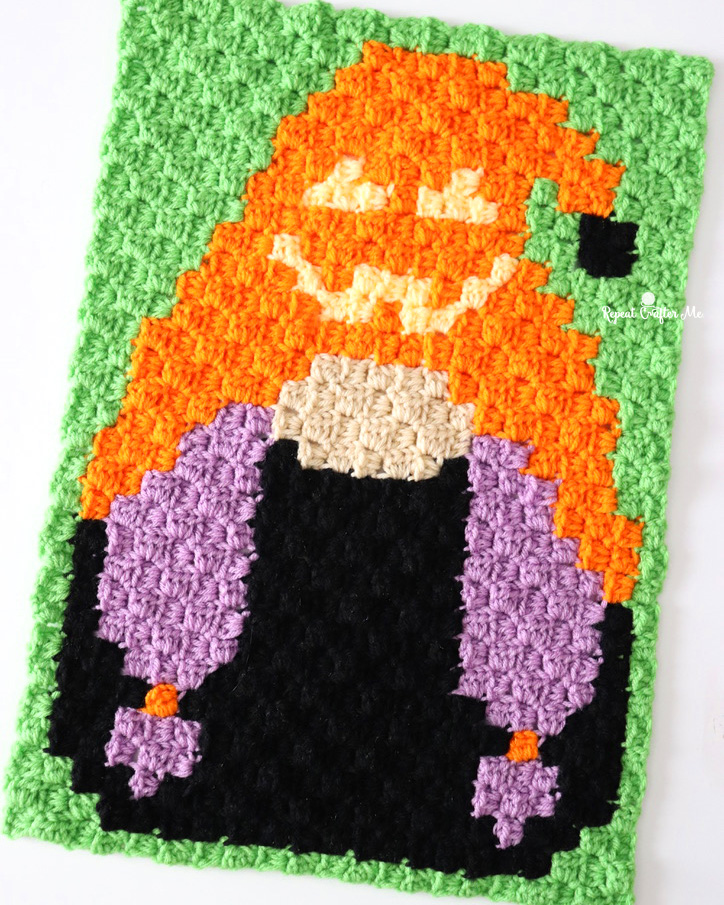
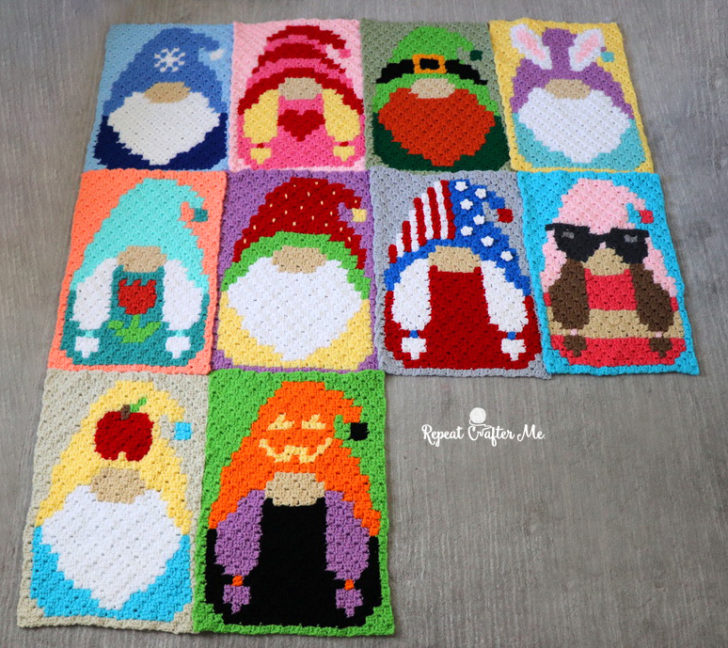
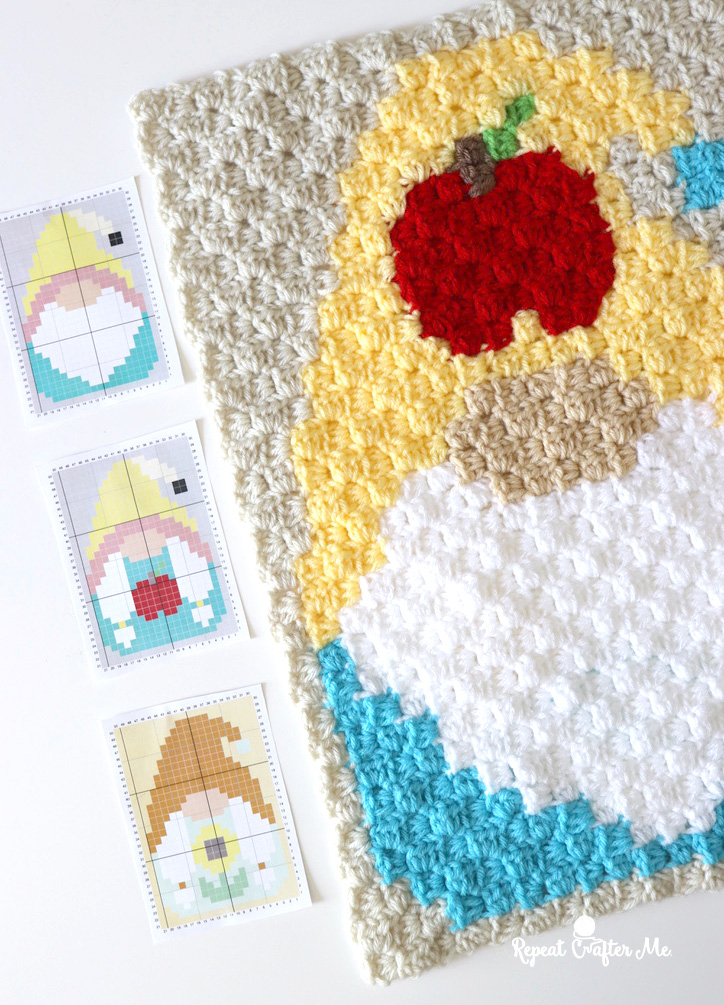
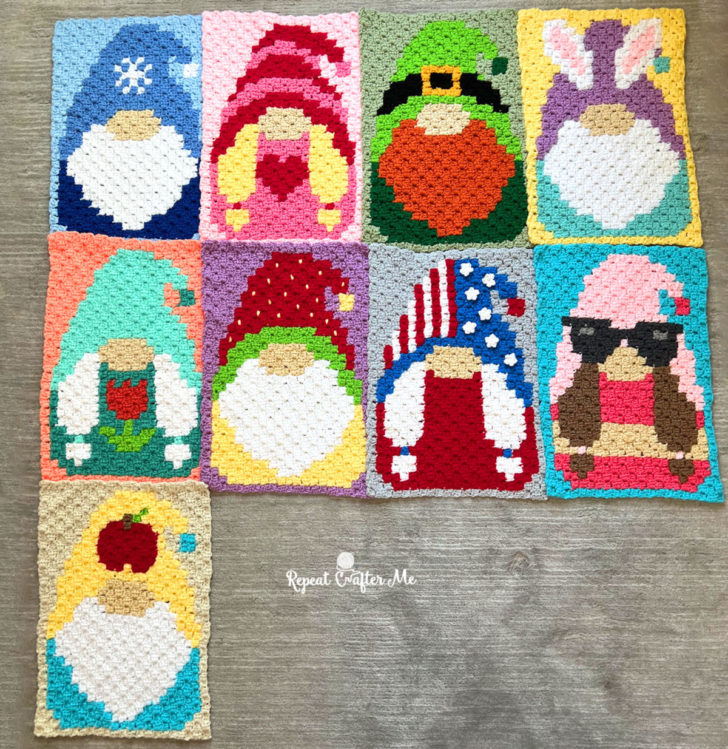
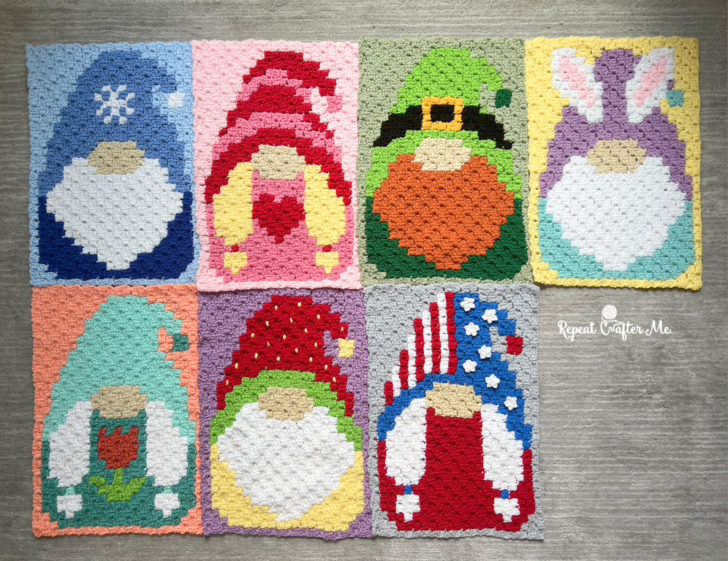
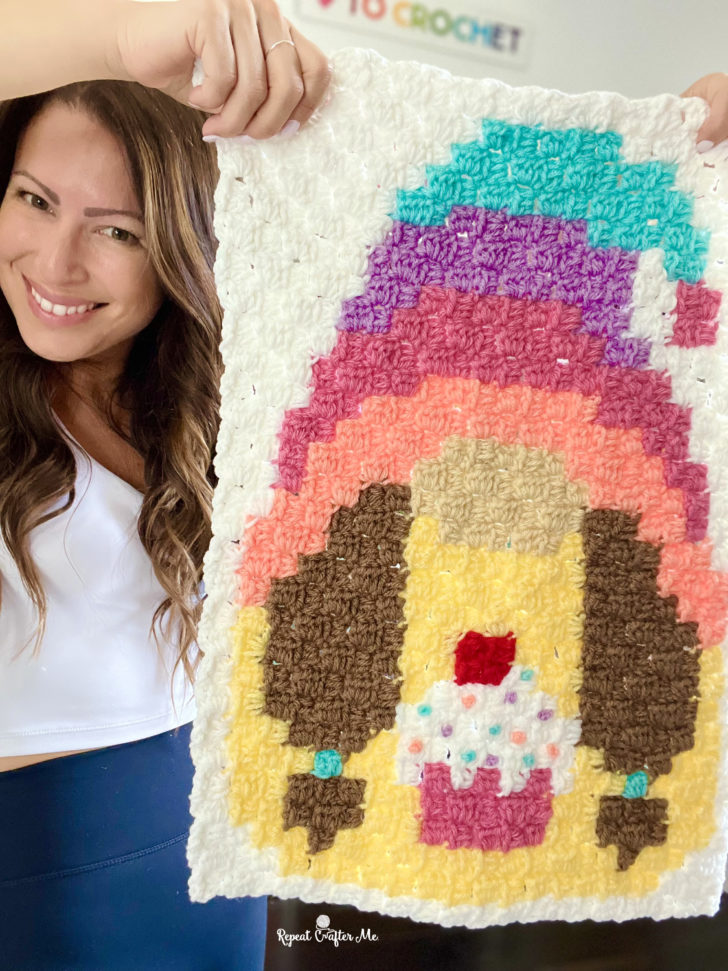
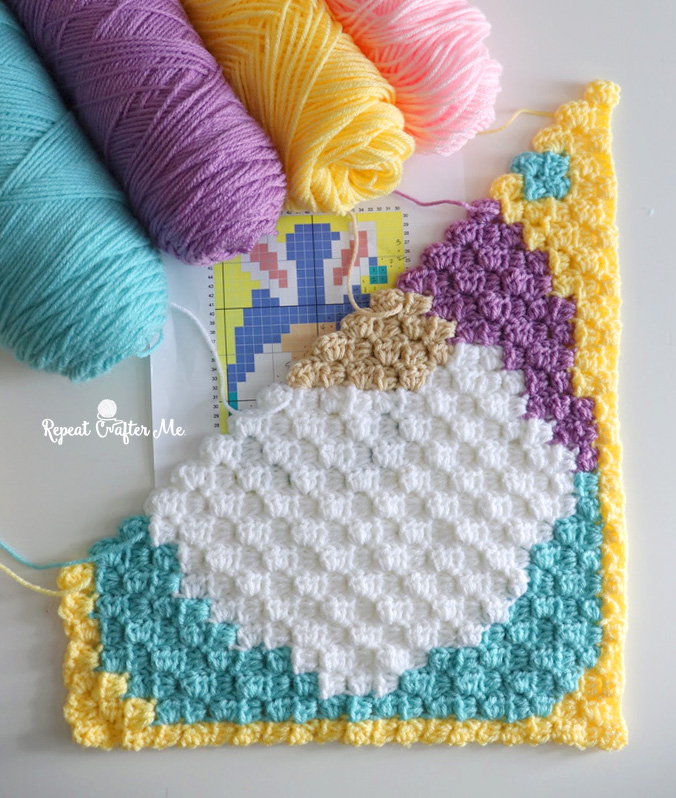
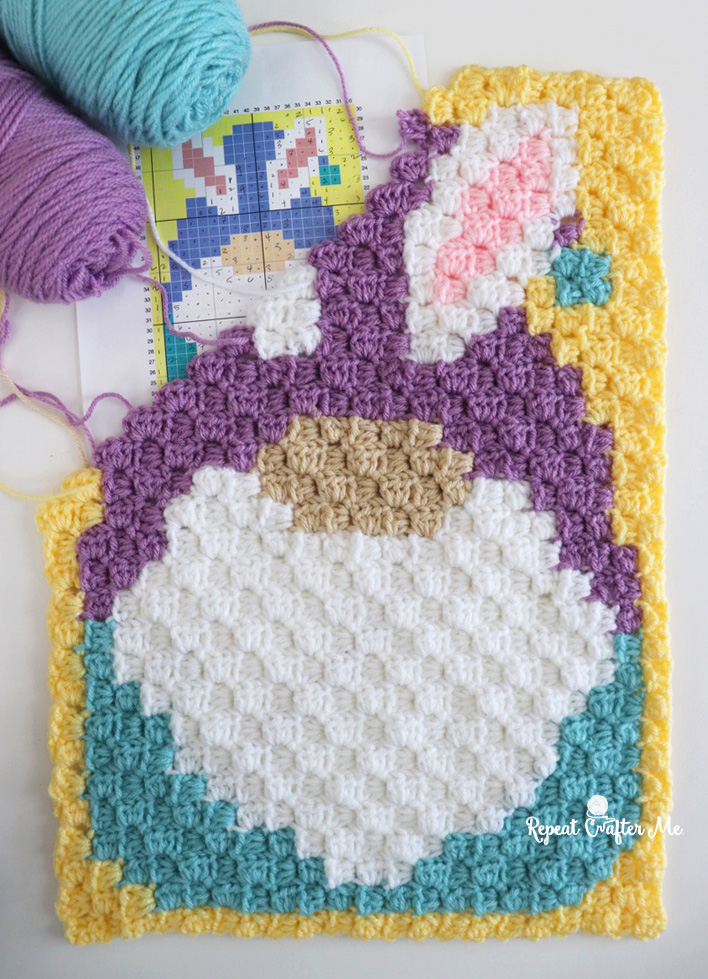
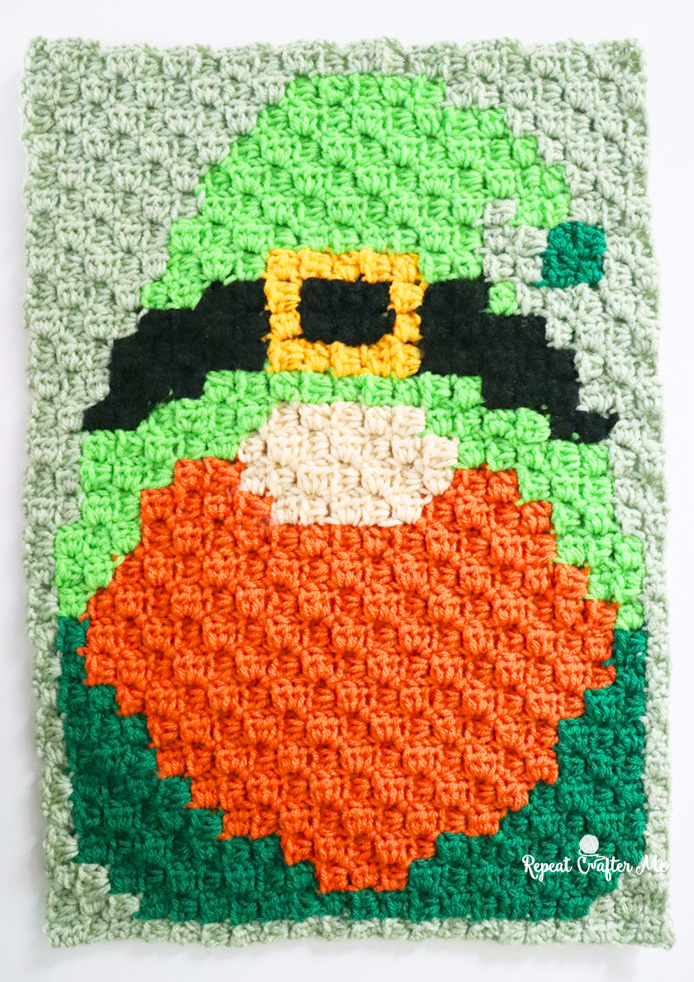
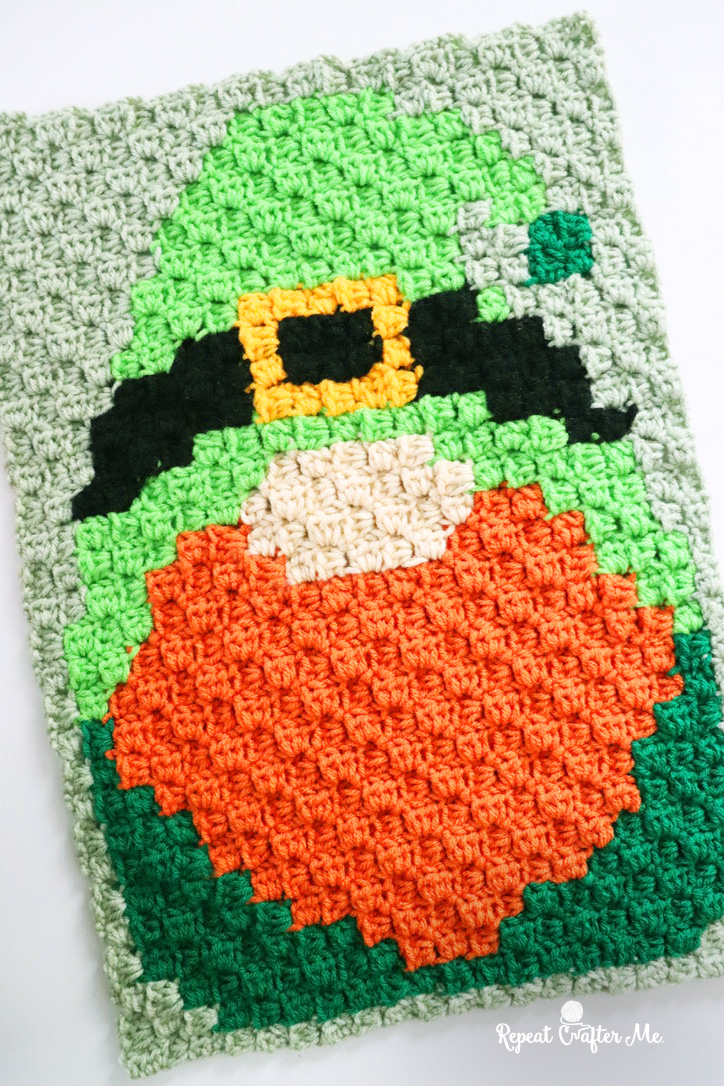
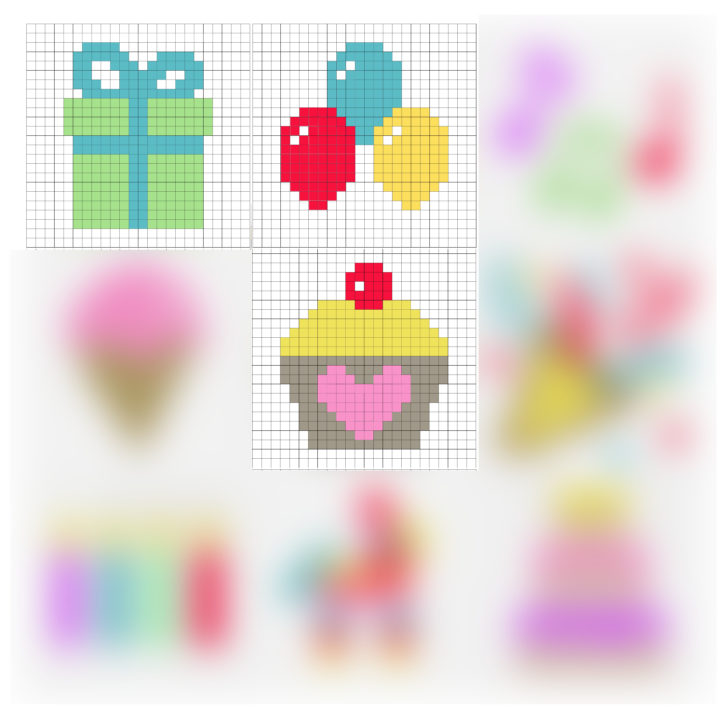
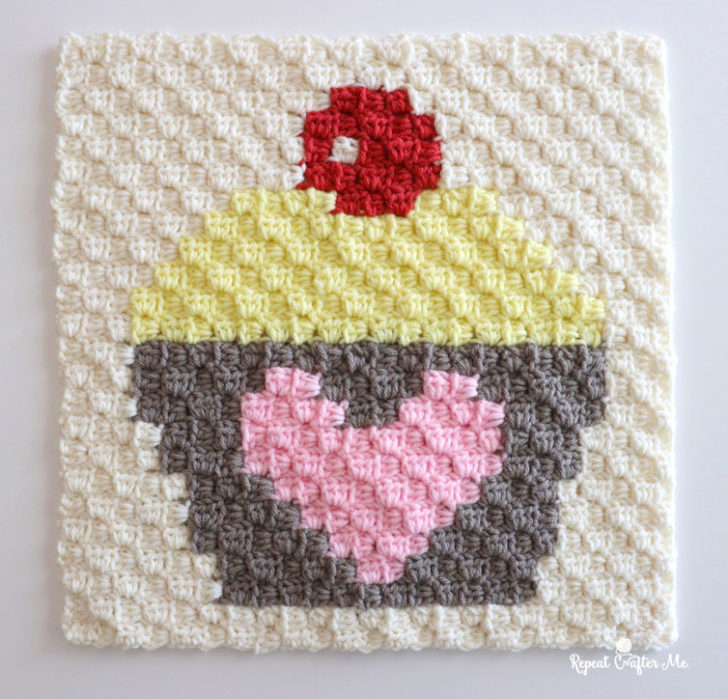
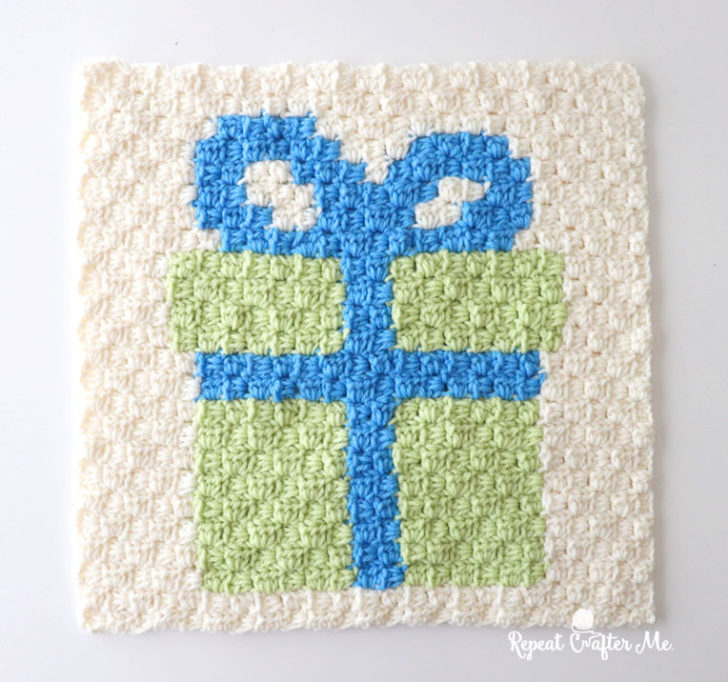
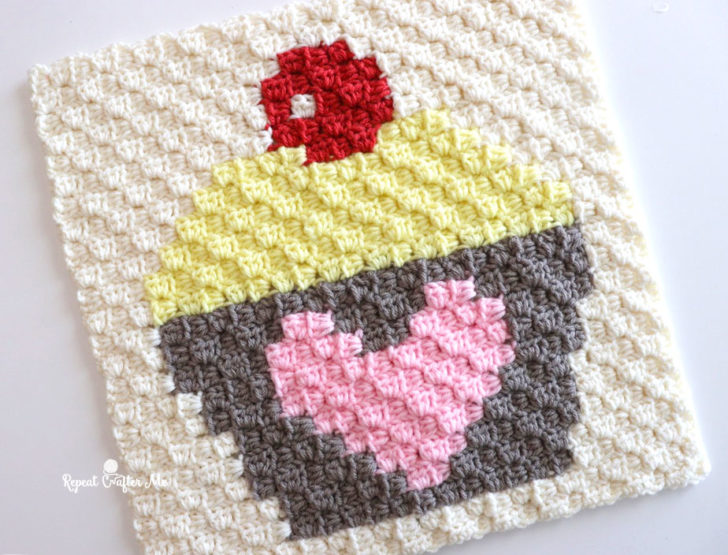
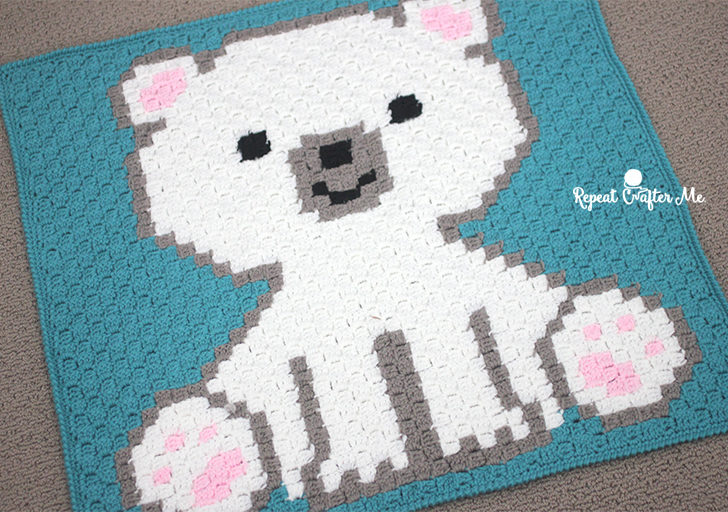
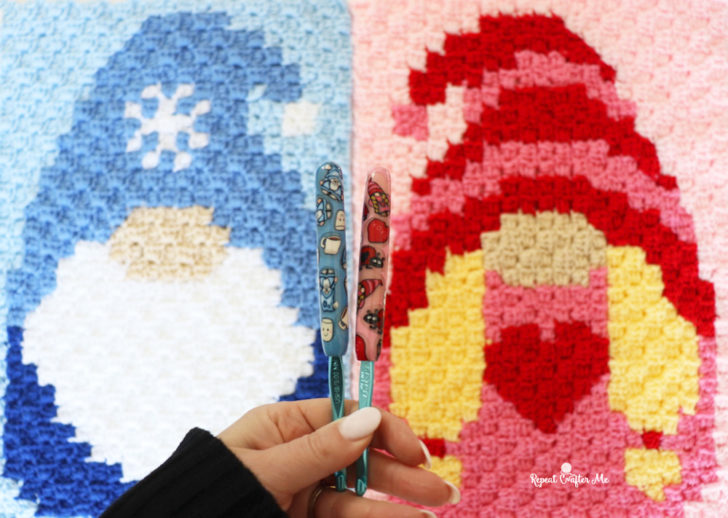
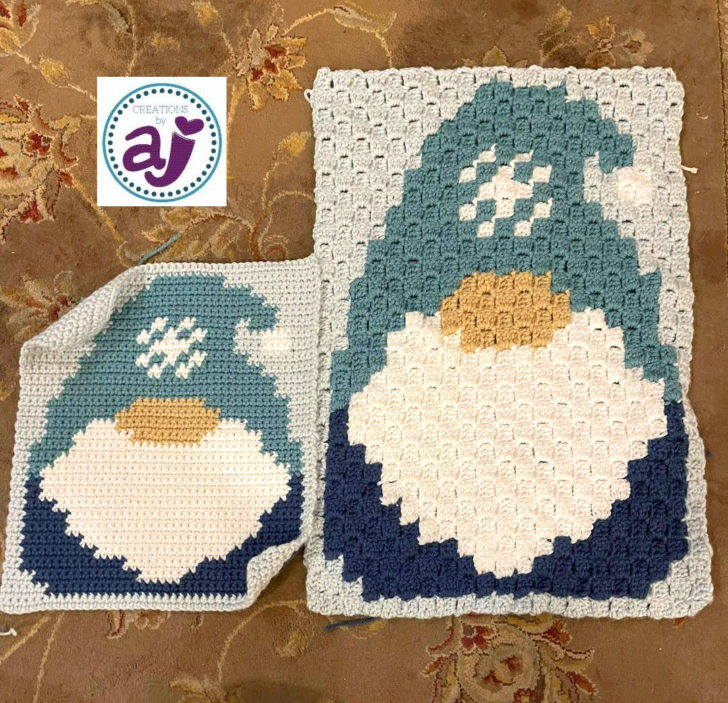
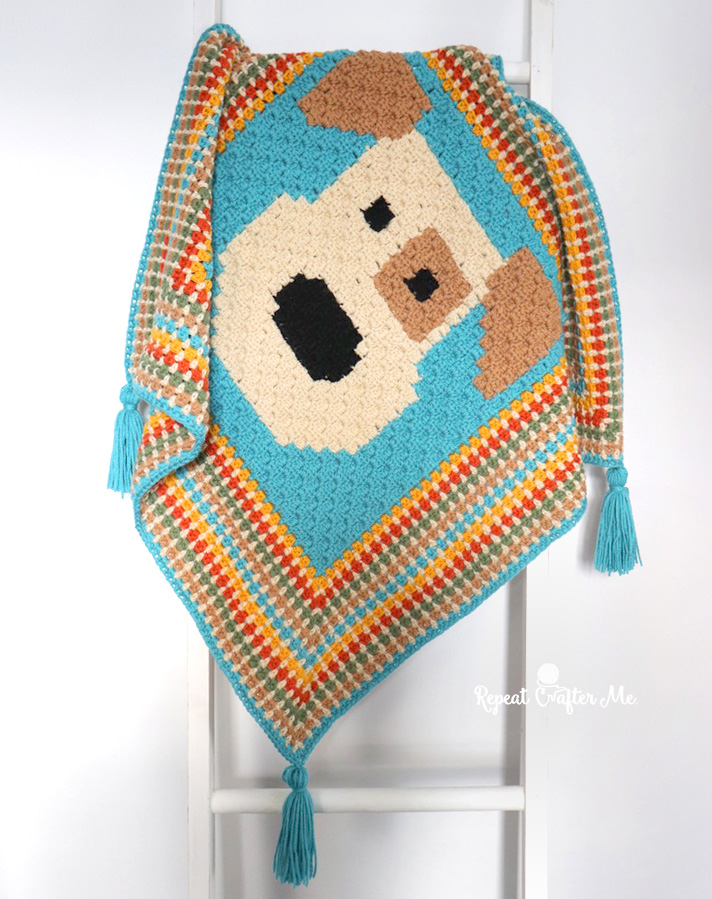
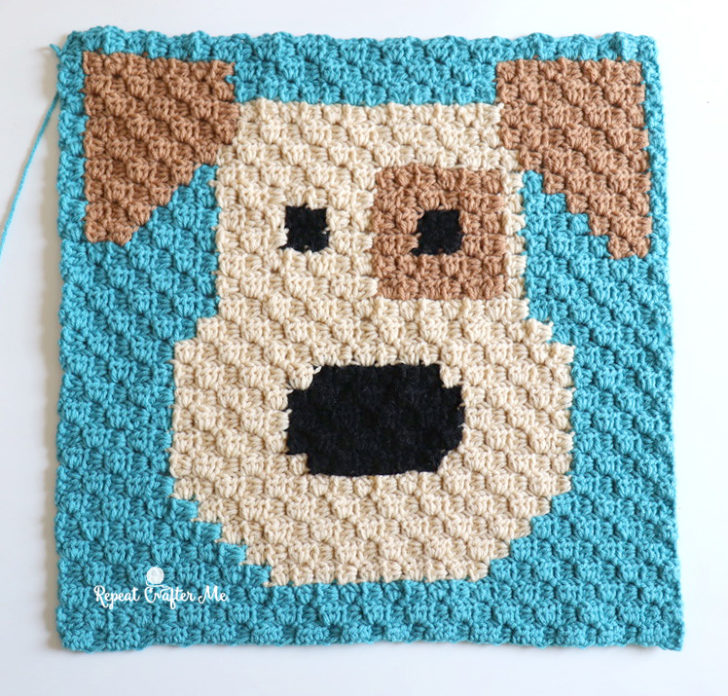
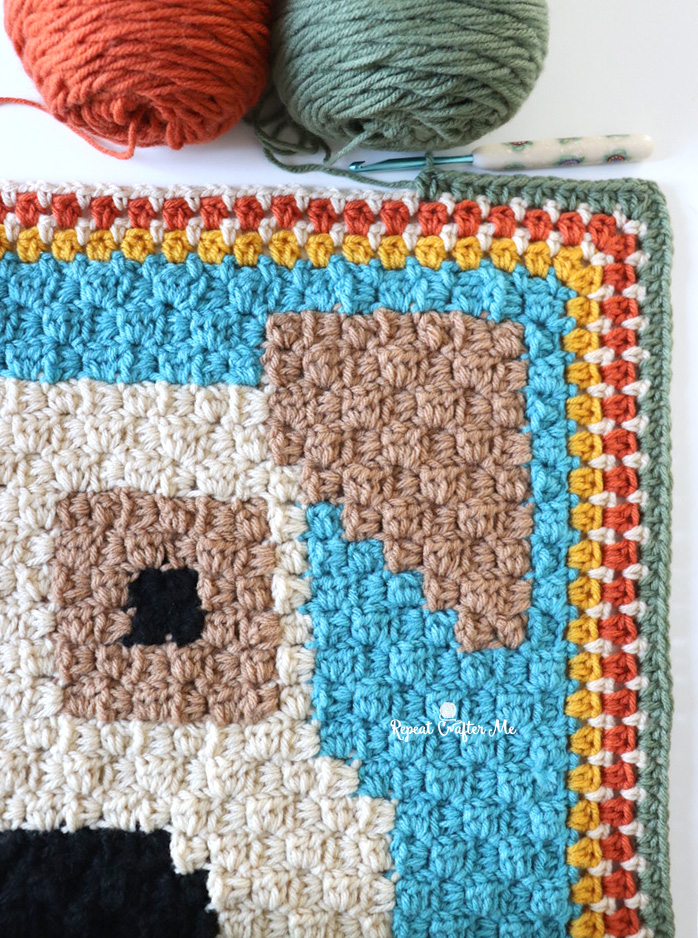
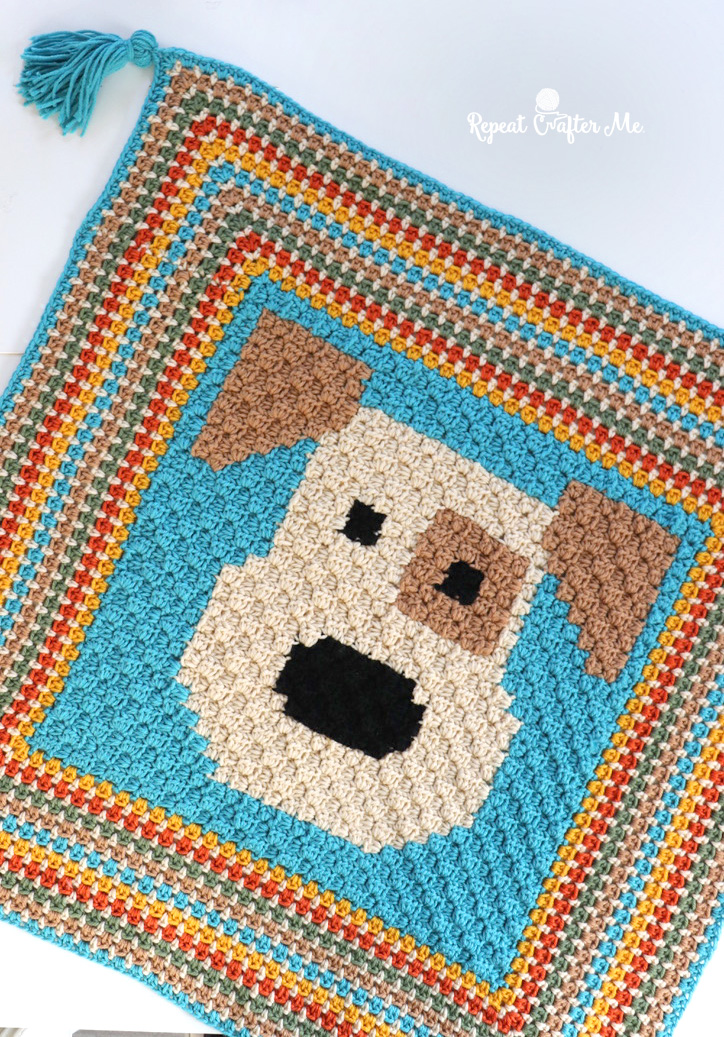
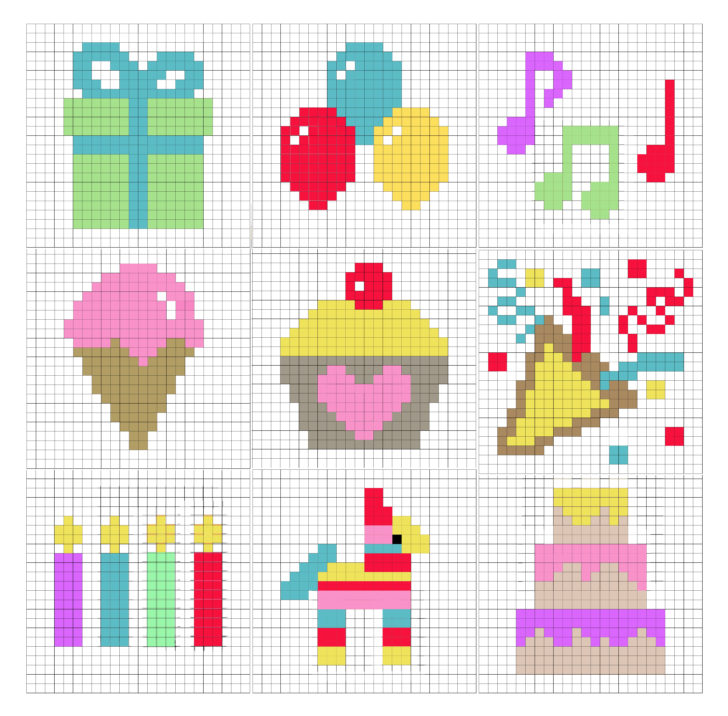
Over the past two weeks I’ve been posting fruit themed corner-to-corner crochet squares! These C2C pieces are small and doable. They can be started and finished in a day or two. Not all the fruits fit in the same pixel graph. They are close in size, but not exactly the same.
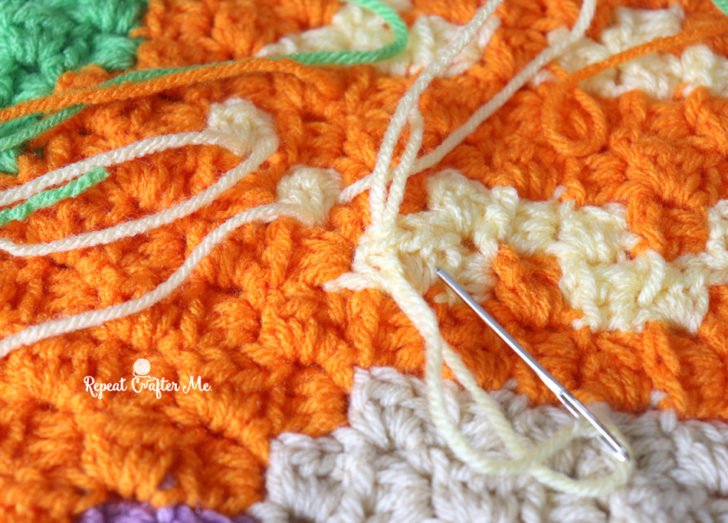
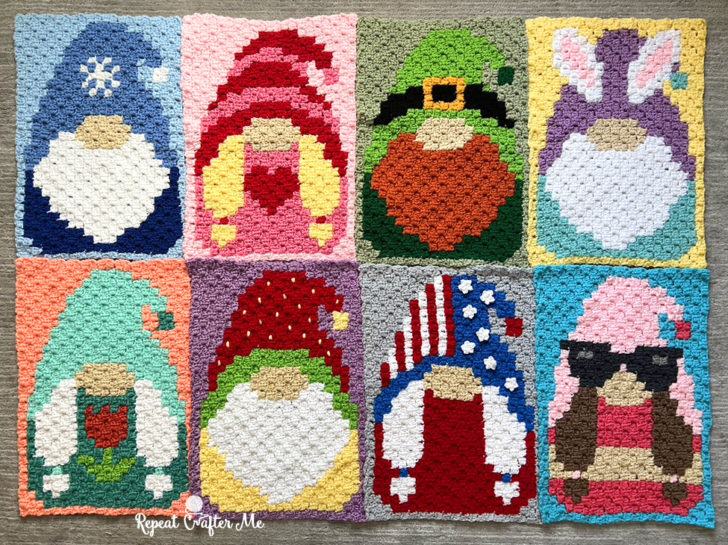
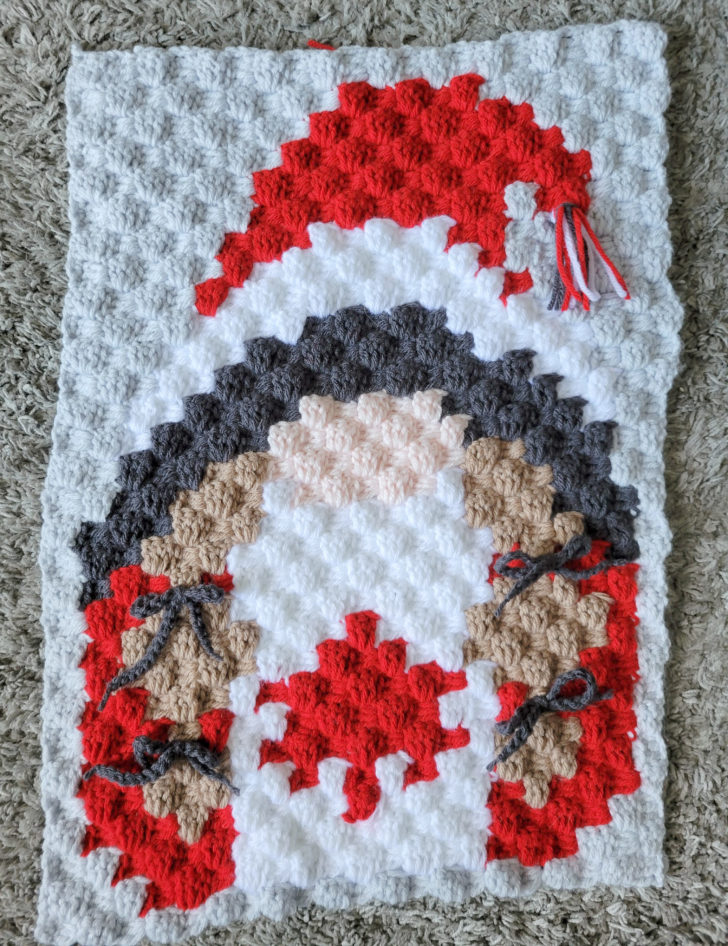
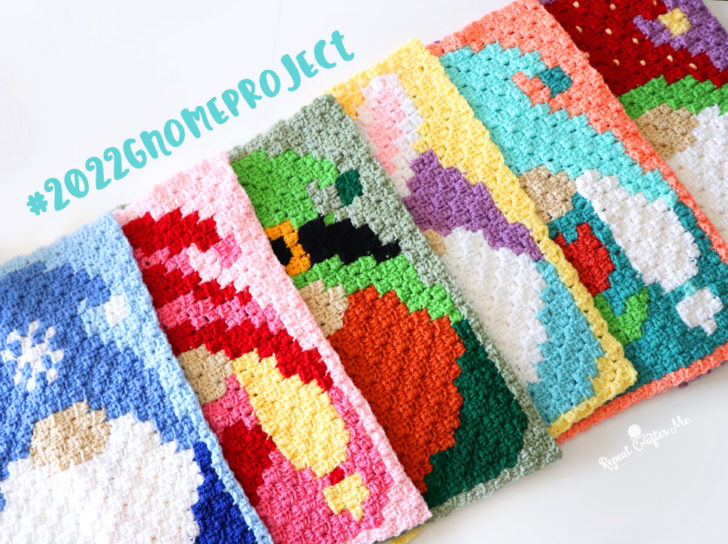
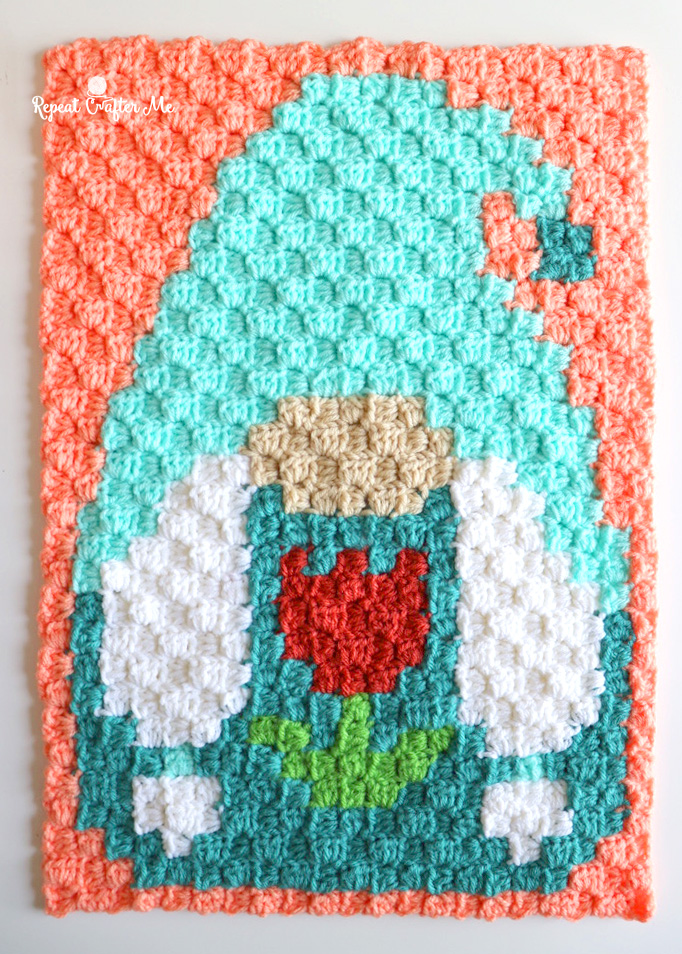
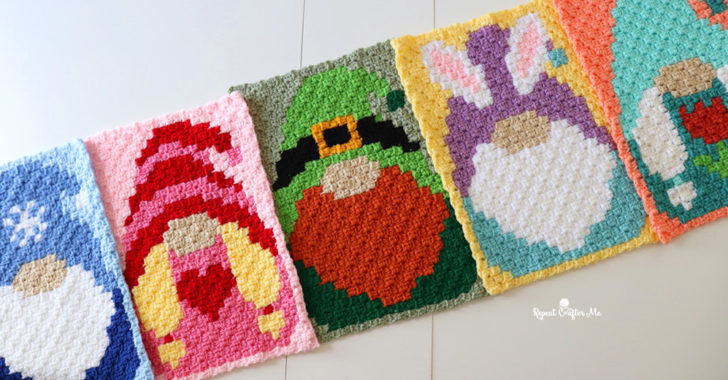
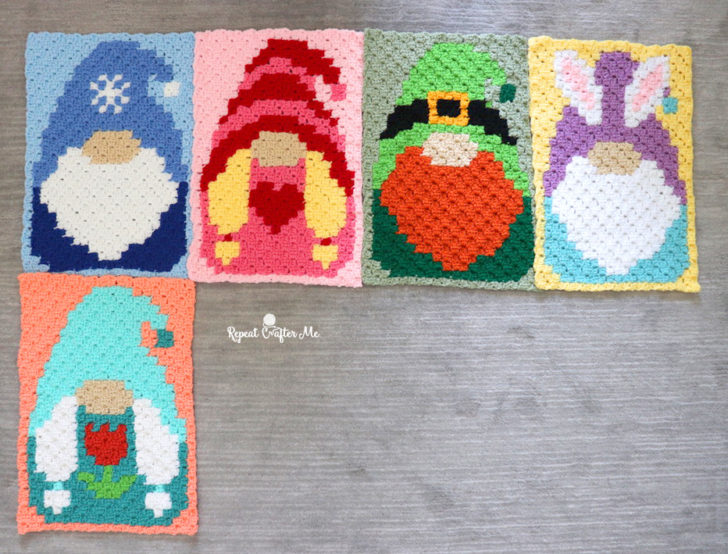
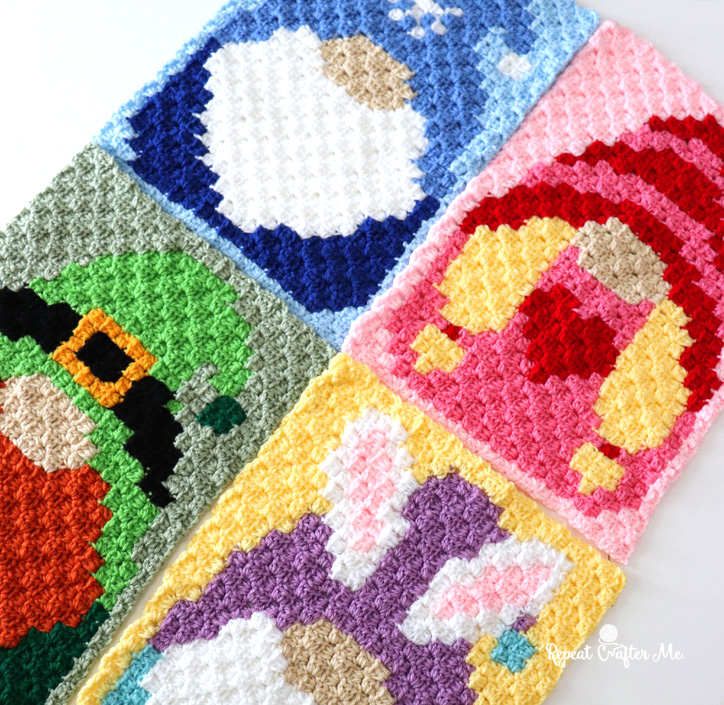
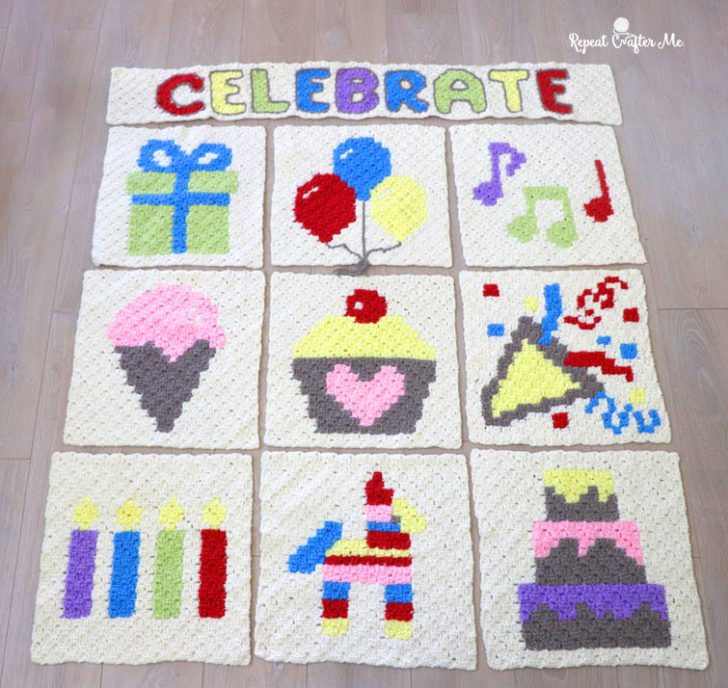
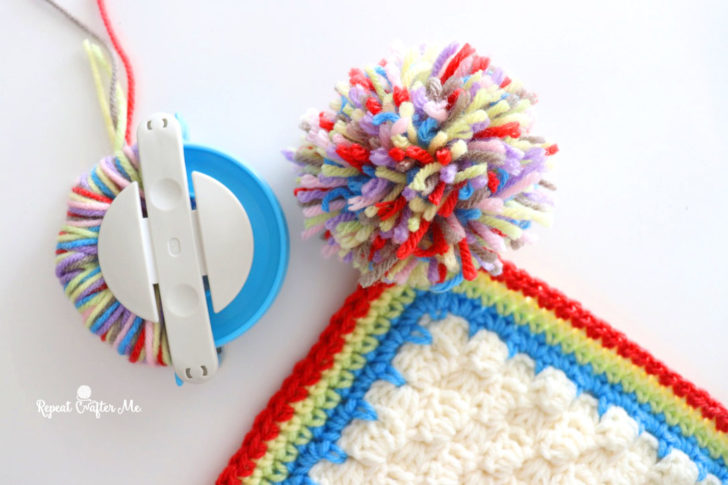
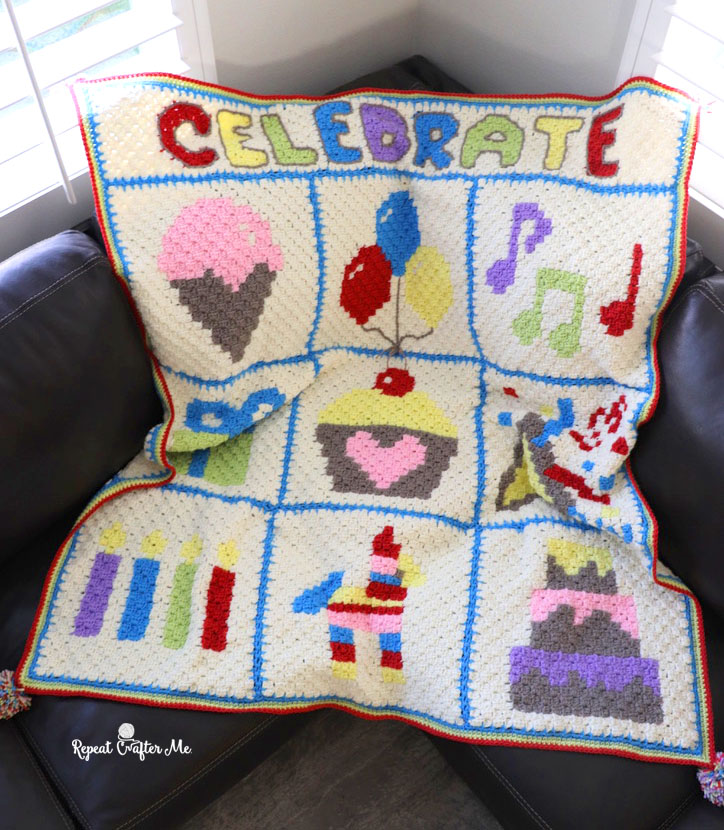
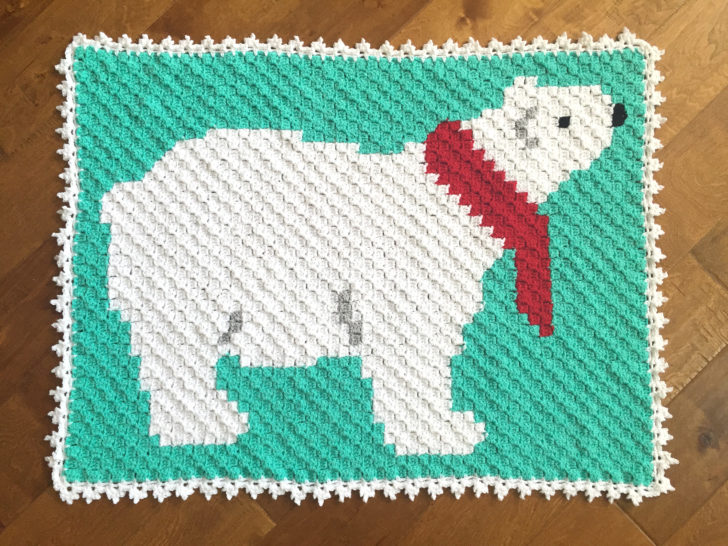
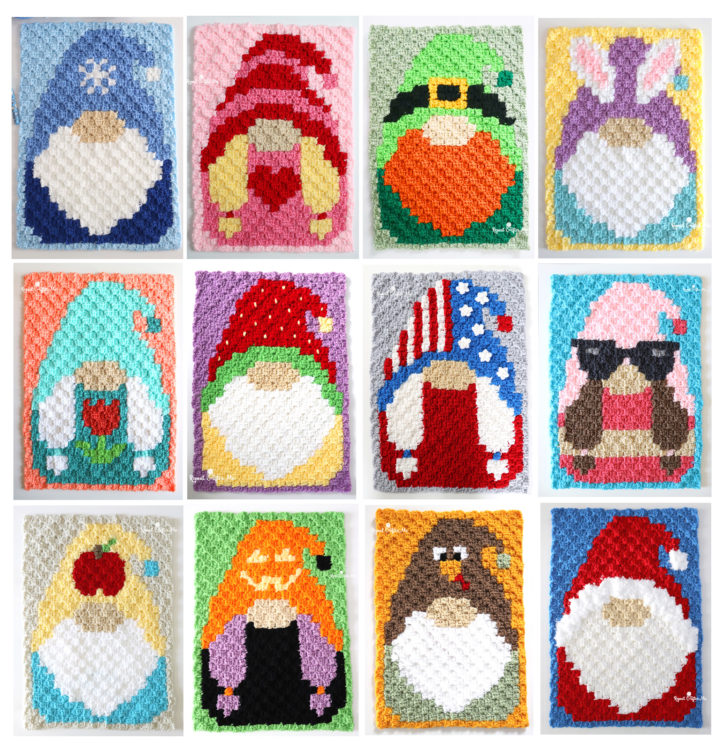
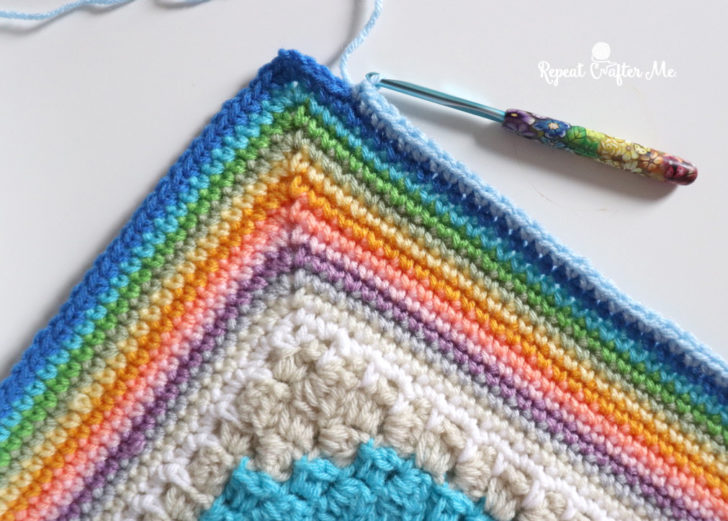
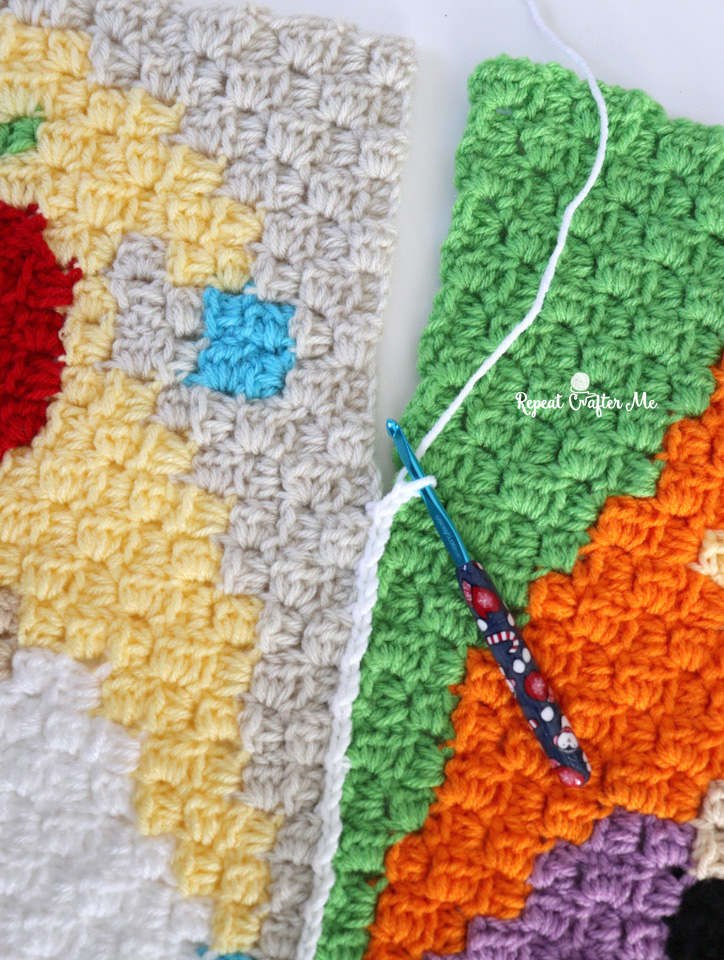
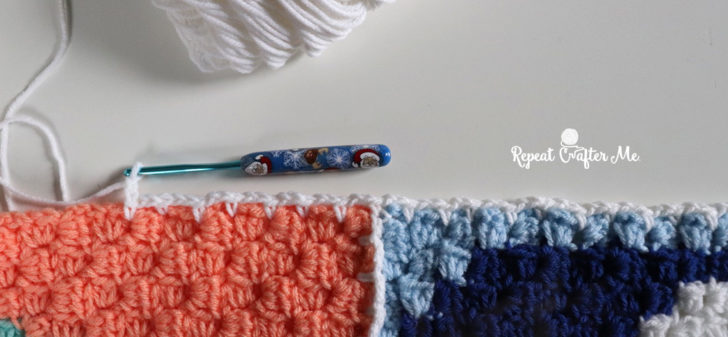
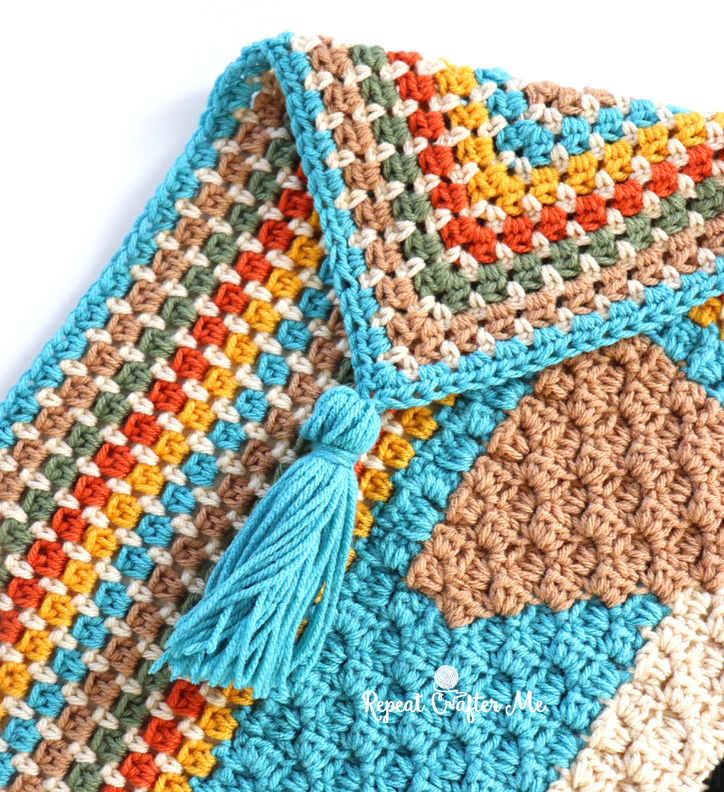
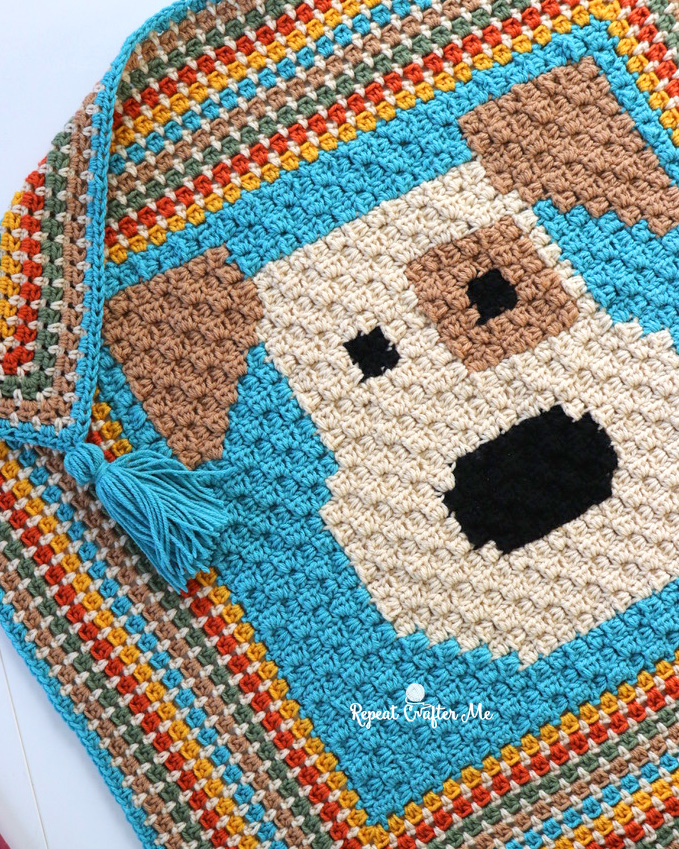
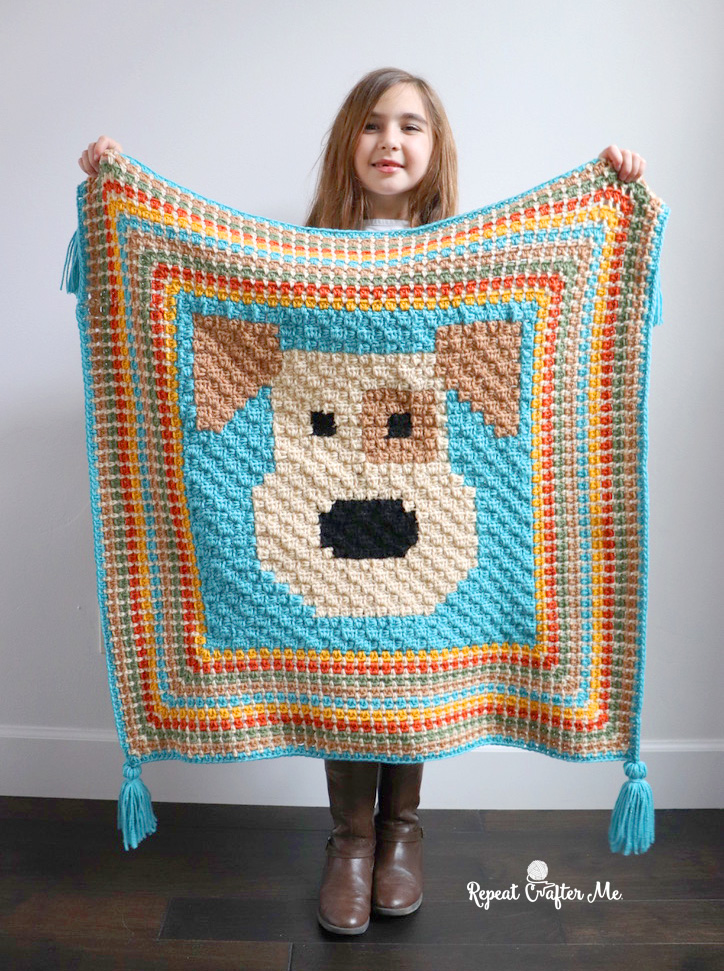
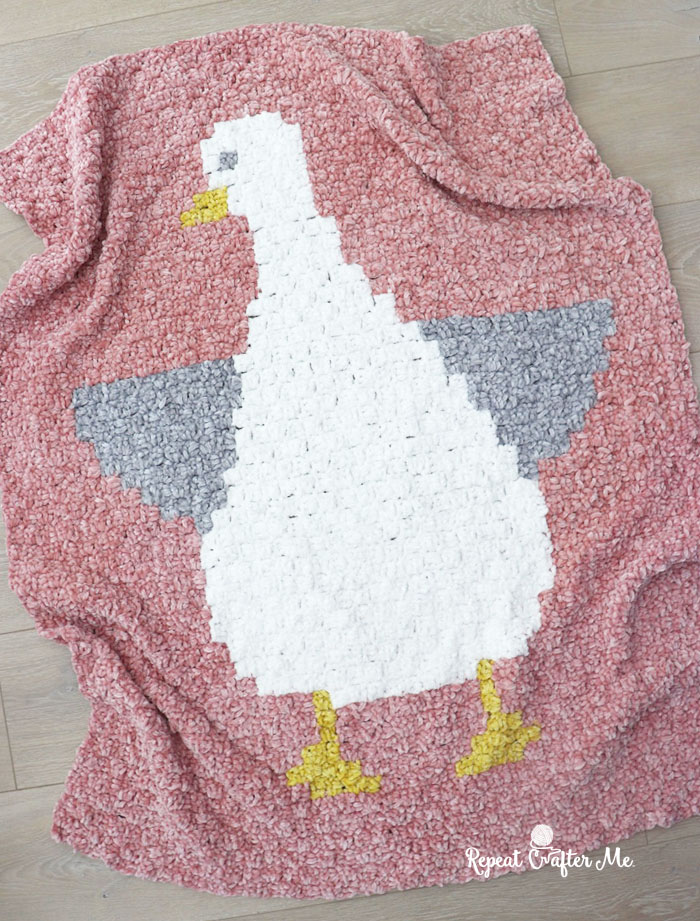
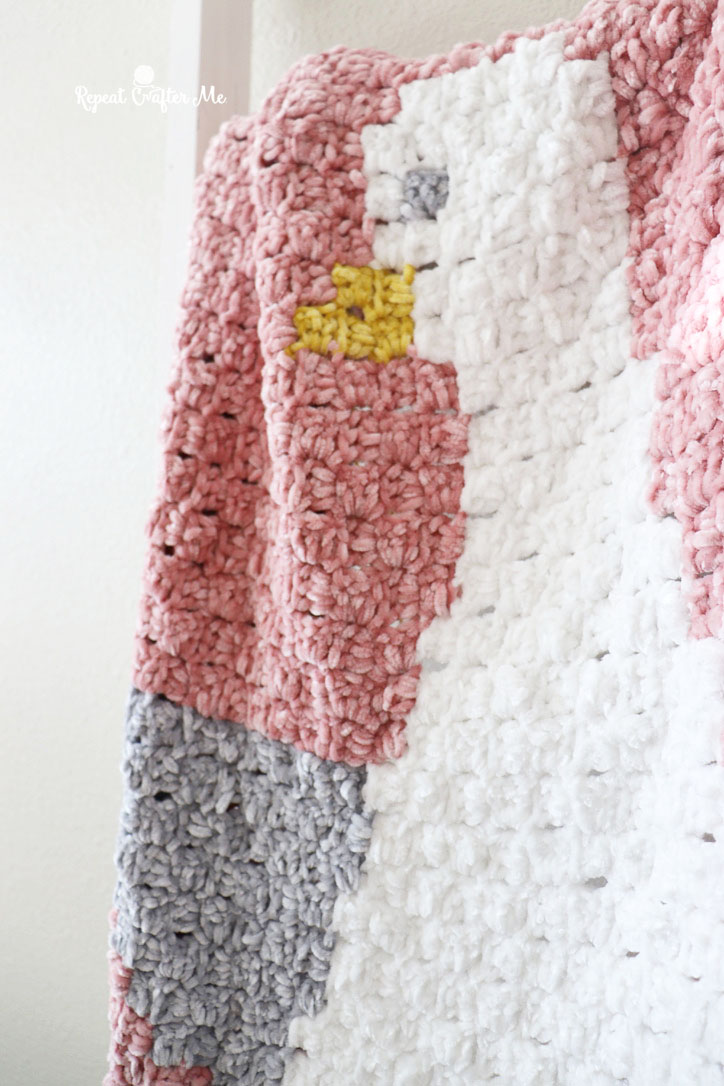
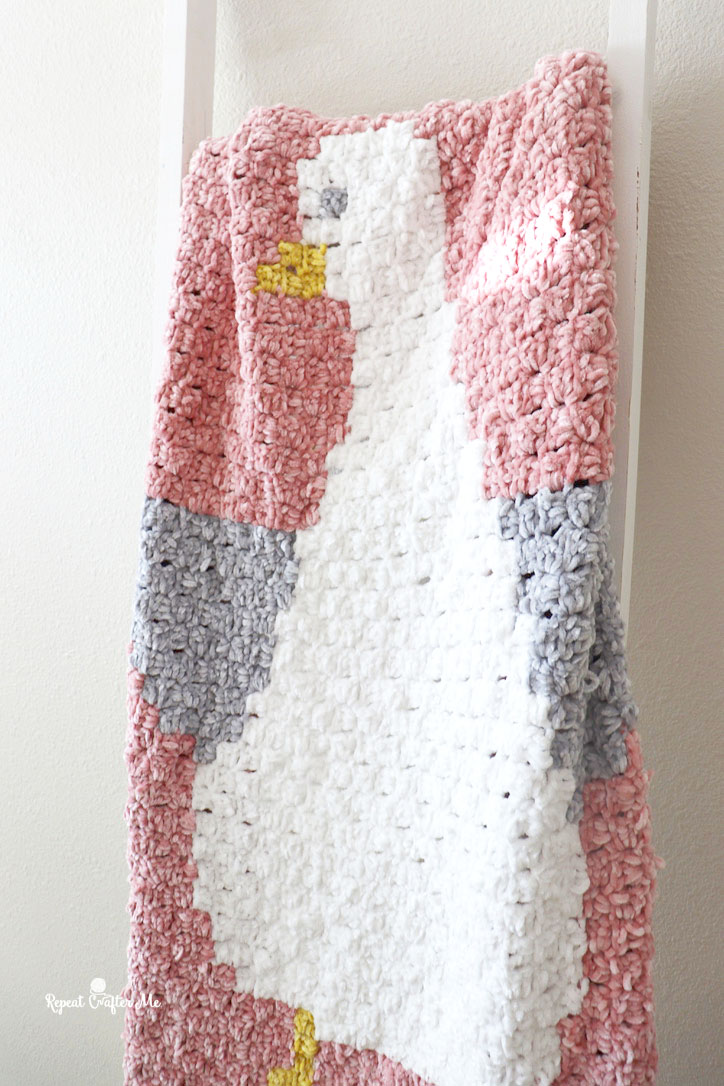
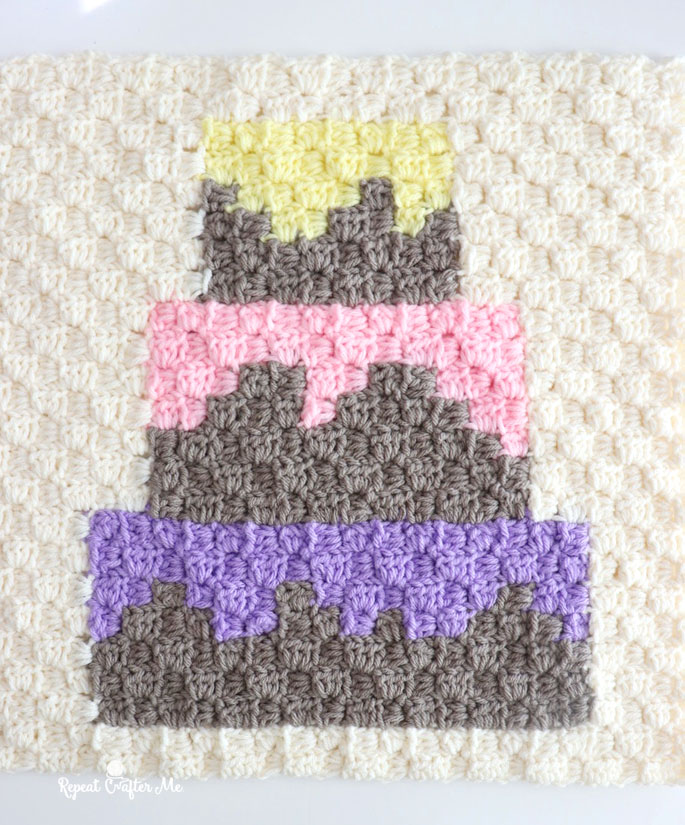
I plan to stitch these together to make a blanket but you can use these however you’d like!

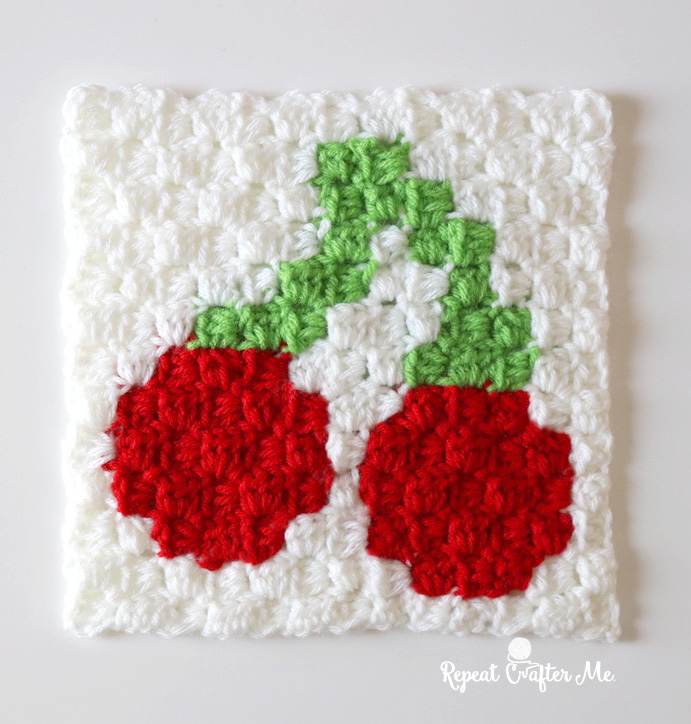
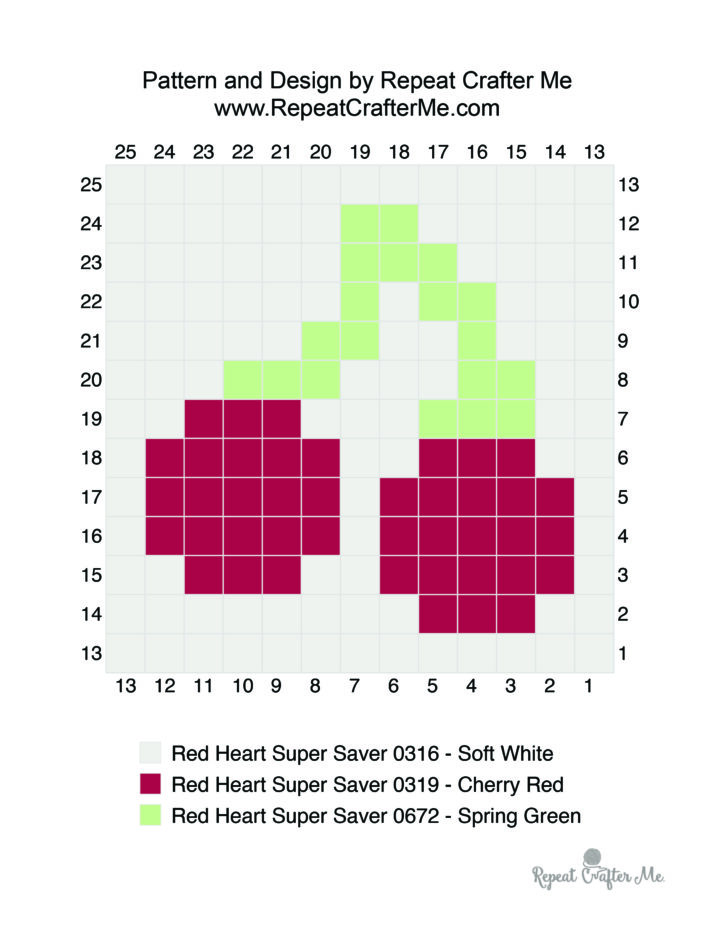
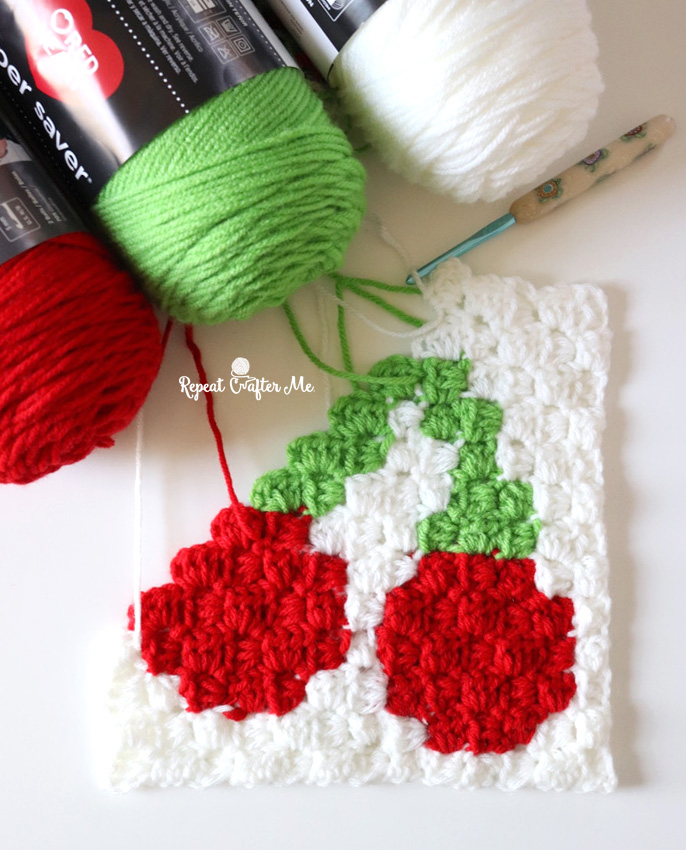
If you missed the Cherry Square, you can get the tutorial HERE
If you missed the Orange Square, you can get the tutorial HERE
If you missed the Pear Square, you can get the tutorial HERE
If you missed the Grapes Square, you can get the tutorial HERE
If you missed the Watermelon Square, you can get the tutorial HERE
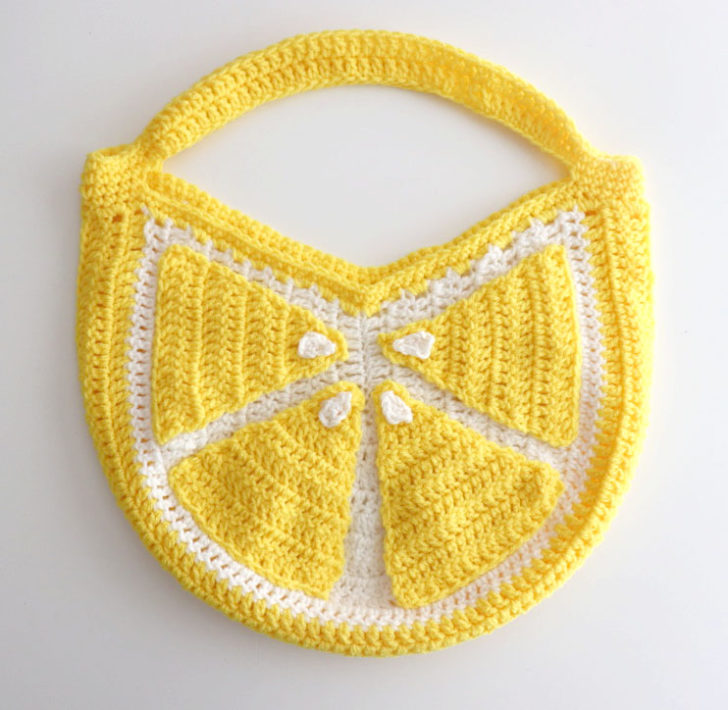
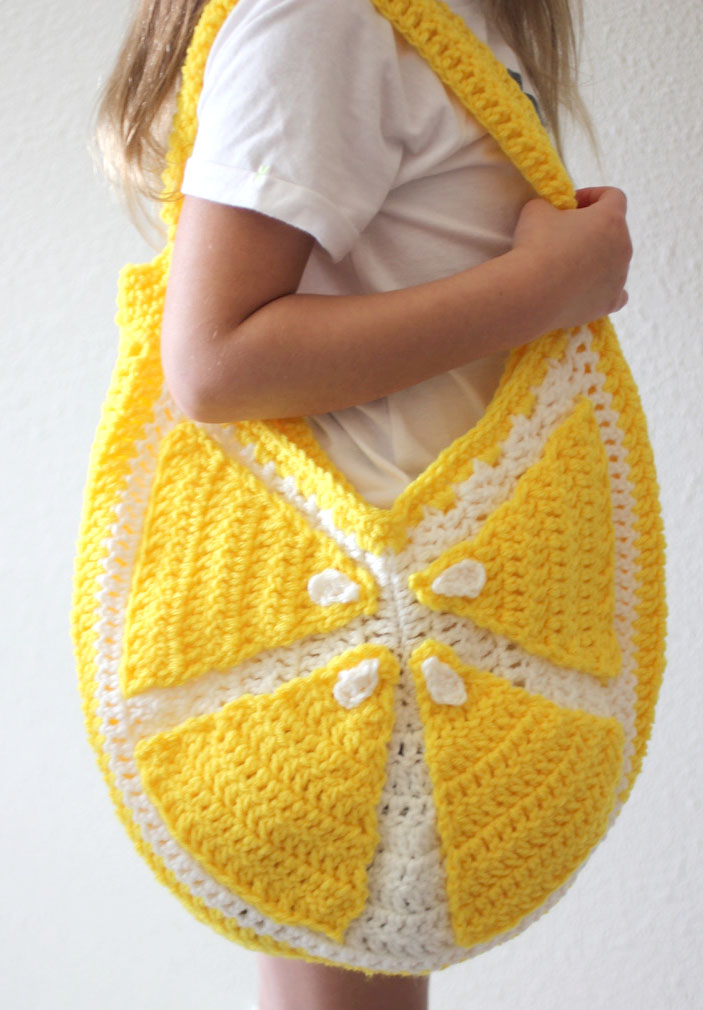
If you missed the Lemon Square, you can get the tutorial HERE
If you missed the Banana Square, you can get the tutorial HERE
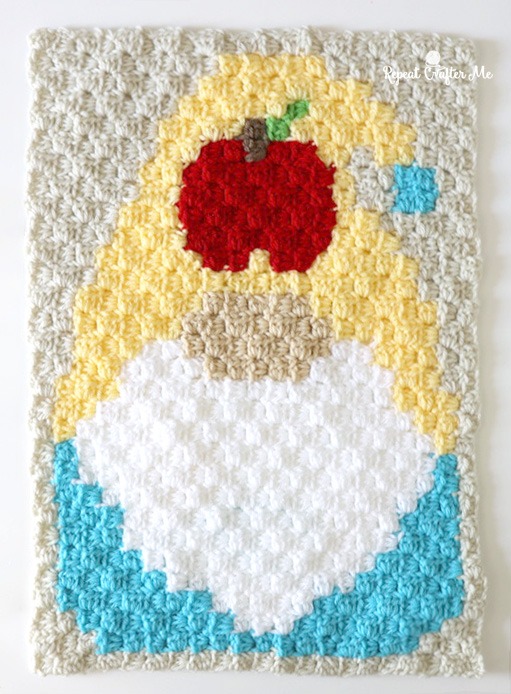
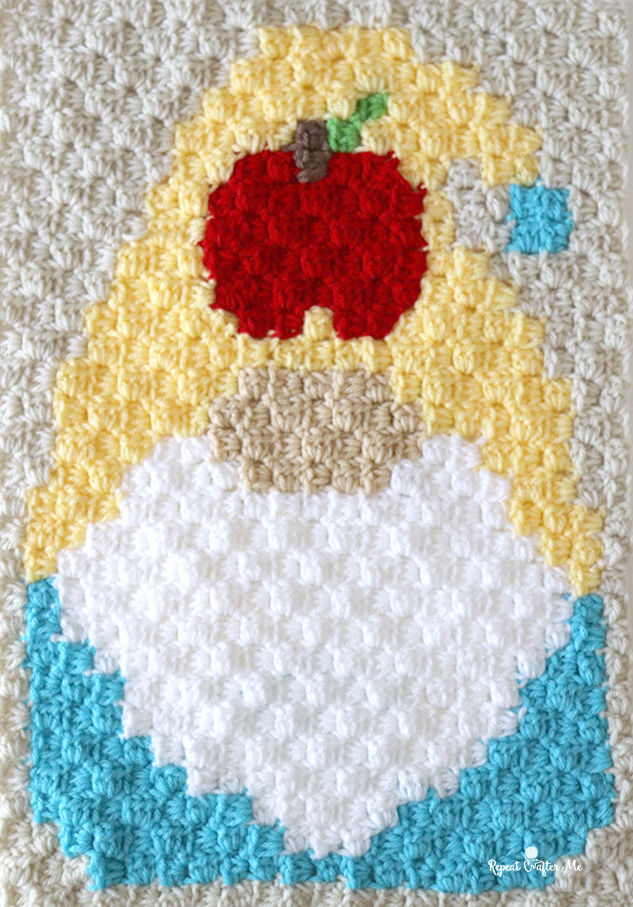
If you missed the Apple Square, you can get the tutorial HERE
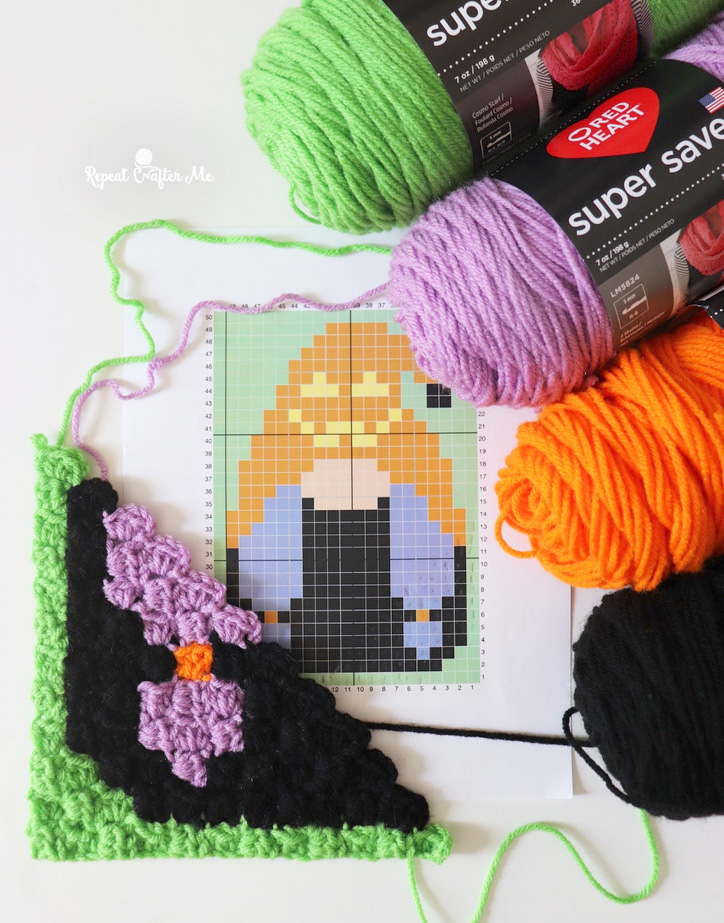
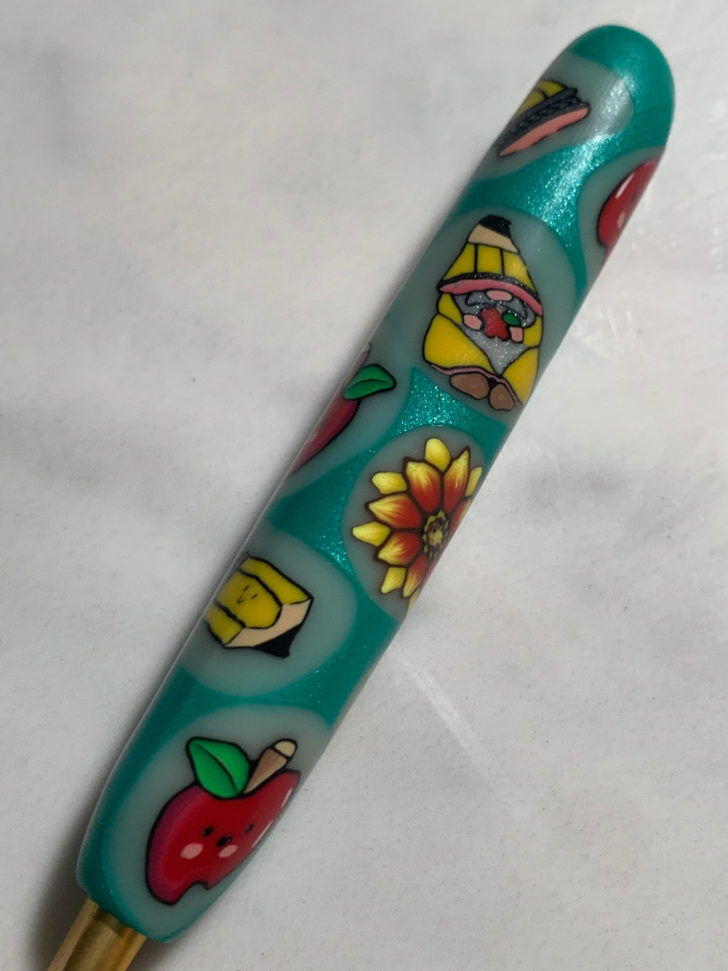
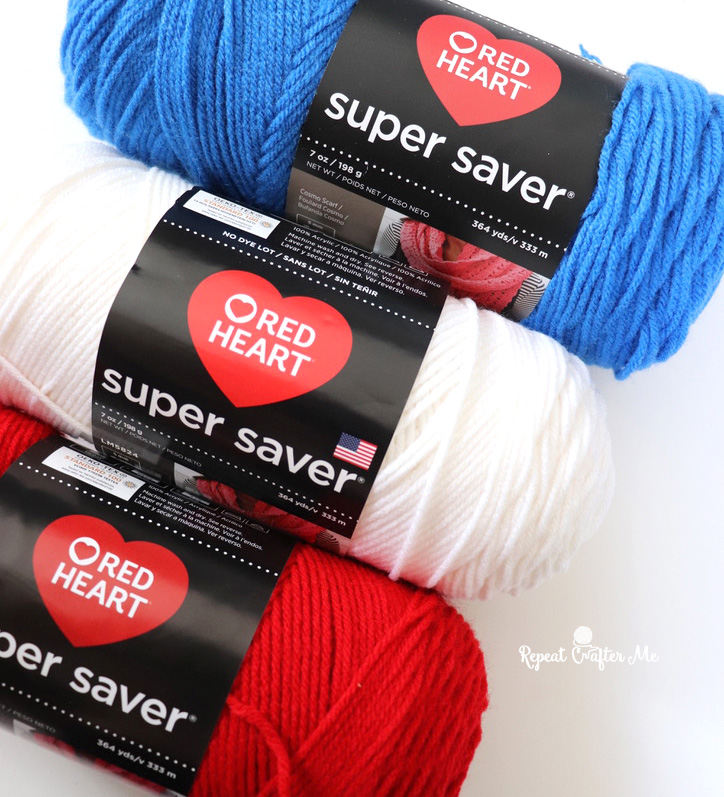
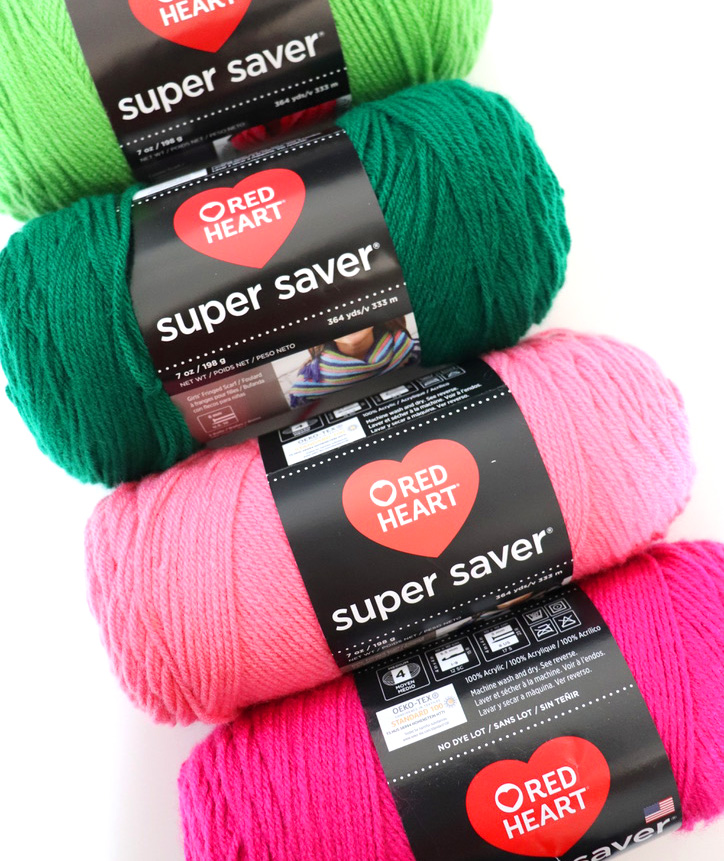
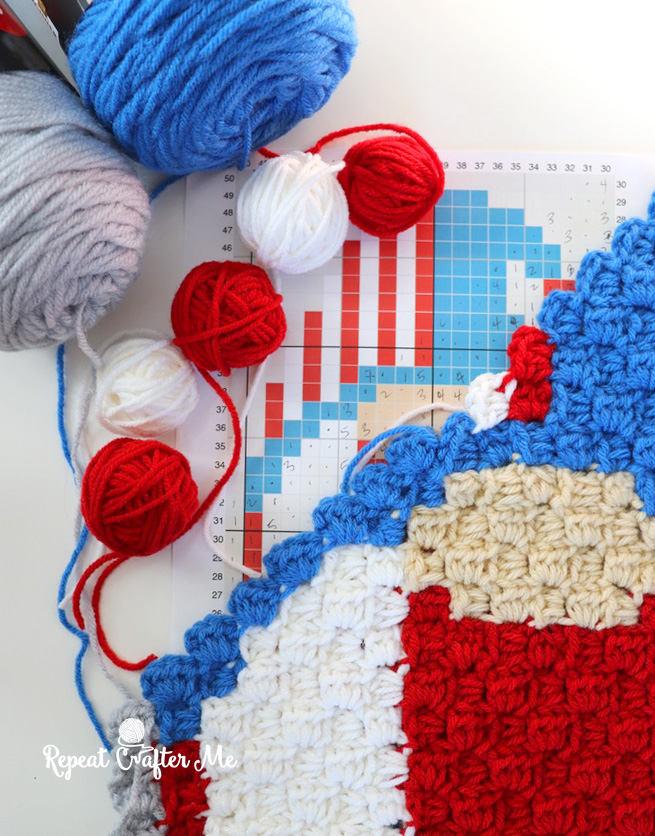
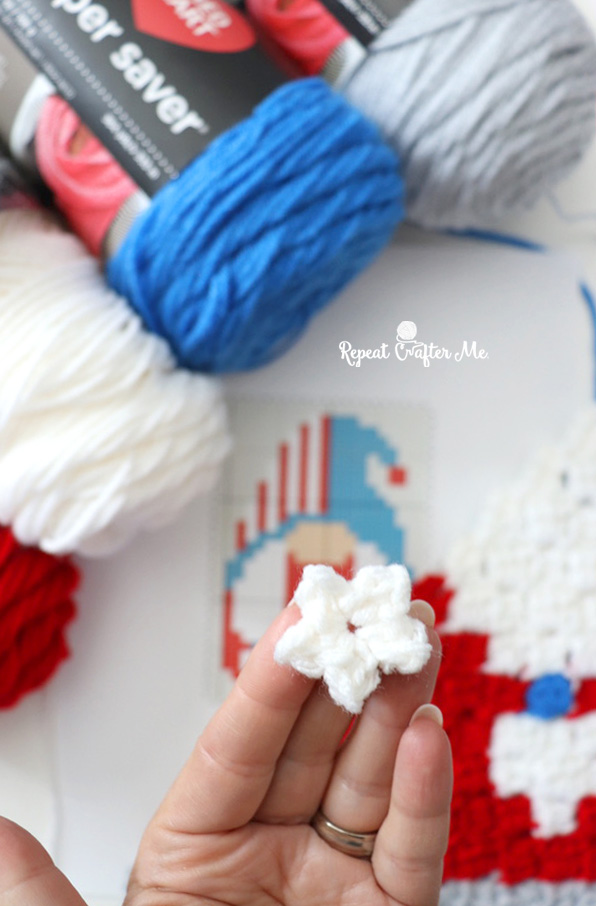
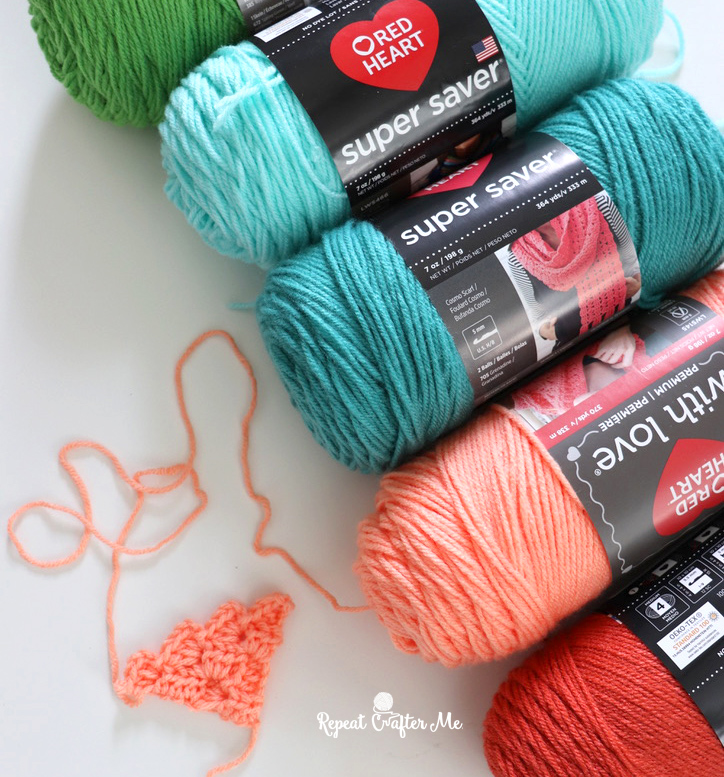
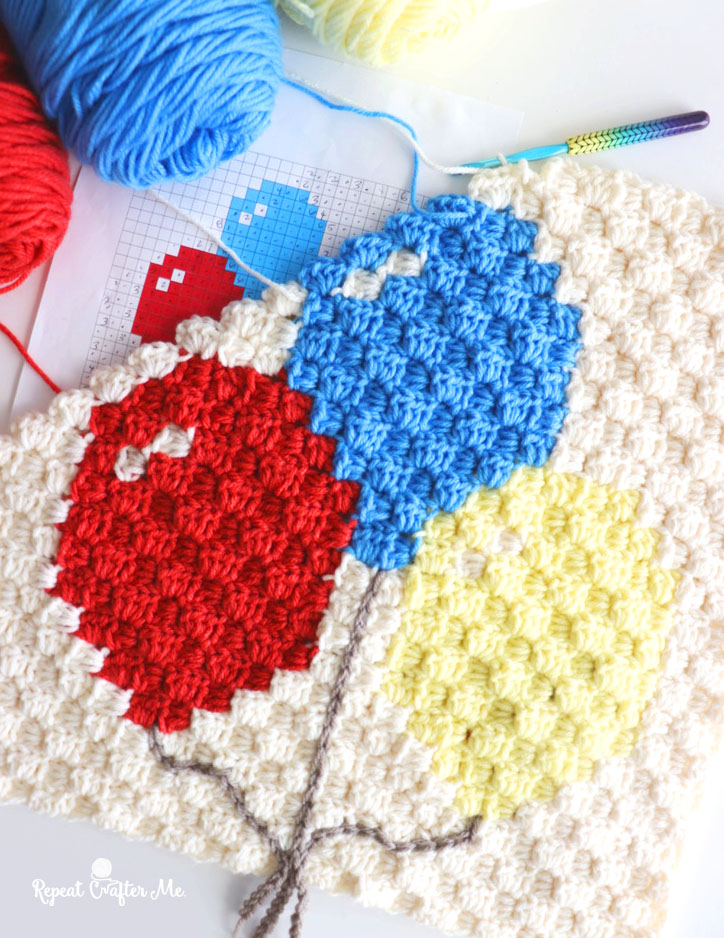
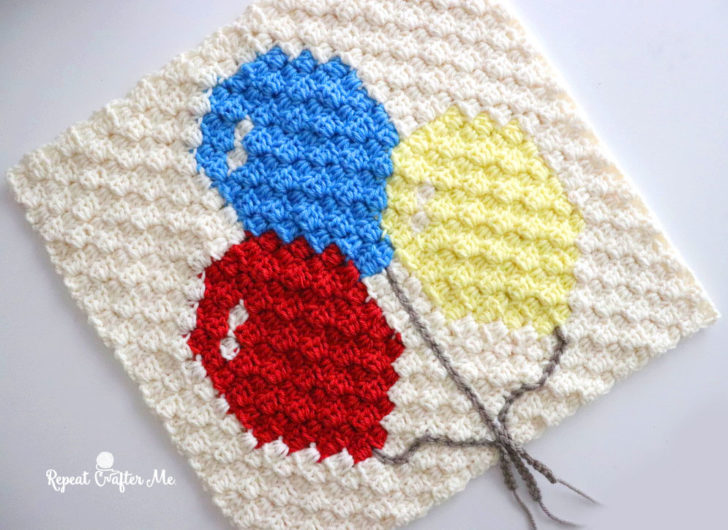
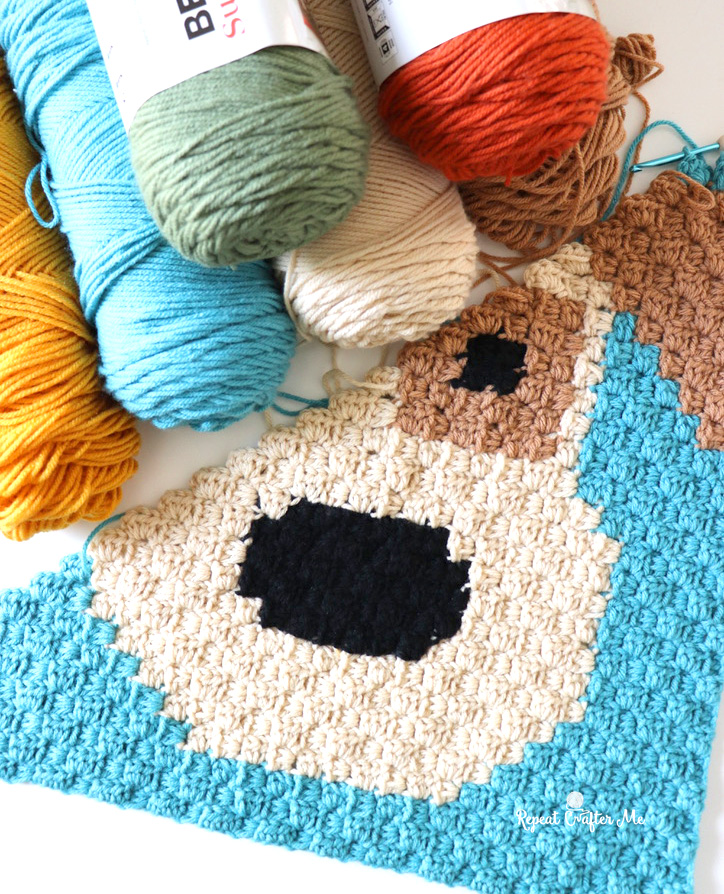
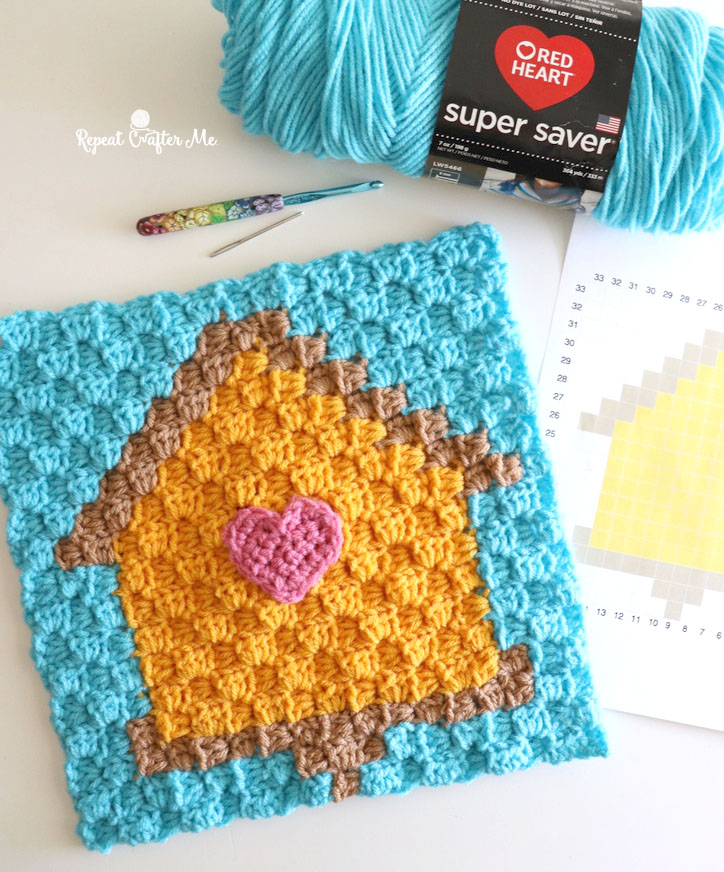
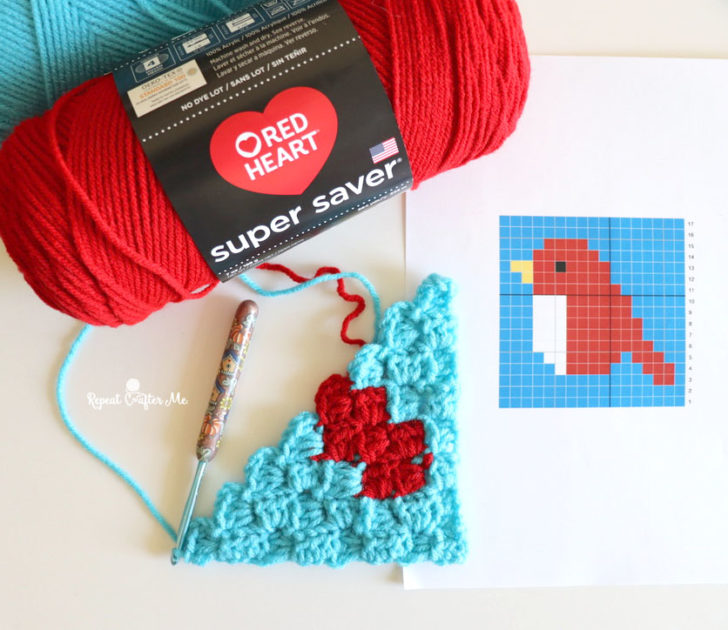
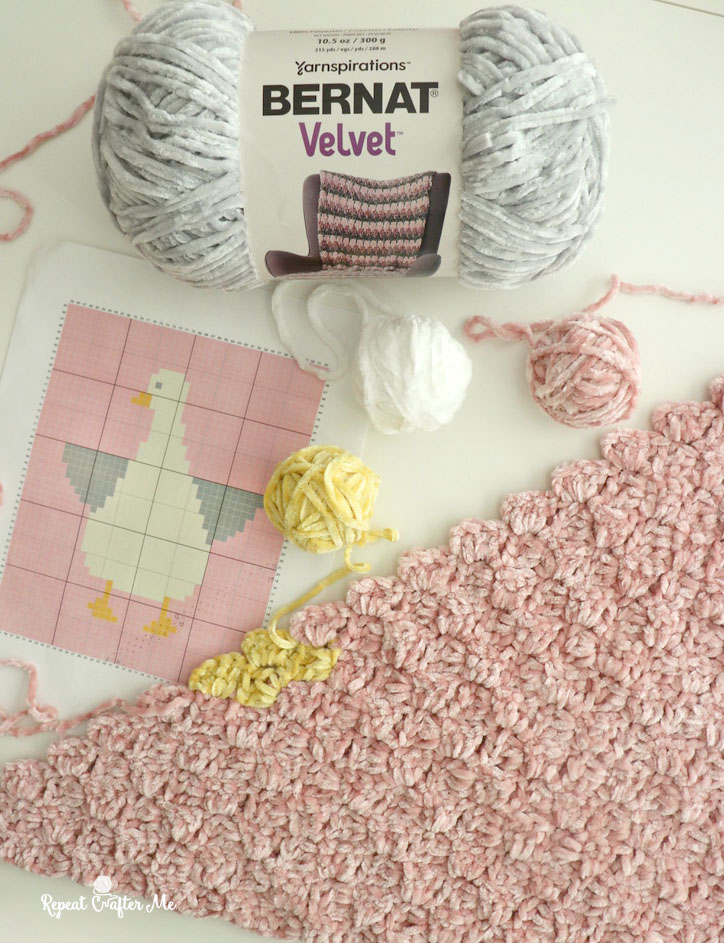
I am using Red Heart Super Saver Yarn for the fruit squares and the colors I have chosen will be repeating throughout all of them.
I was planning on a BIG announcement today in collaboration with Red Heart Yarn. Unfortunately the team at Yarnspirations informed me a few hours ago that they had to delay things a bit. But I promised you a yarn deal, so here is what’s cooking:
UPDATE! The US curated box is ready for shipping! Canada will follow next week!
>>> Red Heart x Repeat Crafter Me CURATED BOX <<<

I created a curated box of Red Heart Super Saver Yarn skeins with all the must-have shades for you to start your stash! It will include the following 12 colors: Cherry Red, Pumpkin, Lavender, Café Latte, Jade, Gray Heather, Black, Soft White, Shocking Pink, Saffron, Spring Green, and Royal.
YES! These are the colors I used for these fruit c2c squares! The Red Heart Super Saver Curated Shades Box is available for purchase right now in the US. It is a discounted bundle selling for $41.99 as opposed to buying each skein individually. Grab the Red Heart Super Saver Curated Yarn Box HERE on Yarnspirations.com.
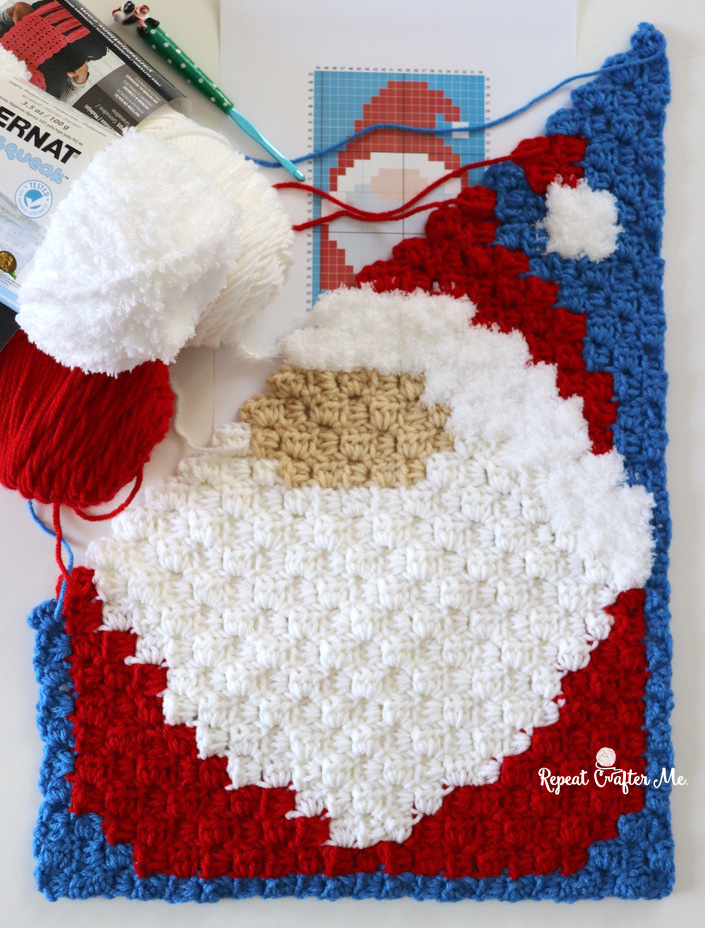
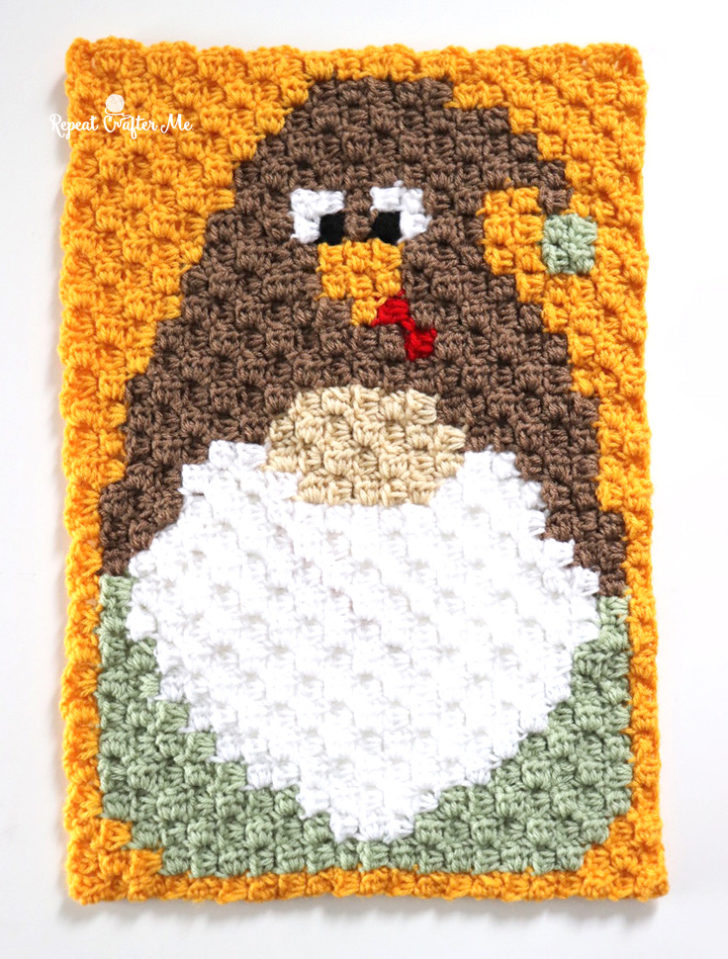
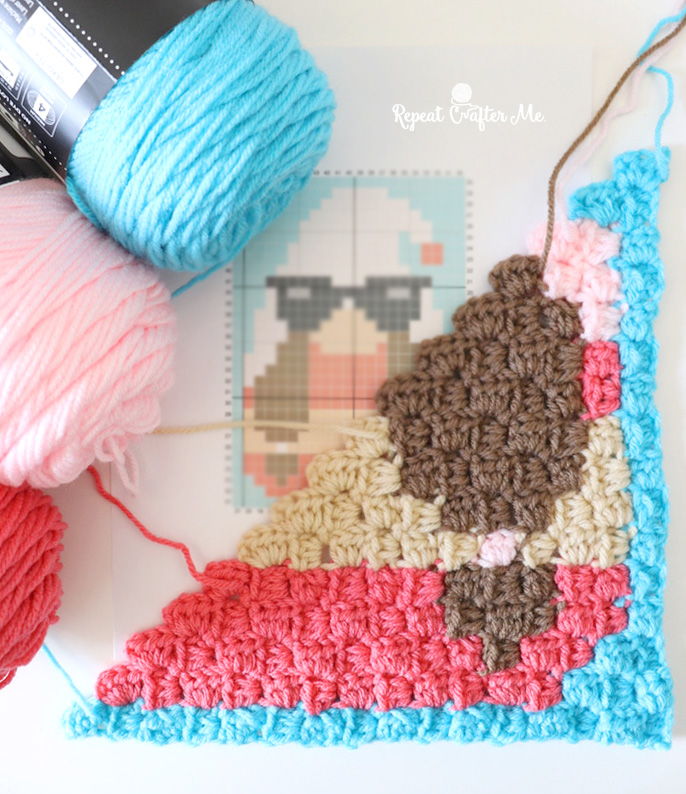
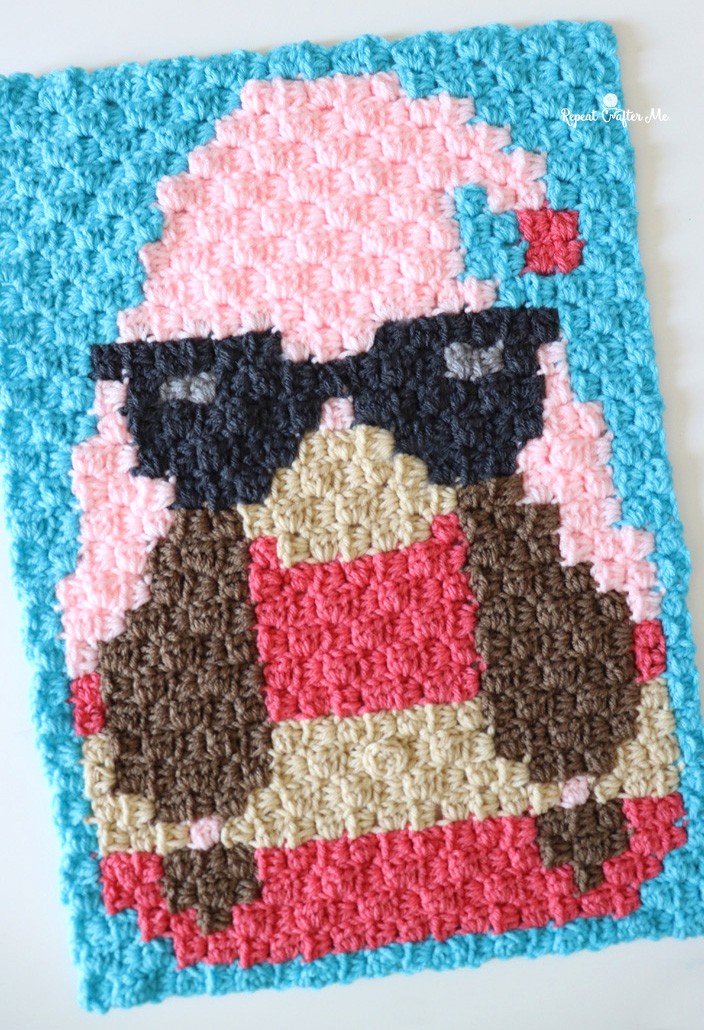
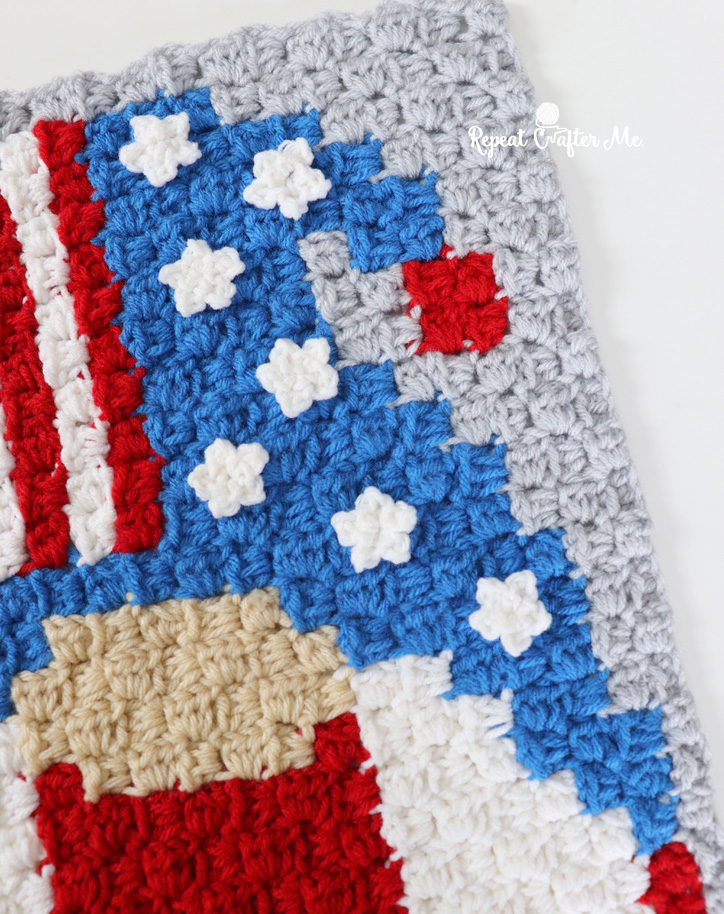
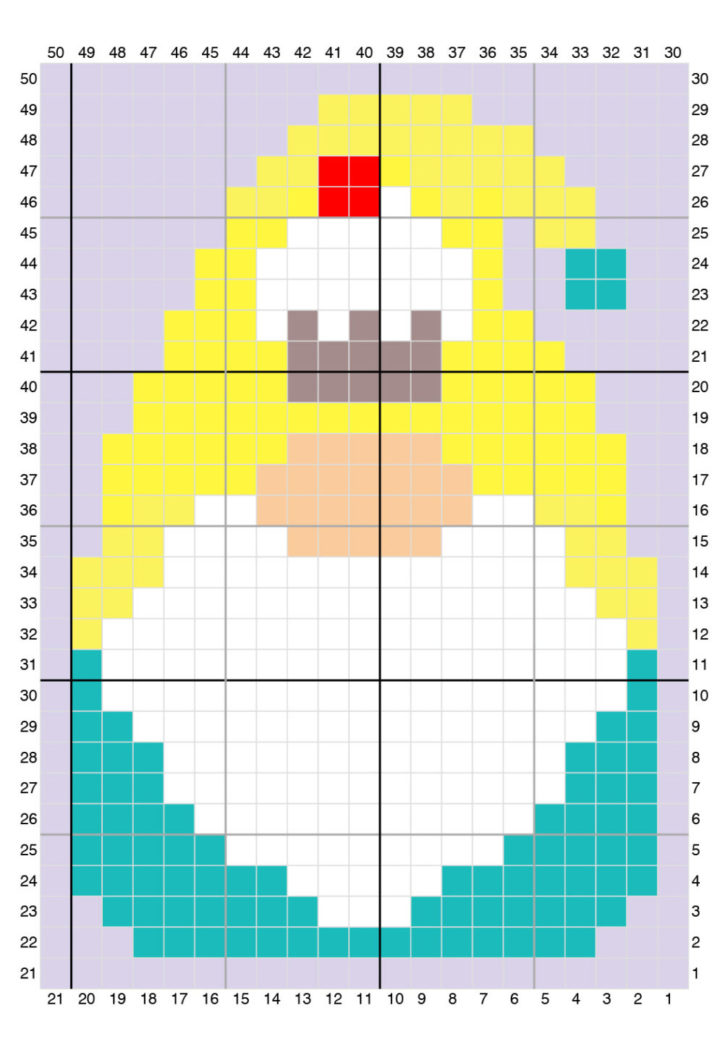
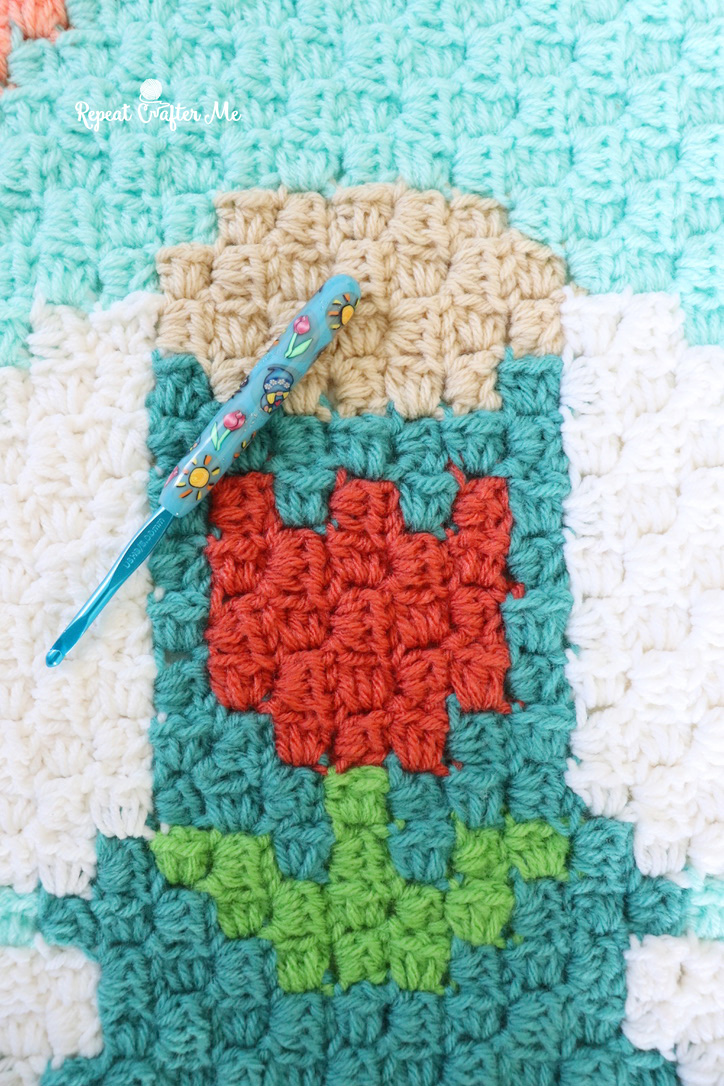
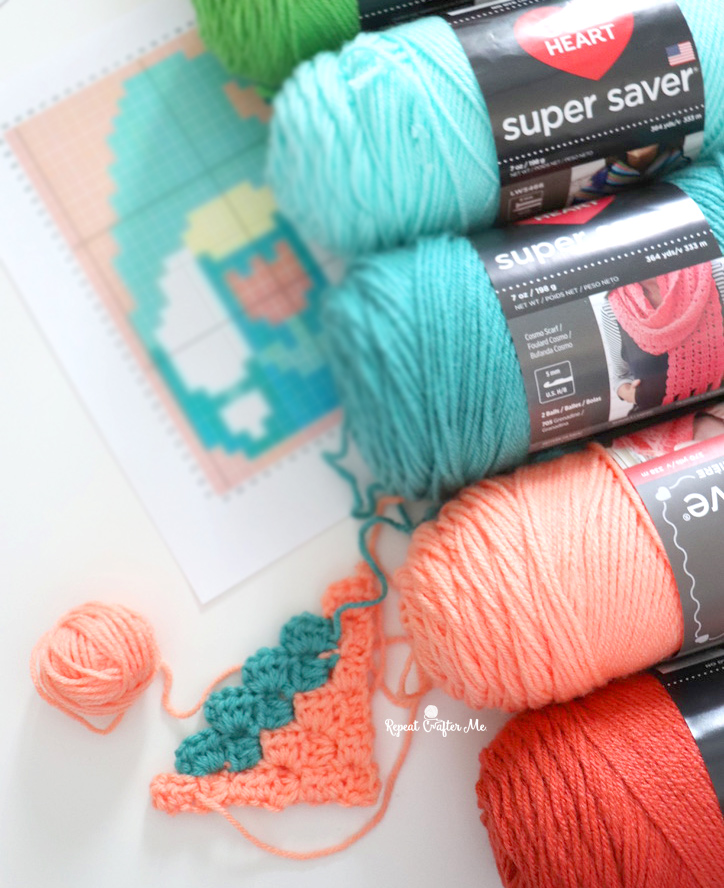
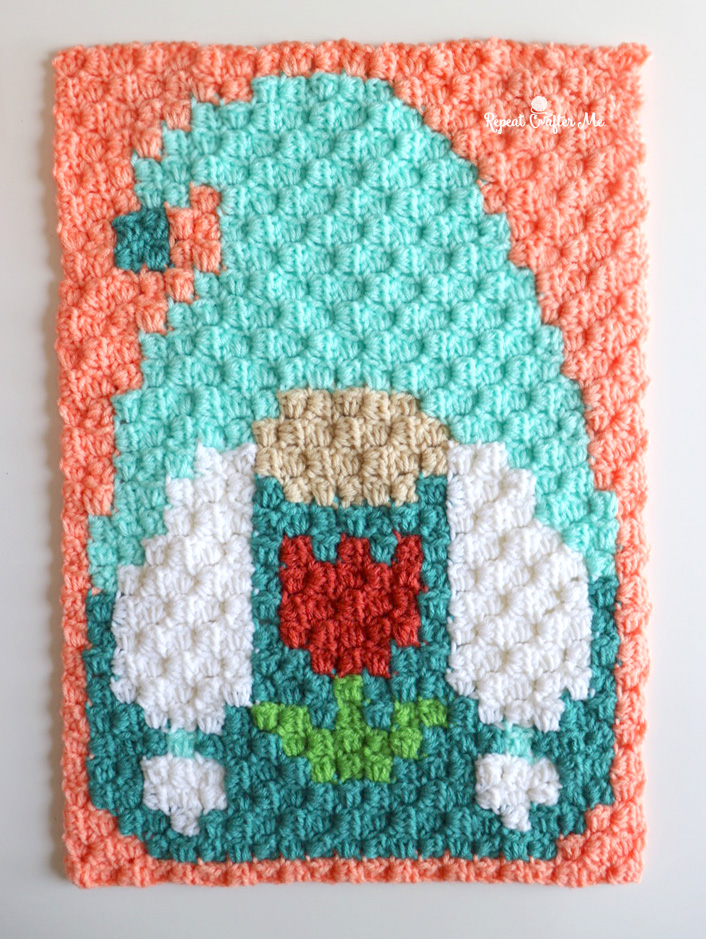
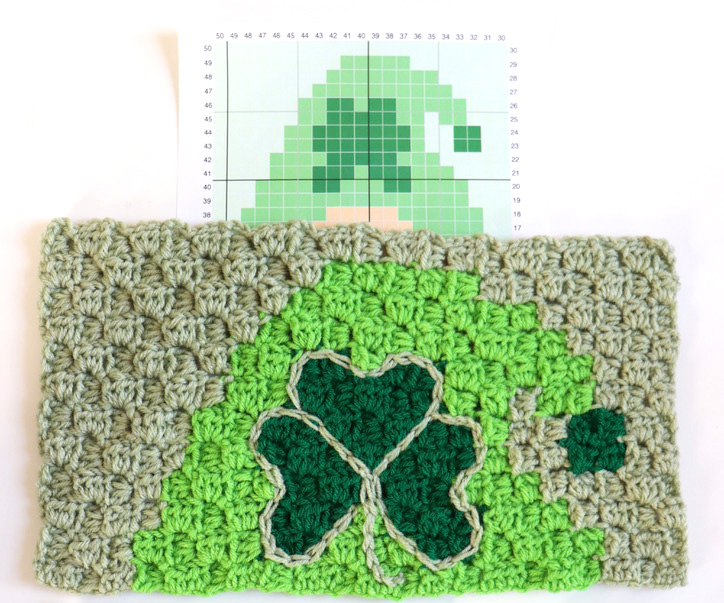
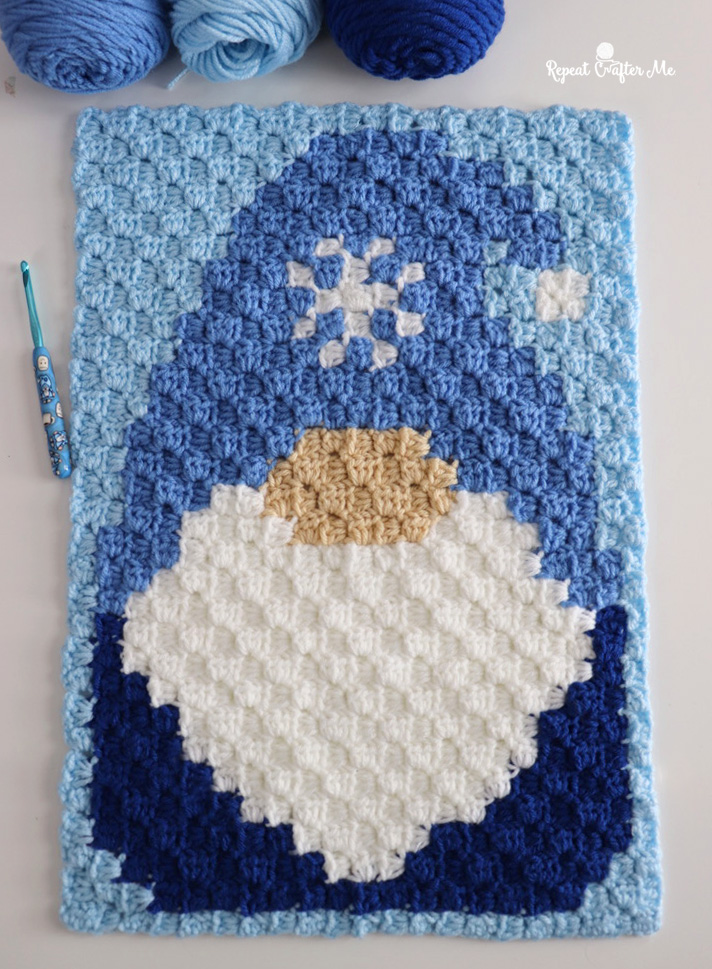
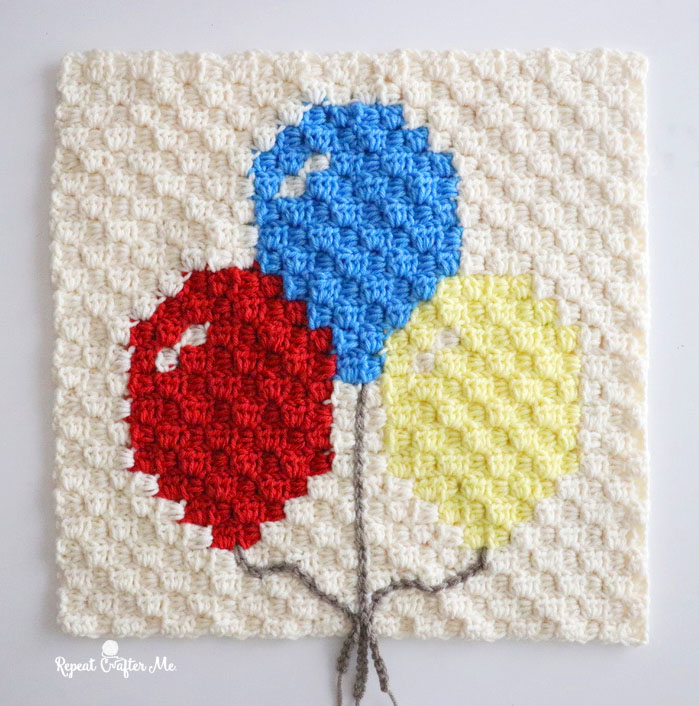
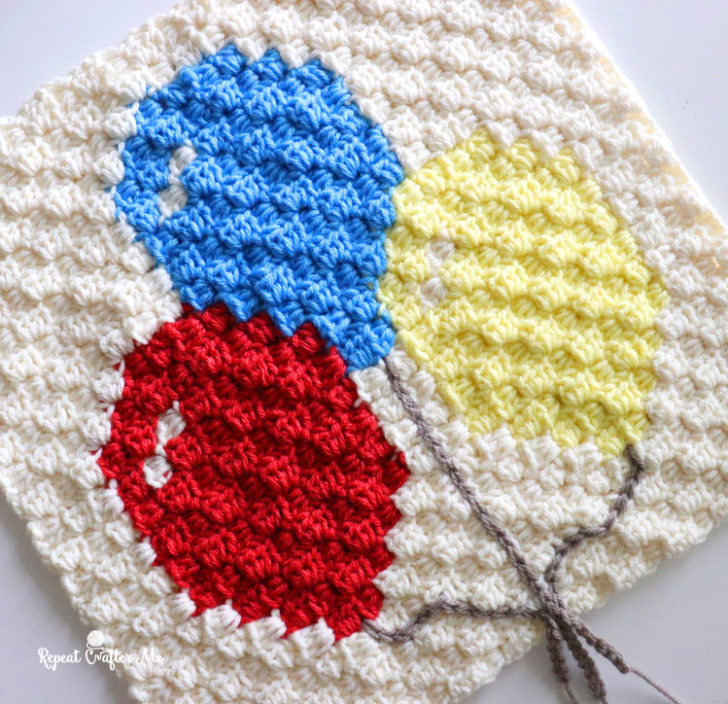
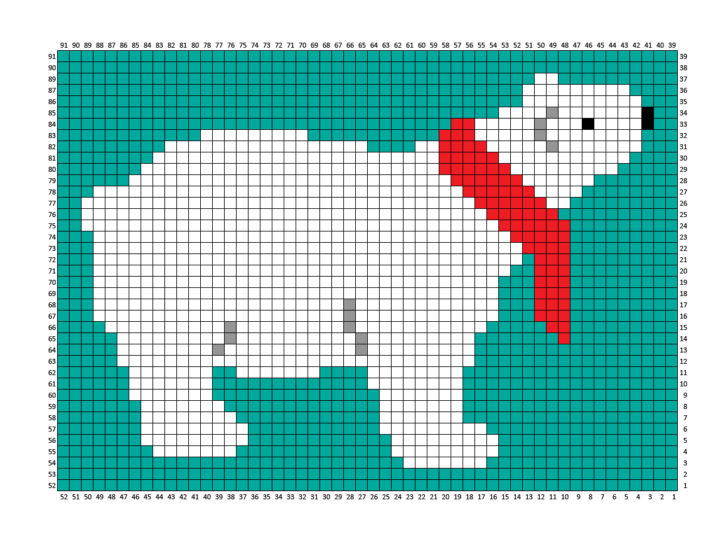
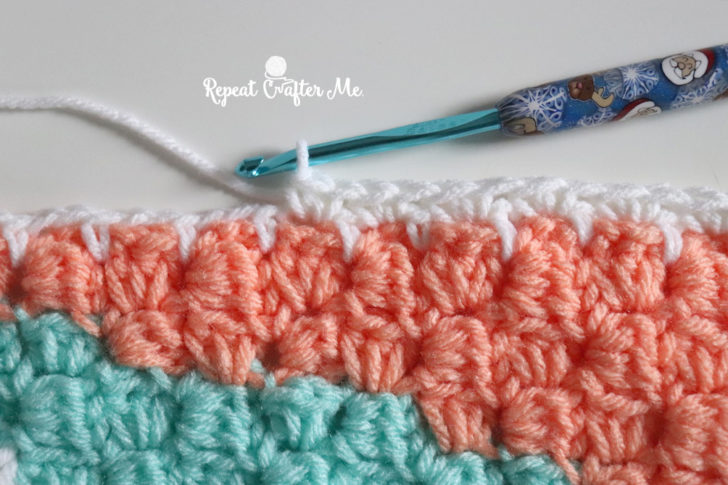
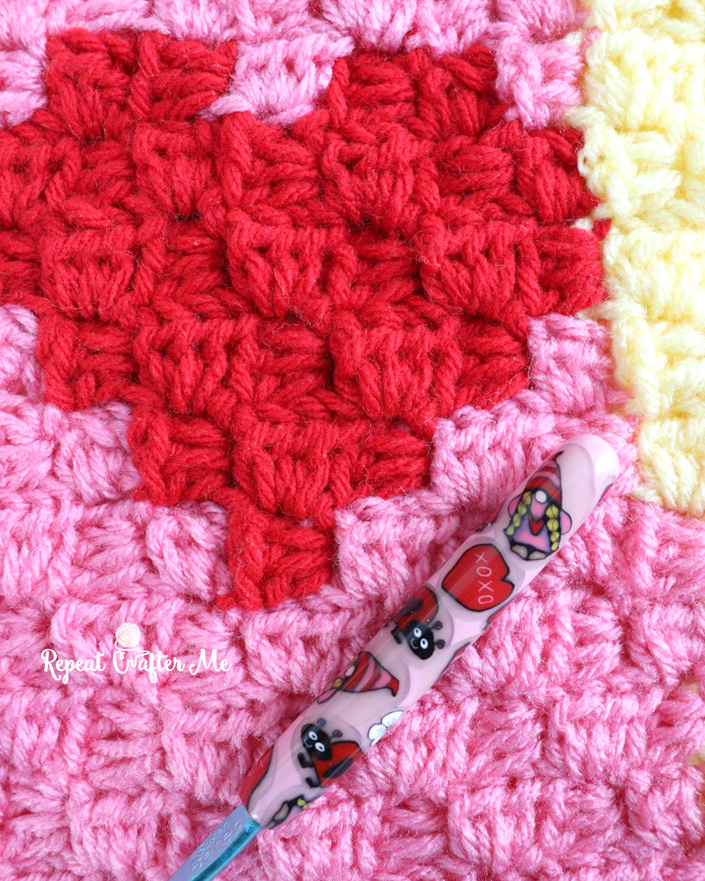
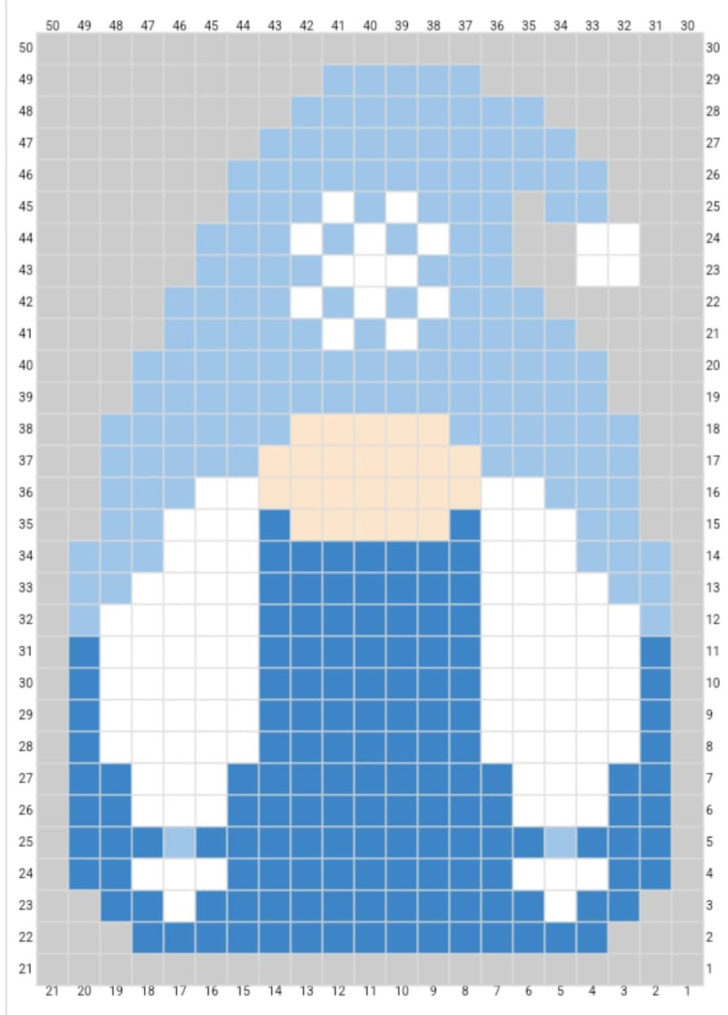
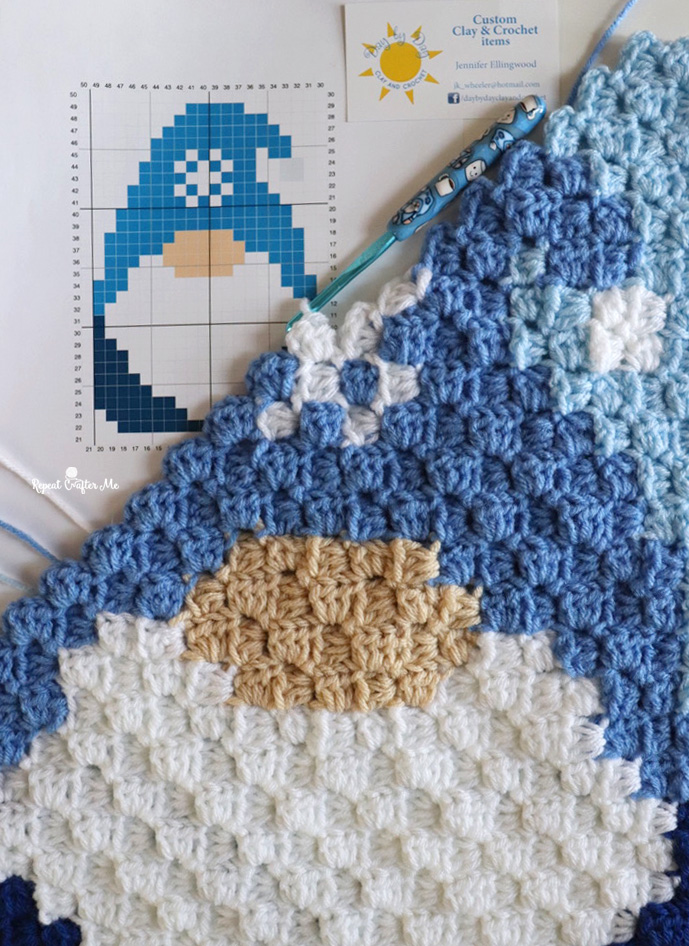
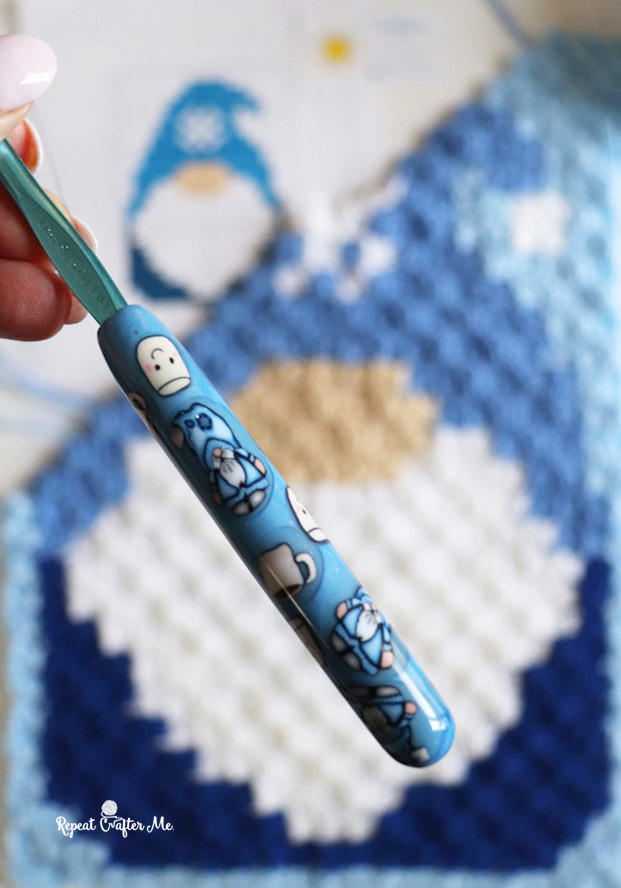
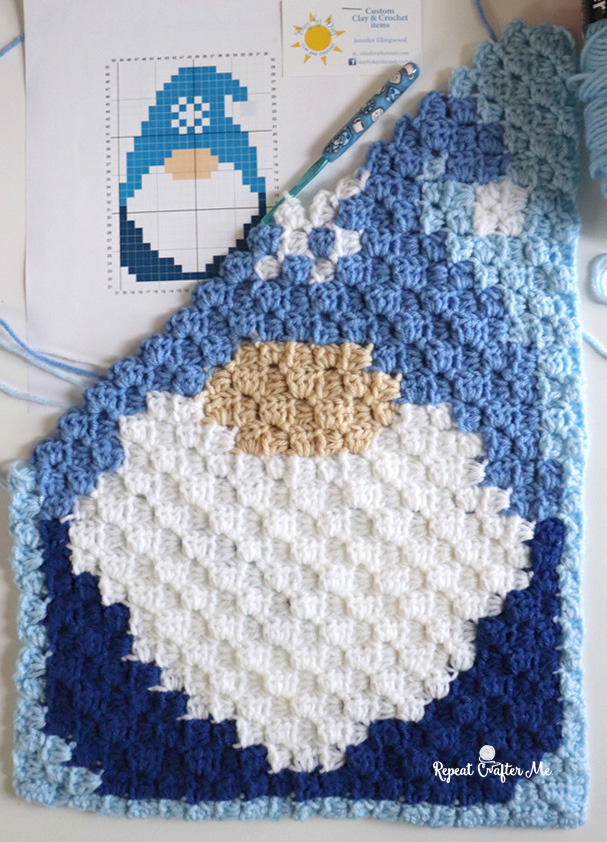
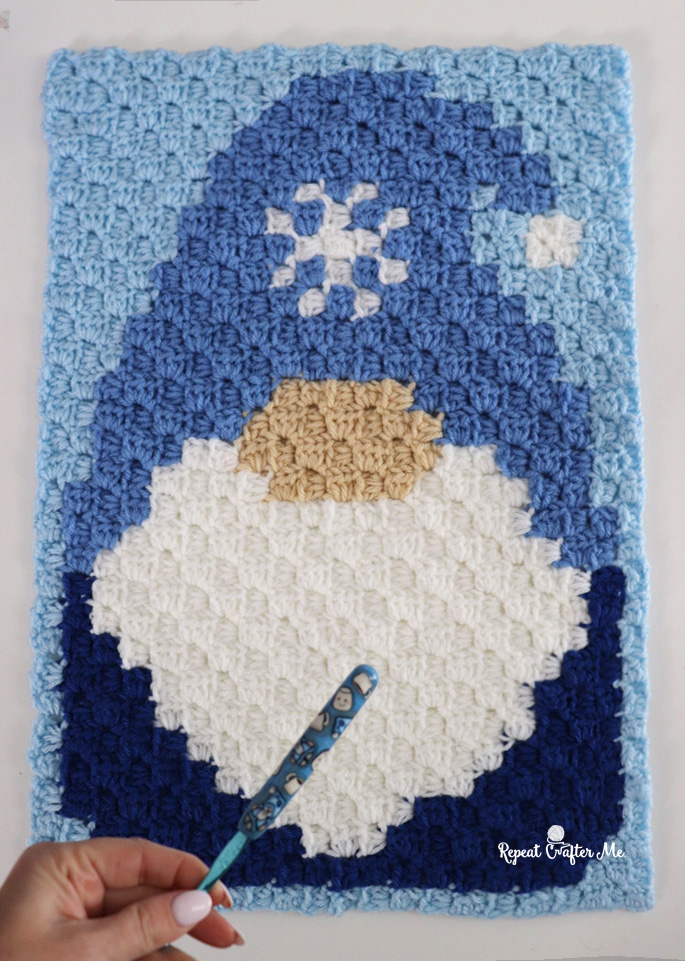
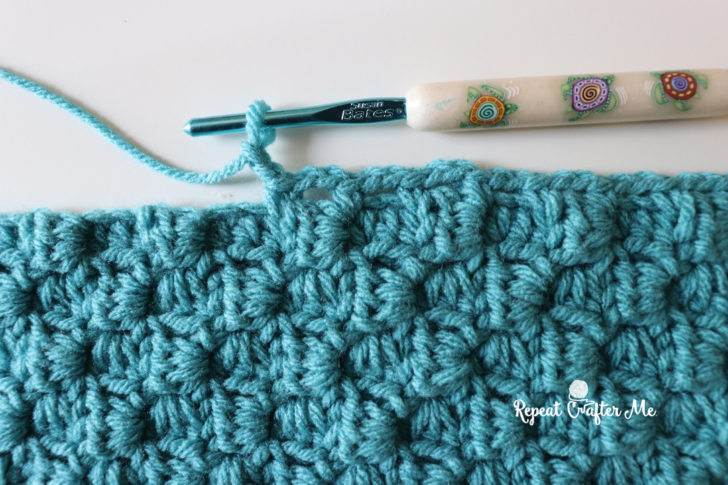
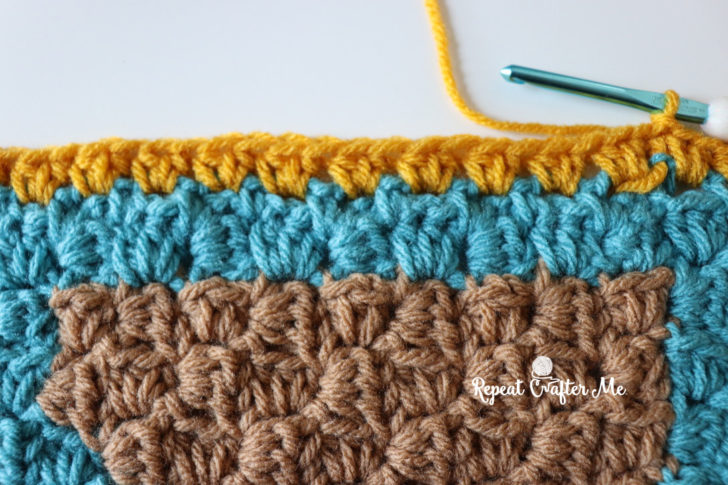
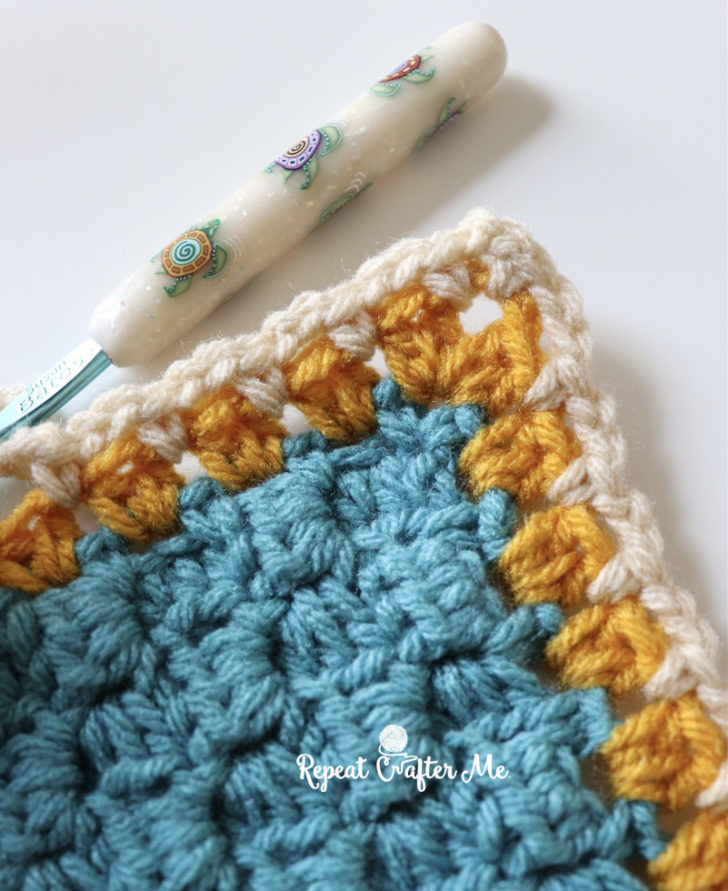
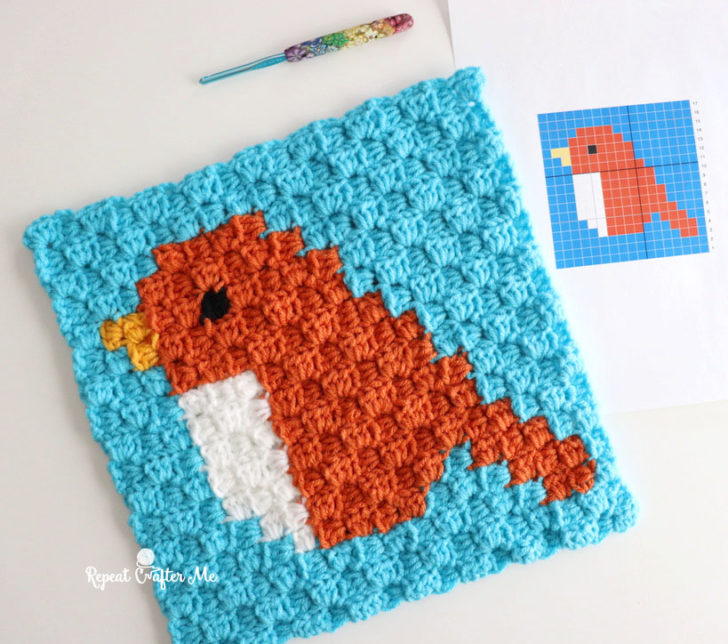
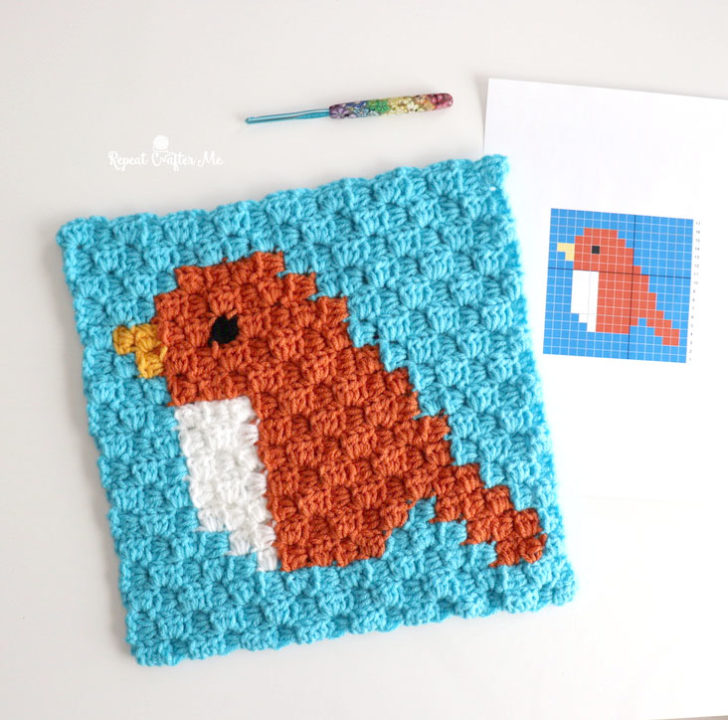
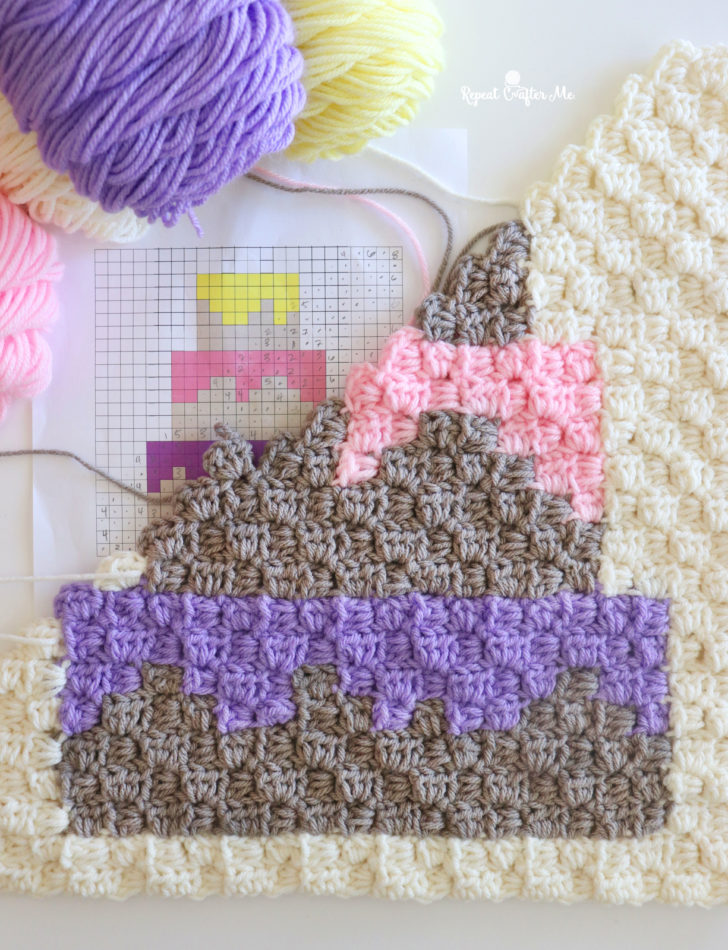
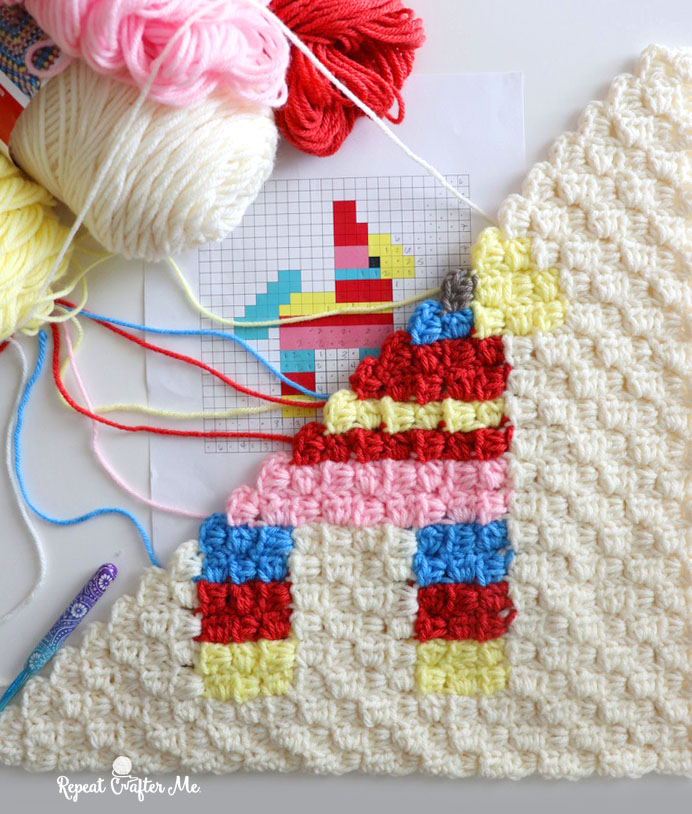
If you are new to the Corner-to-Corner (C2C) Crochet technique, let me explain a little bit about it. You can take a pixel graph and turn it into a crocheted piece. By starting in one corner of the graph (the lower right hand is most common place to start), you will crochet crochet diagonally in rows until you get to the other corner. One pixel square = a chain 2 + 3 HDC stitches. Please note that I am using HDC (half double crochet) stitches for the C2C instead of DC (double crochet).
Below is a Corner-to-Corner Video Tutorial that might help:

Materials:
Pink Strawberry:
Red Heart Super Saver 0316 – Soft White
Red Heart Super Saver 0718 – Shocking Pink
Red Heart Super Saver 0234 – Saffron
Red Heart Super Saver 0672 – Spring Green
Red Strawberry:
Red Heart Super Saver 0316 – Soft White
Red Heart Super Saver 0319 – Cherry Red
Red Heart Super Saver 0234 – Saffron
Red Heart Super Saver 0672 – Spring Green
Shop all these colors HERE on Yarnspirations.com
– Size H Crochet Hook
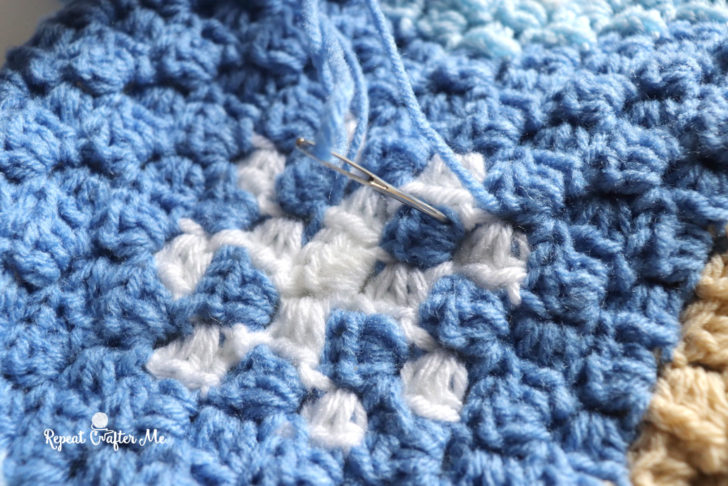
– Tapestry Needle
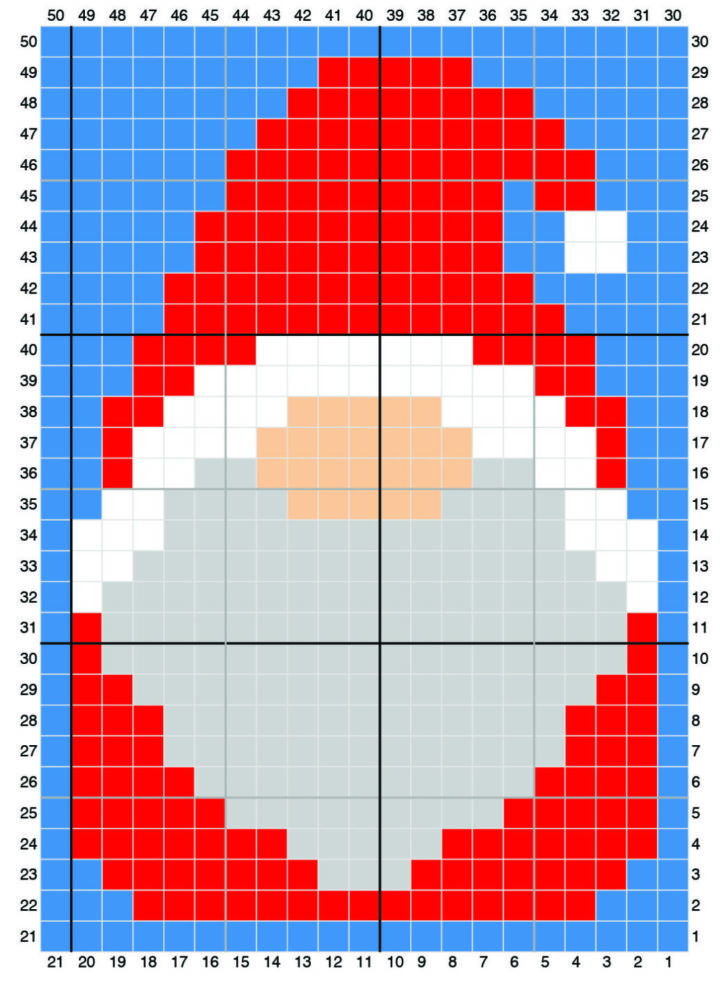
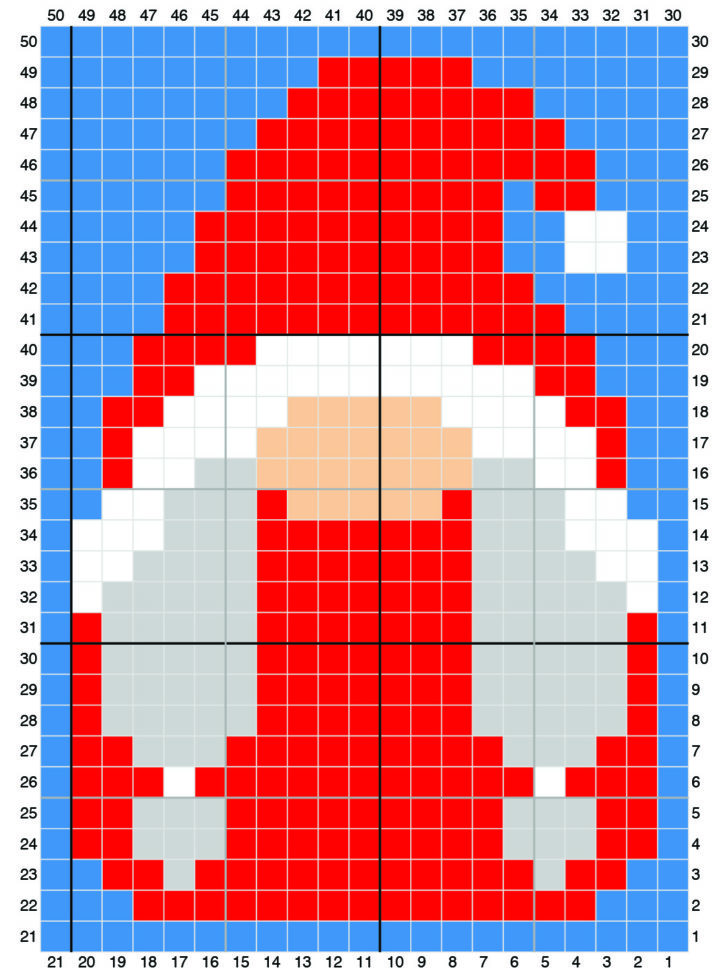
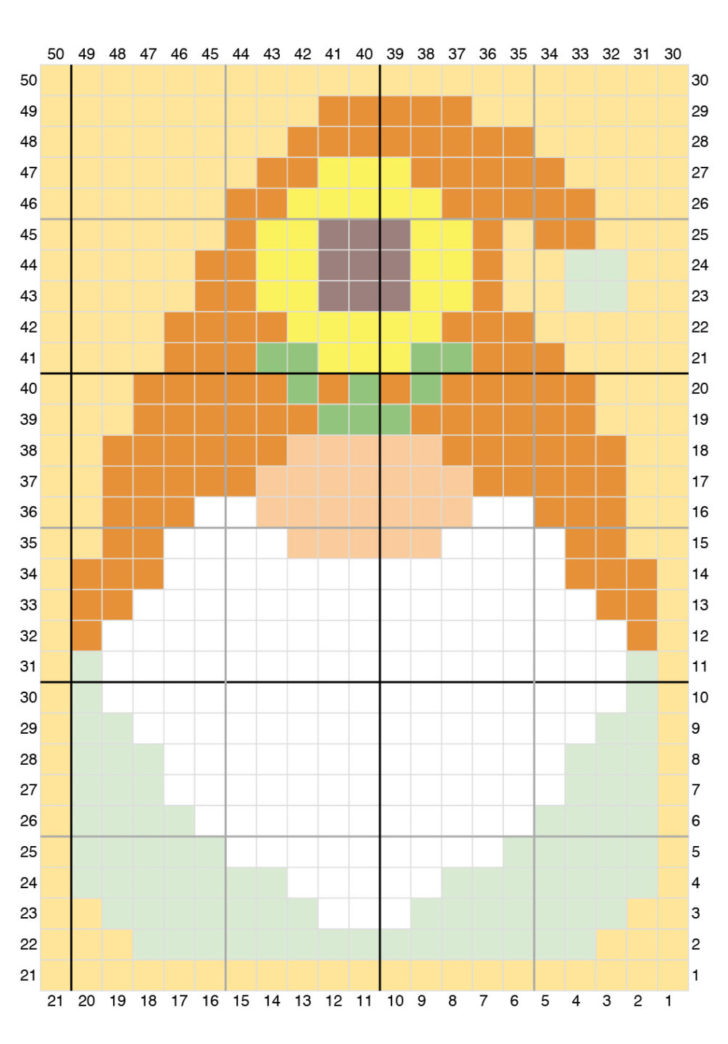
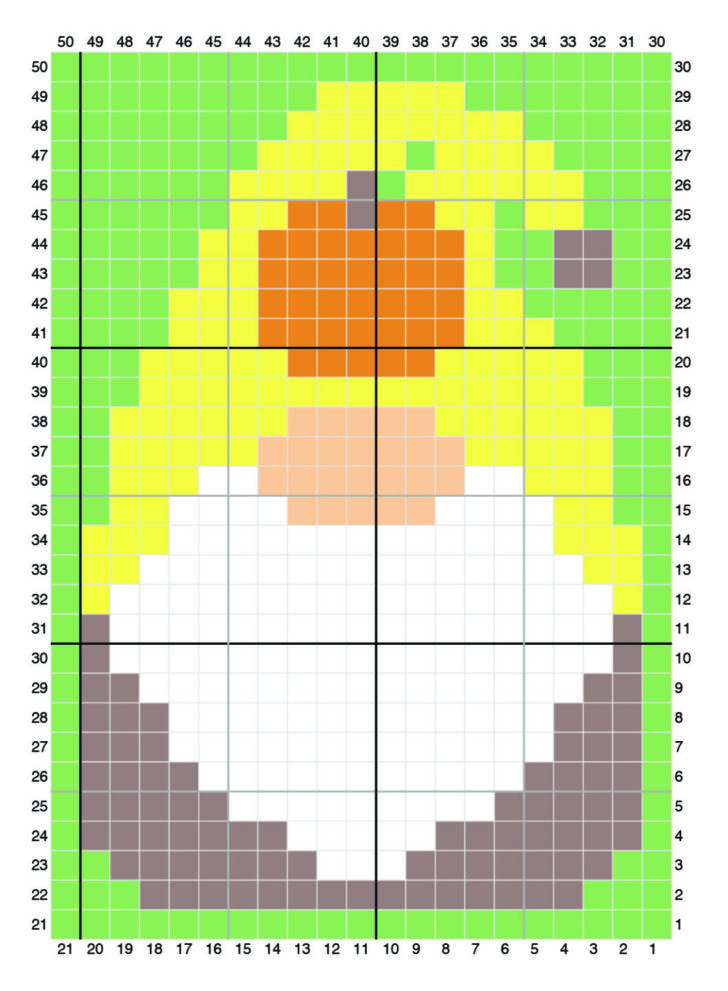
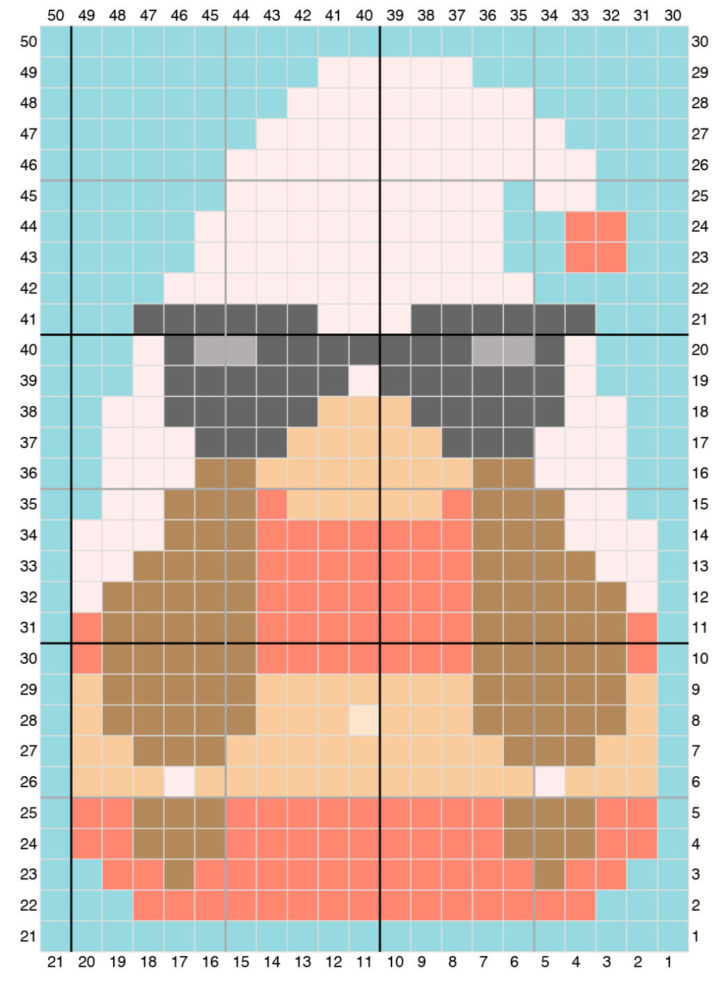
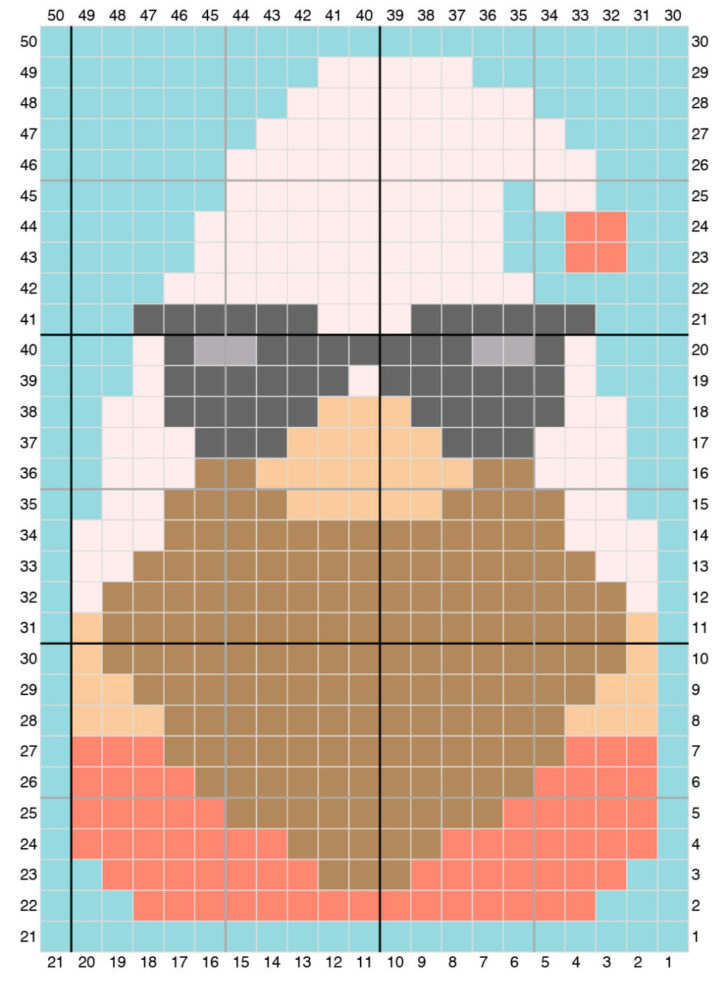
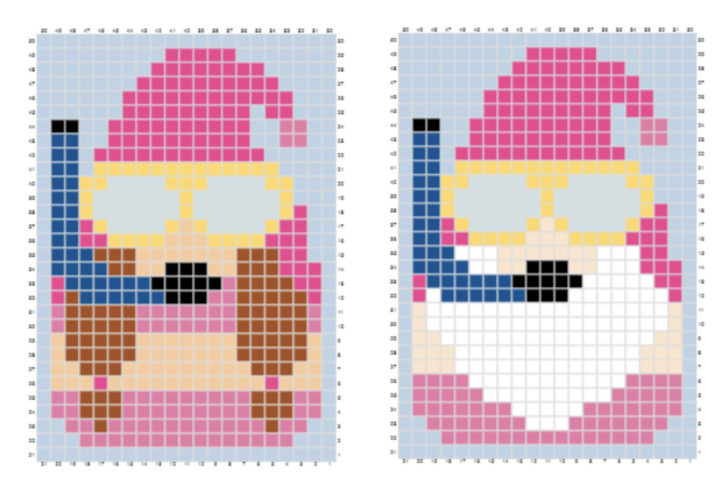
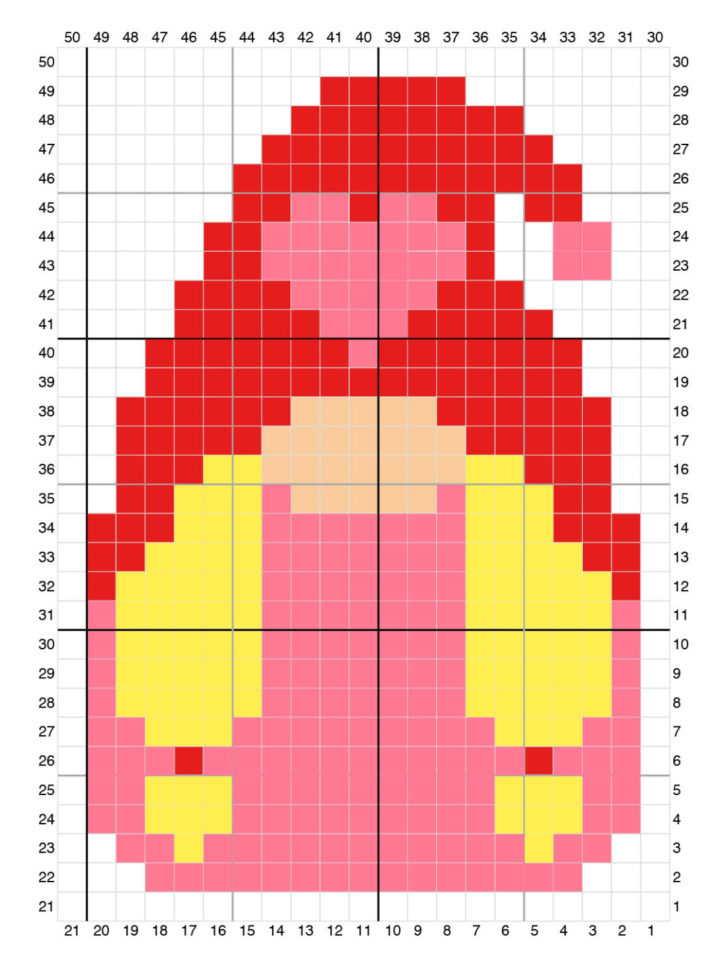
– Pink Strawberry Pixel Graph
– Red Strawberry Pixel Graph

PINK STRAWBERRY Written Pattern:
← Row 1 [RS]: (Soft White) (1 square)
→ Row 2 [WS]: (Soft White) x 2 (2 squares)
← Row 3 [RS]: (Soft White) x 3 (3 squares)
→ Row 4 [WS]: (Soft White) x 4 (4 squares)
← Row 5 [RS]: (Soft White) x 5 (5 squares)
→ Row 6 [WS]: (Soft White), (Shocking Pink) x 2, (Soft White) x 3 (6 squares)
← Row 7 [RS]: (Soft White) x 2, (Shocking Pink) x 4, (Soft White) (7 squares)
→ Row 8 [WS]: (Soft White), (Shocking Pink) x 6, (Soft White) (8 squares)
← Row 9 [RS]: (Soft White), (Shocking Pink) x 4, (Saffron), (Shocking Pink), (Soft White) x 2 (9 squares)
→ Row 10 [WS]: (Soft White) x 2, (Shocking Pink) x 3, (Saffron), (Shocking Pink) x 3, (Soft White) (10 squares)
← Row 11 [RS]: (Soft White) x 2, (Shocking Pink), (Saffron), (Shocking Pink) x 4, (Soft White) x 3 (11 squares)
Corner: Start decreasing on WS
→ Row 12 [WS]: (Soft White) x 3, (Shocking Pink), (Saffron), (Shocking Pink) x 4, (Soft White) x 2 (11 squares)
← Row 13 [RS]: (Soft White) x 3, (Shocking Pink) x 2, (Saffron), (Shocking Pink) x 3, (Soft White) x 2 (11 squares)
Corner: Start decreasing on WS
→ Row 14 [WS]: (Soft White) x 2, (Shocking Pink) x 4, (Spring Green) x 2, (Soft White) x 2 (10 squares)
← Row 15 [RS]: (Soft White) x 2, (Spring Green) x 2, (Shocking Pink), (Saffron), (Shocking Pink), (Soft White) x 2 (9 squares)
→ Row 16 [WS]: (Soft White), (Shocking Pink) x 3, (Spring Green) x 2, (Soft White) x 2 (8 squares)
← Row 17 [RS]: (Soft White), (Spring Green) x 2, (Shocking Pink) x 3, (Soft White) (7 squares)
→ Row 18 [WS]: (Soft White), (Shocking Pink) x 2, (Spring Green), (Soft White) x 2 (6 squares)
← Row 19 [RS]: (Soft White) x 5 (5 squares)
→ Row 20 [WS]: (Soft White) x 4 (4 squares)
← Row 21 [RS]: (Soft White) x 3 (3 squares)
→ Row 22 [WS]: (Soft White) x 2 (2 squares)
← Row 23 [RS]: (Soft White) (1 square)
Total: (Soft White) x 76, (Saffron) x 6, (Spring Green) x 9, (Shocking Pink) x 52
RED STRAWBERRY Written Pattern:
← Row 1 [RS]: (Soft White) (1 square)
→ Row 2 [WS]: (Soft White) x 2 (2 squares)
← Row 3 [RS]: (Soft White) x 3 (3 squares)
→ Row 4 [WS]: (Soft White) x 4 (4 squares)
← Row 5 [RS]: (Soft White) x 5 (5 squares)
→ Row 6 [WS]: (Soft White), (Cherry Red) x 2, (Soft White) x 3 (6 squares)
← Row 7 [RS]: (Soft White) x 2, (Cherry Red) x 4, (Soft White) (7 squares)
→ Row 8 [WS]: (Soft White), (Cherry Red) x 6, (Soft White) (8 squares)
← Row 9 [RS]: (Soft White), (Cherry Red) x 4, (Saffron), (Cherry Red), (Soft White) x 2 (9 squares)
→ Row 10 [WS]: (Soft White) x 2, (Cherry Red) x 3, (Saffron), (Cherry Red) x 3, (Soft White) (10 squares)
← Row 11 [RS]: (Soft White) x 2, (Cherry Red), (Saffron), (Cherry Red) x 4, (Soft White) x 3 (11 squares)
Corner: Start decreasing on WS
→ Row 12 [WS]: (Soft White) x 3, (Cherry Red), (Saffron), (Cherry Red) x 4, (Soft White) x 2 (11 squares)
← Row 13 [RS]: (Soft White) x 3, (Cherry Red) x 2, (Saffron), (Cherry Red) x 3, (Soft White) x 2 (11 squares)
Corner: Start decreasing on WS
→ Row 14 [WS]: (Soft White) x 2, (Cherry Red) x 4, (Spring Green) x 2, (Soft White) x 2 (10 squares)
← Row 15 [RS]: (Soft White) x 2, (Spring Green) x 2, (Cherry Red), (Saffron), (Cherry Red), (Soft White) x 2 (9 squares)
→ Row 16 [WS]: (Soft White), (Cherry Red) x 3, (Spring Green) x 2, (Soft White) x 2 (8 squares)
← Row 17 [RS]: (Soft White), (Spring Green) x 2, (Cherry Red) x 3, (Soft White) (7 squares)
→ Row 18 [WS]: (Soft White), (Cherry Red) x 2, (Spring Green), (Soft White) x 2 (6 squares)
← Row 19 [RS]: (Soft White) x 5 (5 squares)
→ Row 20 [WS]: (Soft White) x 4 (4 squares)
← Row 21 [RS]: (Soft White) x 3 (3 squares)
→ Row 22 [WS]: (Soft White) x 2 (2 squares)
← Row 23 [RS]: (Soft White) (1 square)
Total: (Soft White) x 76, (Cherry Red) x 52, (Saffron) x 6, (Spring Green) x 9

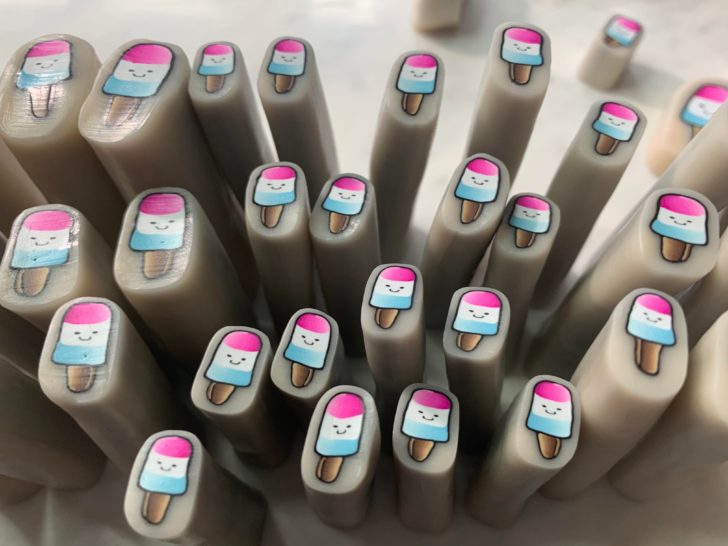
If you are looking for more easy fruit patterns, check out my FRUIT COASTERS COLLECTION HERE!

Let’s stay connected!
Subscribe to my NEWSLETTER for free patterns straight to your inbox!
Repeat Crafter Me Facebook
Repeat Crafter Me Instagram
Repeat Crafter Me Pinterest
Repeat Crafter Me YOUTUBE


