Don’t let the thought of wrapping up all your holiday gifts intimidate you. I have an easy solution! Martha Stewart has paired up with Avery to create a wonderful line of holiday bags, tags, wrapping paper, packing tape, ribbon, tissue paper and my favorite: address labels! I had the pleasure of getting to work with a bunch of these adorable products and can’t wait to show you how you can easily wrap your gifts and dress them up with some decorative touches from Martha Stewart Home Office with Avery.
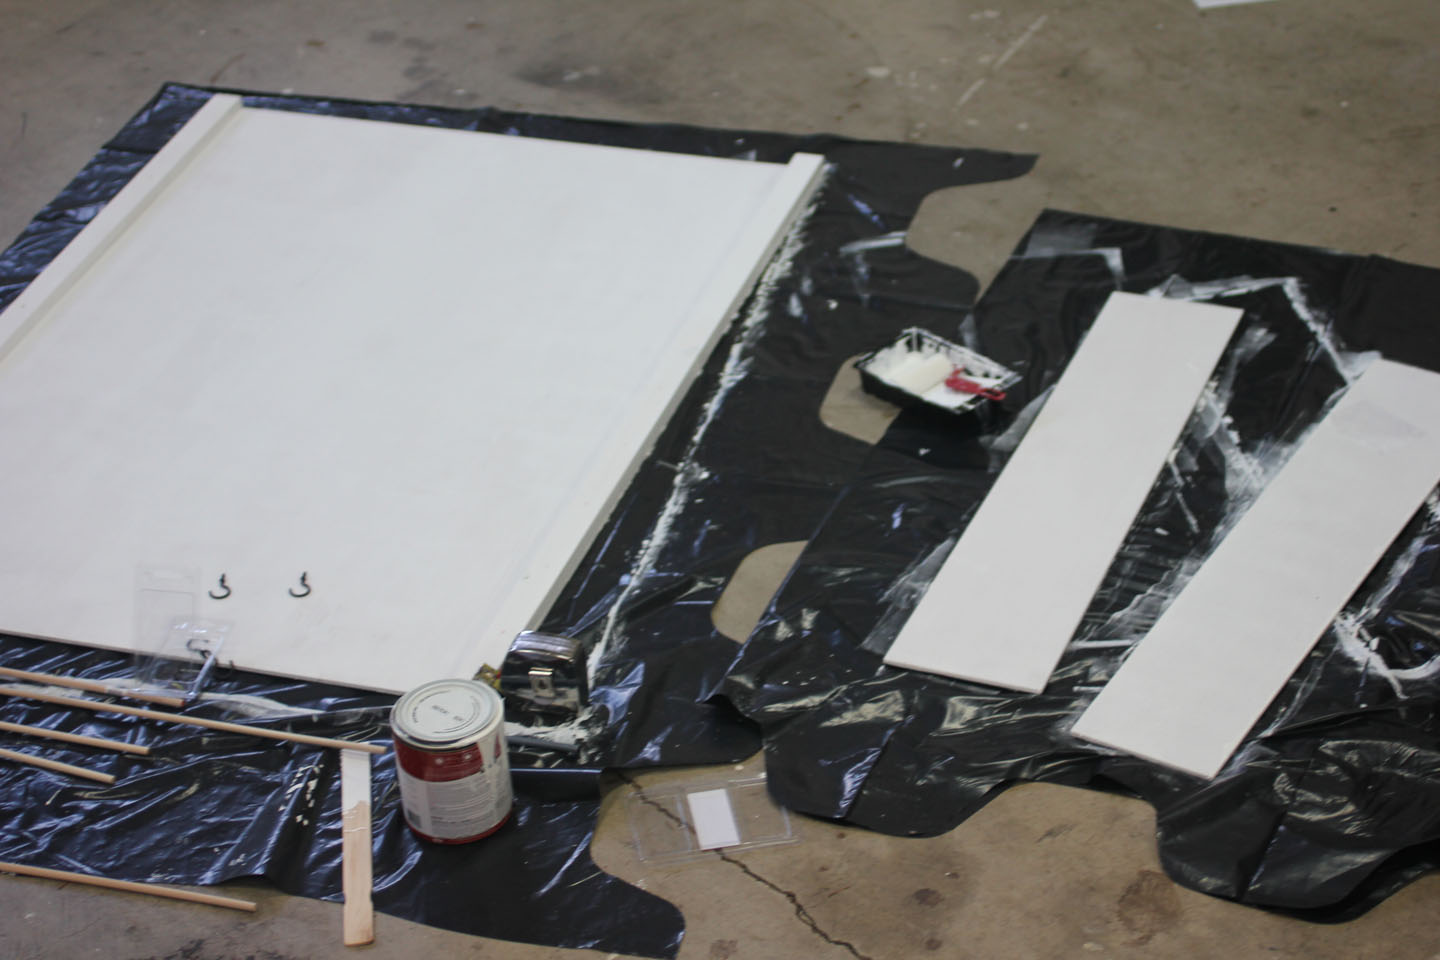
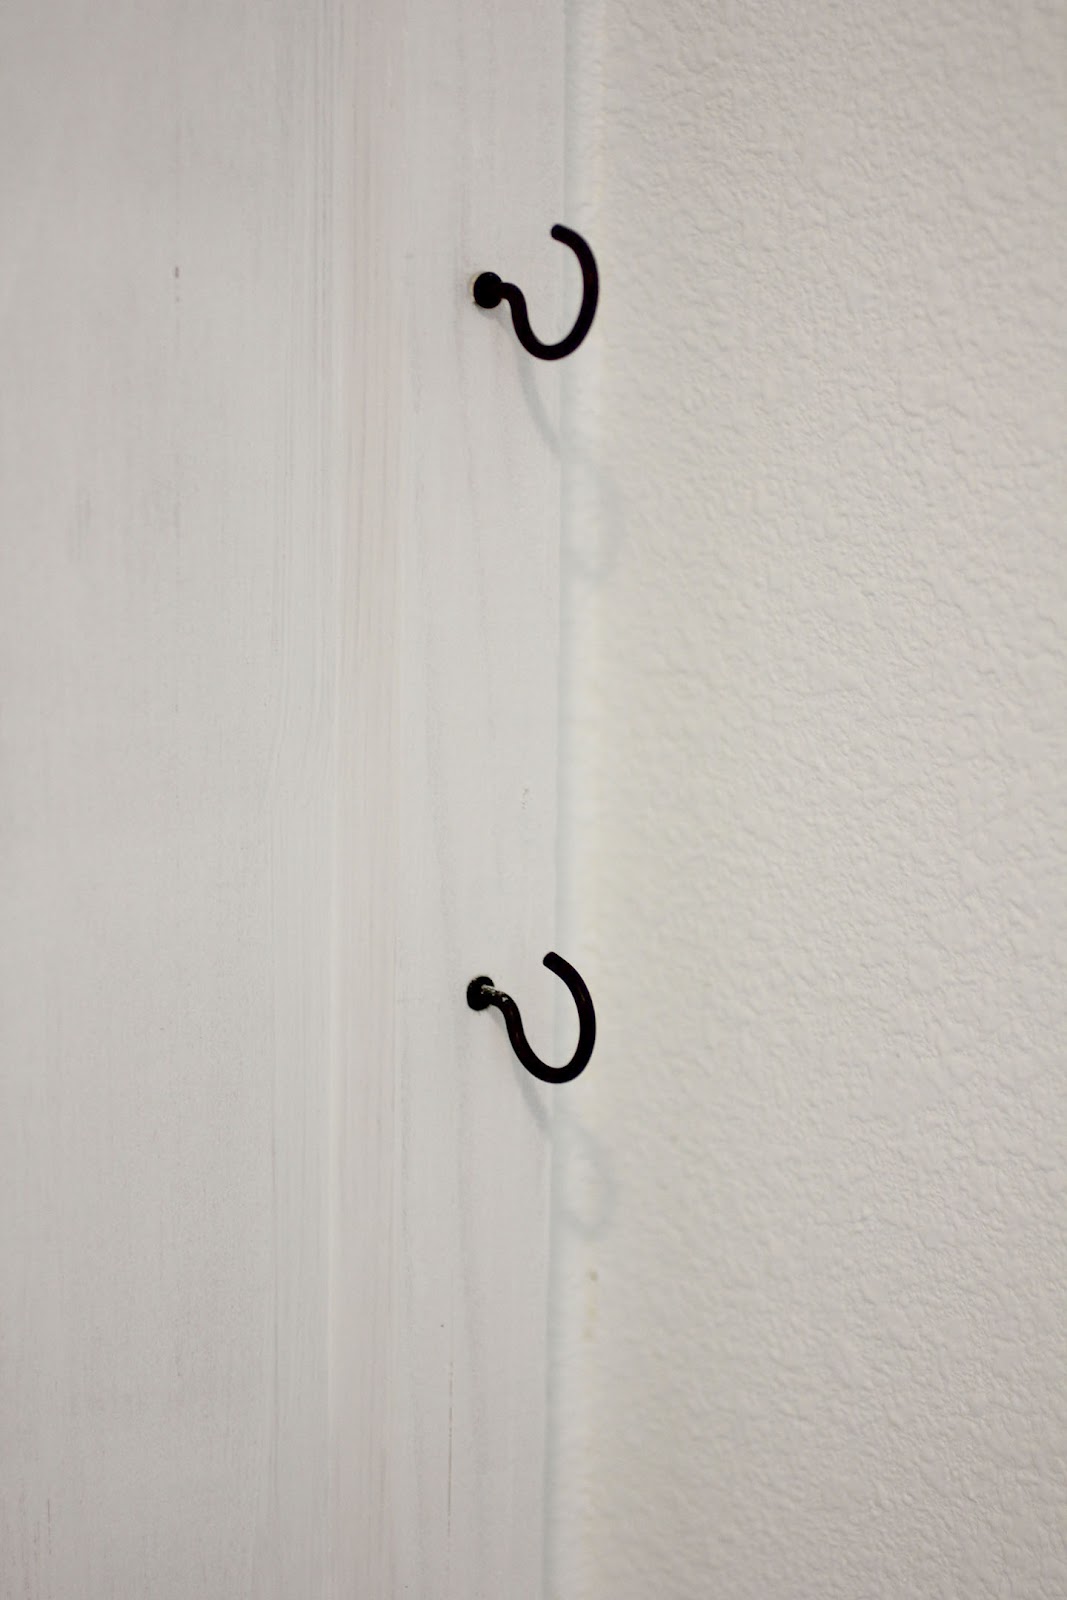
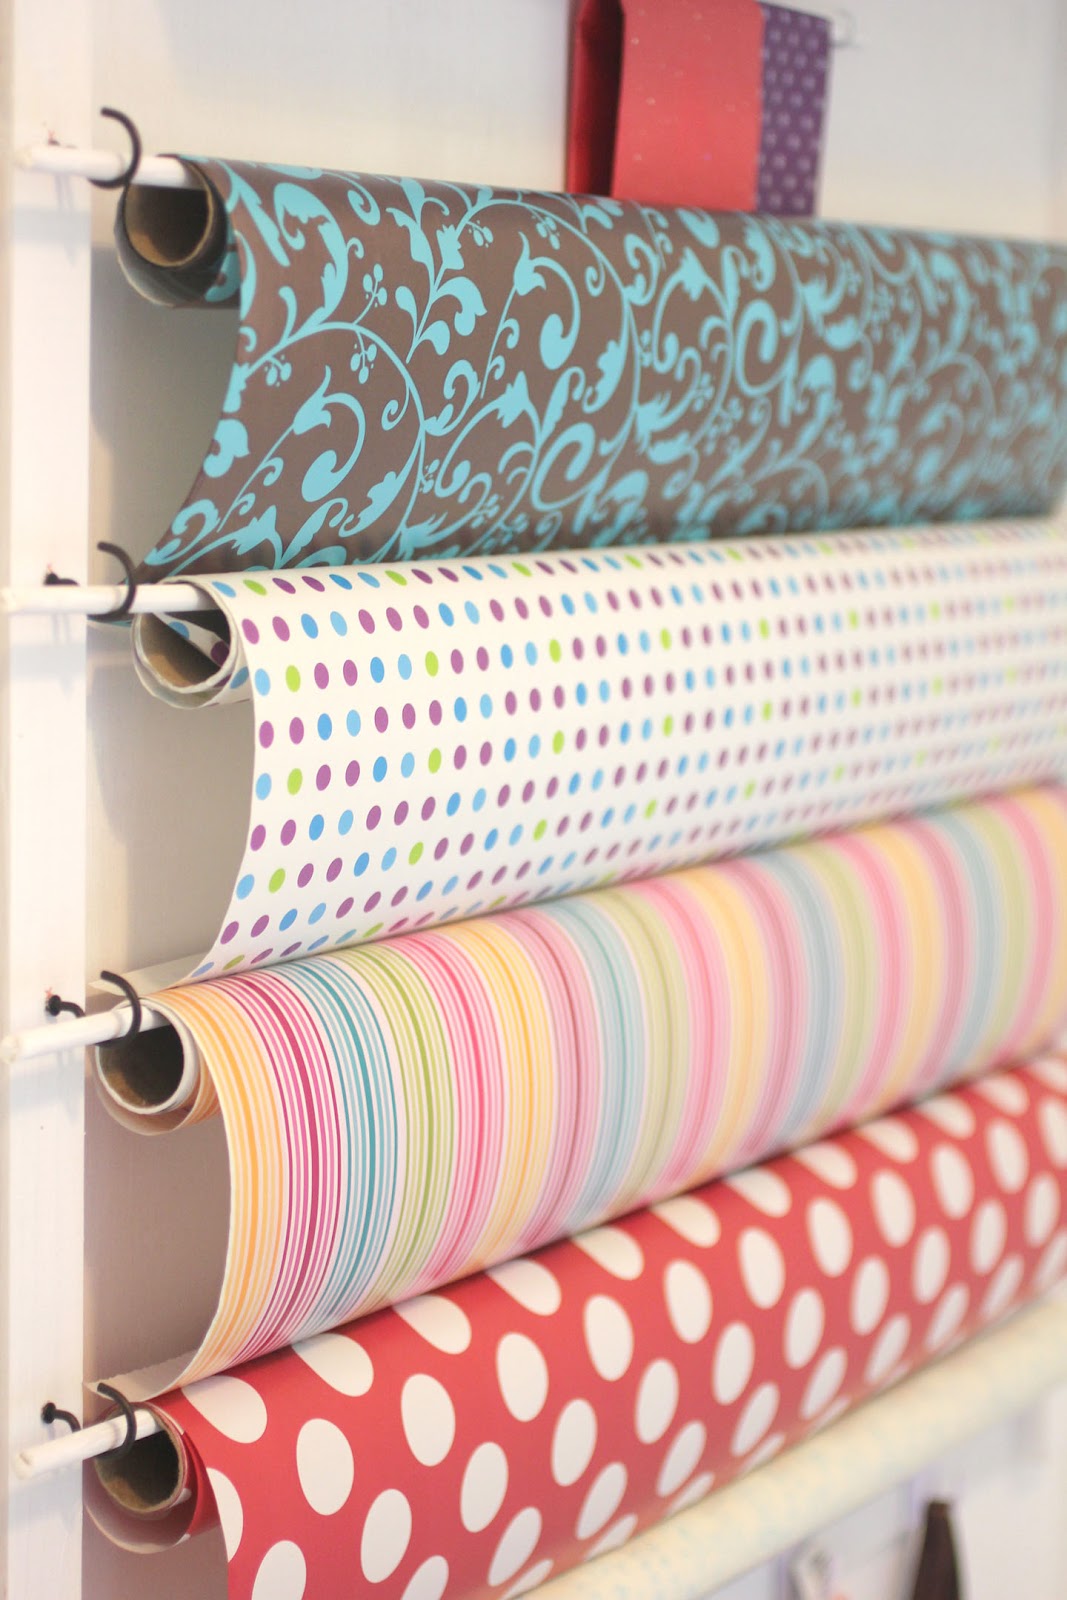
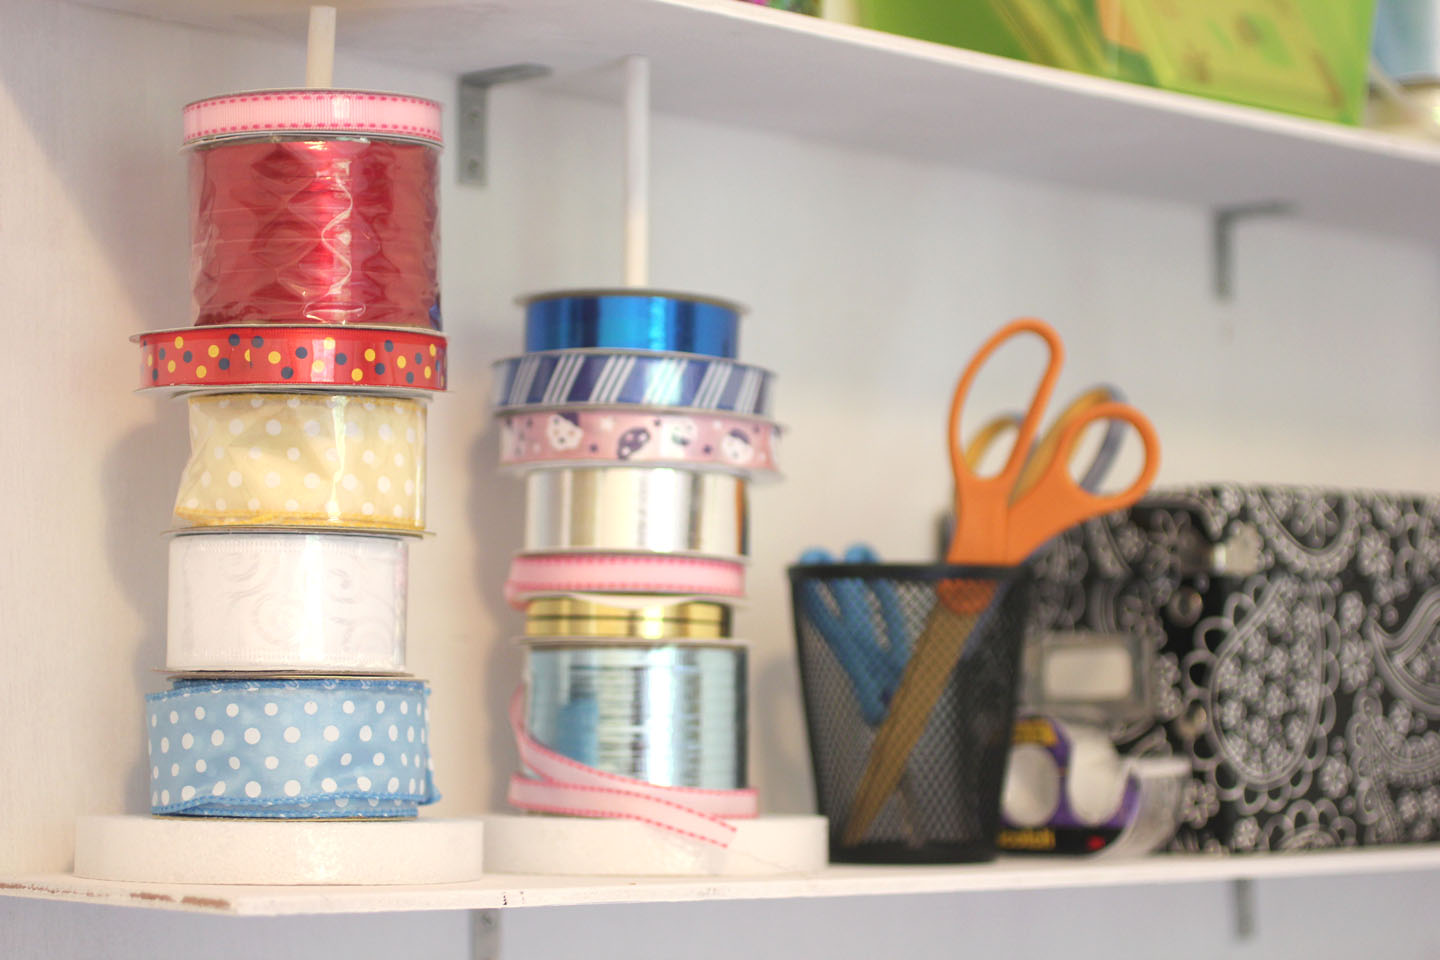
The first order of business was to deck out my gift wrap station and get it organized and ready for wrapping!
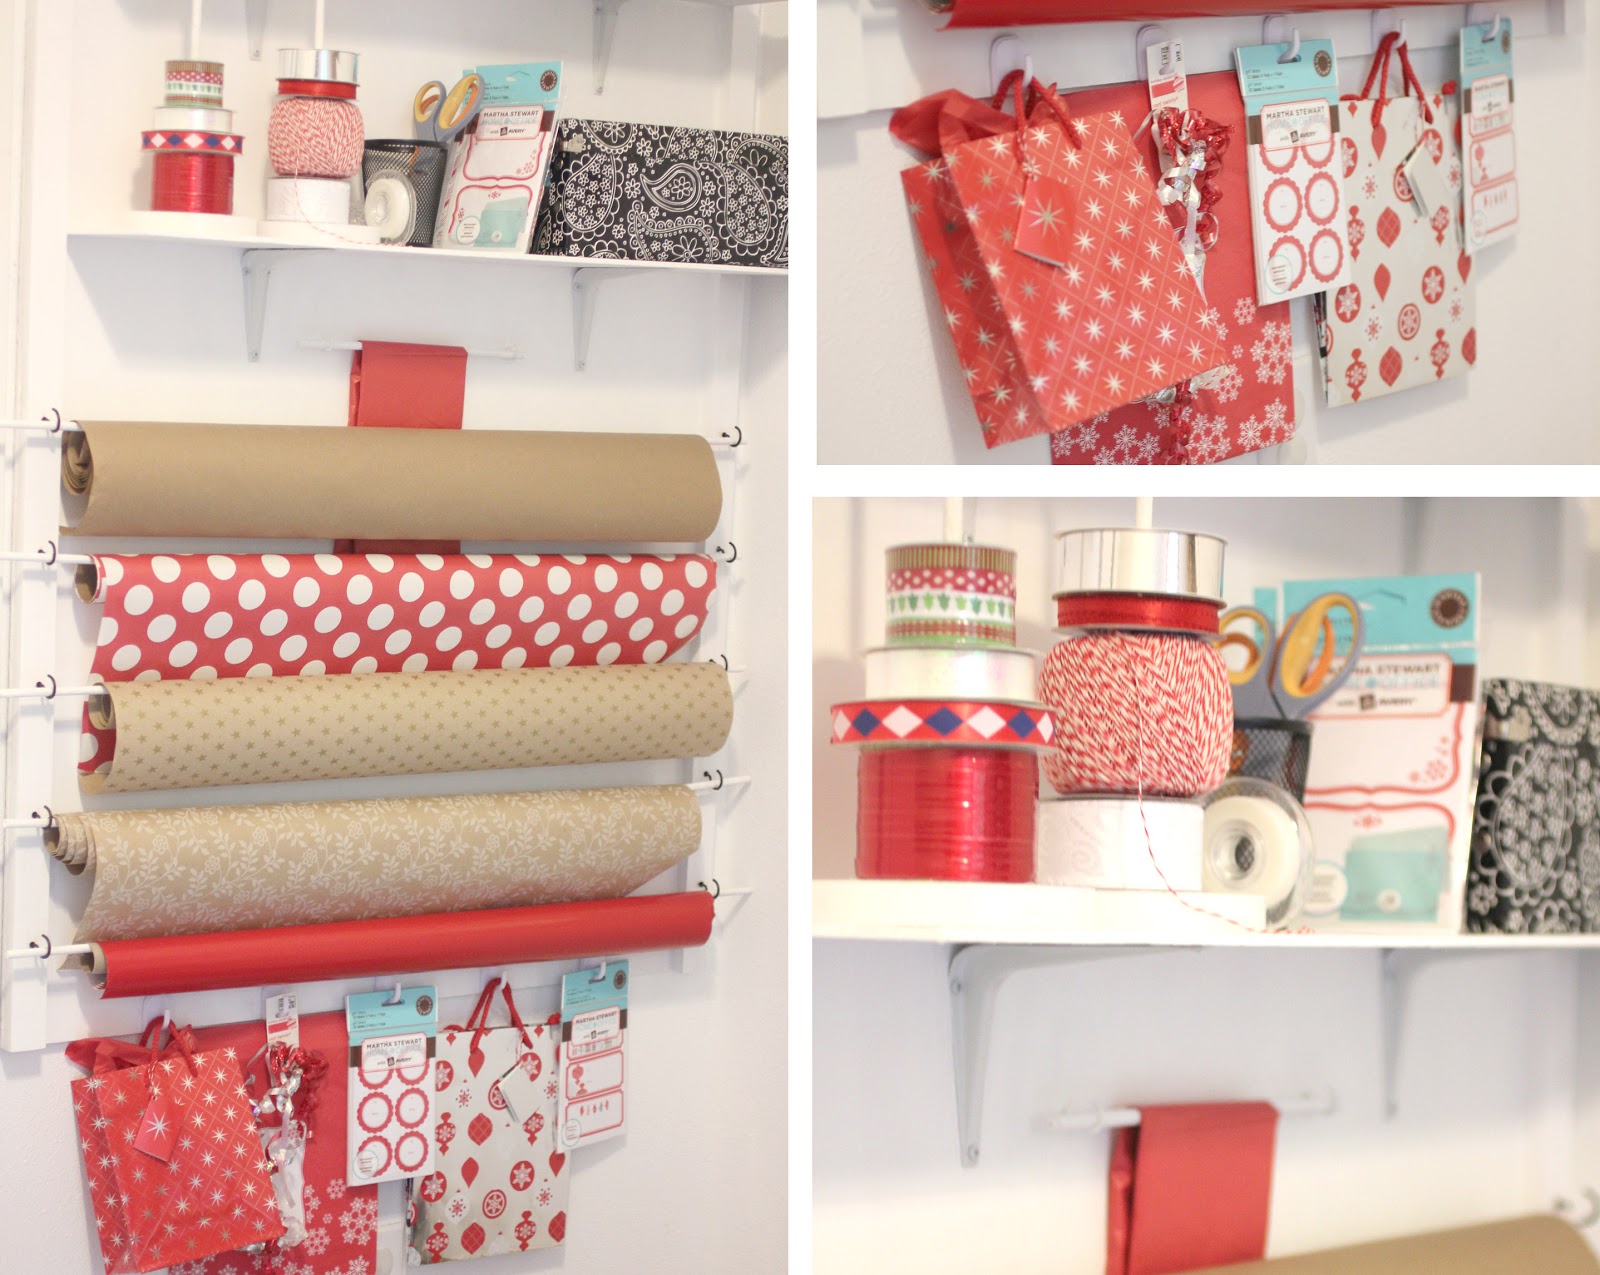
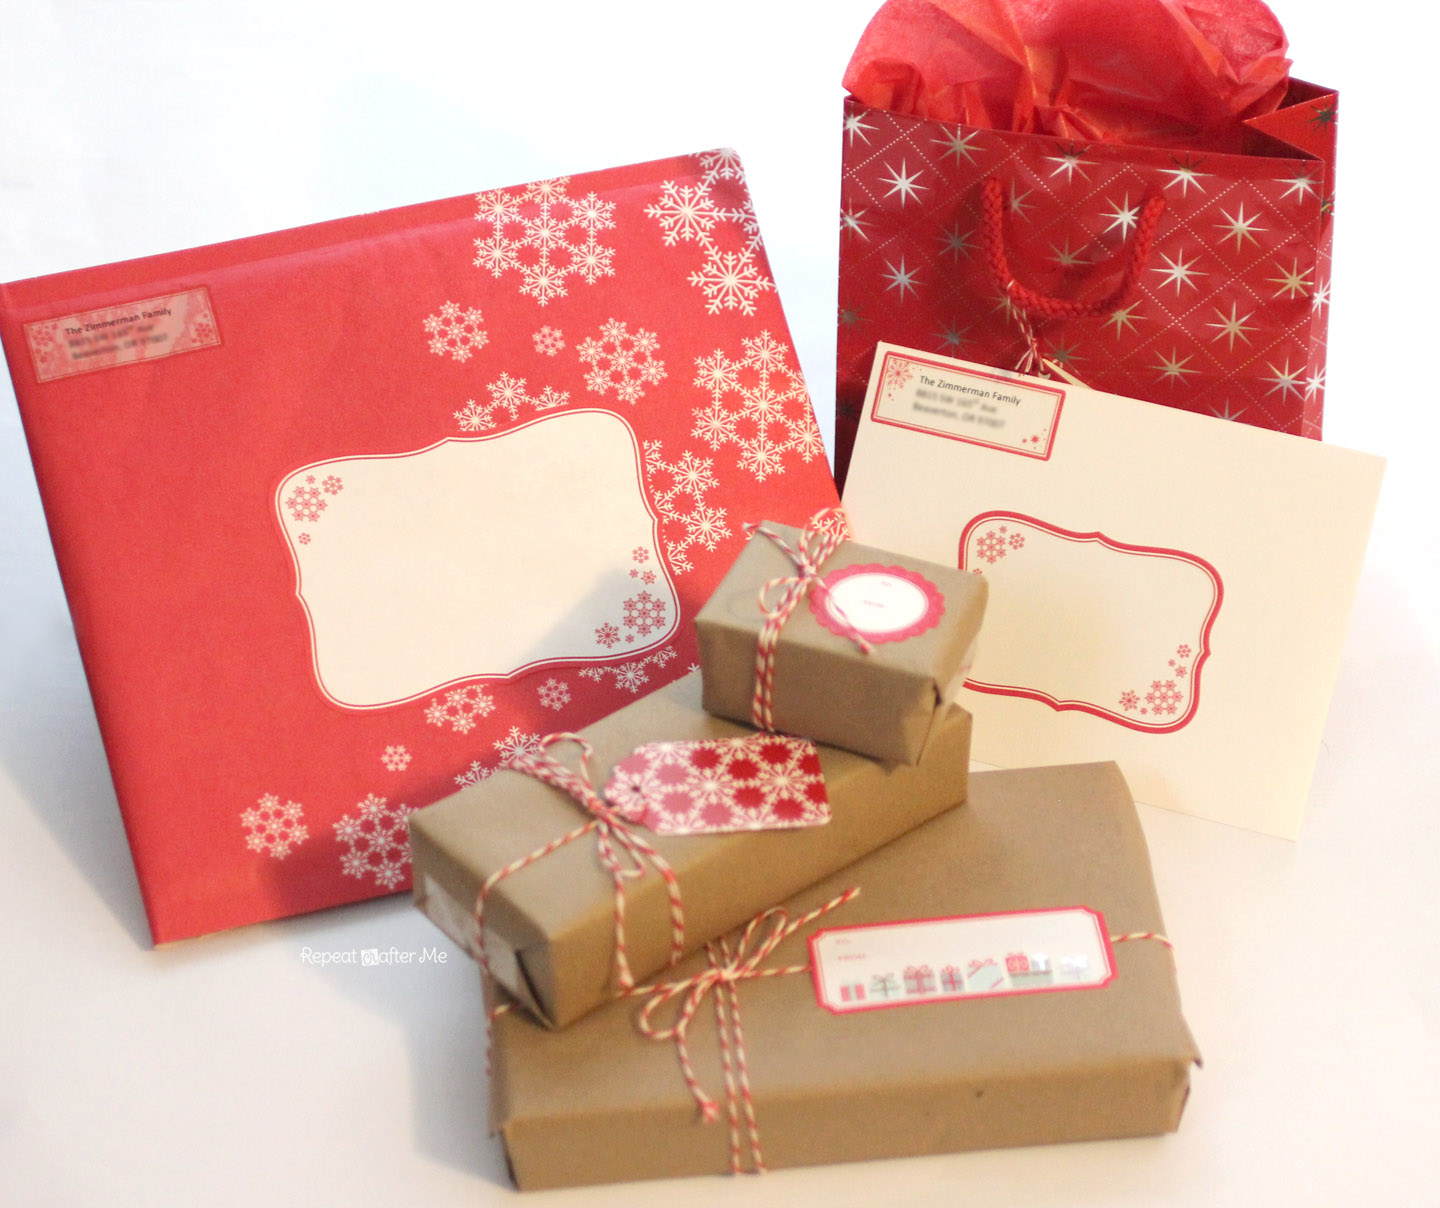
What I love most about this line is that it is holiday neutral and all the pieces coordinate! With just one roll of brown kraft paper from the Dollar Store, and a spool of red/white bakers twine I was able to wrap all my gifts and then added Martha Stewart Home Office with Avery sticker labels and tags for a finishing touch.

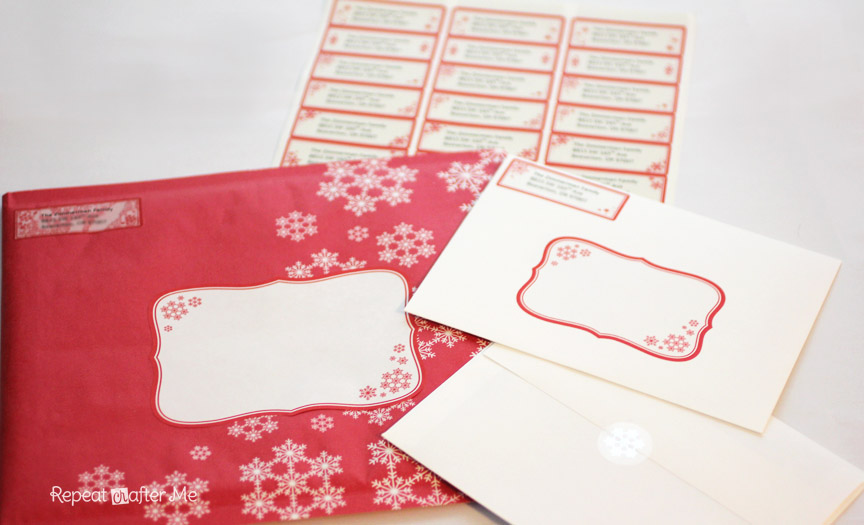
The return address label templates were my favorite! The snowflake design was cute, classy and tasteful. Nothing like those cheap, tacky designs you find discounted online. And the best part is that you can easily print your address on them using an Avery template! My version of Microsoft Word already had the matching template available but you can also download the templates for free HERE. I also love the mailing address sicker labels. It really adds a special touch to your holiday card or mailing envelope. Sometimes it is the little things that show how much thought you put into the gift. The recipient will surely appreciate it!
If you are interested in seeing the whole line of Martha Stewart Home Office with Avery or would like to purchase one of these products, go HERE.
Martha Stewart Home Office with Avery (and it’s partner, Red Sky PR) offered these products for me to review. All opinions are my own and were not paid for.


