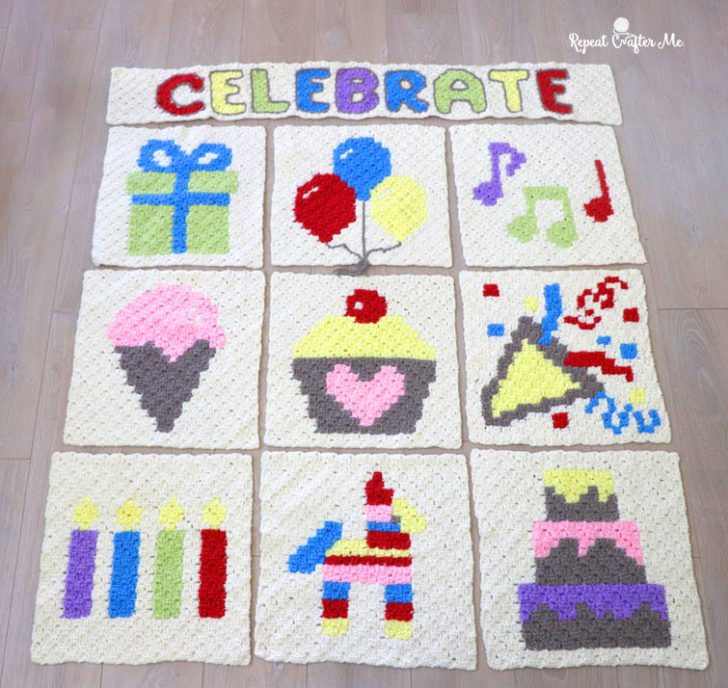
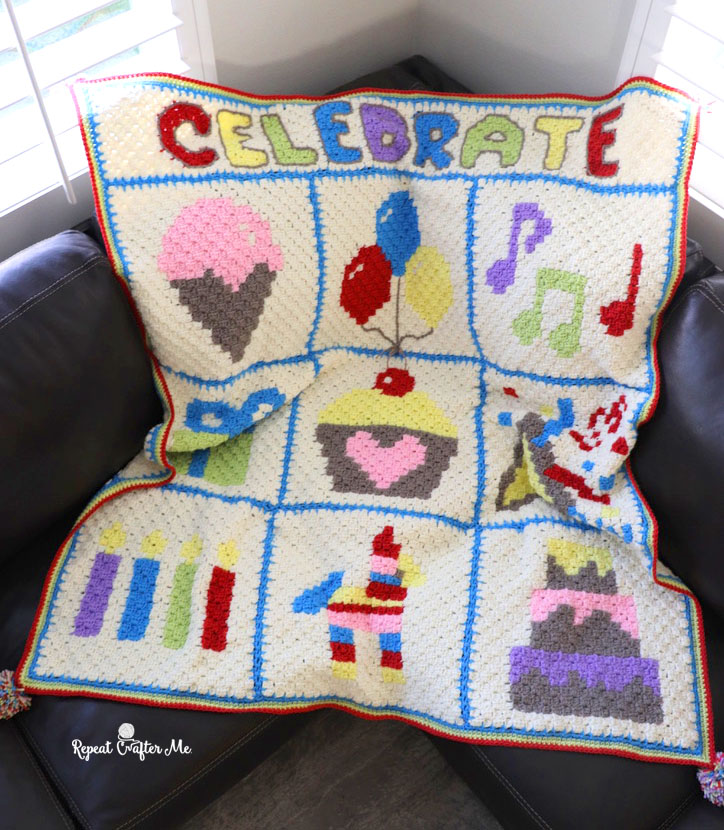
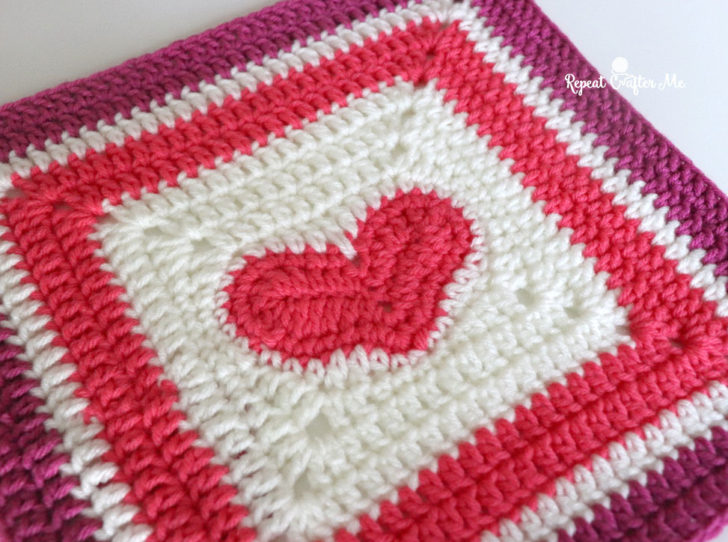
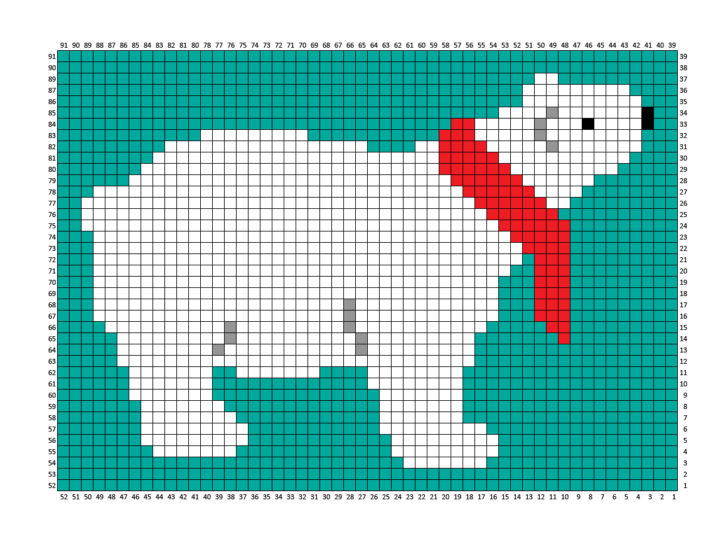
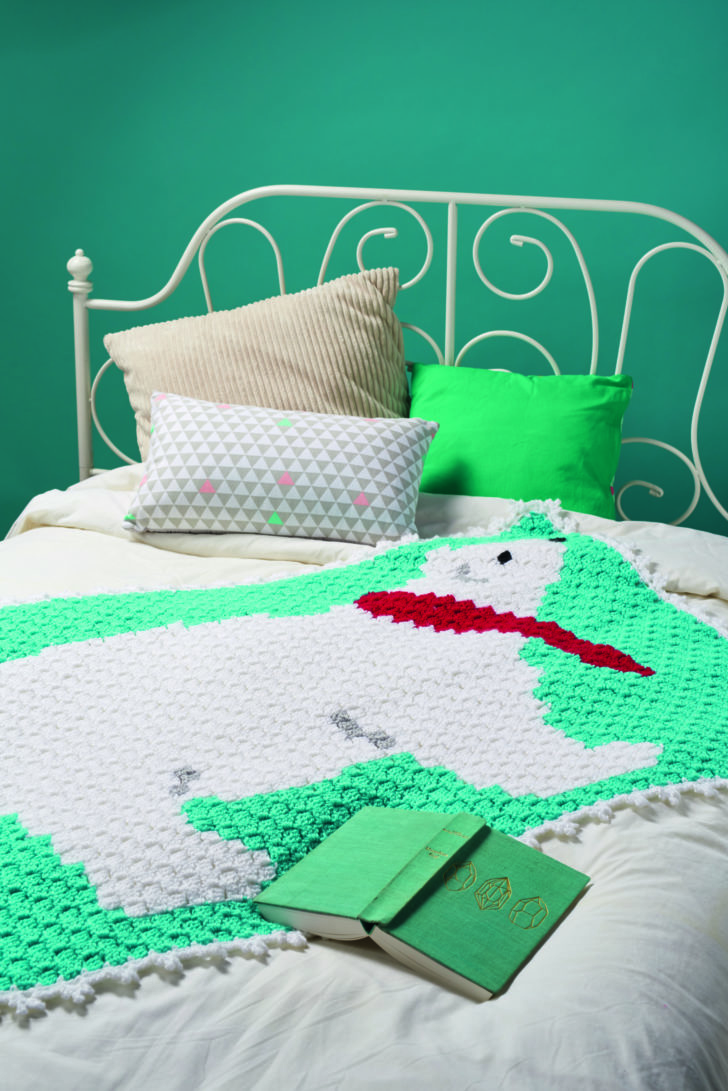
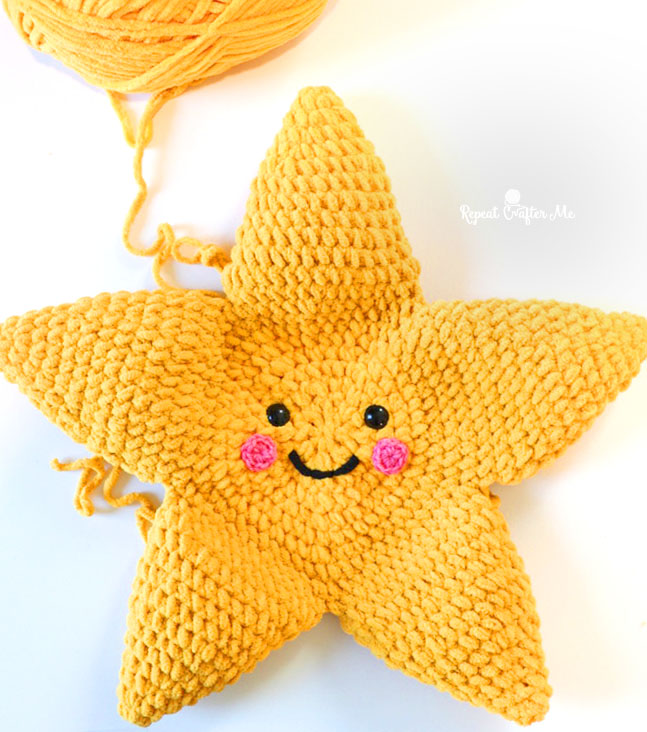
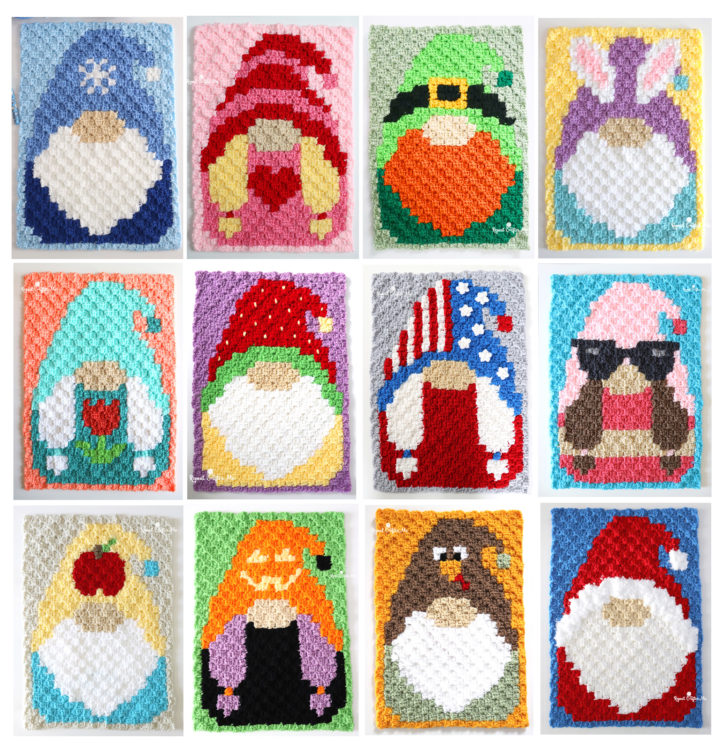
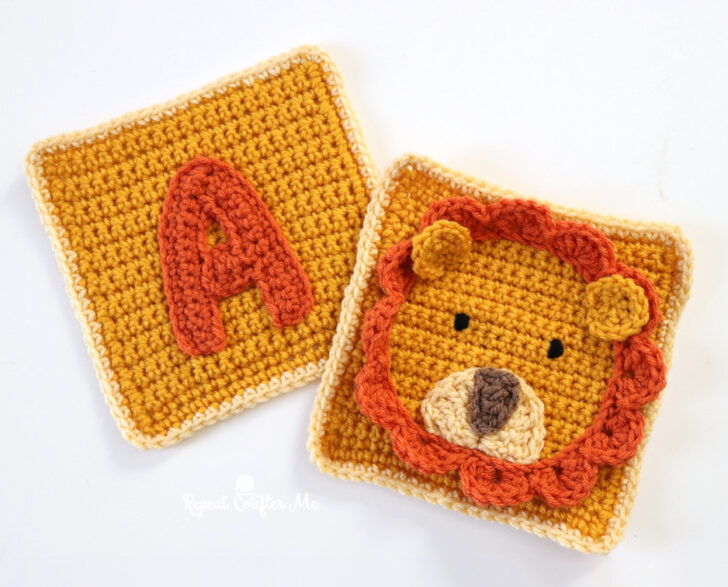
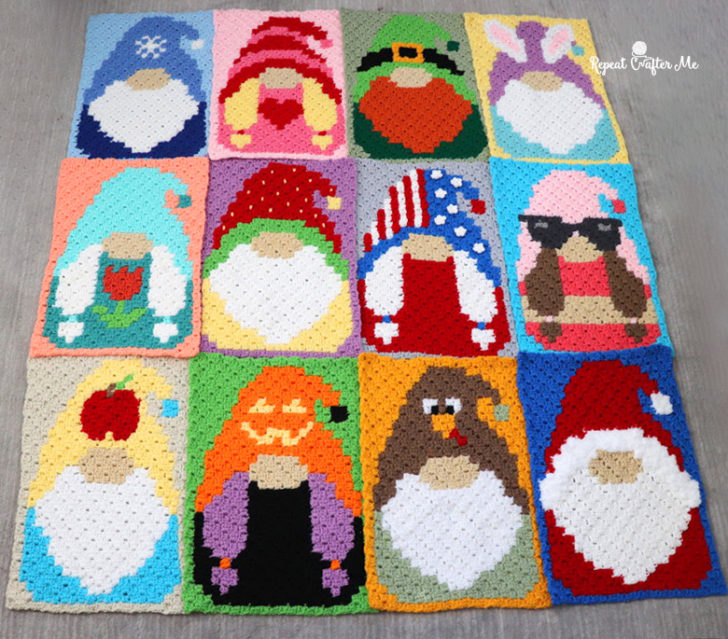
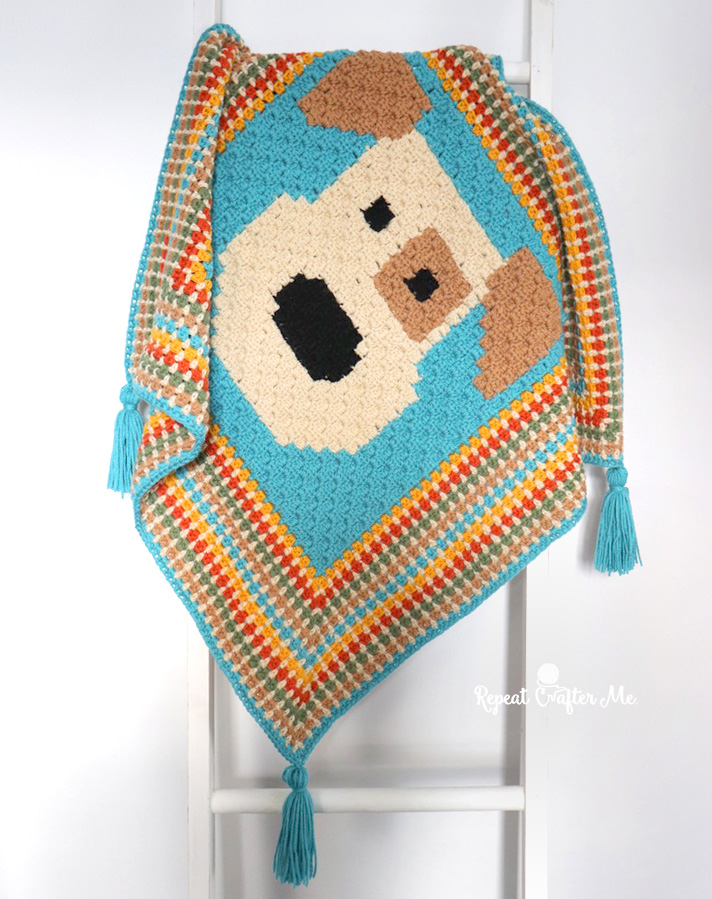
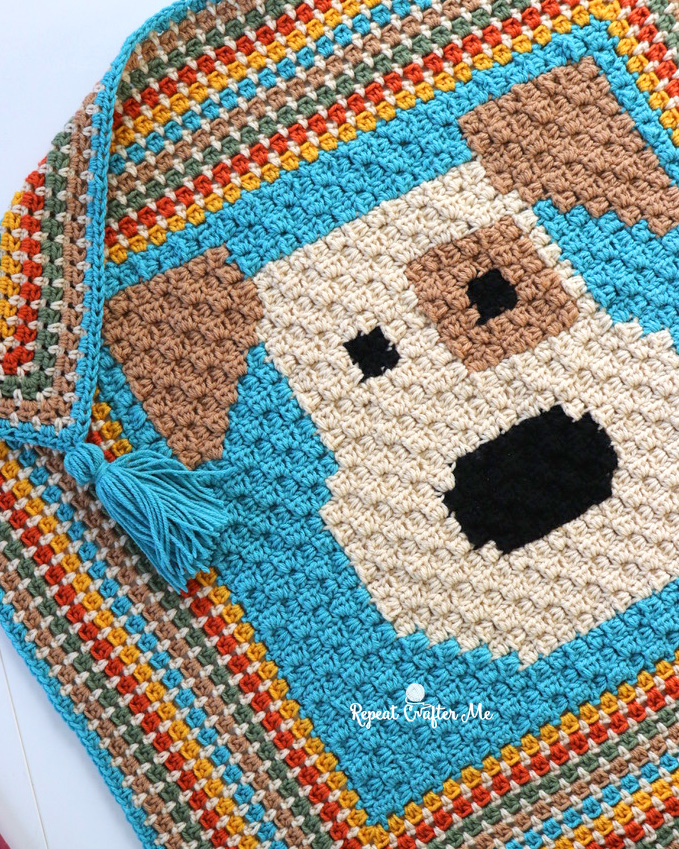
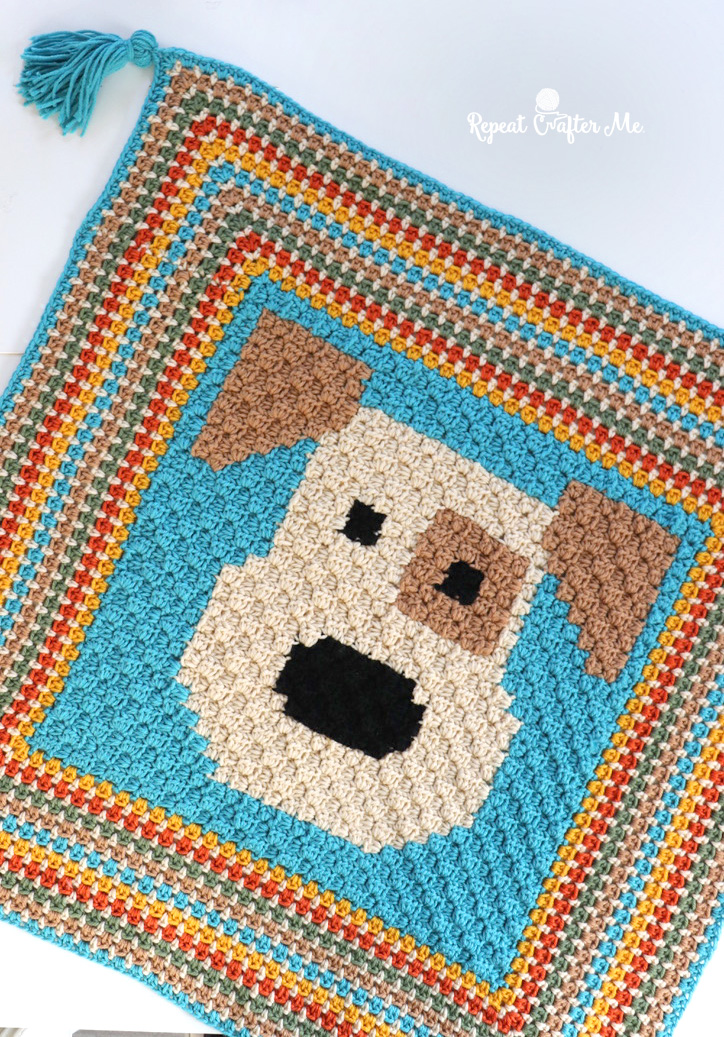
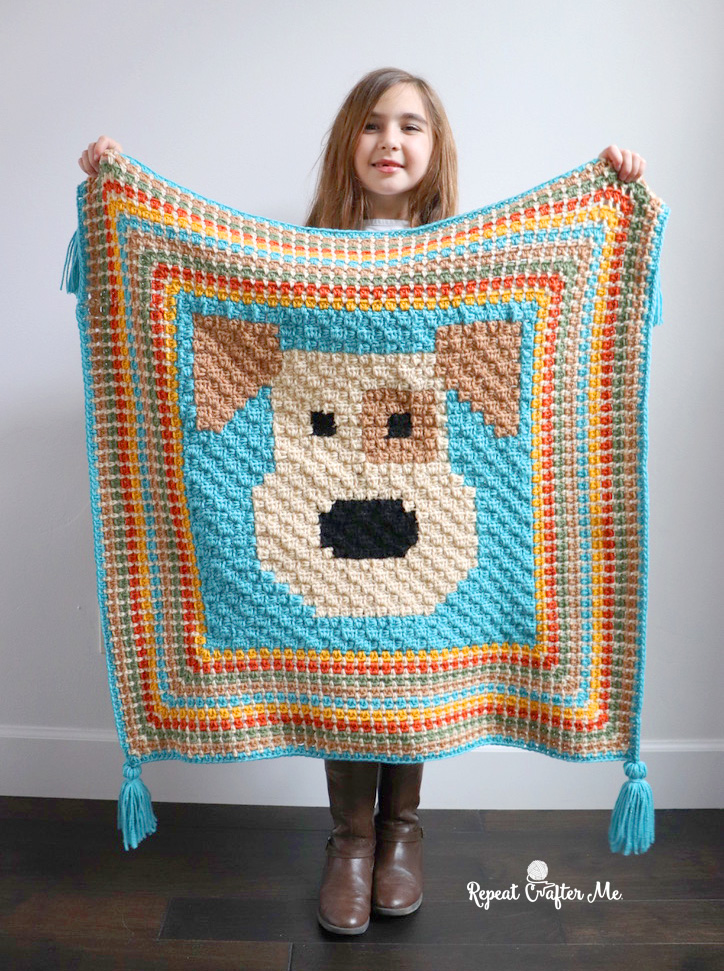
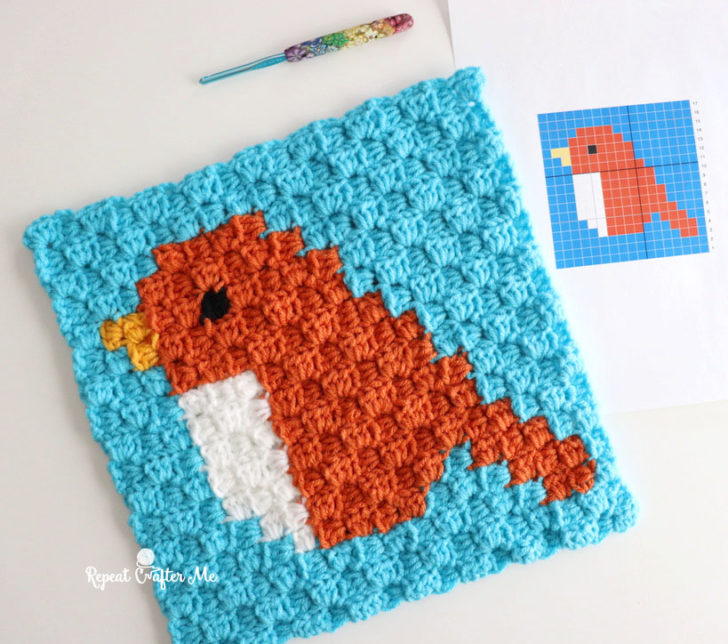
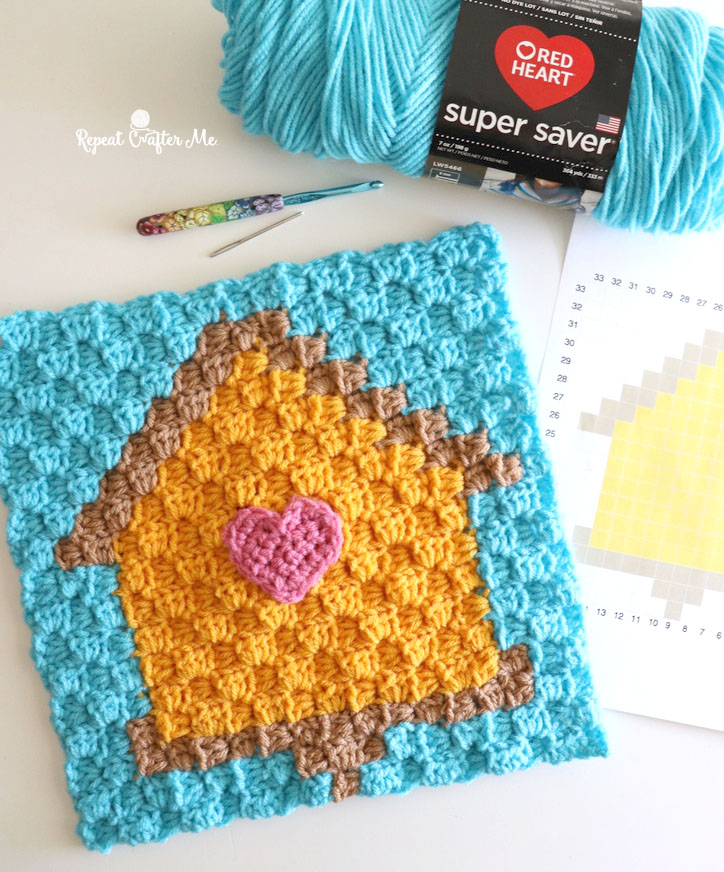
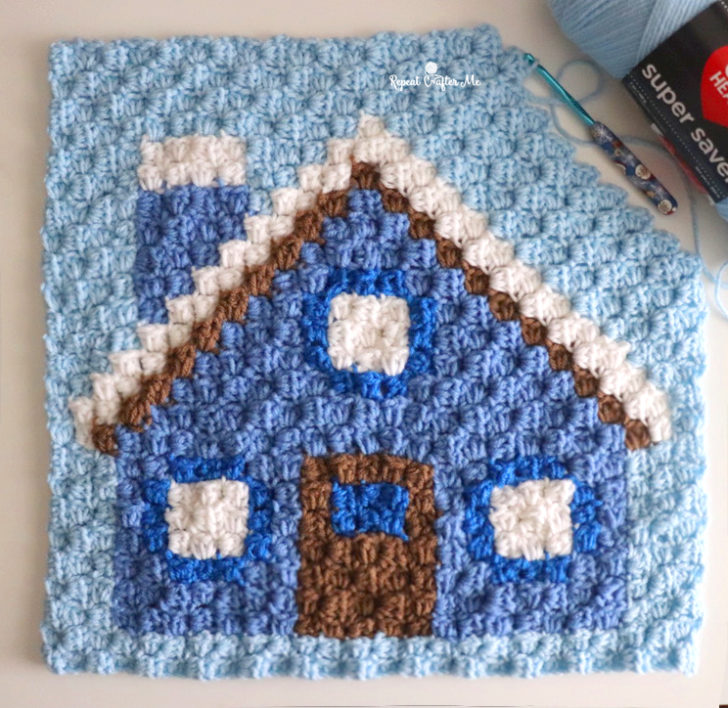
A year in the making and the Animal Square Crochet Blanket is finally finished! Every month from January to December of 2023, I posted a free pattern for a different animal crochet square. Now I will show you how to join them and add a border to make a blanket!
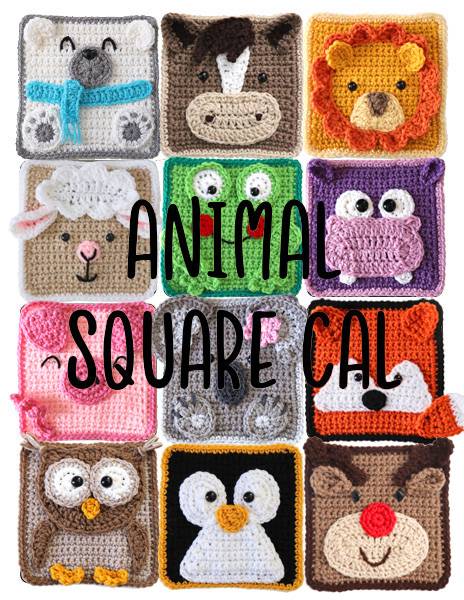
You can start on this project at anytime. All of the links to each pattern post can be found on the Animal Square CAL Landing Page HERE.
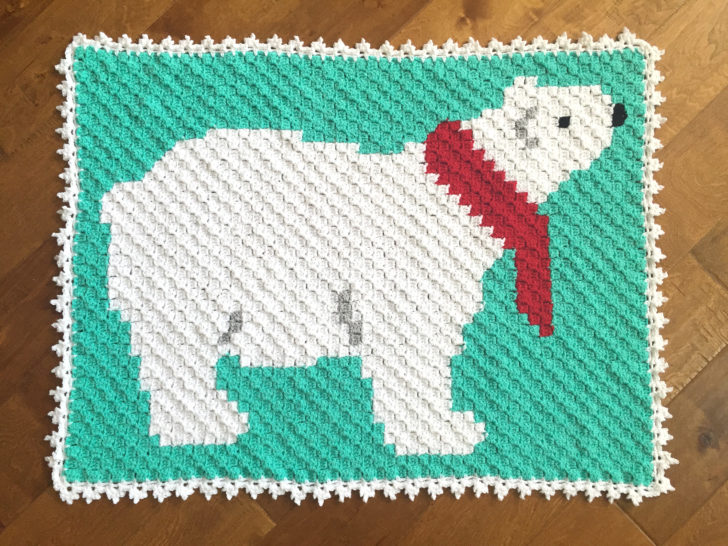
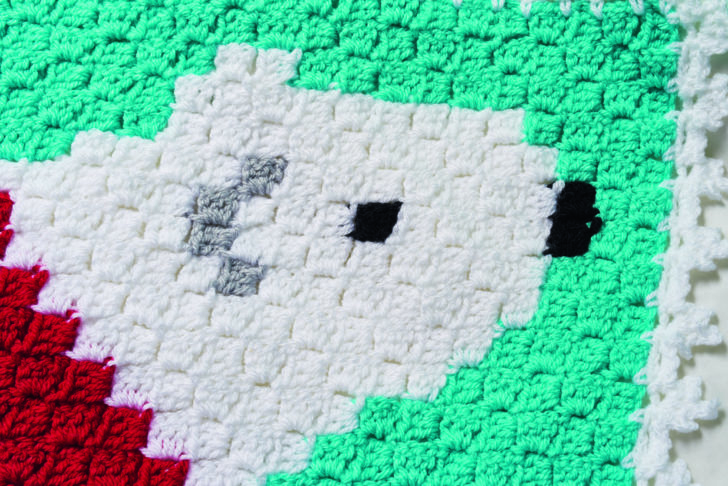
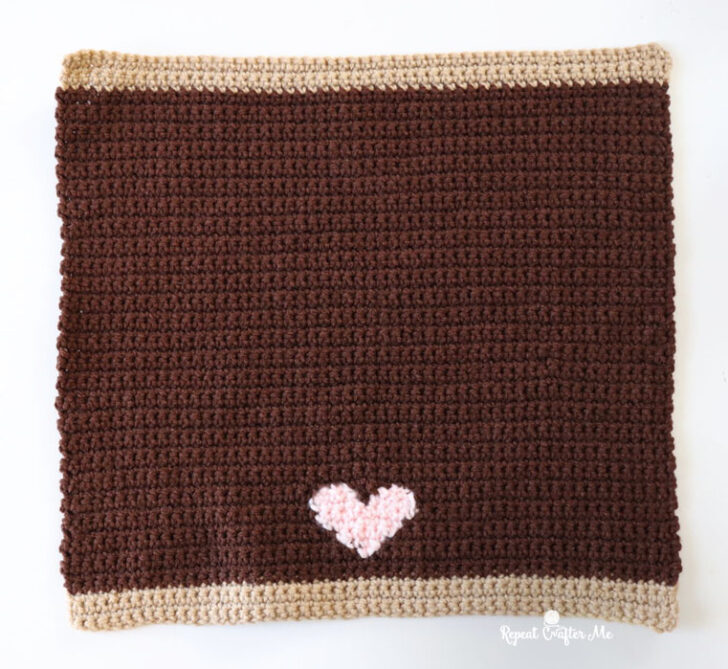
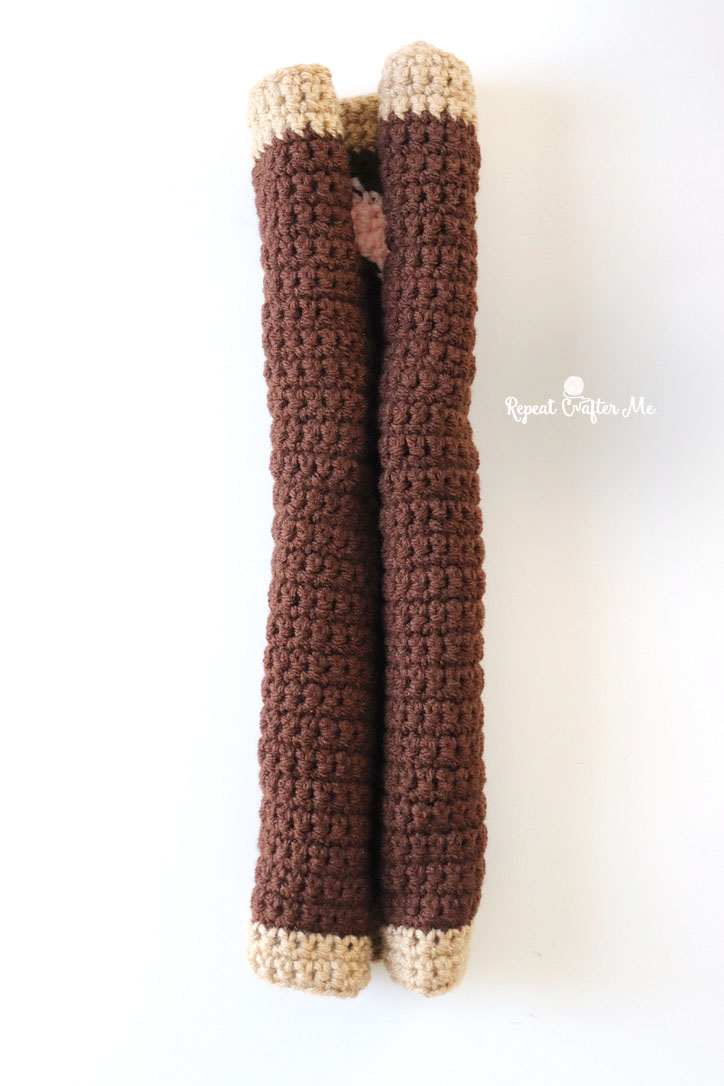
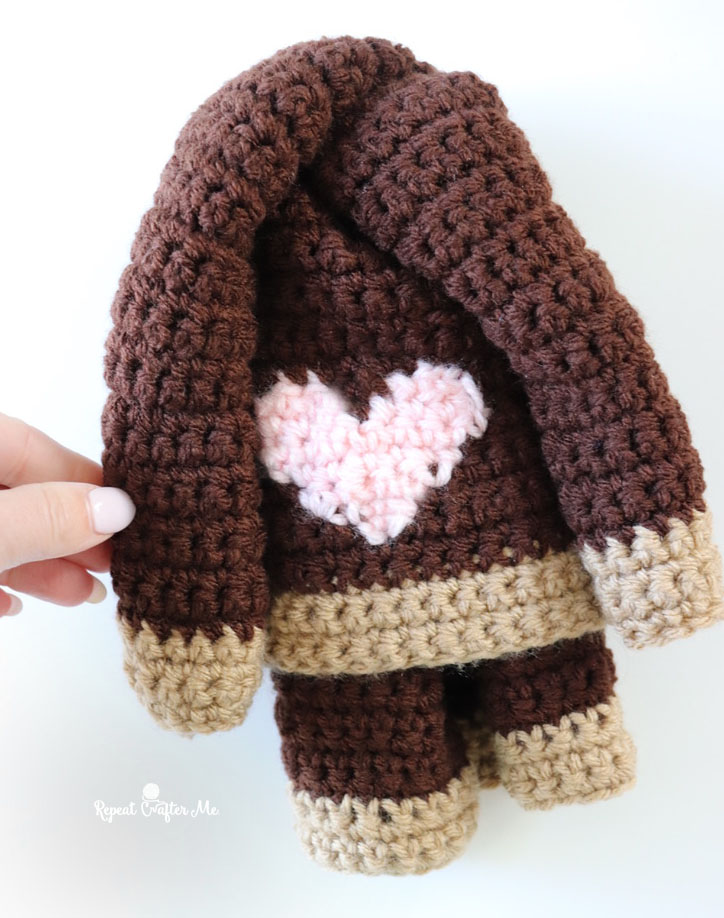
I made TWO of each square. This is so they can be placed back-to-back so the blanket is reversible and the messy stitching is hidden between the sandwiched squares.
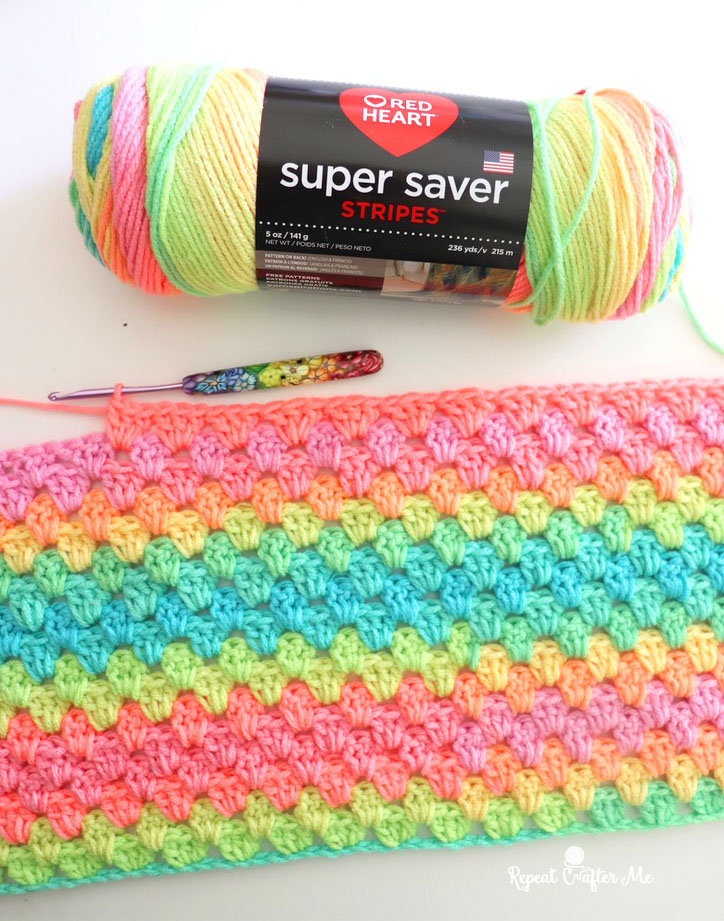
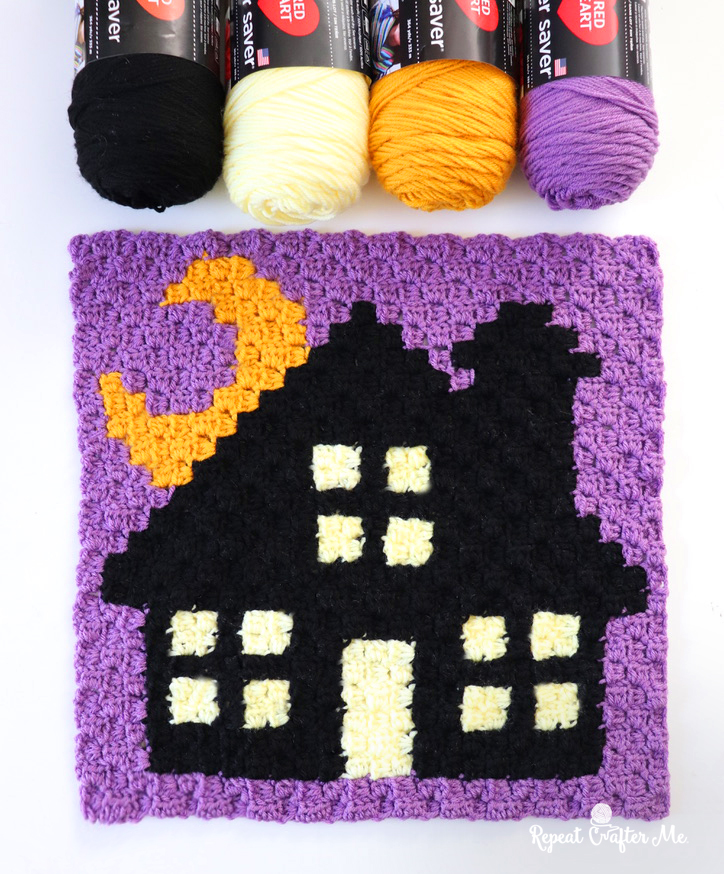
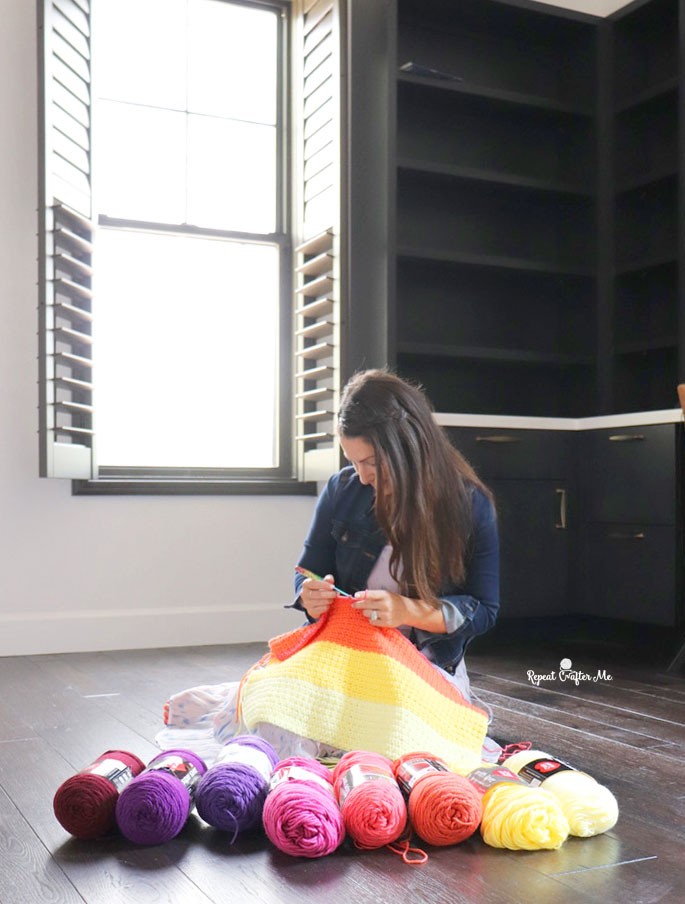
I am using Red Heart Super Saver in color Aran to join my squares and for parts of the border. You will only need one skien! I like that this is a neutral color that lets the squares stand out. But please feel free to use any color you’d like! I love to see those bright and colorful blankets.
You can shop all shades of Red Heart Super Saver Yarn HERE on Yarnspirations.com
HERE is a video tutorial to go along with the photos below:
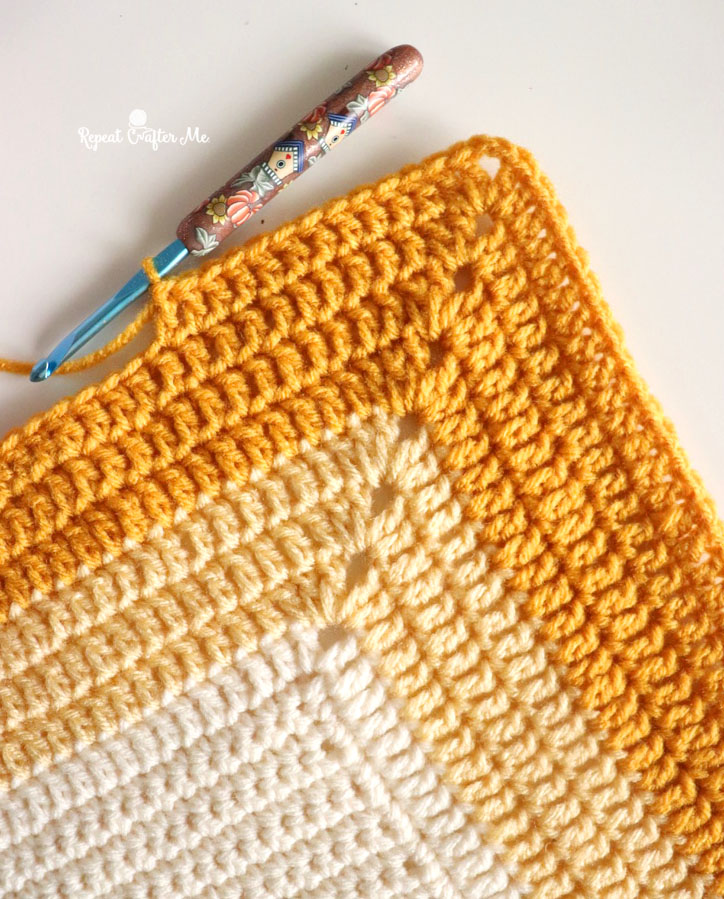
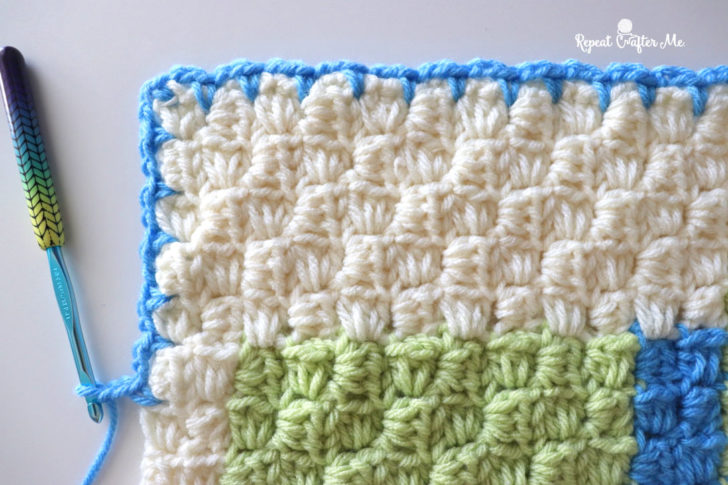
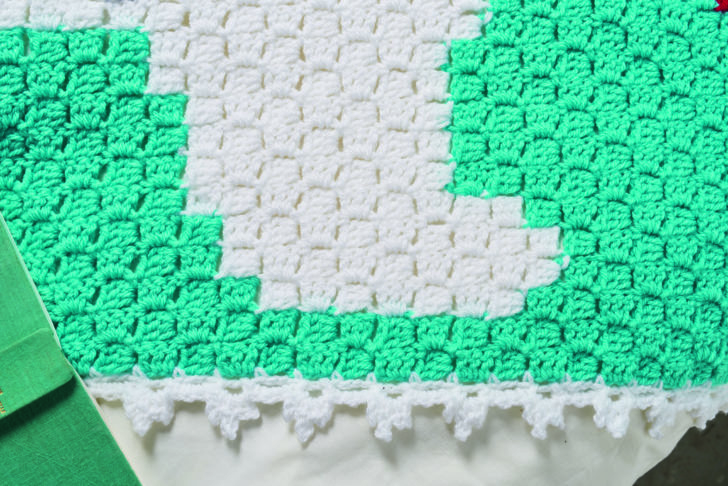
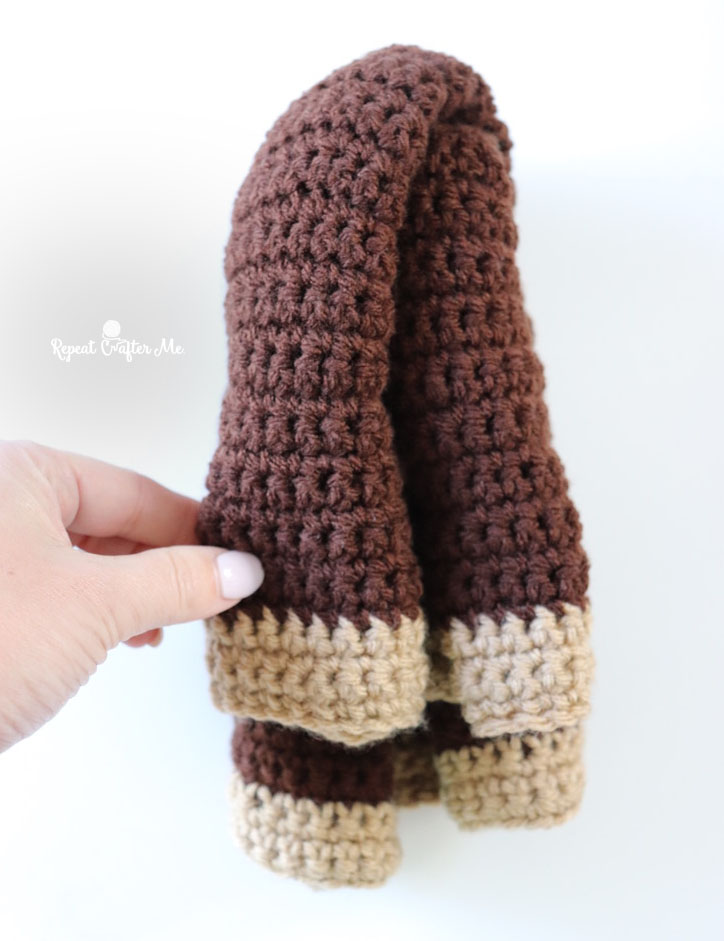
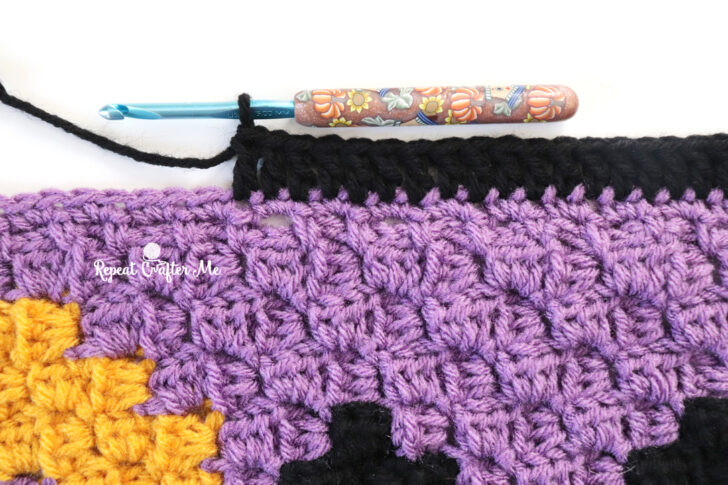
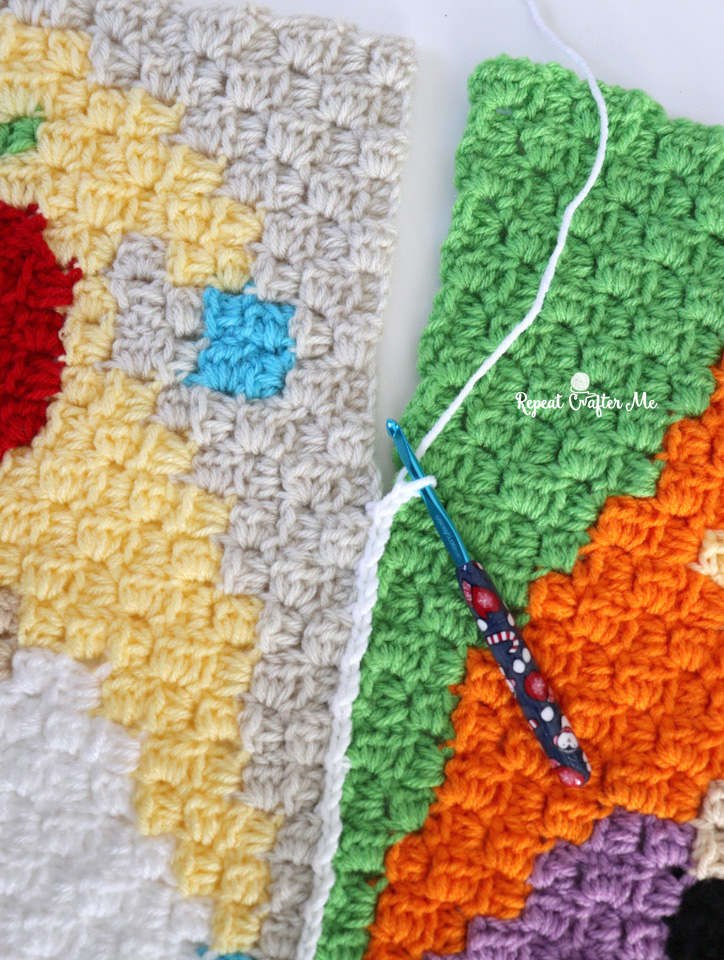
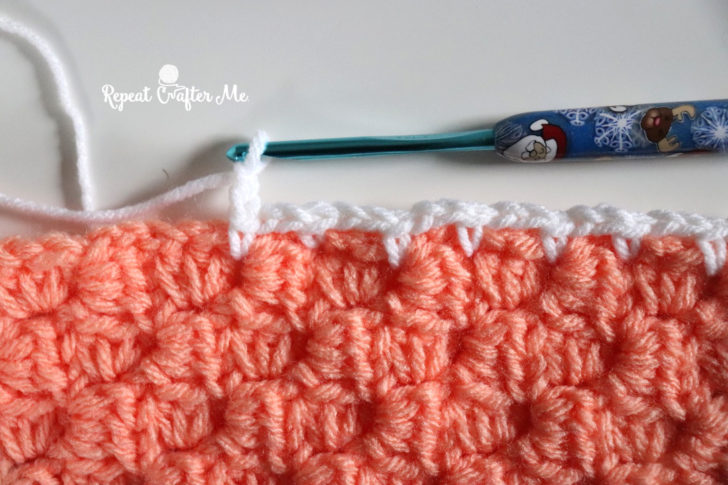
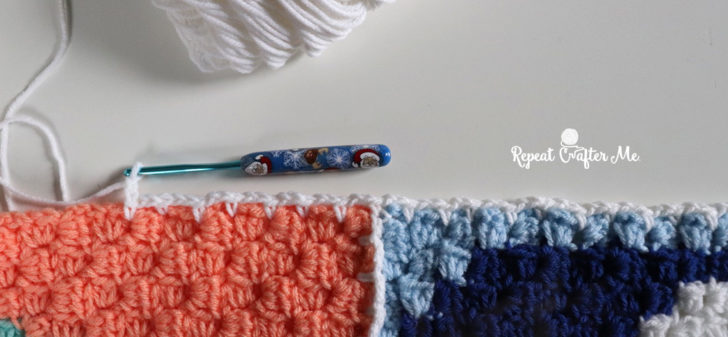
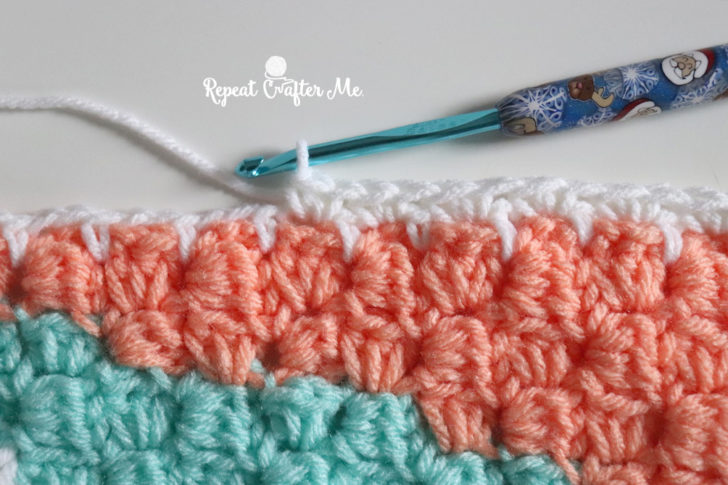
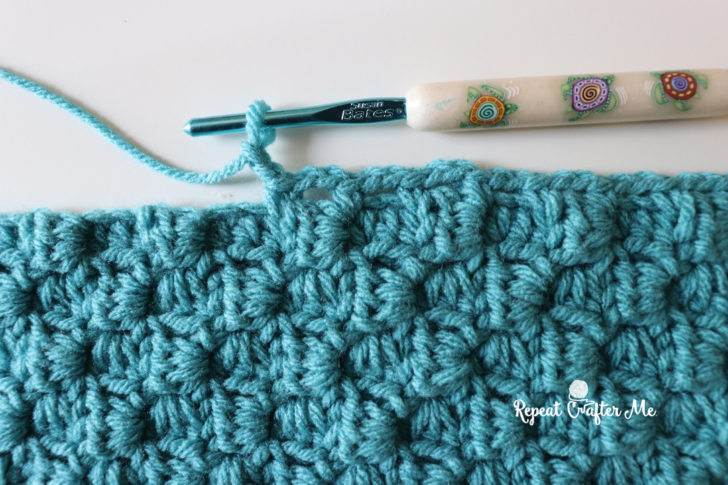
The first thing you will need to do is to join each pair of squares together. I did this by crocheting them together (back-to-back) with double crochet stitches around the edges. Make 3 DC in each corner.
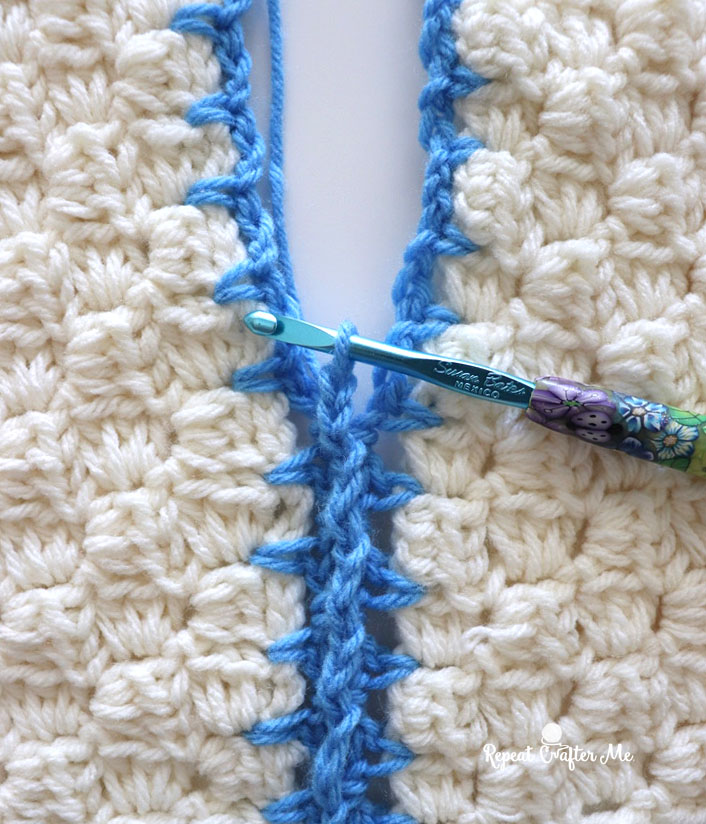
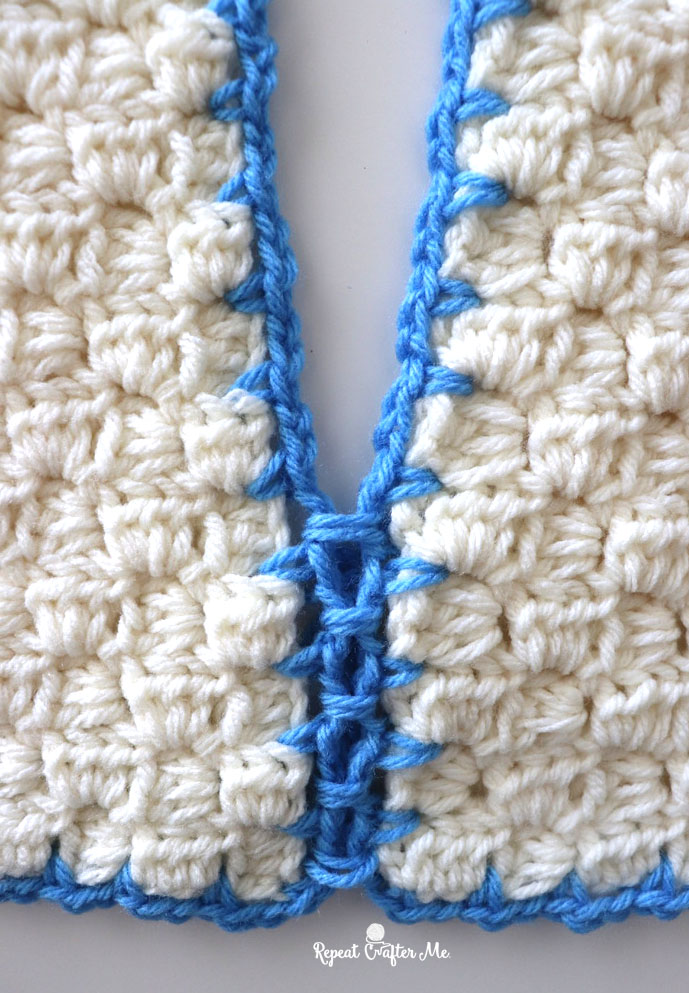
Now it’s time to join the squares! One of my favorite joining techniques is the Slip Stitch Join. It’s fast and easy and creates a really tight join between the squares. I go over this technique in the video below if you need help.
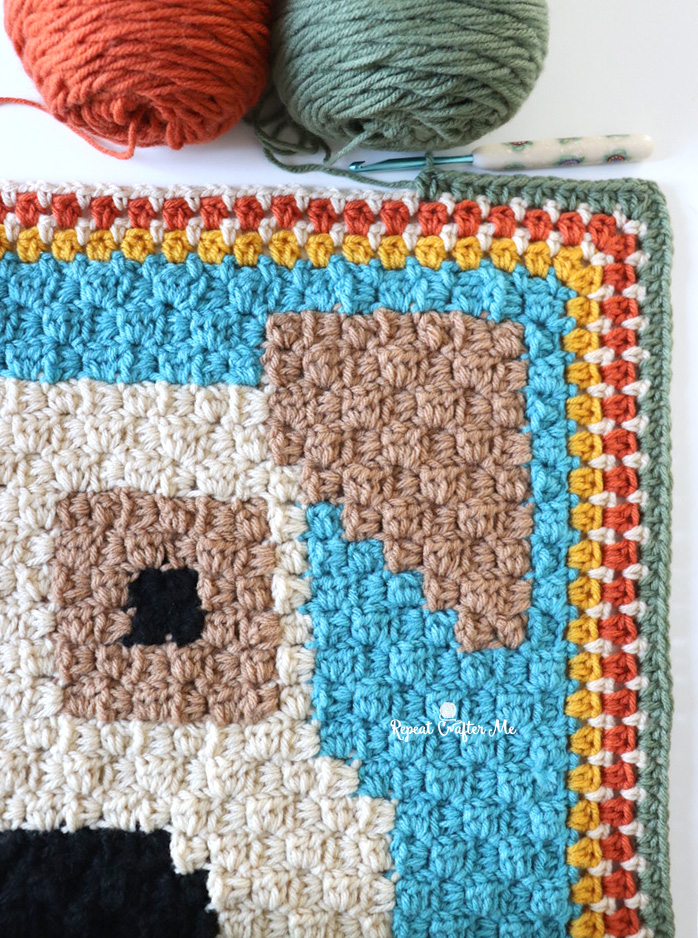
I decided to make a simple border, although since the finished size of this is about 28 x35 inches but you could make it much bigger by adding a larger border, more squares, or larger borders in-between each square.
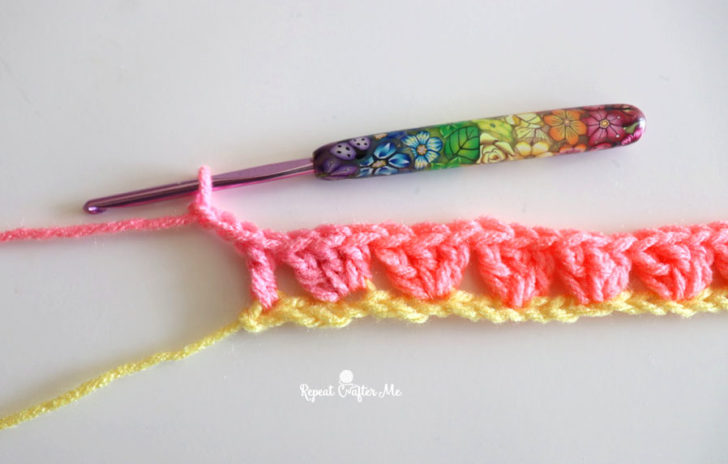
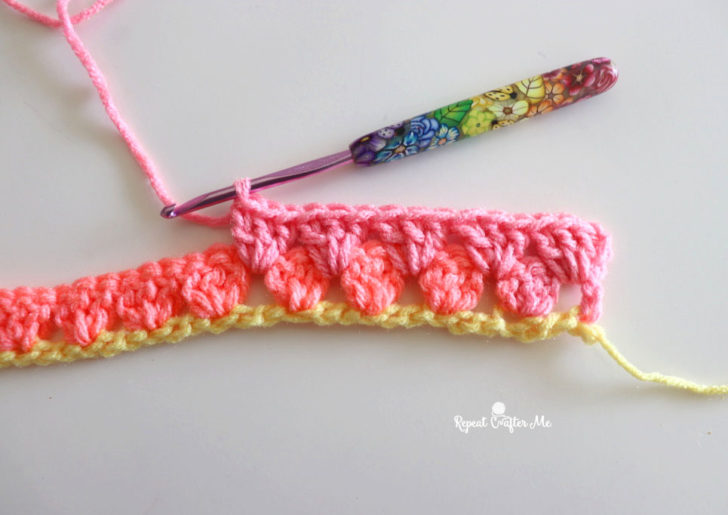
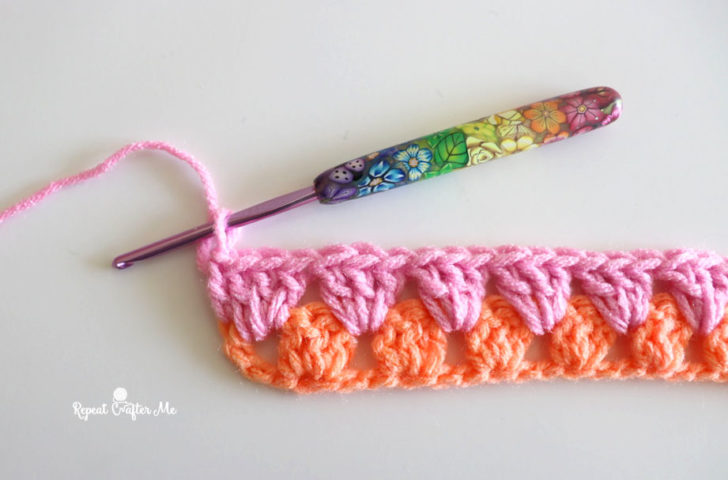
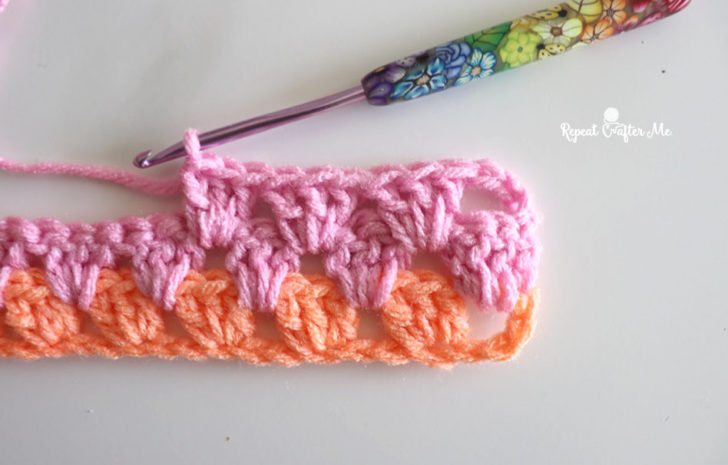
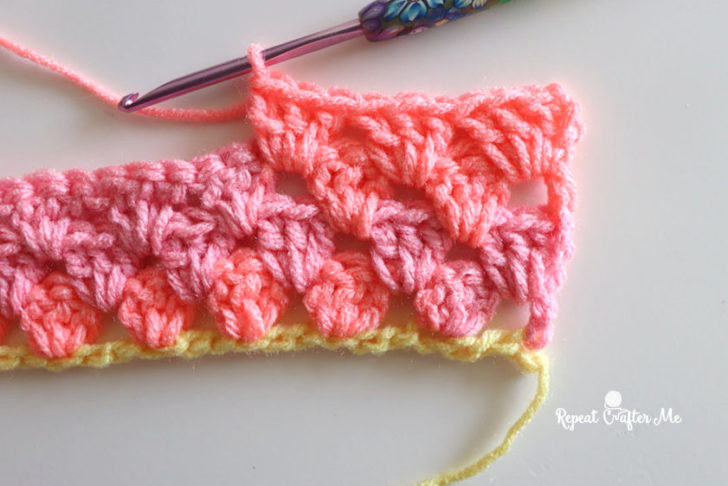
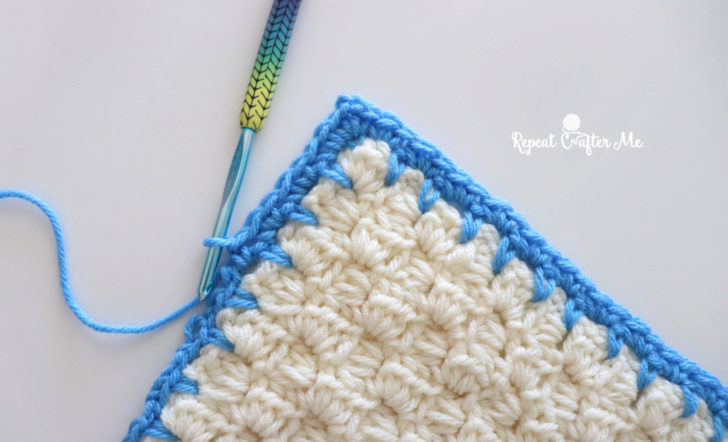
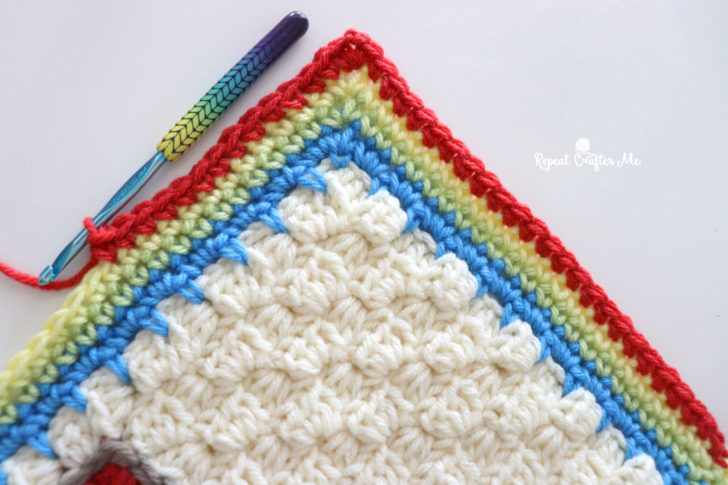
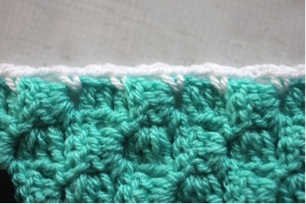
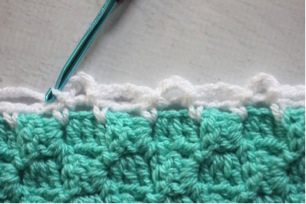
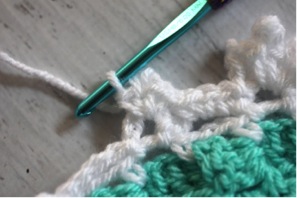
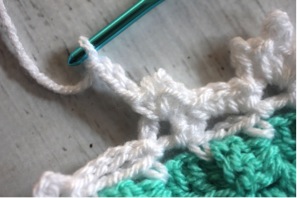
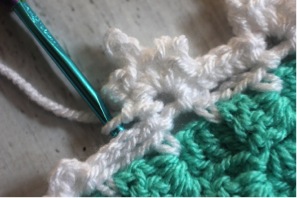
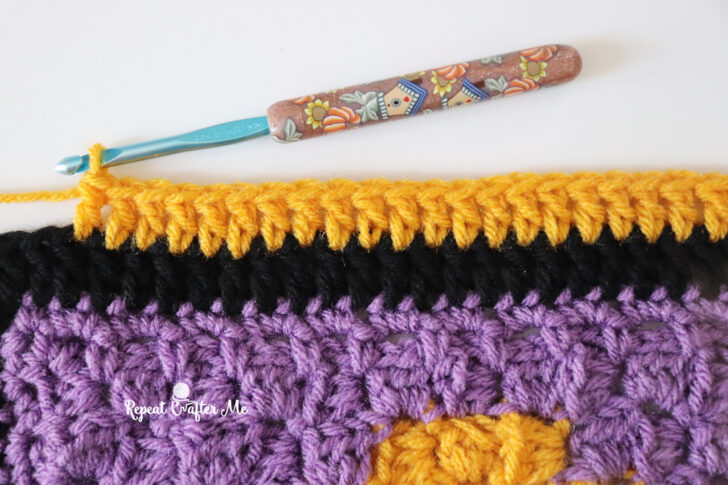
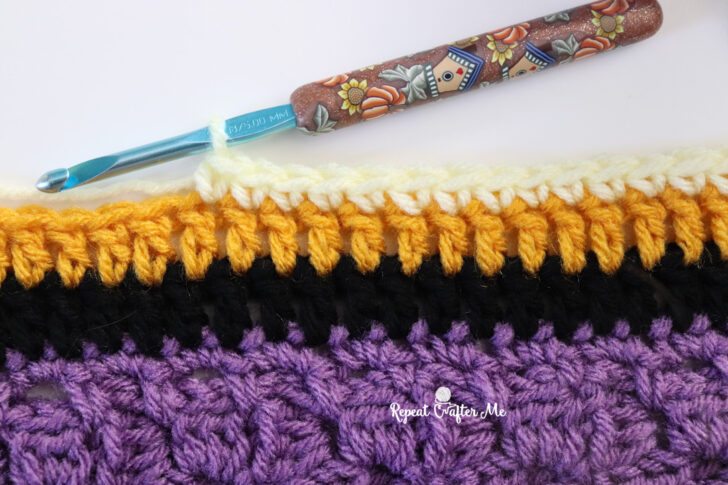
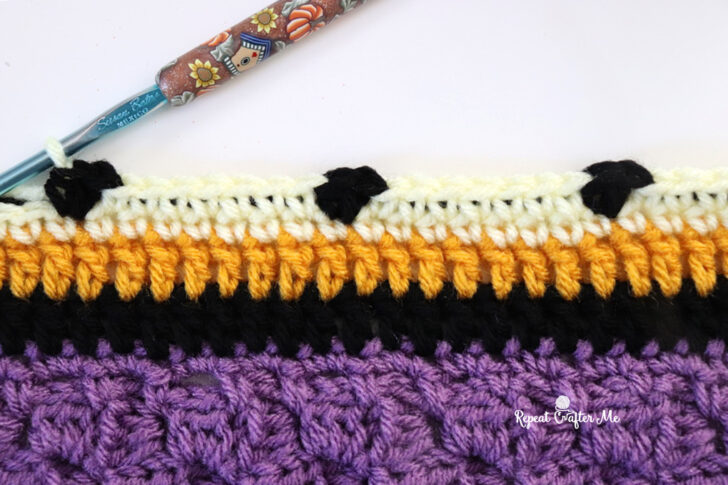
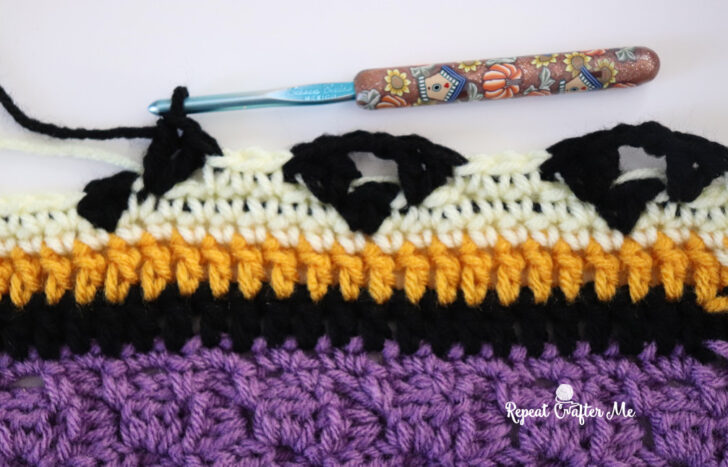
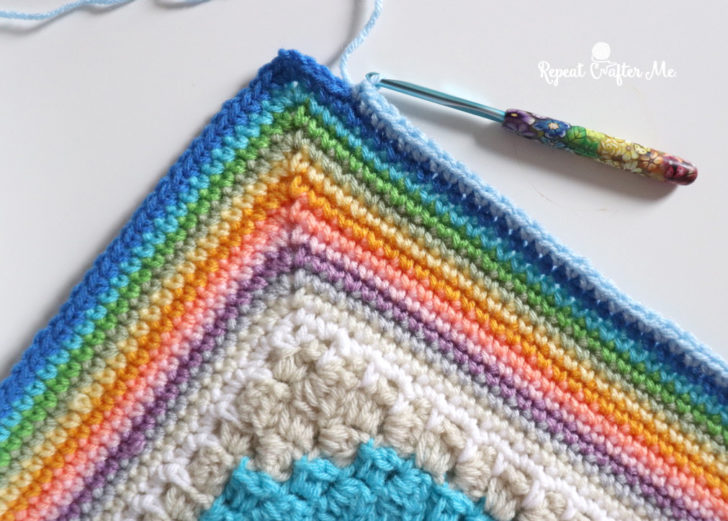
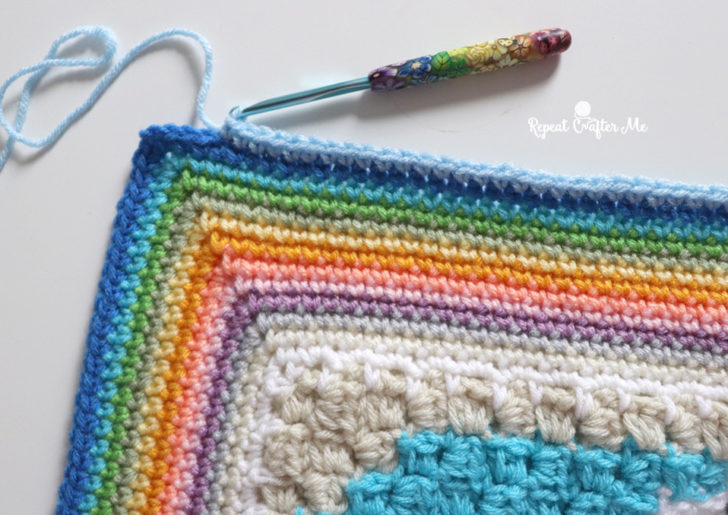
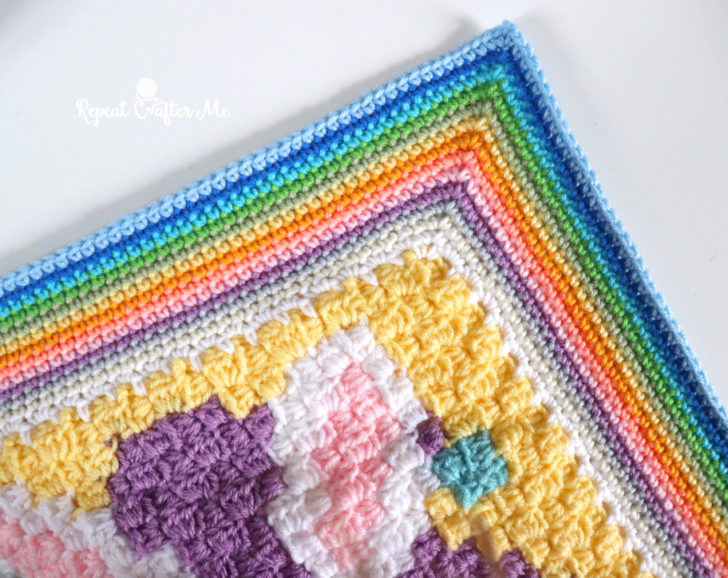
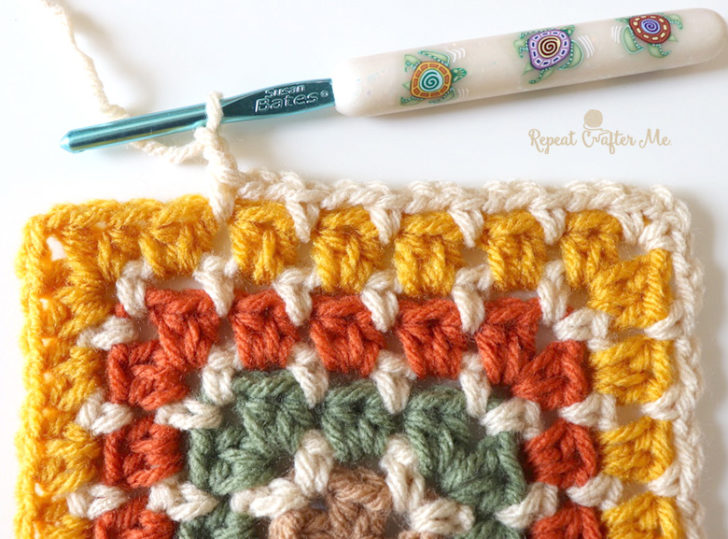
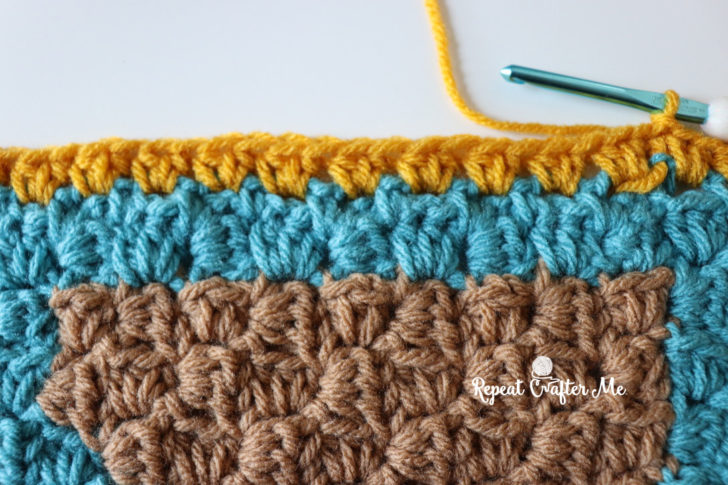
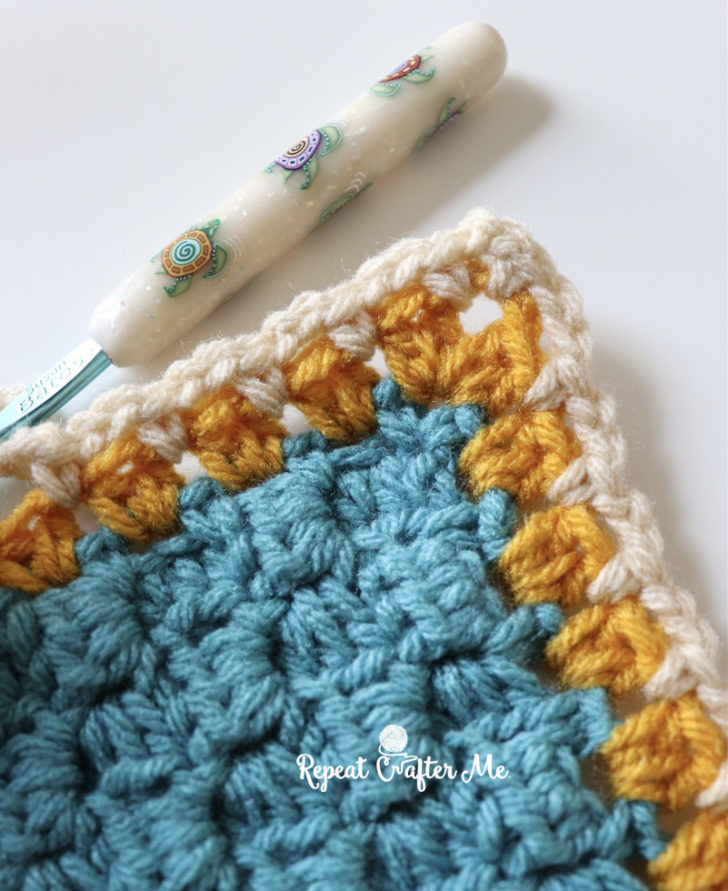
I started by making one round of SC stitches in Aran yarn along the entire outside edge, making a SC + chain 2 + SC in each corner. Then I added in some color!
I chose a bunch of colors from the blanket: gold, cafe latte, Turqua blue, dusty gray, baby pink, perfect pink, oatmeal, spring green, black, red, coffee, pumpkin orange, medium purple, cornmeal.
In that order, I alternated those colors along the blanket edge the length between every corner and join.
Then for the final round of the edge, I made one last round of SC stitches in Aran.
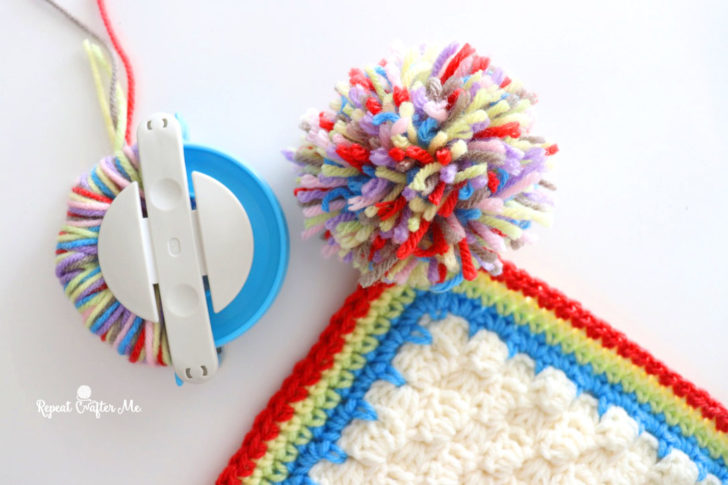
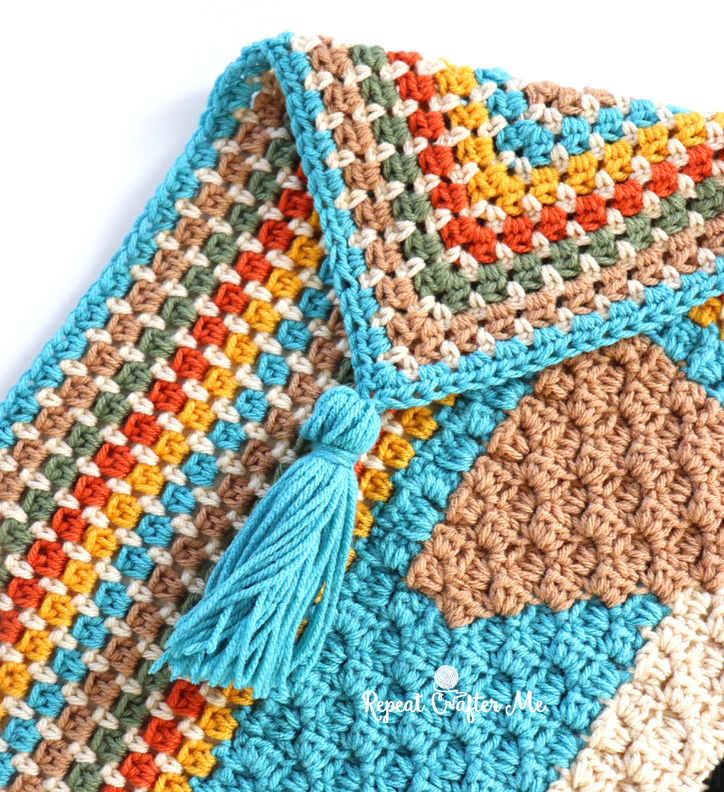
Then I added 4 two-color pompoms to the corners!
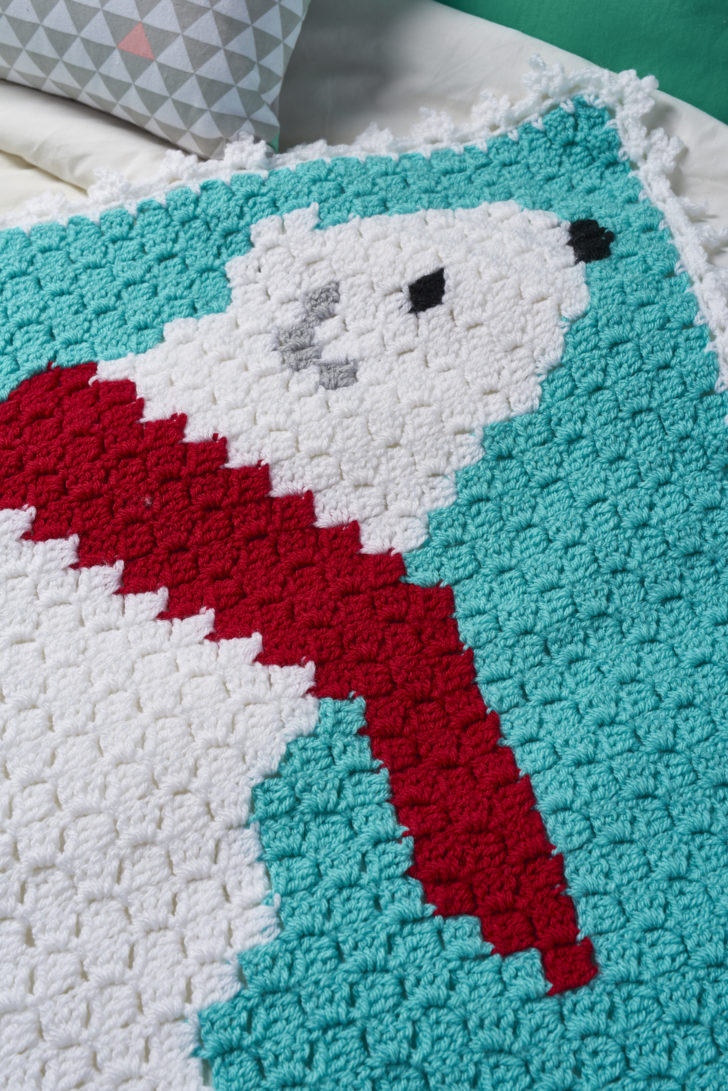
And it’s completely reversible!
I hope you enjoyed this year-long project!
It all started with the 2022 Gnome Project, this year was the 2023 Animal Square CAL, and I’m wondering if I should keep this going and do another monthly crochet-along for 2024? Let me know your thoughts and suggestions!
FOLLOW ME for more FREE Crochet!
Repeat Crafter Me Facebook
Repeat Crafter Me Instagram
Repeat Crafter Me Pinterest
Repeat Crafter Me YOUTUBE
Subscribe to my NEWSLETTER for free patterns straight to your inbox!