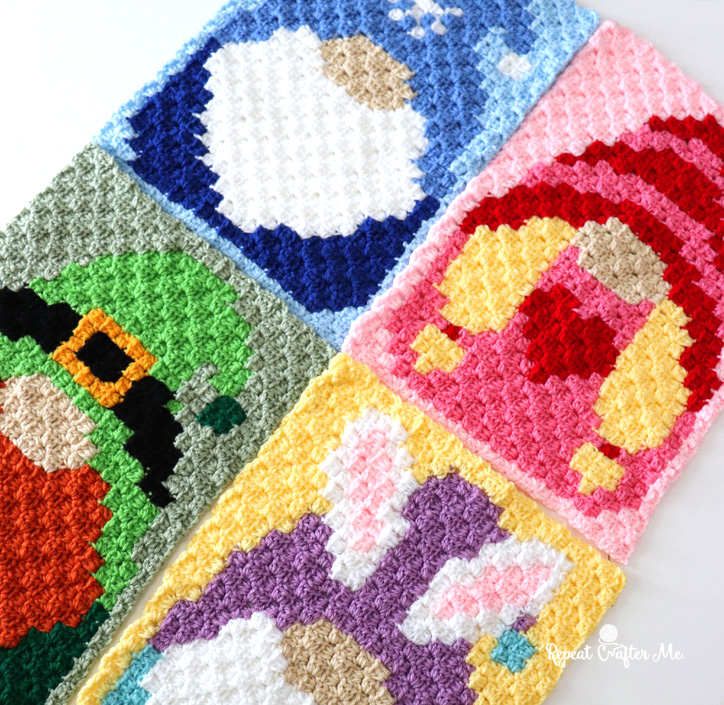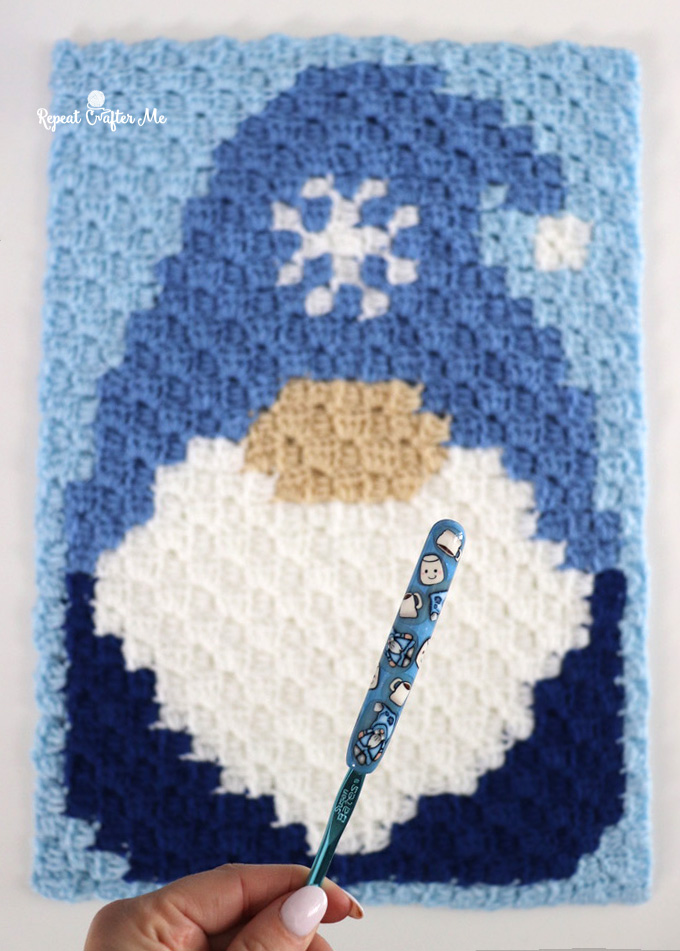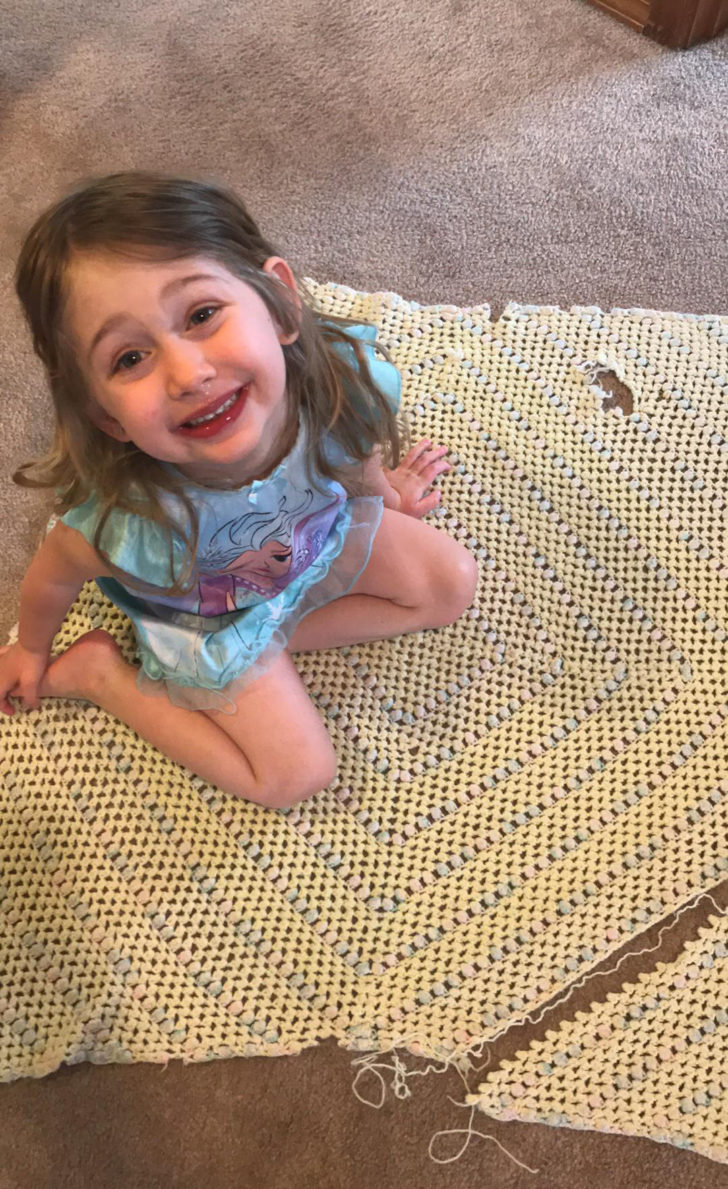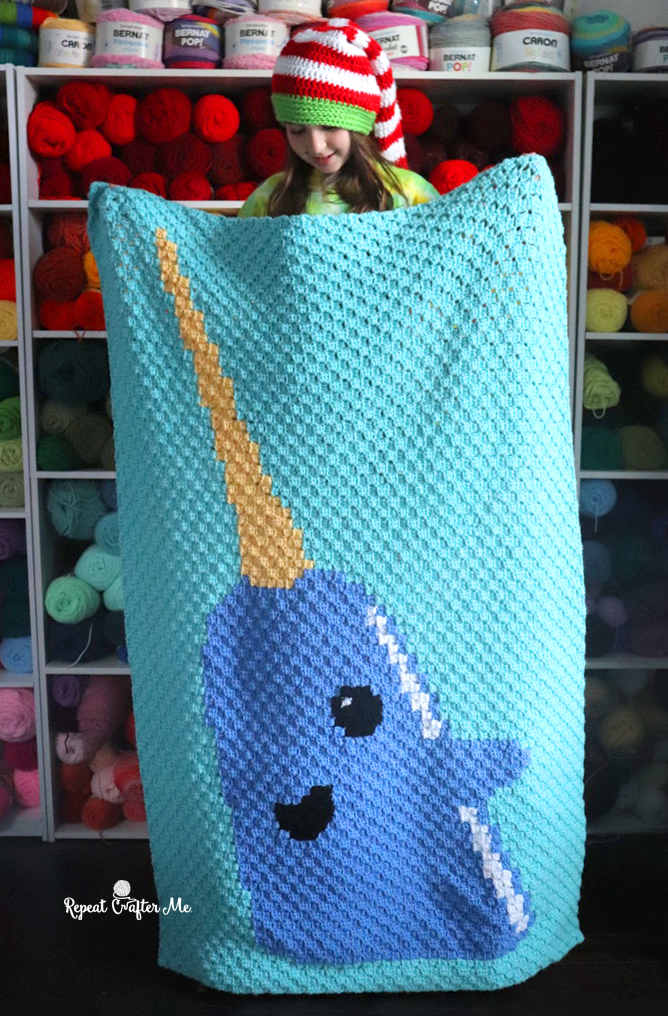
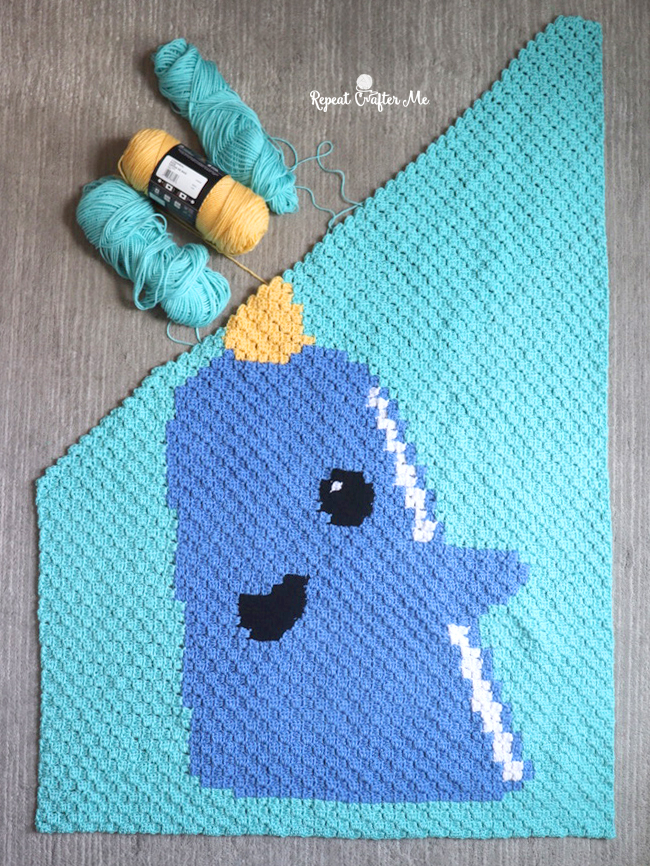
We are Halfway to the Holidays! I thought a Narwhal (AKA unicorn of the arctic ocean) blanket would be a perfect Christmas in July project!
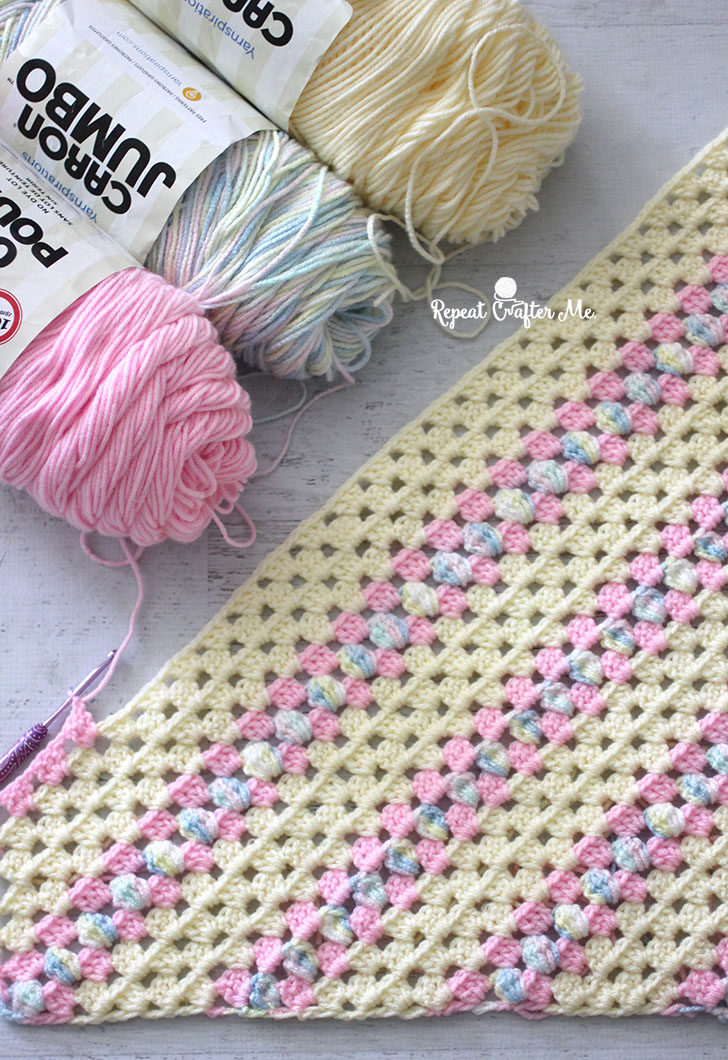
Our family loves the movie Elf and this blanket is made with very neutral holiday colors. These ocean blues are perfect for summertime crocheting!
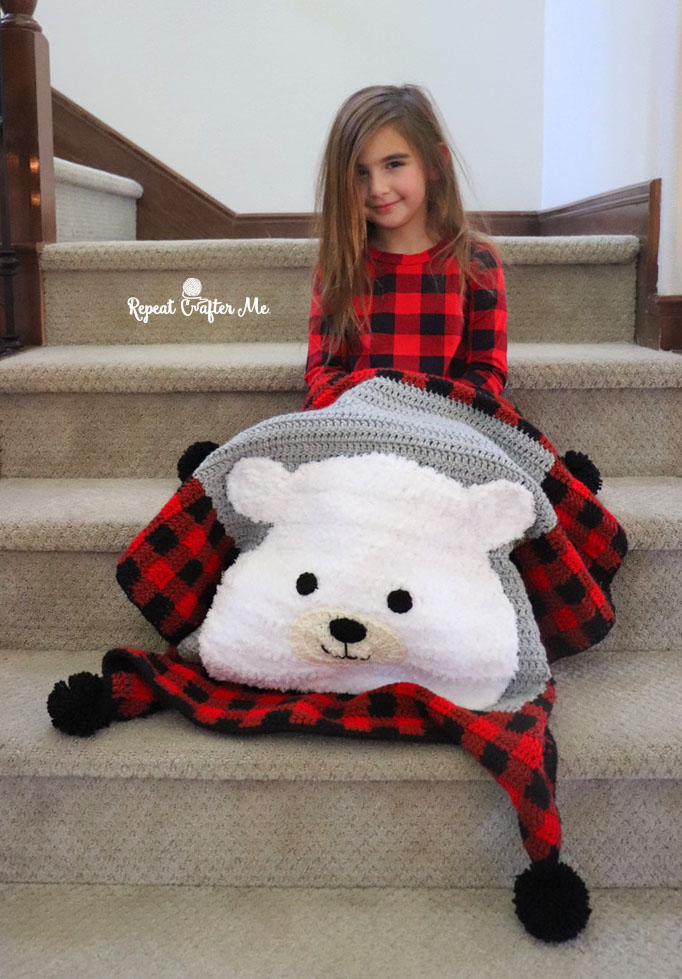
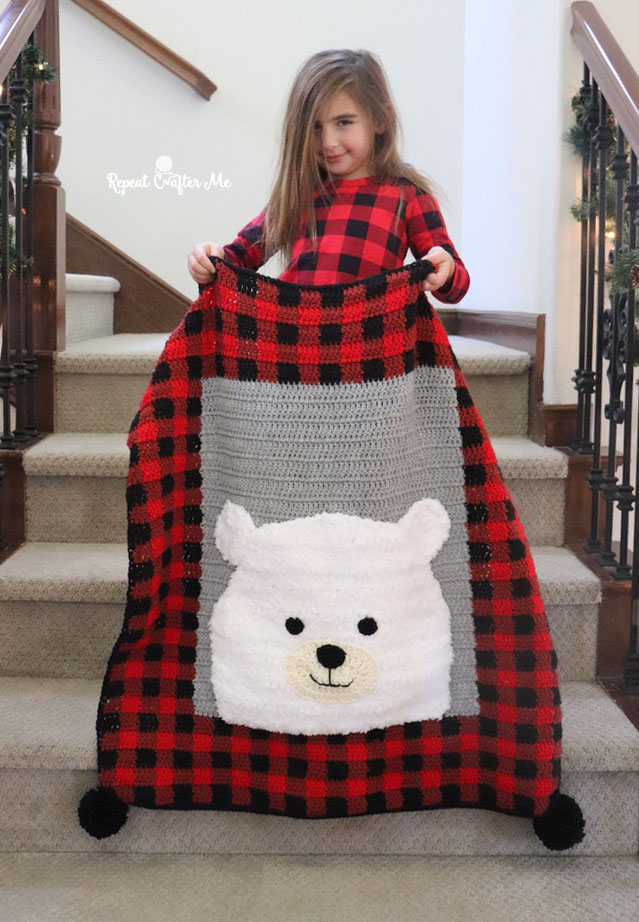
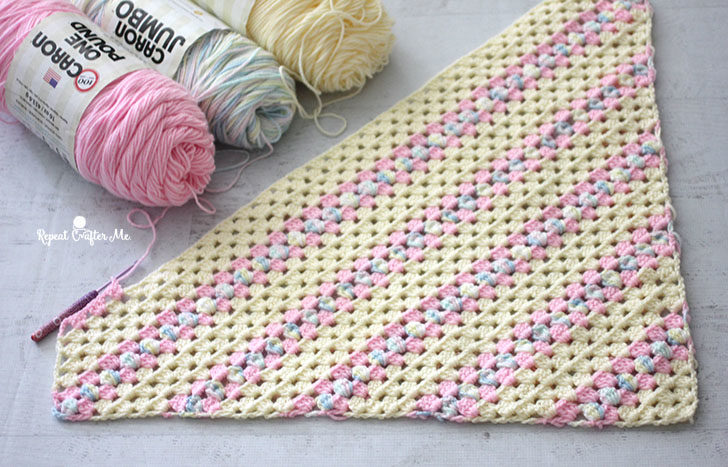
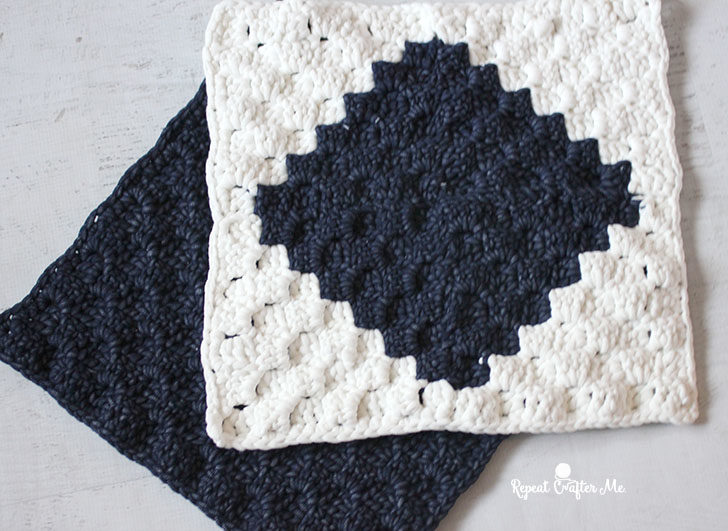
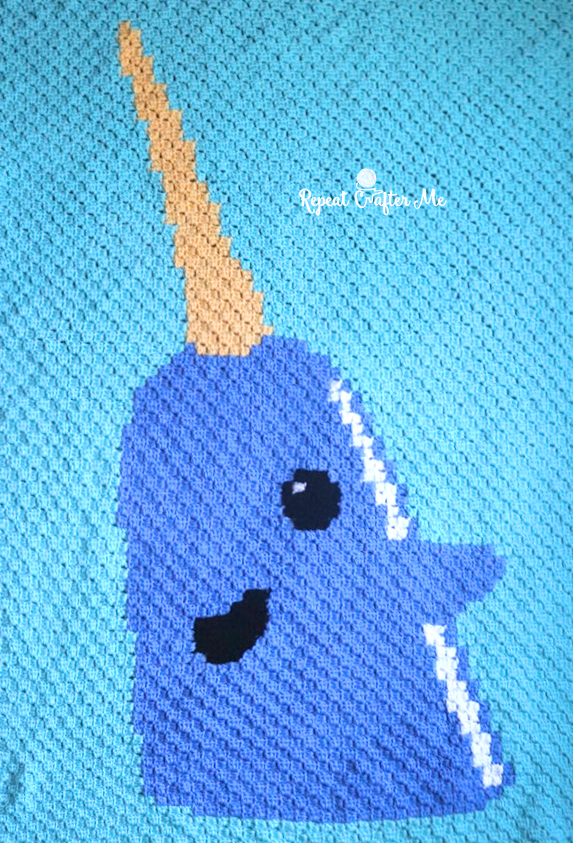
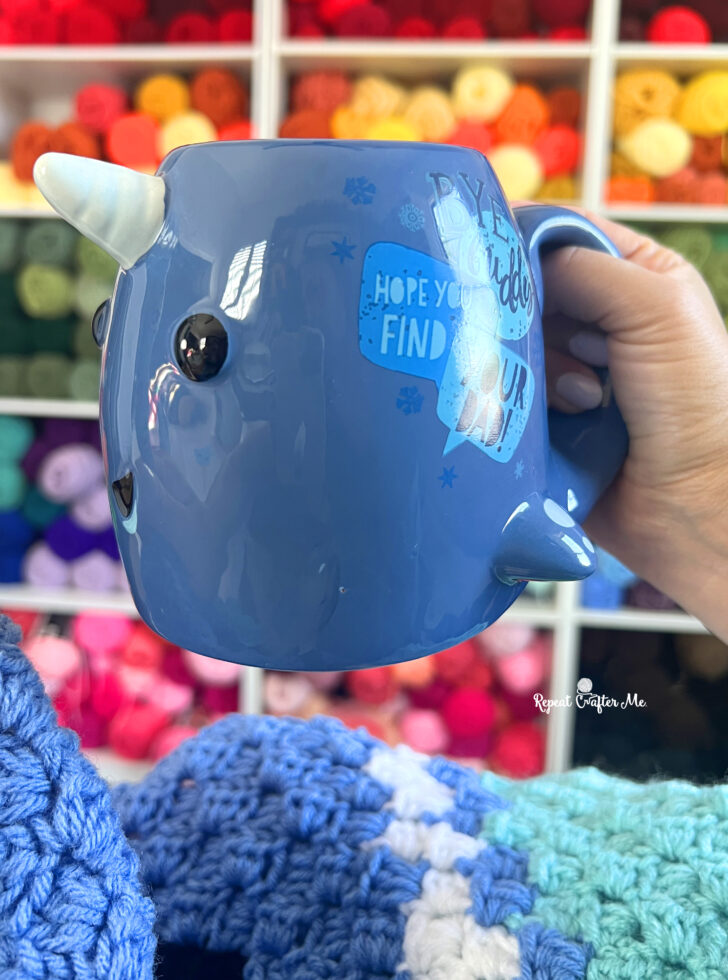
One of the iconic lines in the move Elf is “Bye, Buddy. Hope you find your dad.” said by Mr. Narwhal as buddy is leaving the North Pole on a quest to find his real dad in New York City. This Corner-to-Corner Crochet Blanket is a cute representation of Mr. Narwhal and it’s so big and snuggly for movie night!
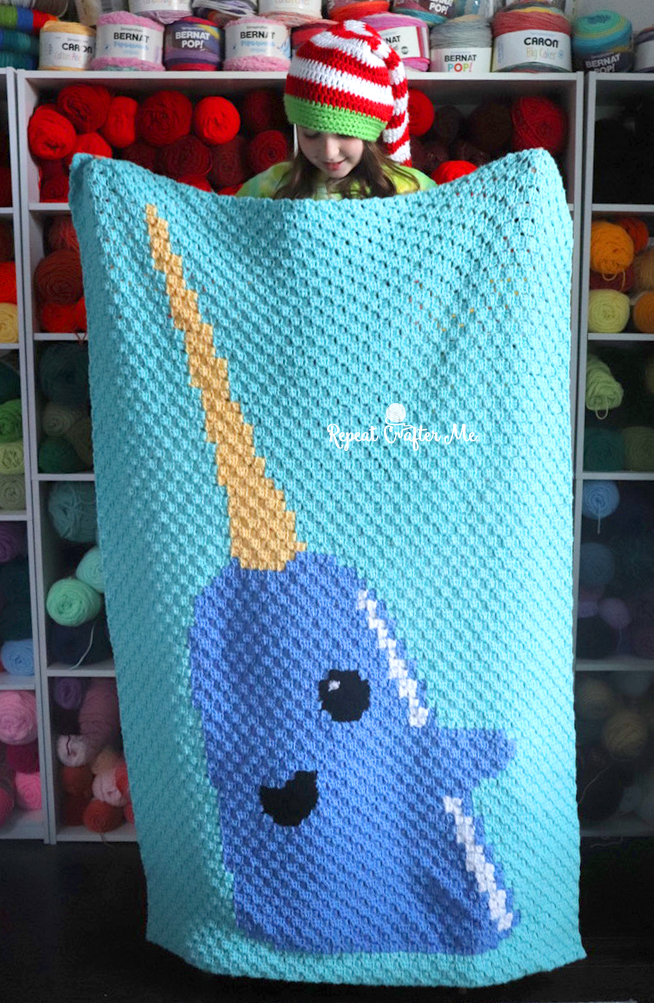
Finished size = 58 inches tall x 40 inches wide
Materials:
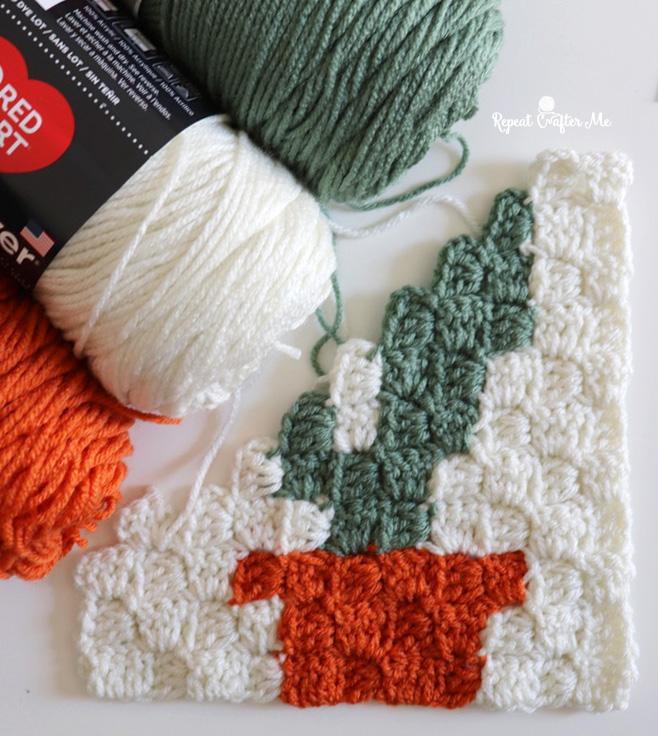
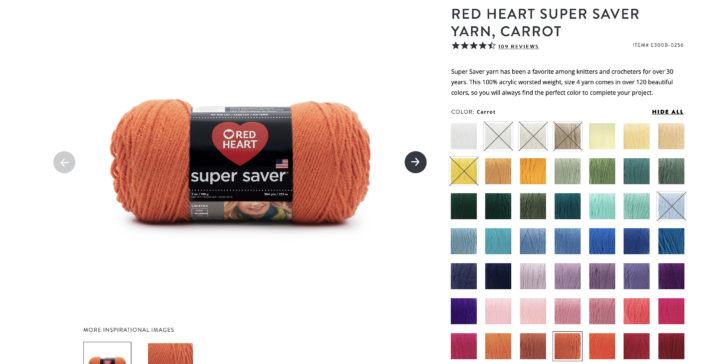
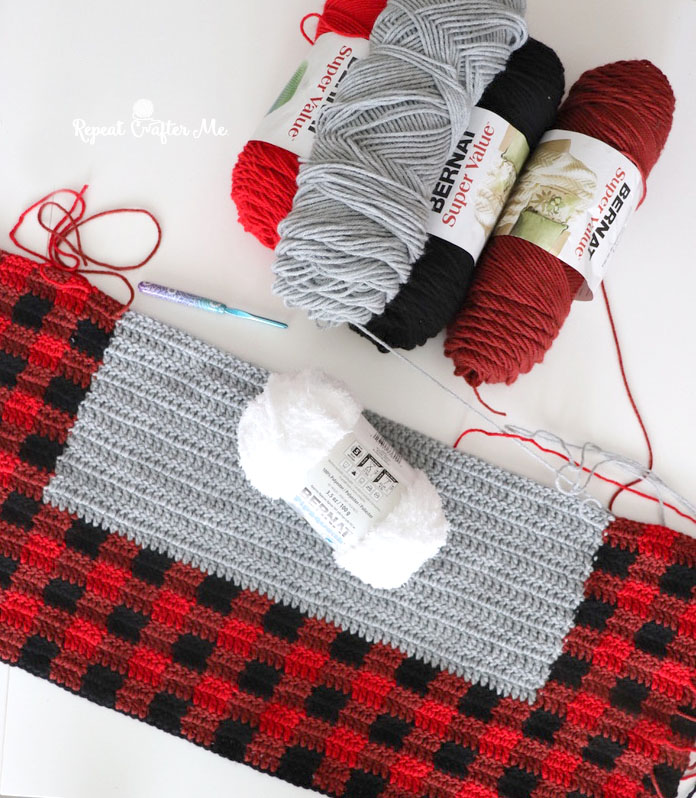
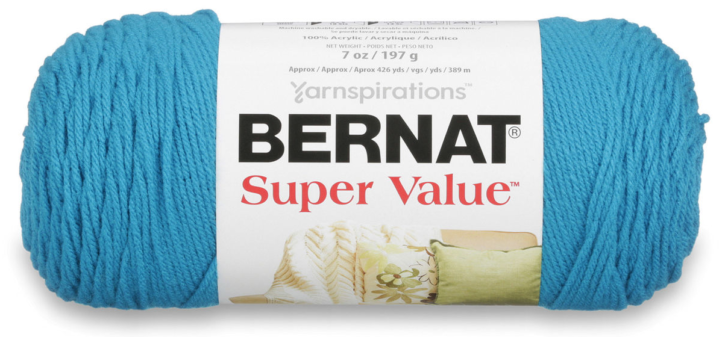
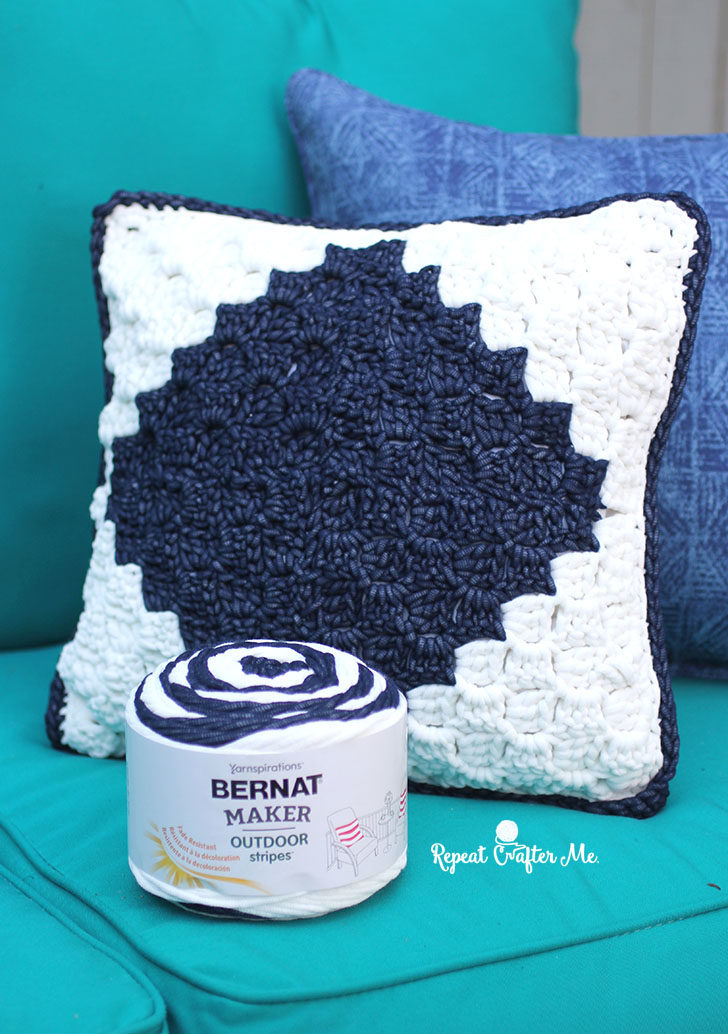
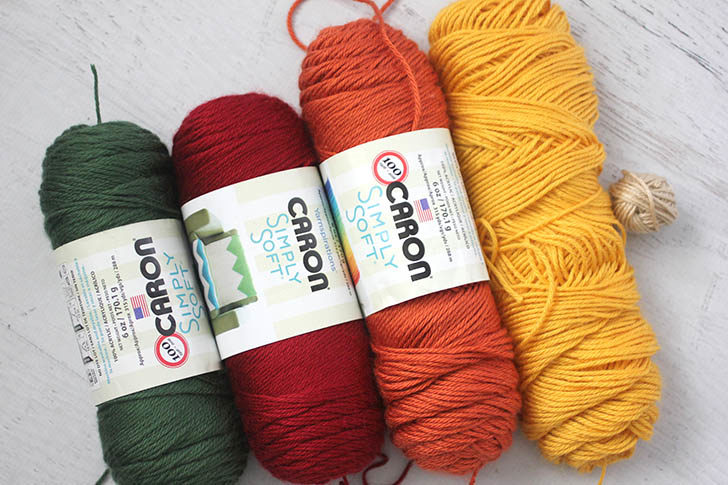
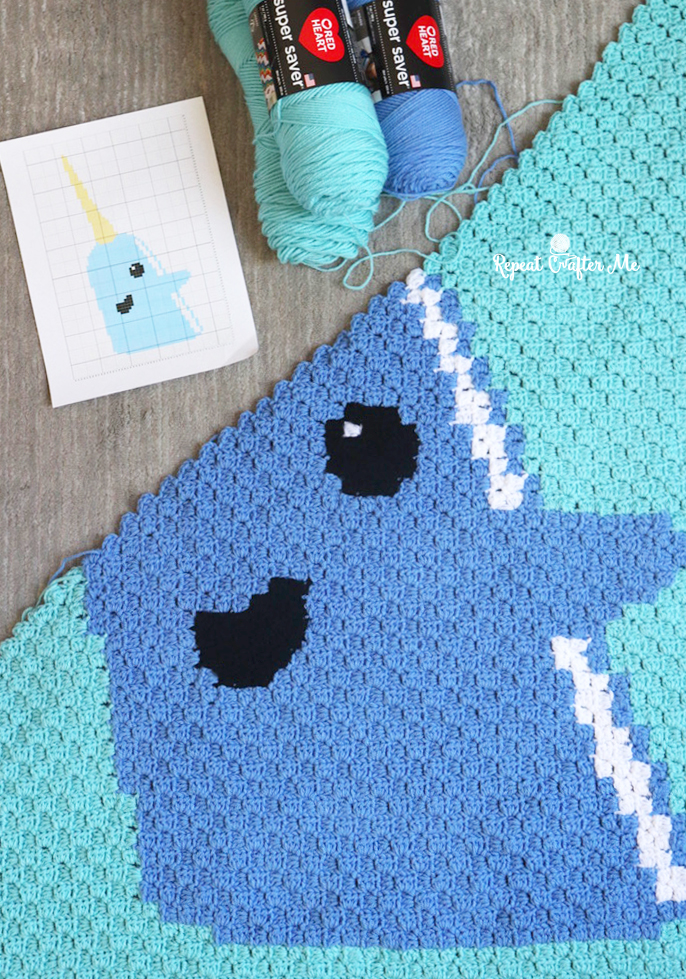
– Red Heart Super Saver Yarn in color Aruba Sea (4 skeins for the background), Light Periwinkle (2 skeins for the Narwhal), Cornmeal (1 skein for the horn), Black (less than 1 skein for the mouth/eye), and White (less than 1 skein for the reflection on the back)
You can get these EXACT colors on Yarnspirations.com! Shop them HERE.
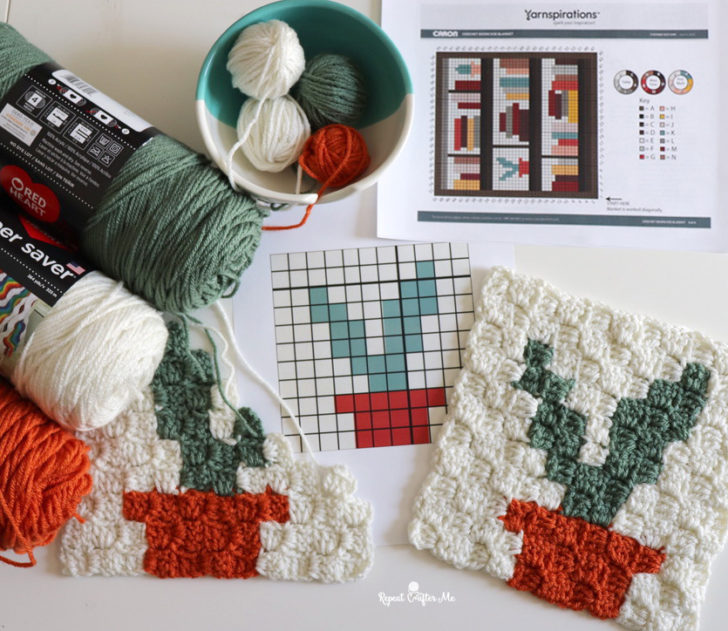
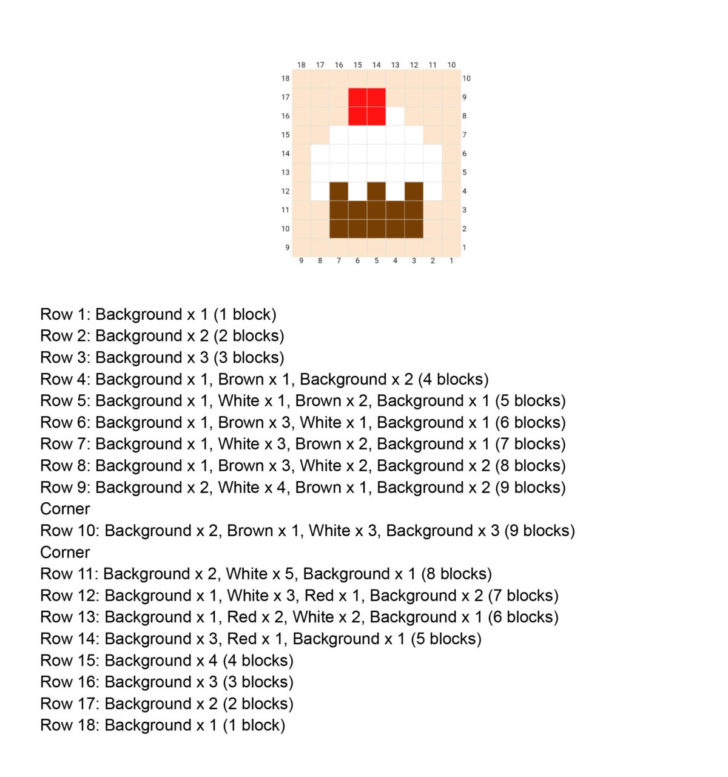
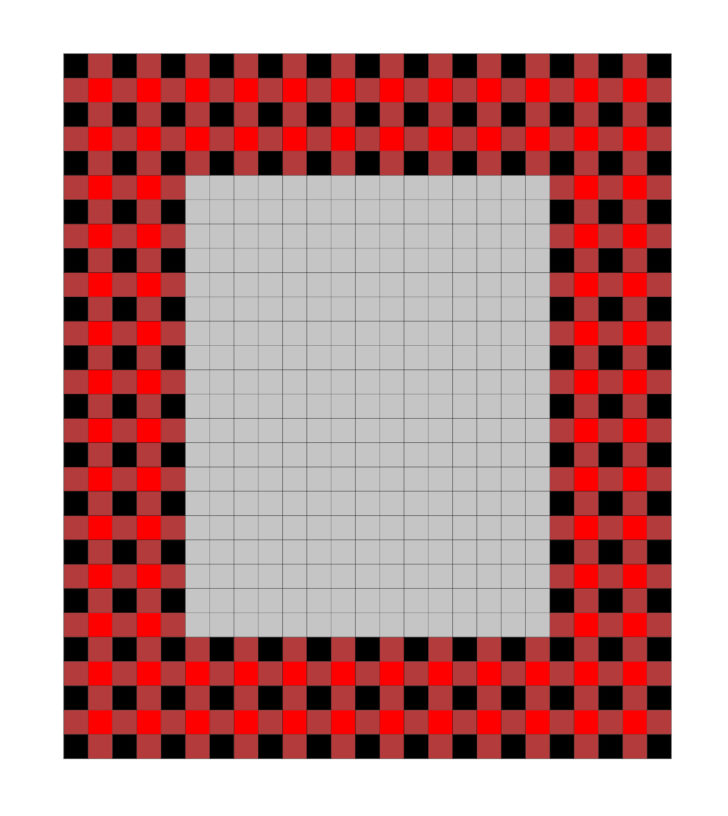
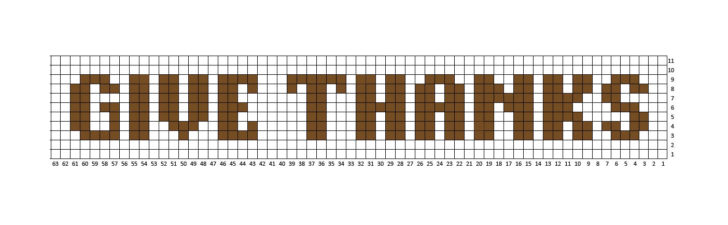
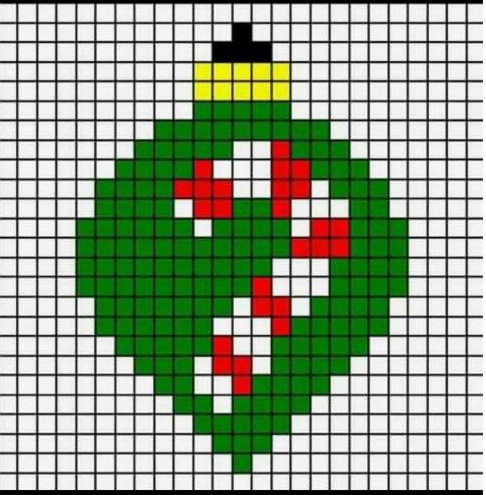
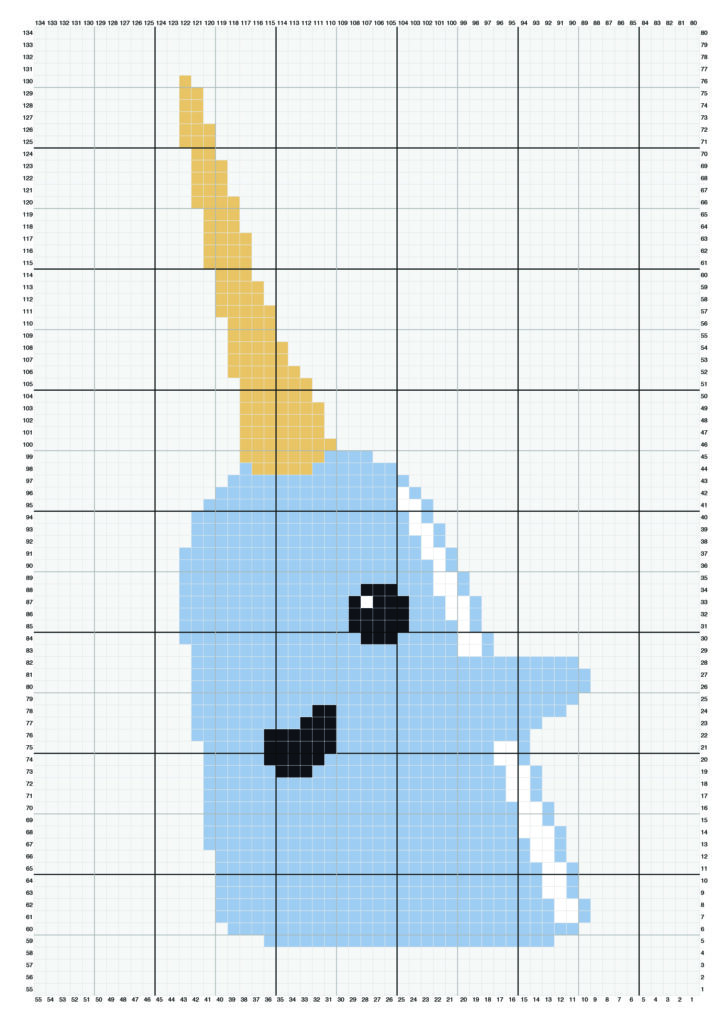
– Narwhal Pixel Graph. Get it HERE.
-Size H Crochet Hook
-Tapestry Needle
You can print out the Narwhal Pixel Graph is 4 parts and then tape them together so the squares are bigger and easier to follow.
Get the 4-PART NARWHAL PIXEL GRAPH HERE
Get the 1-PAGE NARWHAL PIXEL GRAPH HERE
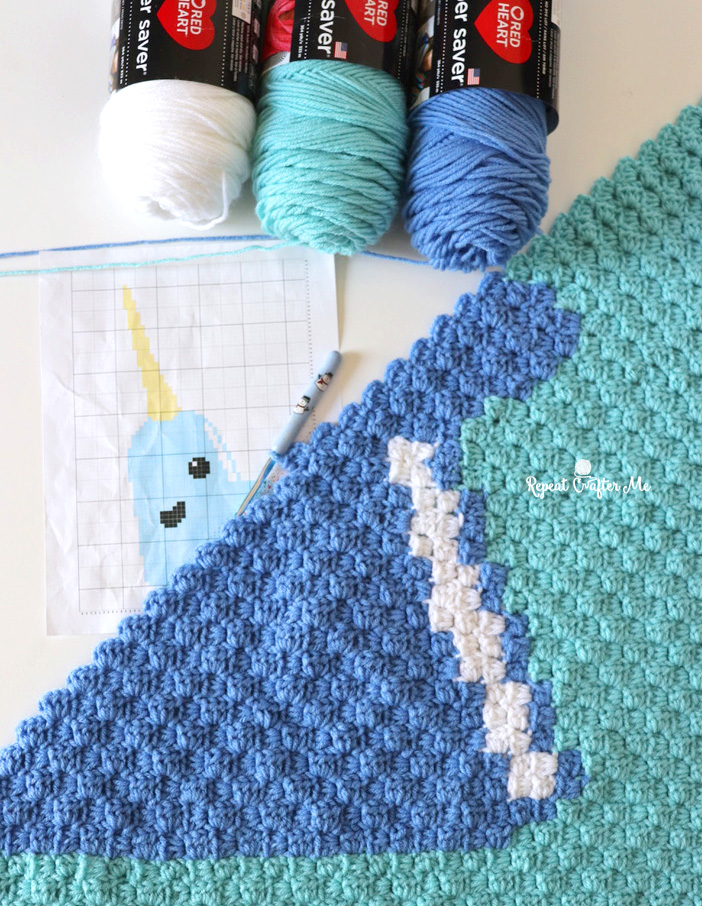
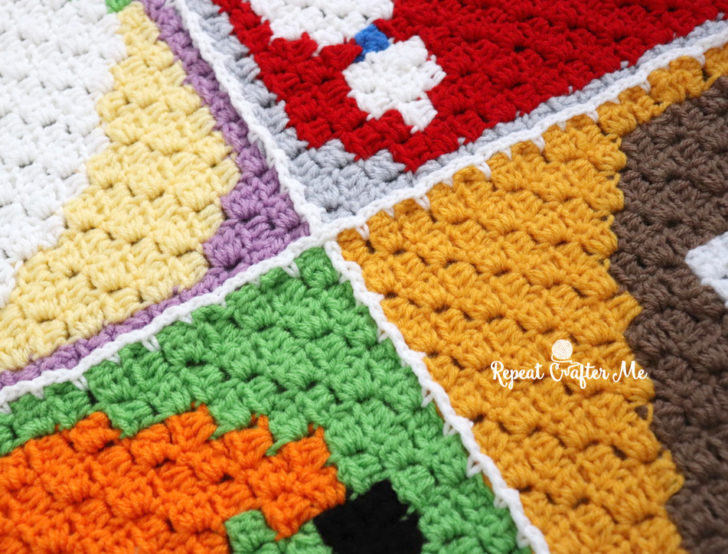
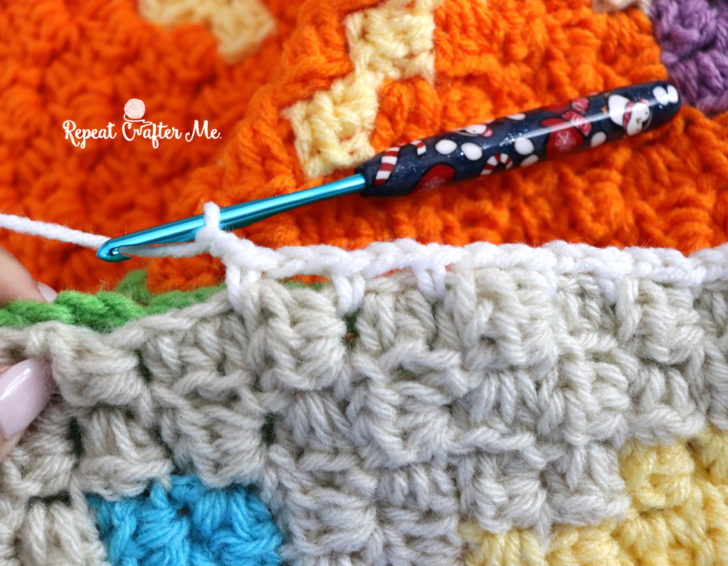
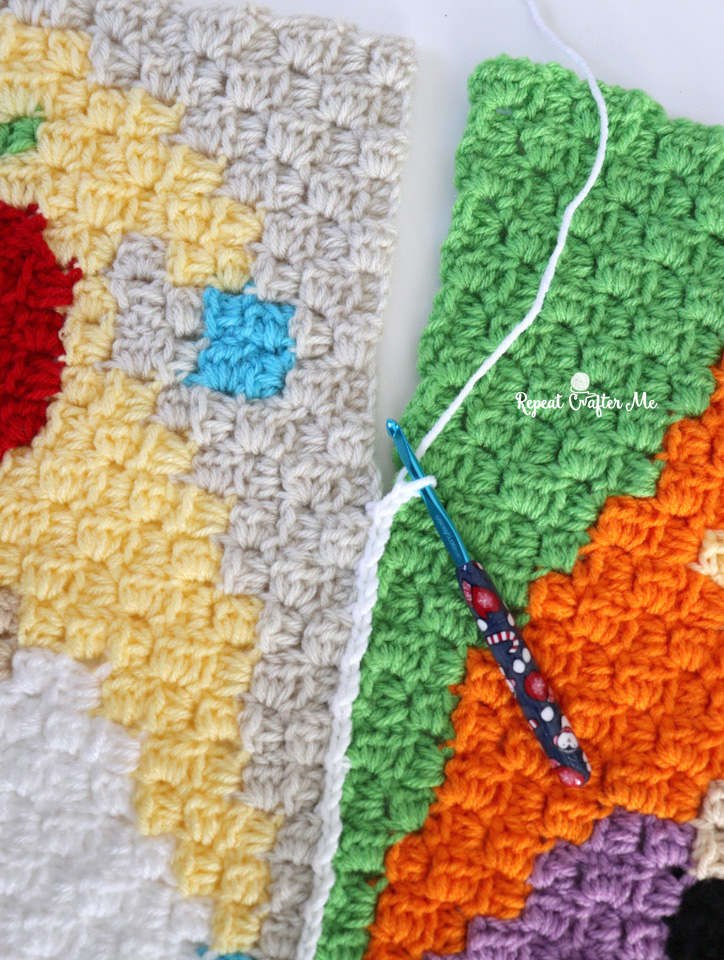
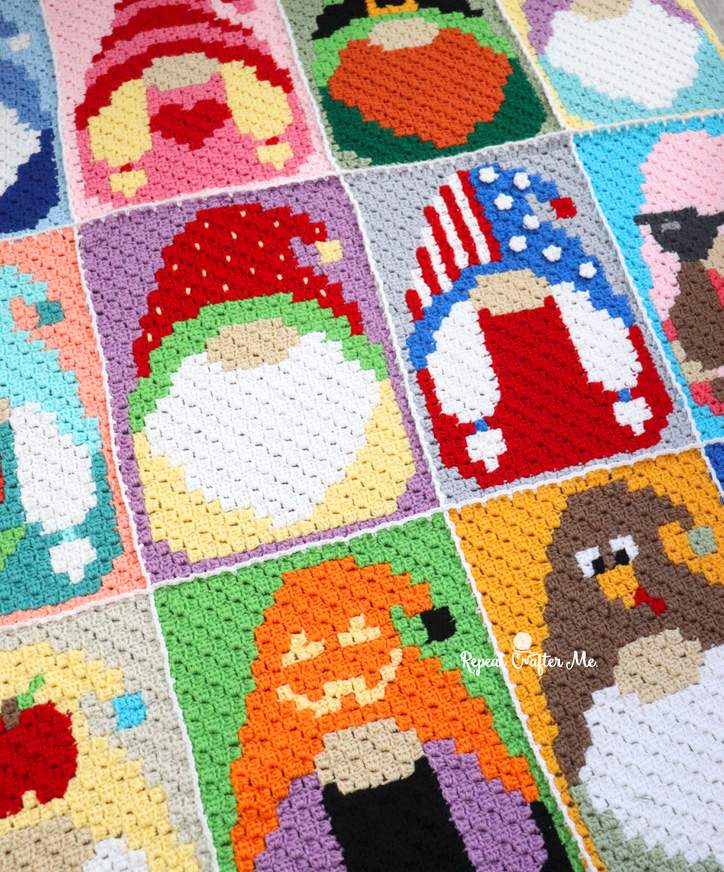
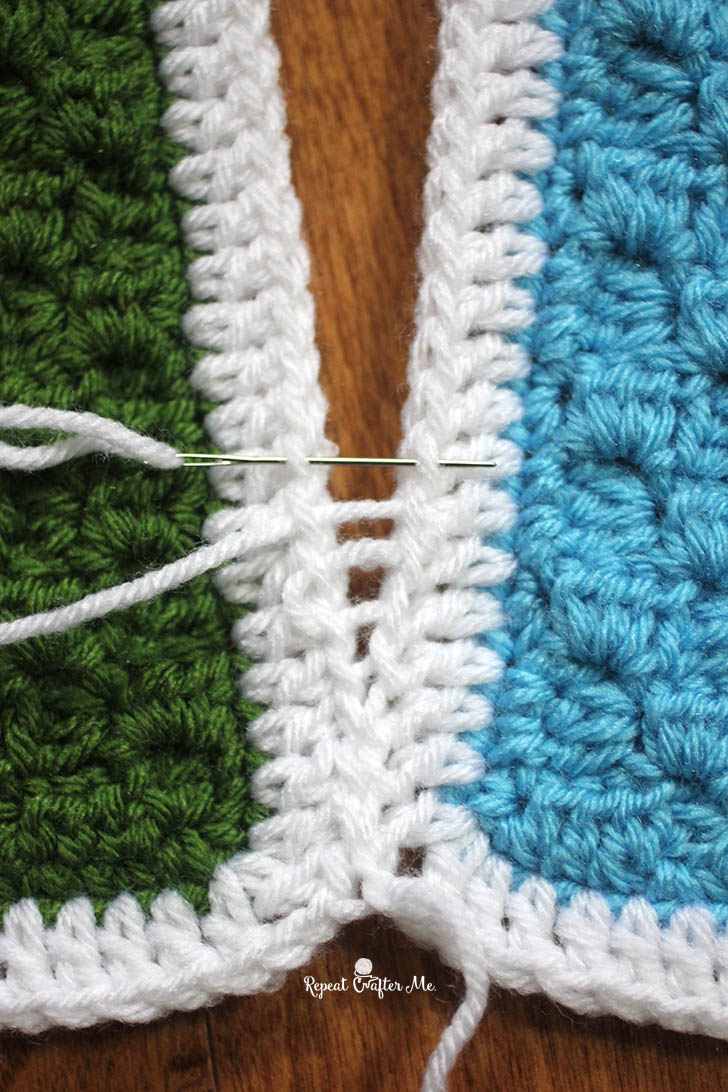
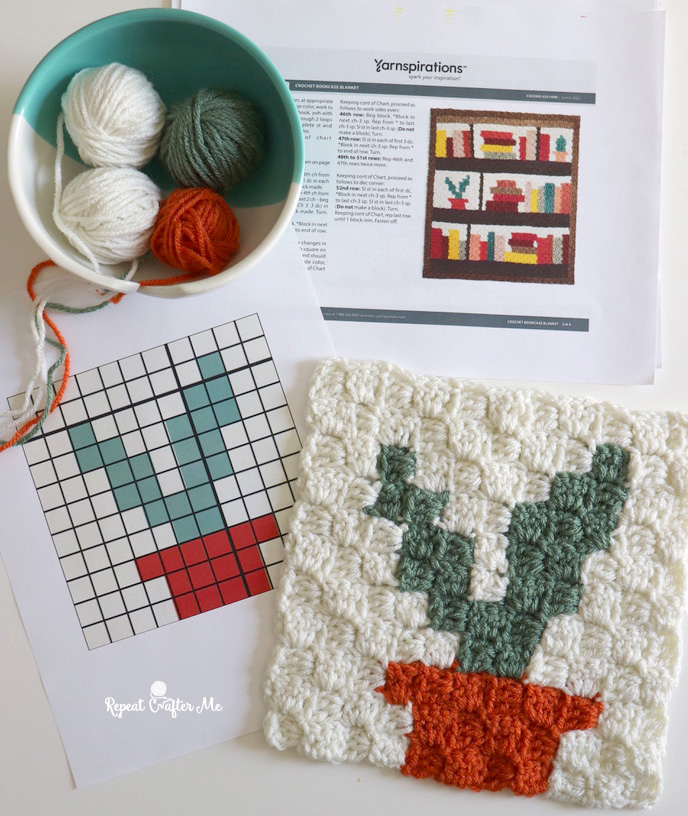
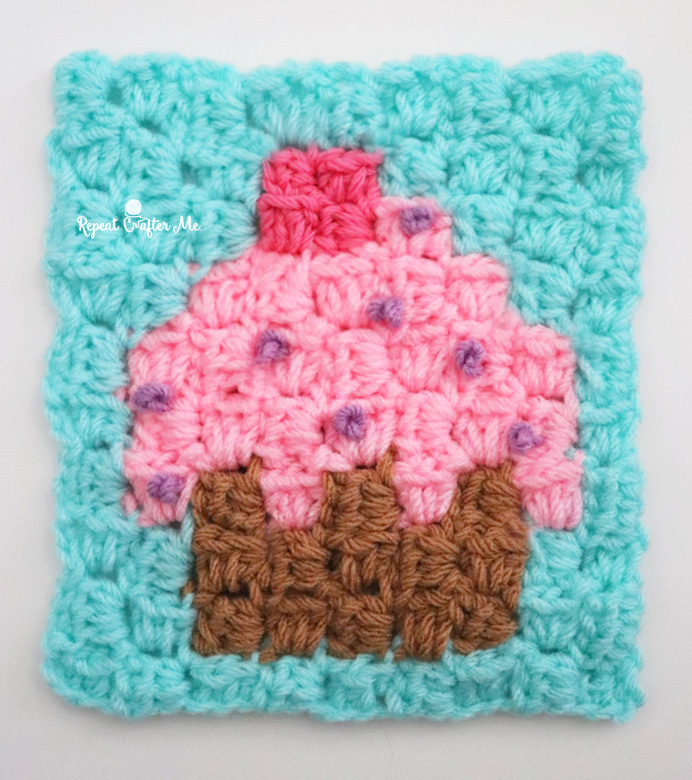
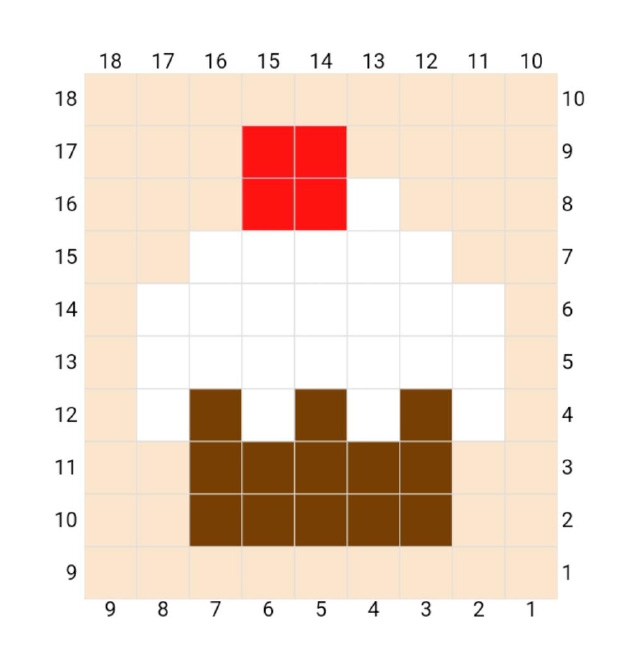
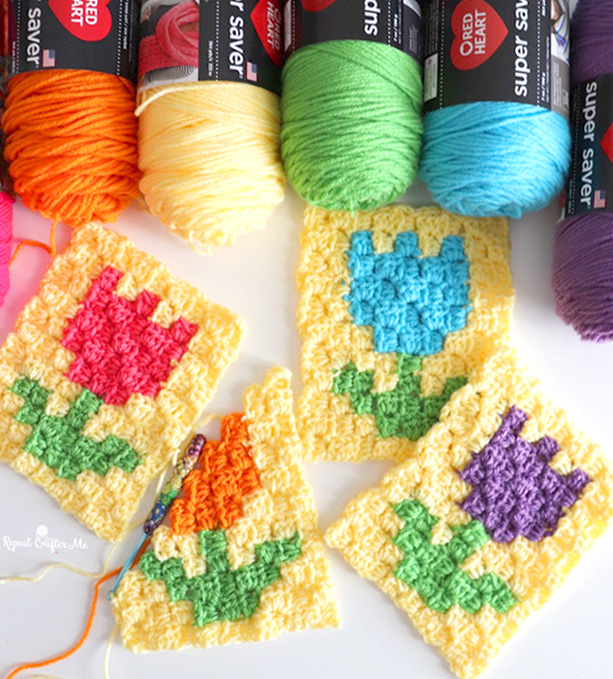
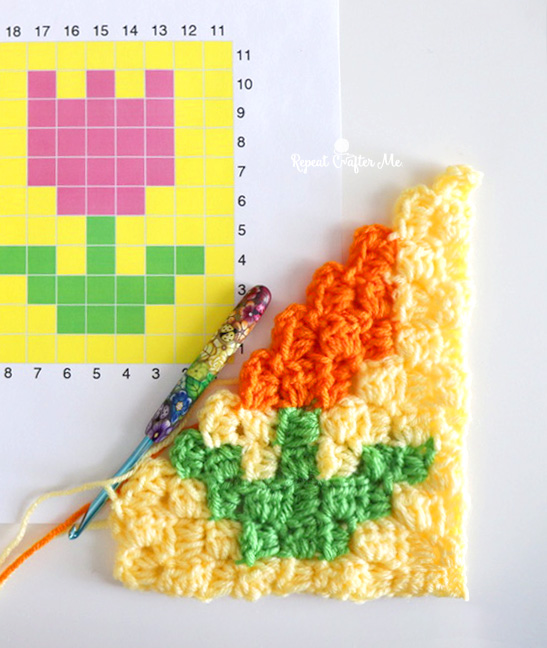
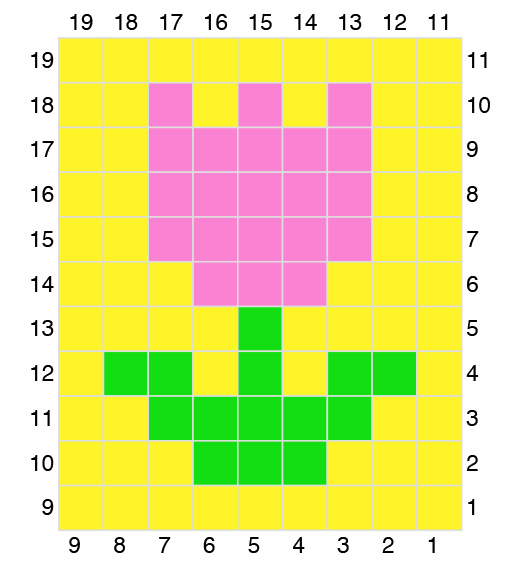
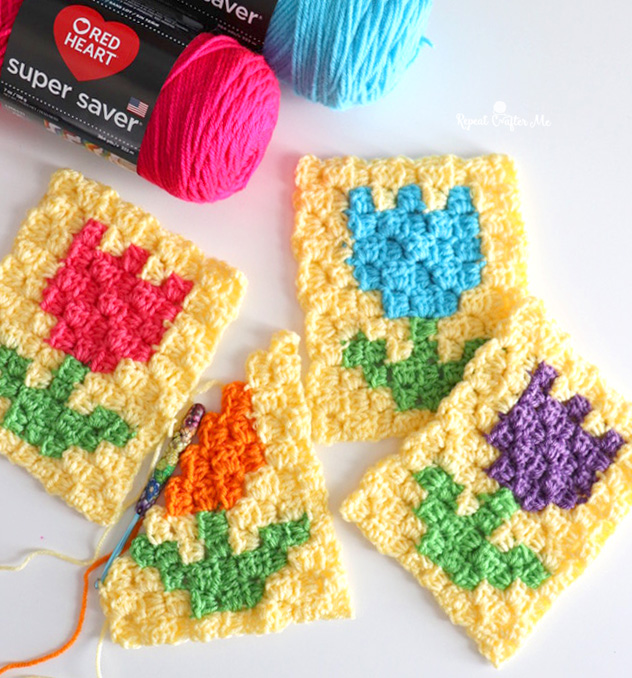
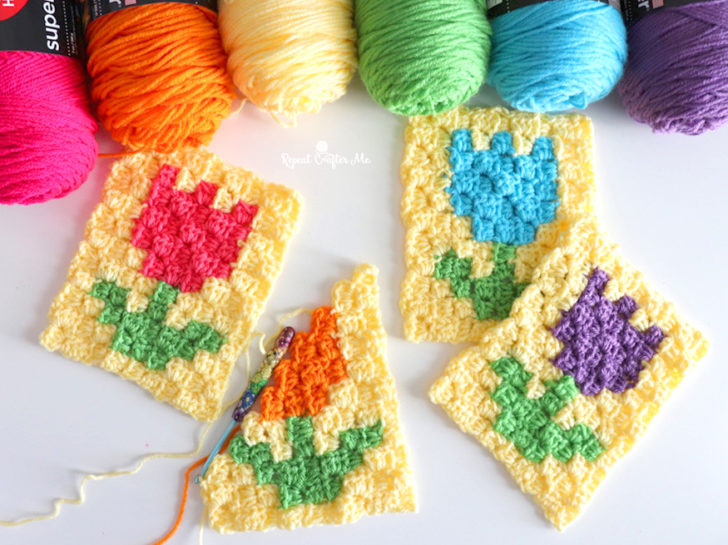
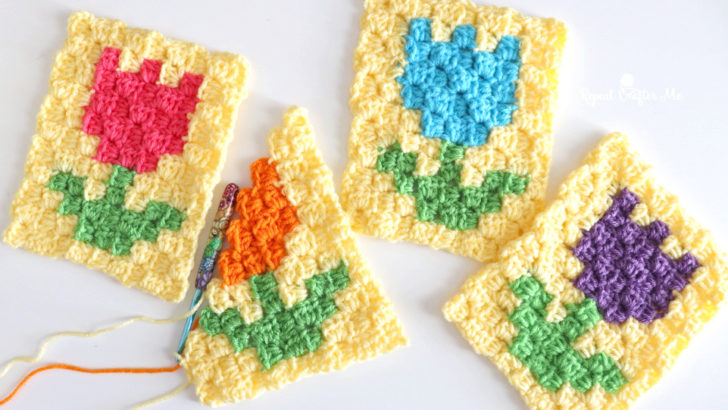
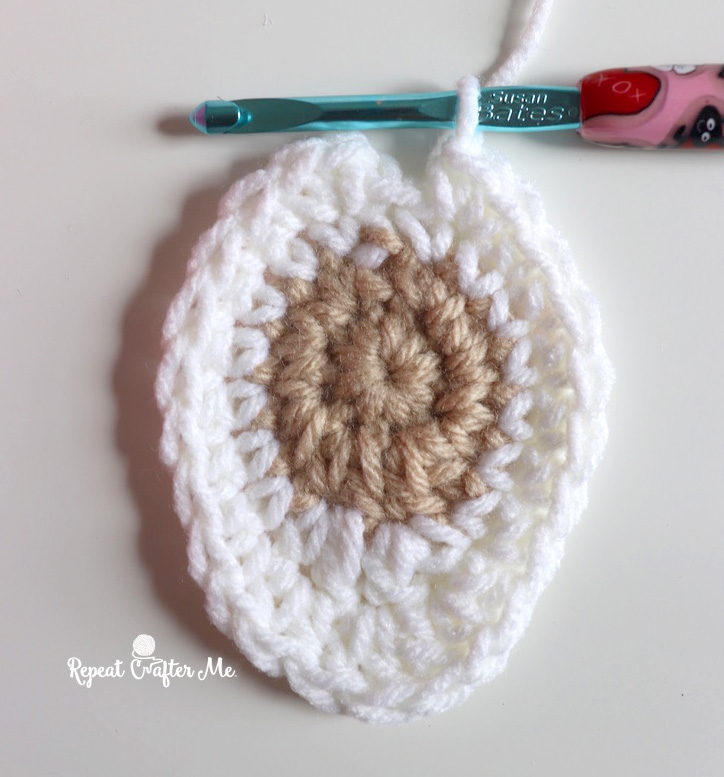
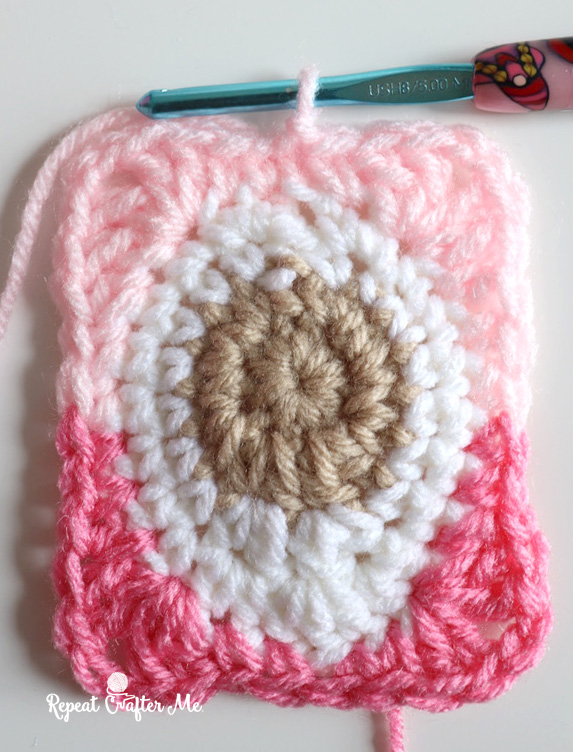
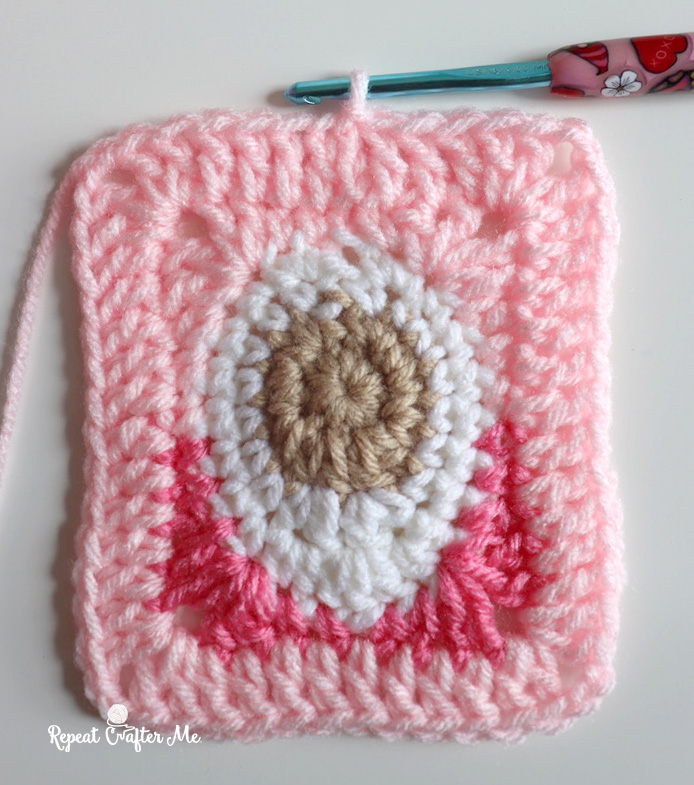
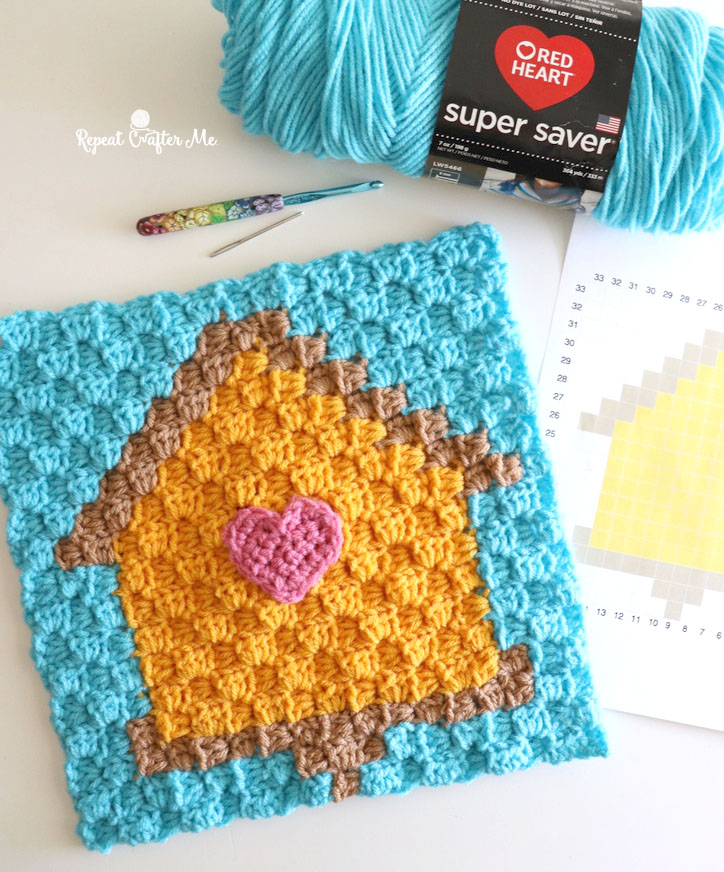
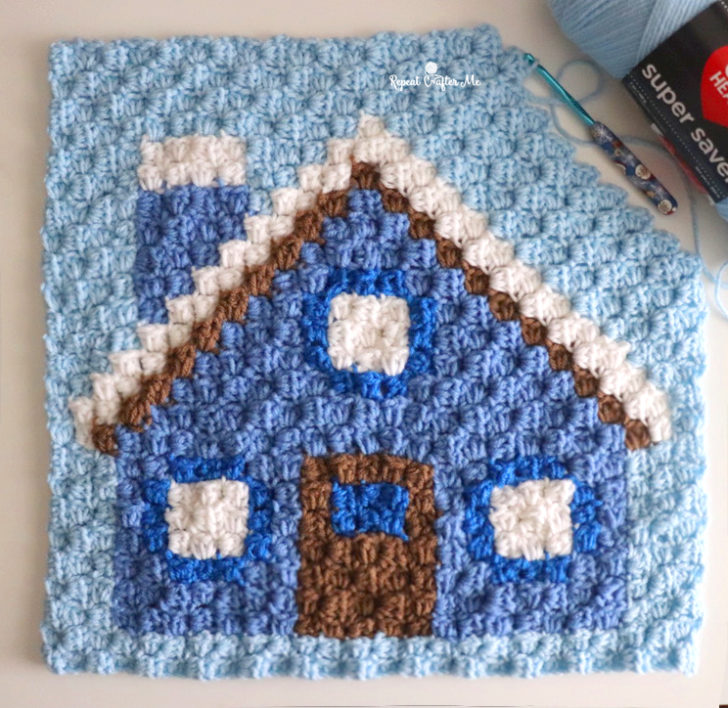
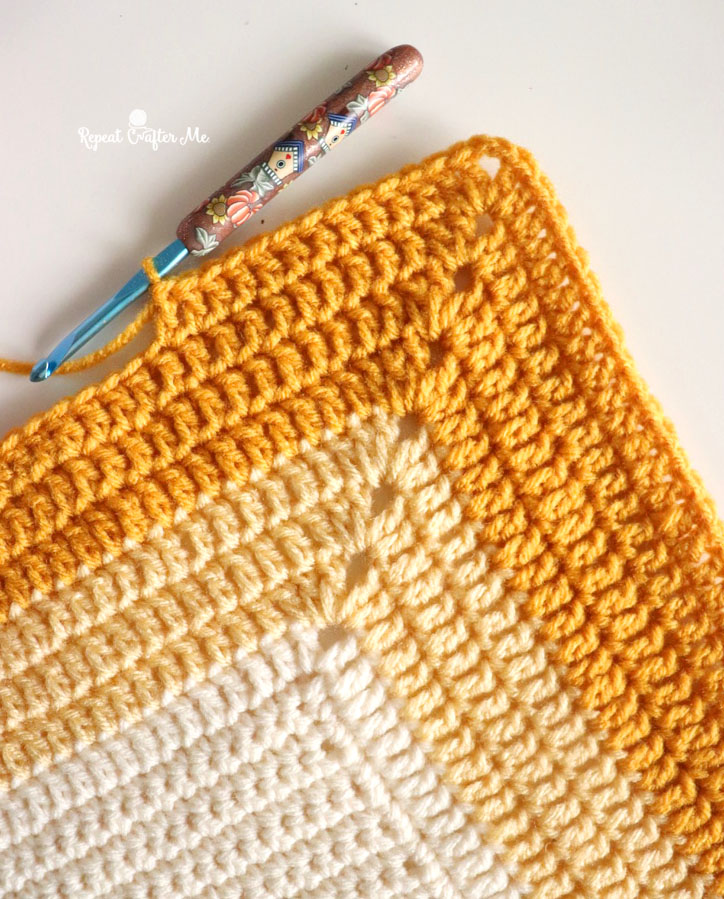
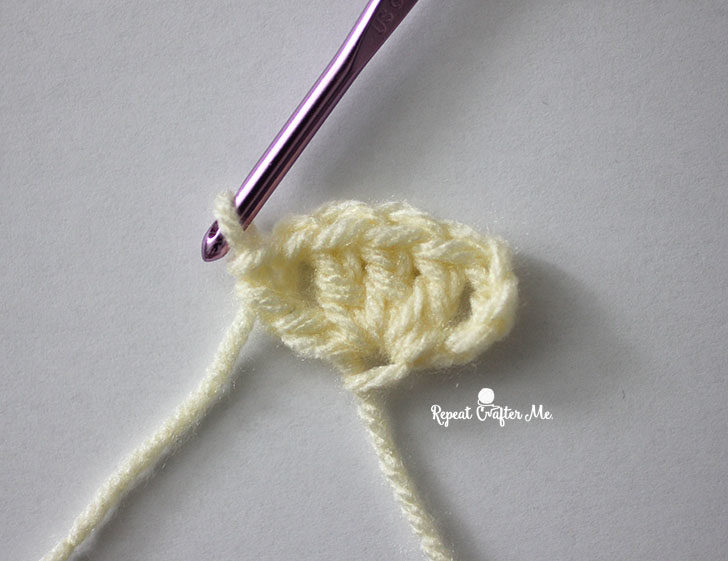
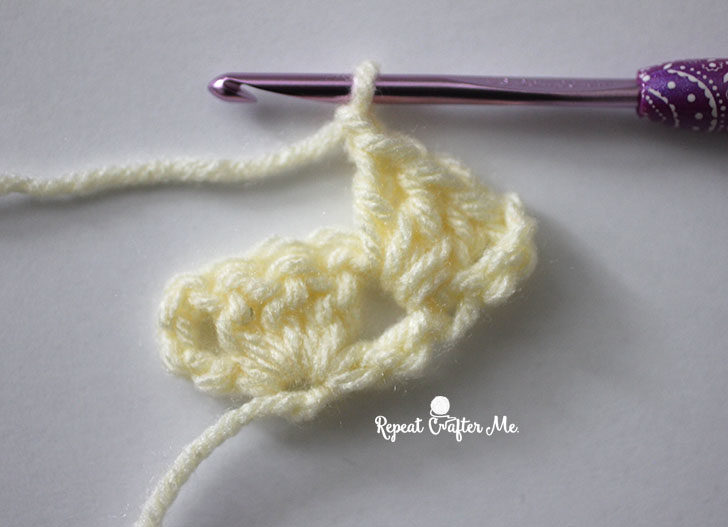
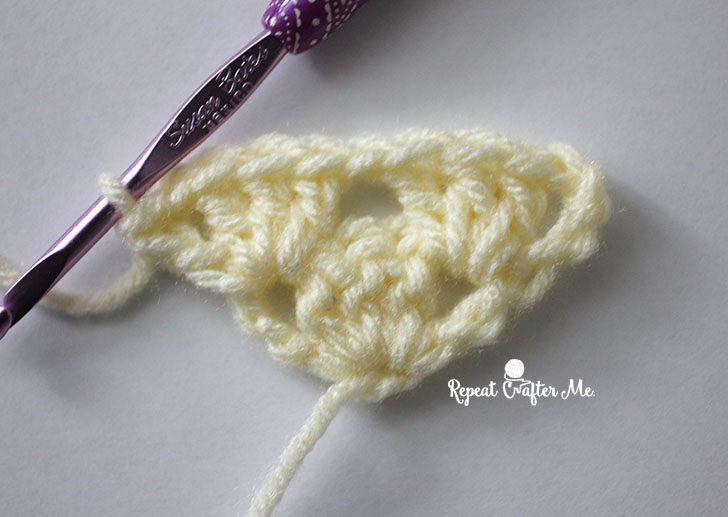
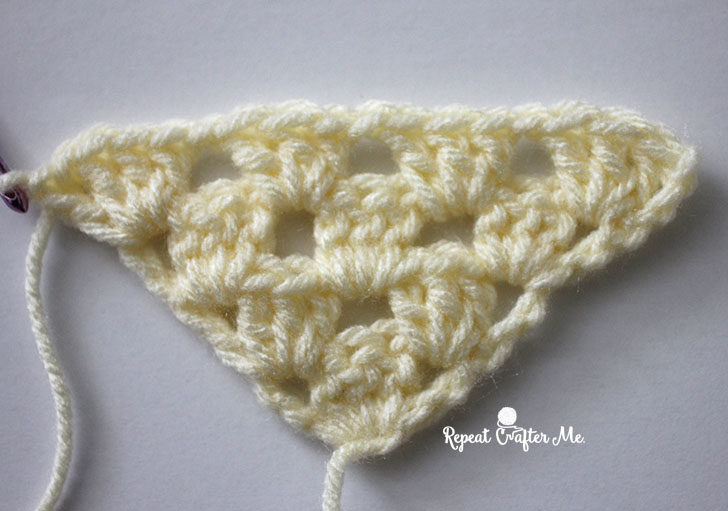
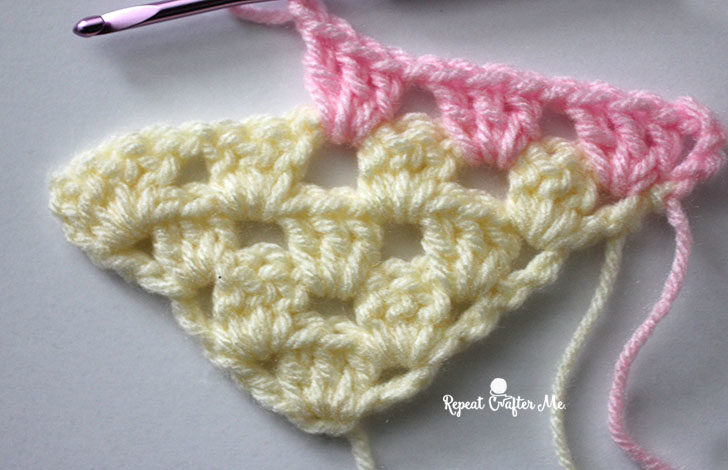
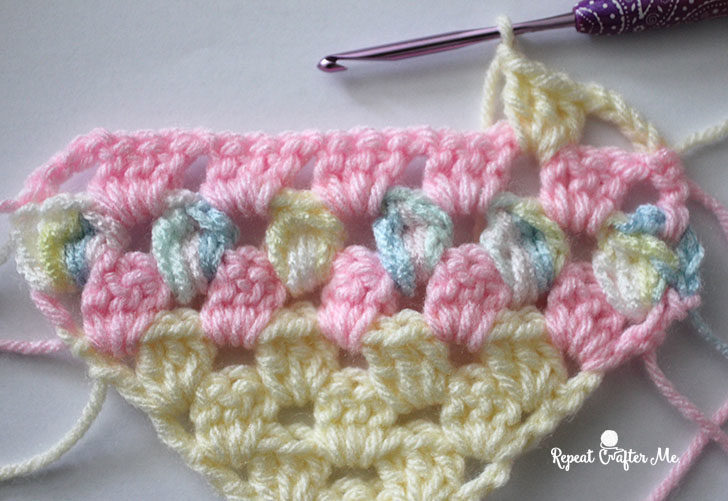
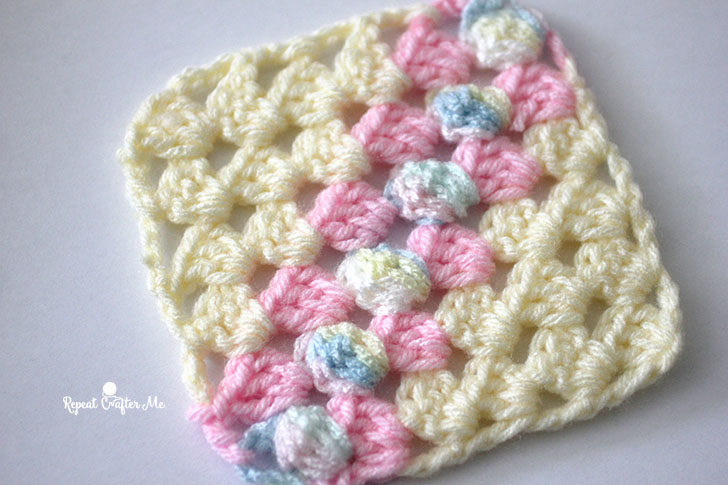
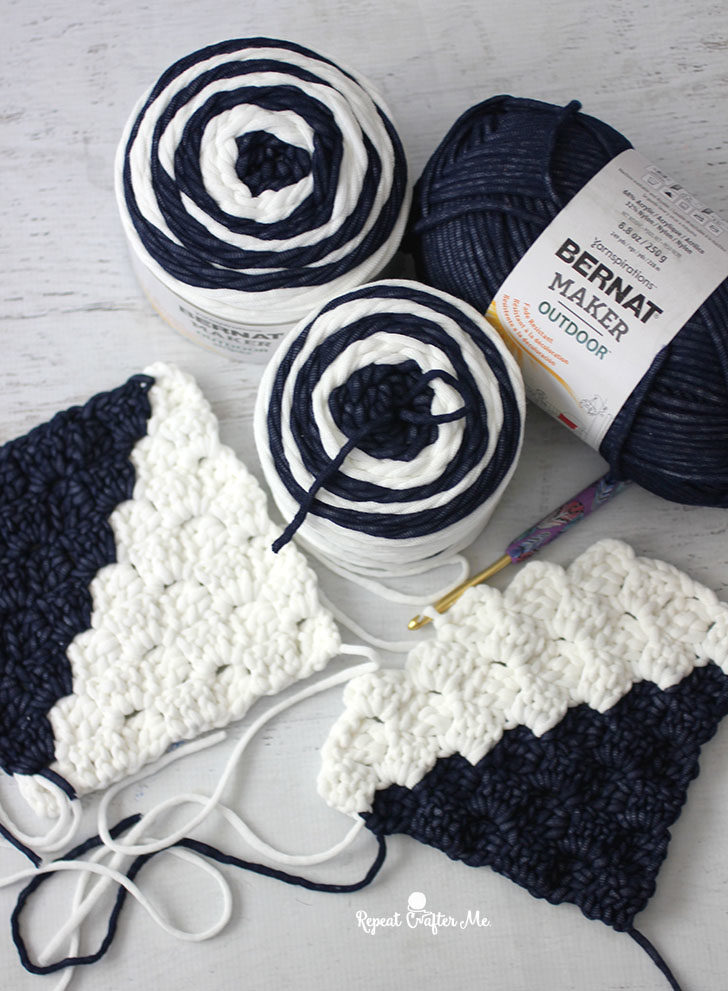
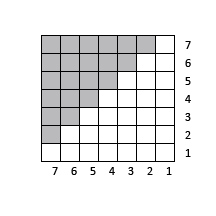
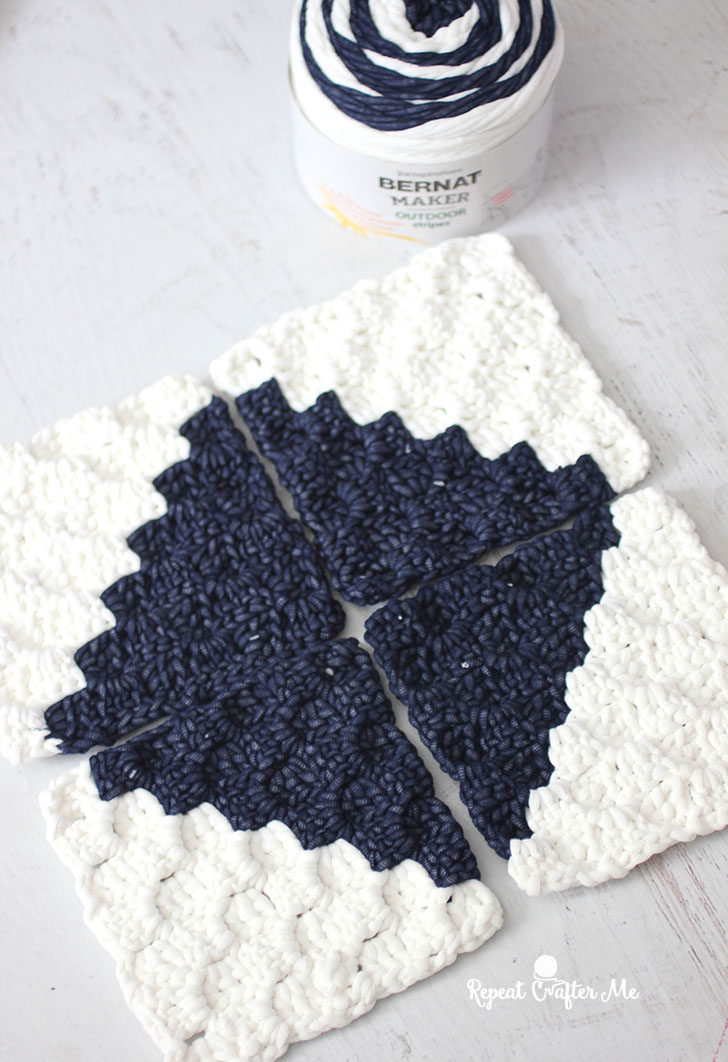
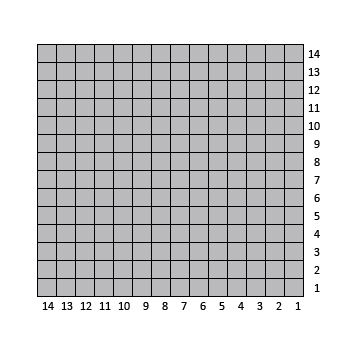
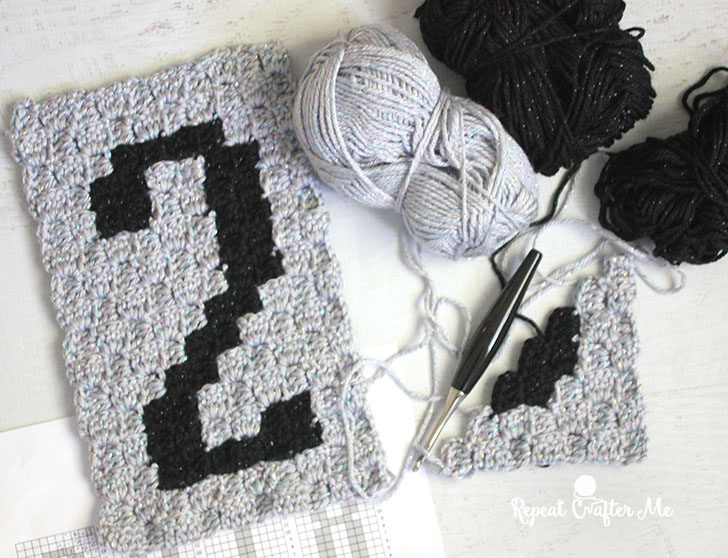
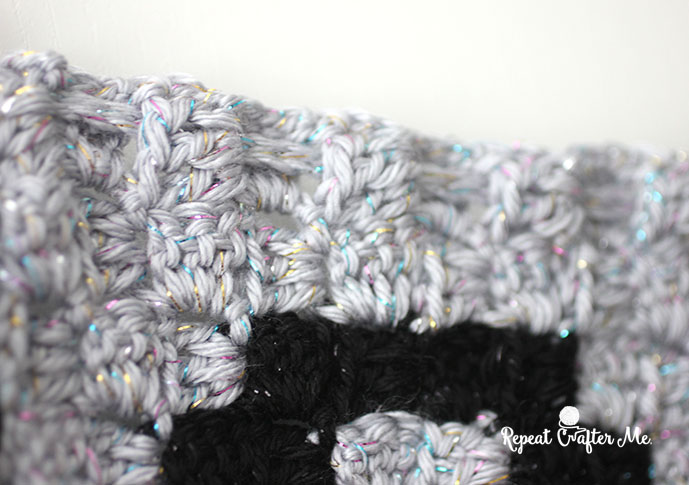
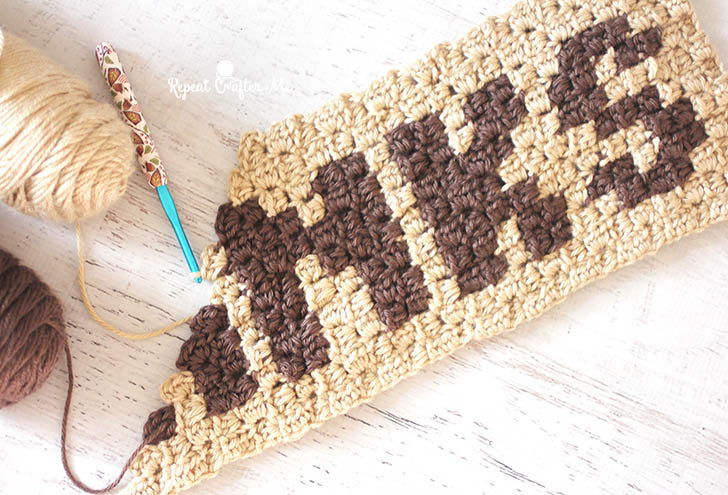
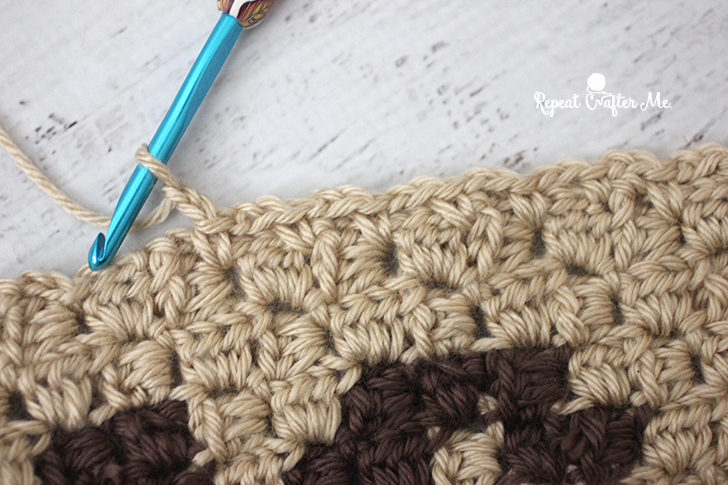
If you are new to Corner-to-Corner Crochet, let me help you! C2C lets you turn almost any image into a pixel graph and then from a pixel graph into a crocheted piece! The Corner-to-Corner technique basically means the you start in one corner (the lower right hand is most common place to start) and crochet diagonally in rows until you get to the other corner. You follow the pixel graph to create the color changes that make up the pixel picture. One pixel square = a chain 2 + 3 HDC stitches. Please note that I am using HDC stitches for the C2C instead of DC. You can use either! The DC is more common but keep in mind that if you use Double Crochet, it will end up slightly bigger.
If C2C is confusing to you, don’t worry, my friends at The Crochet Crowd have the perfect beginner tutorial! And the best part is that they chose to use a few of my projects as the examples so you can’t go wrong! Get The Crochet Crowd Corner-to-Corner Crochet using HDC (half double crochet) HERE.
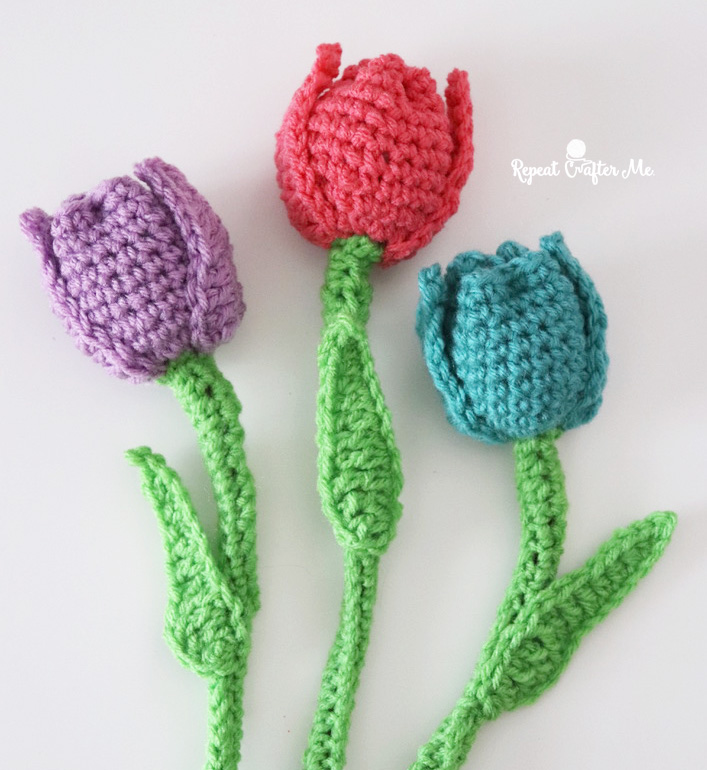
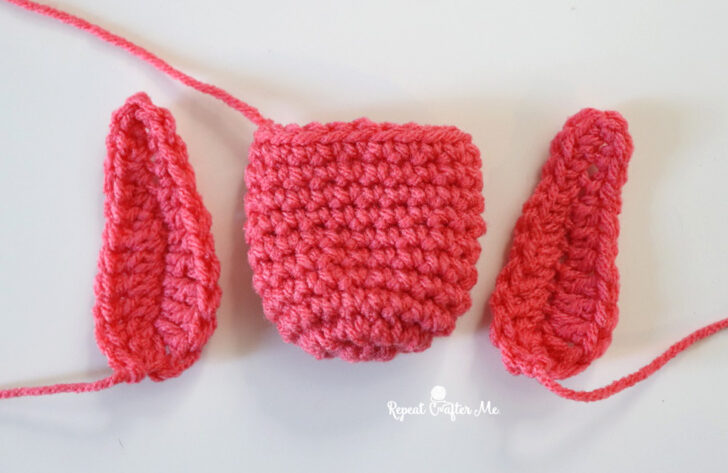
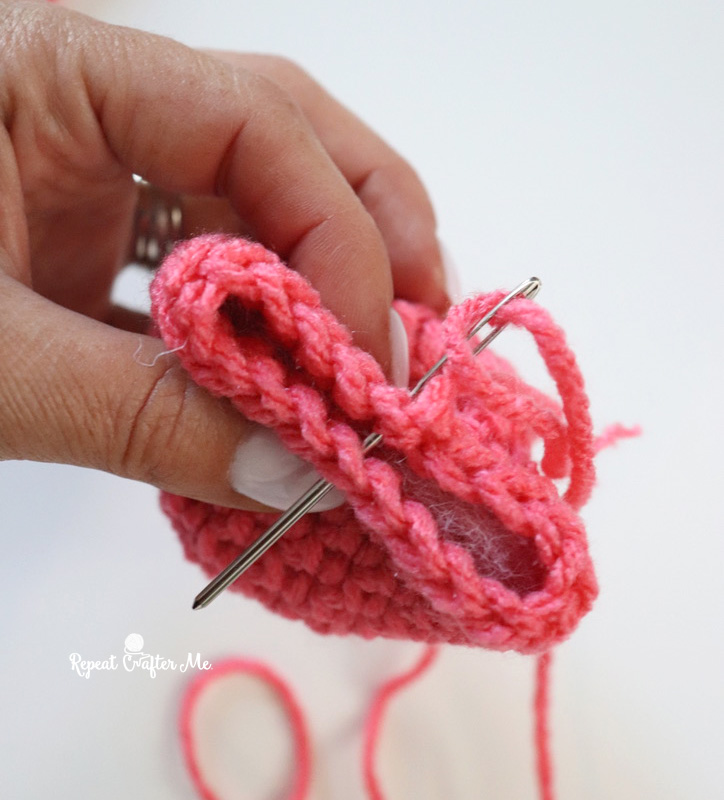
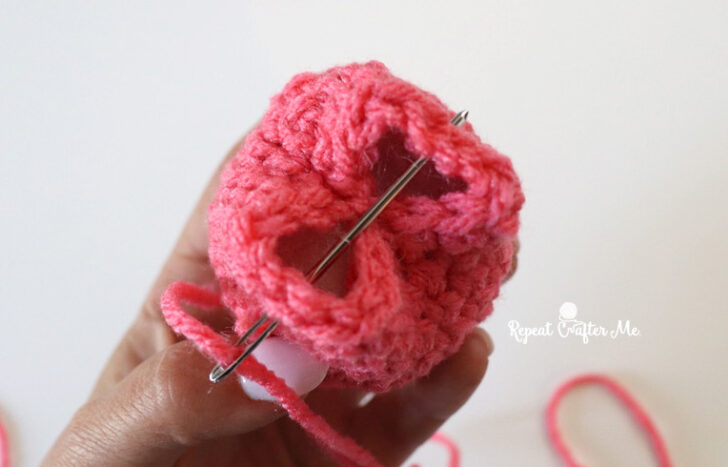
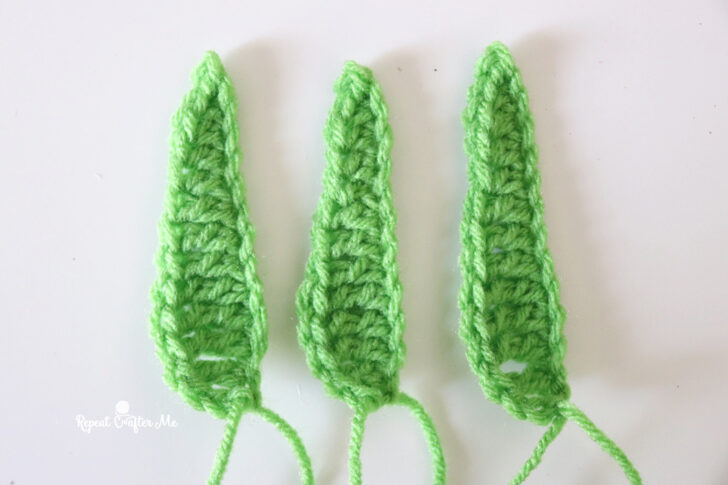
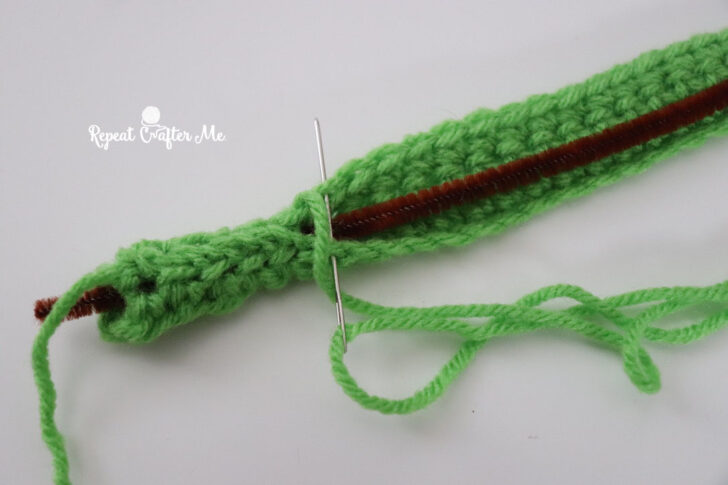
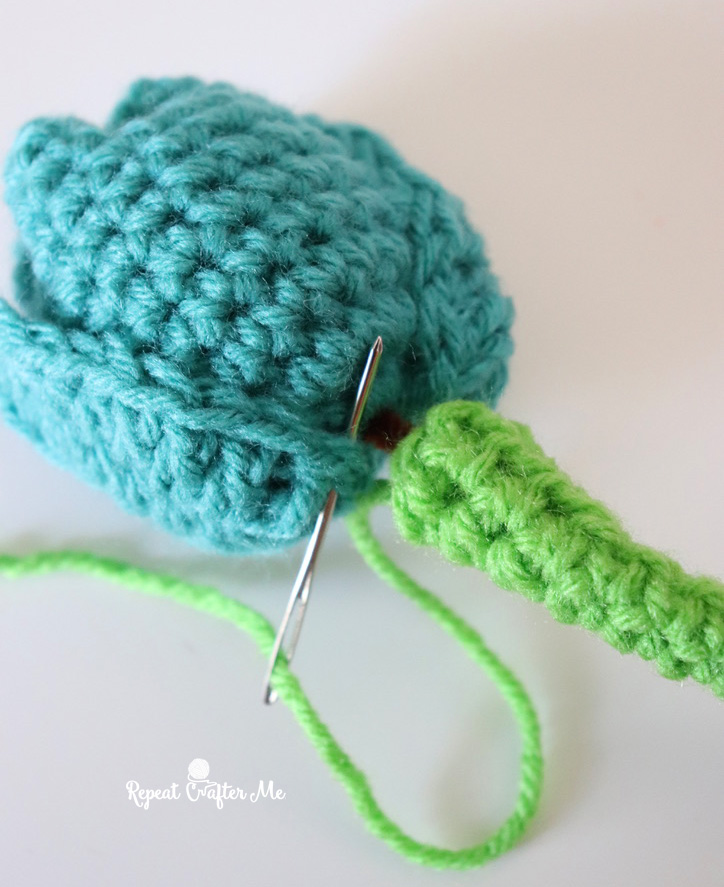
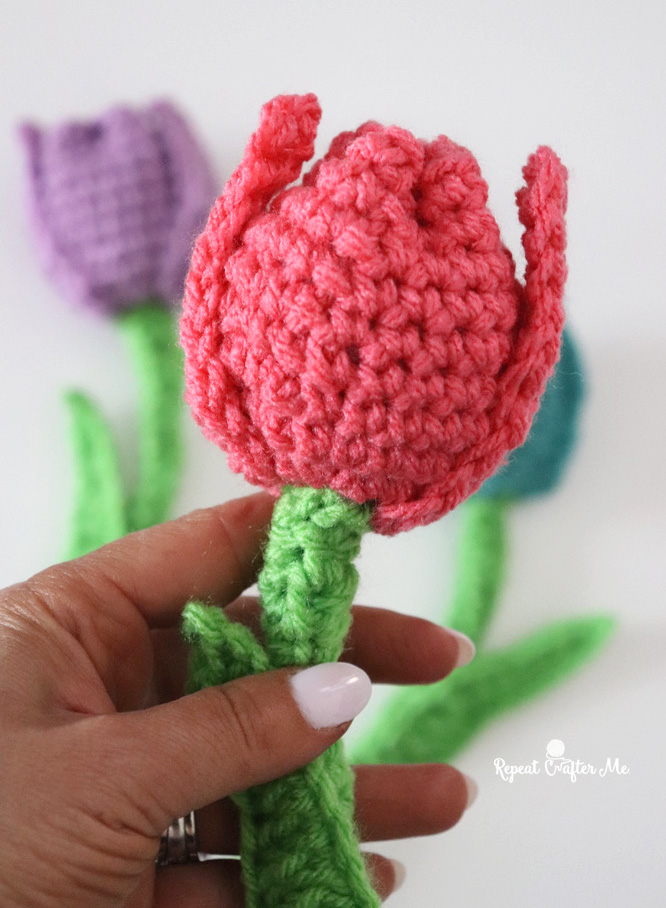
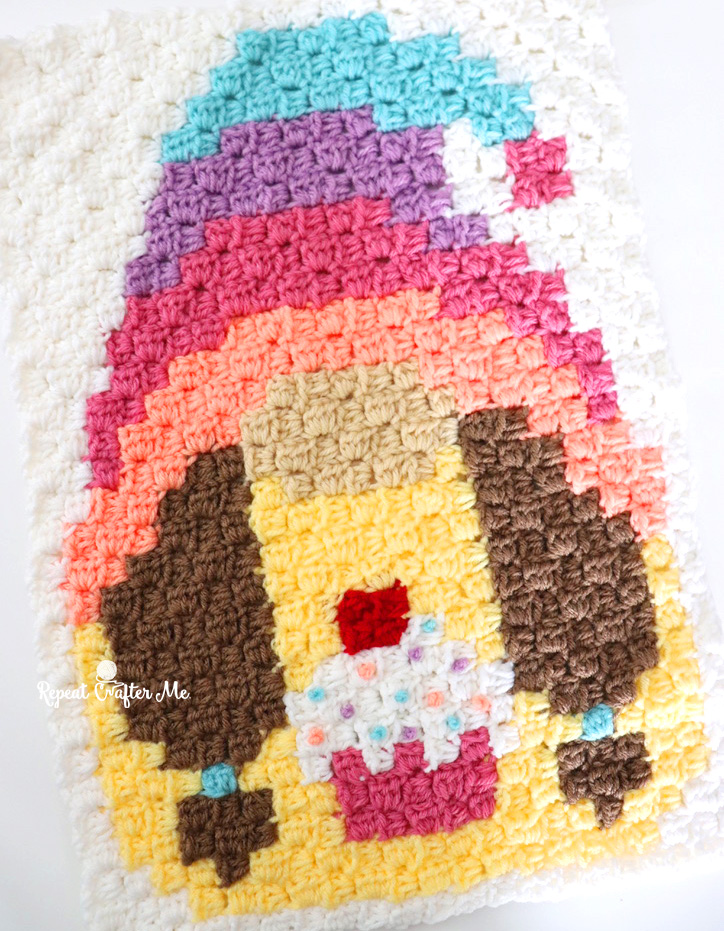
If you like my video tutorials, I have also created a C2C YouTube Tutorial using a smaller project (a tulip flower) HERE.
BIG thank you to Jenny Freeman (My Beautiful Disasters) for creating the written pattern for this blanket if you would prefer to follow those directions instead of the pixel graph. I am posting it below but you can grab the completely free PDF of the written pattern HERE.
Written Pattern PDF available HERE
55 Blocks in width and 80 Blocks in height
Row 1: Background x 1 (1 block)
Row 2: Background x 2 (2 blocks)
Row 3: Background x 3 (3 blocks)
Row 4: Background x 4 (4 blocks)
Row 5: Background x 5 (5 blocks)
Row 6: Background x 6 (6 blocks)
Row 7: Background x 7 (7 blocks)
Row 8: Background x 8 (8 blocks)
Row 9: Background x 9 (9 blocks)
Row 10: Background x 10 (10 blocks)
Row 11: Background x 11 (11 blocks)
Row 12: Background x 12 (12 blocks)
Row 13: Background x 13 (13 blocks)
Row 14: Background x 14 (14 blocks)
Row 15: Background x 15 (15 blocks)
Row 16: Background x 5, Lgt. Periwinkle x 2, Background x 9 (16 blocks)
Row 17: Background x 9, Lgt. Periwinkle x 1, White x 1, Lgt. Periwinkle x 2, Background x 4 (17 blocks)
Row 18: Background x 4, Lgt. Periwinkle x 2, White x 2, Background x 10 (18 blocks)
Row 19: Background x 10, Lgt. Periwinkle x 1, White x 1, Lgt. Periwinkle x 3, Background x 4 (19 blocks)
Row 20: Background x 4, Lgt. Periwinkle x 4, White x 1, Lgt. Periwinkle x 1, Background x 10 (20 blocks)
Row 21: Background x 10, Lgt. Periwinkle x 1, White x 2, Lgt. Periwinkle x 4, Background x 4 (21 blocks)
Row 22: Background x 4, Lgt. Periwinkle x 5, White x 2, Background x 11 (22 blocks)
Row 23: Background x 11, Lgt. Periwinkle x 1, White x 1, Lgt. Periwinkle x 6, Background x 4 (23 blocks)
Row 24: Background x 4, Lgt. Periwinkle x 7, White x 1, Lgt. Periwinkle x 1, Background x 11 (24 blocks)
Row 25: Background x 11, Lgt. Periwinkle x 1, White x 2, Lgt. Periwinkle x 7, Background x 4 (25 blocks)
Row 26: Background x 4, Lgt. Periwinkle x 8, White x 2, Background x 12 (26 blocks)
Row 27: Background x 12, Lgt. Periwinkle x 1, White x 1, Lgt. Periwinkle x 9, Background x 4 (27 blocks)
Row 28: Background x 4, Lgt. Periwinkle x 9, White x 2, Lgt. Periwinkle x 1, Background x 12 (28 blocks)
Row 29: Background x 13, White x 2, Lgt. Periwinkle x 10, Background x 4 (29 blocks)
Row 30: Background x 4, Lgt. Periwinkle x 11, White x 1, Lgt. Periwinkle x 1, Background x 13 (30 blocks)
Row 31: Background x 13, Lgt. Periwinkle x 1, White x 1, Lgt. Periwinkle x 12, Background x 4 (31 blocks)
Row 32: Background x 4, Lgt. Periwinkle x 12, White x 2, Lgt. Periwinkle x 1, Background x 13 (32 blocks)
Row 33: Background x 14, White x 2, Lgt. Periwinkle x 13, Background x 4 (33 blocks)
Row 34: Background x 4, Lgt. Periwinkle x 14, White x 1, Lgt. Periwinkle x 1, Background x 14 (34 blocks)
Row 35: Background x 9, Lgt. Periwinkle x 3, Background x 2, Lgt. Periwinkle x 1, White x 1, Lgt. Periwinkle x 15, Background x 4 (35 blocks)
Row 36: Background x 4, Lgt. Periwinkle x 15, White x 2, Lgt. Periwinkle x 6, Background x 9 (36 blocks)
Row 37: Background x 10, Lgt. Periwinkle x 6, White x 1, Lgt. Periwinkle x 16, Background x 4 (37 blocks)
Row 38: Background x 4, Lgt. Periwinkle x 24, Background x 10 (38 blocks)
Row 39: Background x 11, Lgt. Periwinkle x 24, Background x 4 (39 blocks)
Row 40: Background x 4, Lgt. Periwinkle x 24, Background x 12 (40 blocks)
Row 41: Background x 13, Lgt. Periwinkle x 23, Background x 5 (41 blocks)
Row 42: Background x 5, Lgt. Periwinkle x 23, Background x 14 (42 blocks)
Row 43: Background x 15, Lgt. Periwinkle x 23, Background x 5 (43 blocks)
Row 44: Background x 5, Lgt. Periwinkle x 23, Background x 16 (44 blocks)
Row 45: Background x 17, Lgt. Periwinkle x 22, Background x 6 (45 blocks)
Row 46: Background x 6, Lgt. Periwinkle x 23, Background x 17 (46 blocks)
Row 47: Background x 17, Lgt. Periwinkle x 1, White x 1, Lgt. Periwinkle x 21, Background x 7 (47 blocks)
Row 48: Background x 8, Lgt. Periwinkle x 20, White x 2, Background x 18 (48 blocks)
Row 49: Background x 18, Lgt. Periwinkle x 1, White x 1, Lgt. Periwinkle x 20, Background x 9 (49 blocks)
Row 50: Background x 10, Lgt. Periwinkle x 20, White x 1, Lgt. Periwinkle x 1, Background x 18 (50 blocks)
Row 51: Background x 18, Lgt. Periwinkle x 1, White x 1, Lgt. Periwinkle x 10, Black x 3, Lgt. Periwinkle x 7, Background x 11 (51 blocks)
Row 52: Background x 12, Lgt. Periwinkle x 6, Black x 4, Lgt. Periwinkle x 9, White x 2, Background x 19 (52 blocks)
Row 53: Background x 19, Lgt. Periwinkle x 1, White x 1, Lgt. Periwinkle x 9, Black x 5, Lgt. Periwinkle x 6, Background x 12 (53 blocks)
Row 54: Background x 13, Lgt. Periwinkle x 6, Black x 5, Lgt. Periwinkle x 9, White x 1, Lgt. Periwinkle x 1, Background x 19 (54 blocks)
Row 55: Background x 20, White x 2, Lgt. Periwinkle x 2, Black x 2, Lgt. Periwinkle x 5, Black x 5, Lgt. Periwinkle x 5, Background x 14 (55 blocks)
Corner
Row 56: Background x 14, Lgt. Periwinkle x 5, Black x 2, Lgt. Periwinkle x 7, Black x 3, Lgt. Periwinkle x 2, White x 1, Lgt. Periwinkle x 1, Background x 20 (55 blocks)
Row 57: Background x 20, Lgt. Periwinkle x 1, White x 1, Lgt. Periwinkle x 2, Black x 4, Lgt. Periwinkle x 7, Black x 1, Lgt. Periwinkle x 5, Background x 14 (55 blocks)
Row 58: Background x 14, Lgt. Periwinkle x 13, Black x 3, Lgt. Periwinkle x 3, White x 1, Background x 21 (55 blocks)
Row 59: Background x 21, Lgt. Periwinkle x 1, White x 1, Lgt. Periwinkle x 2, Black x 4, Lgt. Periwinkle x 12, Background x 14 (55 blocks)
Row 60: Background x 14, Lgt. Periwinkle x 12, Black x 1, White x 1, Black x 1, Lgt. Periwinkle x 3, White x 1, Lgt. Periwinkle x 1, Background x 21 (55 blocks)
Row 61: Background x 22, White x 1, Lgt. Periwinkle x 4, Black x 2, Lgt. Periwinkle x 12, Background x 14 (55 blocks)
Row 62: Background x 14, Lgt. Periwinkle x 17, White x 1, Lgt. Periwinkle x 1, Background x 22 (55 blocks)
Row 63: Background x 22, Lgt. Periwinkle x 1, White x 1, Lgt. Periwinkle x 18, Background x 13 (55 blocks)
Row 64: Background x 13, Lgt. Periwinkle x 18, White x 1, Background x 23 (55 blocks)
Row 65: Background x 23, Lgt. Periwinkle x 1, White x 1, Lgt. Periwinkle x 17, Background x 13 (55 blocks)
Row 66: Background x 13, Lgt. Periwinkle x 17, White x 1, Background x 24 (55 blocks)
Row 67: Background x 24, Lgt. Periwinkle x 18, Background x 13 (55 blocks)
Row 68: Background x 13, Lgt. Periwinkle x 17, Background x 25 (55 blocks)
Row 69: Background x 25, Lgt. Periwinkle x 17, Background x 13 (55 blocks)
Row 70: Background x 13, Lgt. Periwinkle x 16, Background x 26 (55 blocks)
Row 71: Background x 27, Lgt. Periwinkle x 15, Background x 13 (55 blocks)
Row 72: Background x 12, Lgt. Periwinkle x 16, Background x 27 (55 blocks)
Row 73: Background x 28, Lgt. Periwinkle x 15, Background x 12 (55 blocks)
Row 74: Background x 12, Lgt. Periwinkle x 14, Background x 29 (55 blocks)
Row 75: Background x 30, Lgt. Periwinkle x 13, Background x 12 (55 blocks)
Row 76: Background x 12, Lgt. Periwinkle x 10, Cornmeal x 3, Background x 30 (55 blocks)
Row 77: Background x 31, Cornmeal x 3, Lgt. Periwinkle x 9, Background x 12 (55 blocks)
Row 78: Background x 12, Lgt. Periwinkle x 8, Cornmeal x 4, Background x 31 (55 blocks)
Row 79: Background x 31, Cornmeal x 5, Lgt. Periwinkle x 7, Background x 12 (55 blocks)
Row 80: Background x 13, Lgt. Periwinkle x 5, Cornmeal x 6, Background x 31 (55 blocks)
Corner
Row 81: Background x 31, Cornmeal x 5, Lgt. Periwinkle x 5, Background x 13 (54 blocks)
Row 82: Background x 17, Cornmeal x 6, Background x 30 (53 blocks)
Row 83: Background x 29, Cornmeal x 6, Background x 17 (52 blocks)
Row 84: Background x 17, Cornmeal x 5, Background x 29 (51 blocks)
Row 85: Background x 28, Cornmeal x 5, Background x 17 (50 blocks)
Row 86: Background x 17, Cornmeal x 4, Background x 28 (49 blocks)
Row 87: Background x 27, Cornmeal x 4, Background x 17 (48 blocks)
Row 88: Background x 17, Cornmeal x 4, Background x 26 (47 blocks)
Row 89: Background x 26, Cornmeal x 3, Background x 17 (46 blocks)
Row 90: Background x 16, Cornmeal x 4, Background x 25 (45 blocks)
Row 91: Background x 24, Cornmeal x 4, Background x 16 (44 blocks)
Row 92: Background x 16, Cornmeal x 4, Background x 23 (43 blocks)
Row 93: Background x 23, Cornmeal x 3, Background x 16 (42 blocks)
Row 94: Background x 16, Cornmeal x 3, Background x 22 (41 blocks)
Row 95: Background x 21, Cornmeal x 3, Background x 16 (40 blocks)
Row 96: Background x 15, Cornmeal x 3, Background x 21 (39 blocks)
Row 97: Background x 20, Cornmeal x 3, Background x 15 (38 blocks)
Row 98: Background x 15, Cornmeal x 3, Background x 19 (37 blocks)
Row 99: Background x 18, Cornmeal x 3, Background x 15 (36 blocks)
Row 100: Background x 15, Cornmeal x 3, Background x 17 (35 blocks)
Row 101: Background x 17, Cornmeal x 3, Background x 14 (34 blocks)
Row 102: Background x 14, Cornmeal x 3, Background x 16 (33 blocks)
Row 103: Background x 15, Cornmeal x 3, Background x 14 (32 blocks)
Row 104: Background x 14, Cornmeal x 3, Background x 14 (31 blocks)
Row 105: Background x 14, Cornmeal x 2, Background x 14 (30 blocks)
Row 106: Background x 14, Cornmeal x 2, Background x 13 (29 blocks)
Row 107: Background x 12, Cornmeal x 3, Background x 13 (28 blocks)
Row 108: Background x 13, Cornmeal x 3, Background x 11 (27 blocks)
Row 109: Background x 11, Cornmeal x 2, Background x 13 (26 blocks)
Row 110: Background x 13, Cornmeal x 2, Background x 10 (25 blocks)
Row 111: Background x 9, Cornmeal x 2, Background x 13 (24 blocks)
Row 112: Background x 13, Cornmeal x 2, Background x 8 (23 blocks)
Row 113: Background x 8, Cornmeal x 2, Background x 12 (22 blocks)
Row 114: Background x 12, Cornmeal x 2, Background x 7 (21 blocks)
Row 115: Background x 6, Cornmeal x 2, Background x 12 (20 blocks)
Row 116: Background x 12, Cornmeal x 2, Background x 5 (19 blocks)
Row 117: Background x 5, Cornmeal x 1, Background x 12 (18 blocks)
Row 118: Background x 12, Cornmeal x 1, Background x 4 (17 blocks)
Row 119: Background x 16 (16 blocks)
Row 120: Background x 15 (15 blocks)
Row 121: Background x 14 (14 blocks)
Row 122: Background x 13 (13 blocks)
Row 123: Background x 12 (12 blocks)
Row 124: Background x 11 (11 blocks)
Row 125: Background x 10 (10 blocks)
Row 126: Background x 9 (9 blocks)
Row 127: Background x 8 (8 blocks)
Row 128: Background x 7 (7 blocks)
Row 129: Background x 6 (6 blocks)
Row 130: Background x 5 (5 blocks)
Row 131: Background x 4 (4 blocks)
Row 132: Background x 3 (3 blocks)
Row 133: Background x 2 (2 blocks)
Row 134: Background x 1 (1 block)
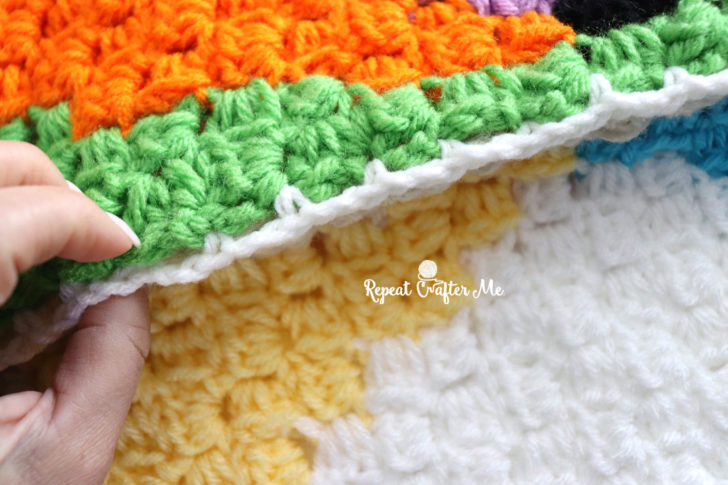
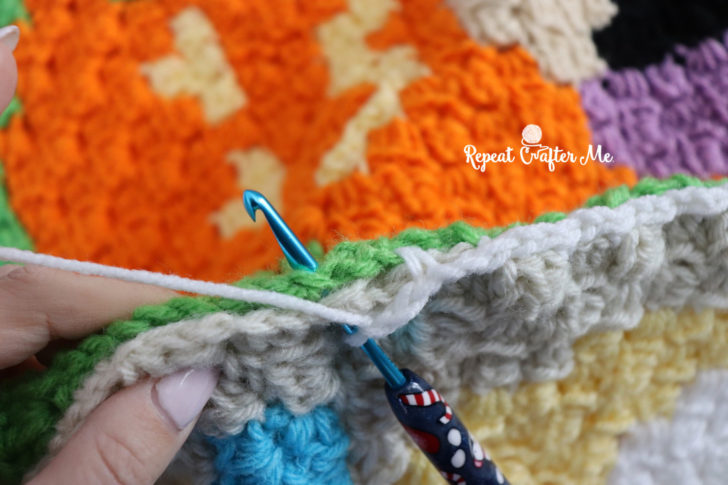
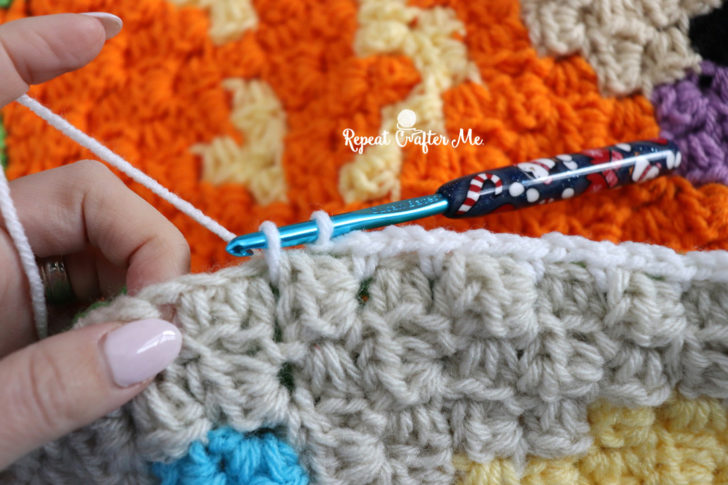
I decided NOT to create a border on this blanket yet. I think I might want to make a few more panels to this and make it and extra-large couch blanket for Christmas movie nights!
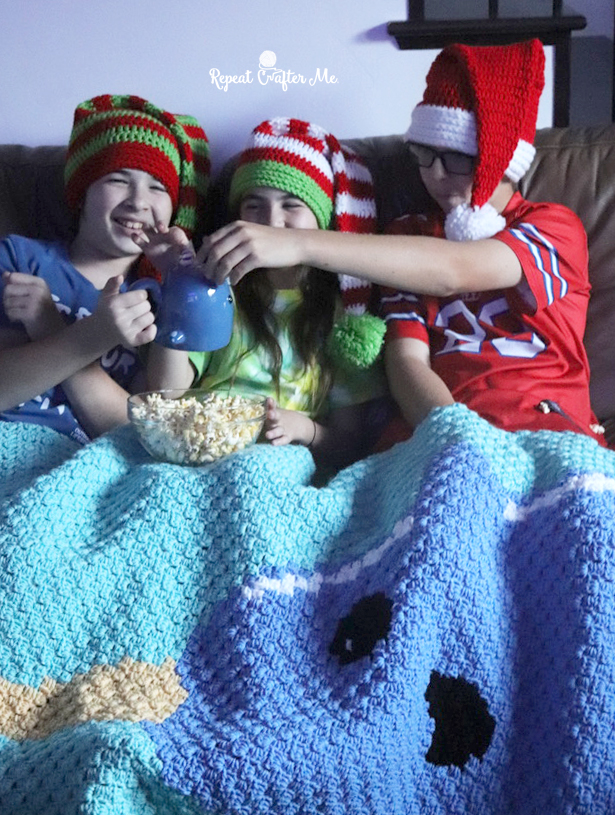
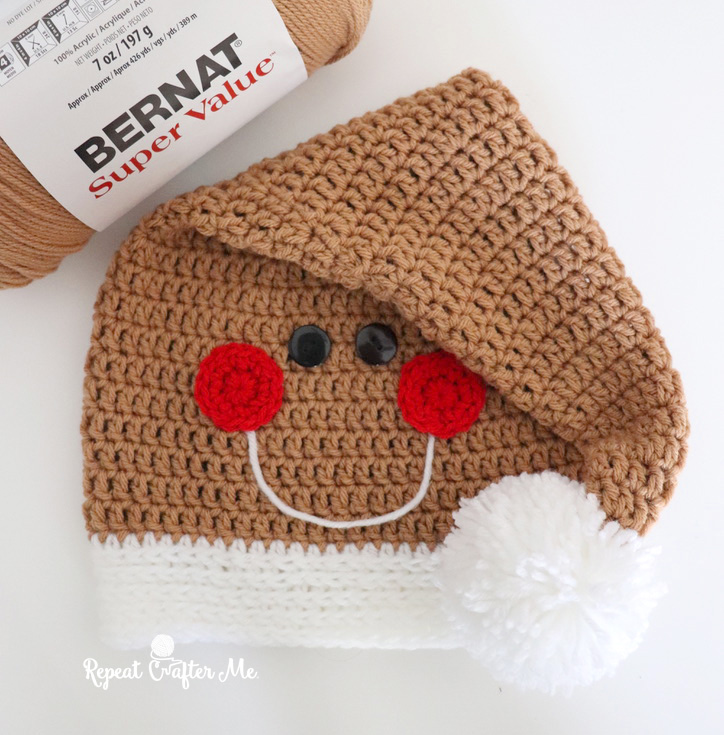
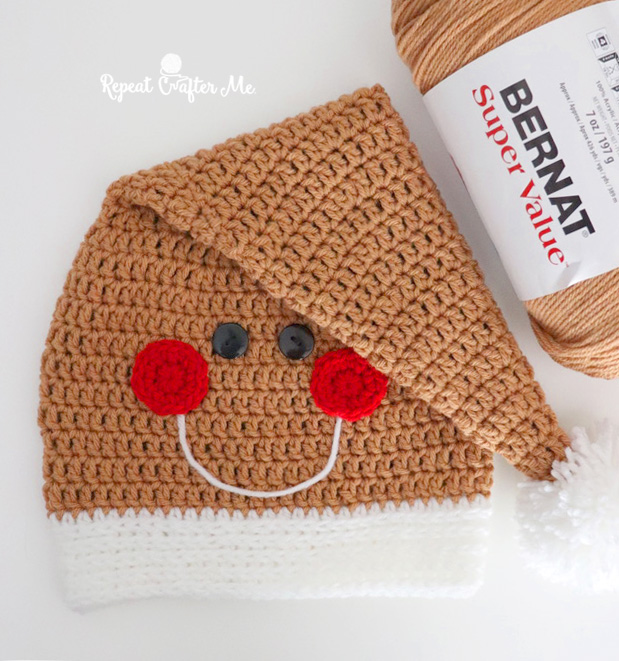
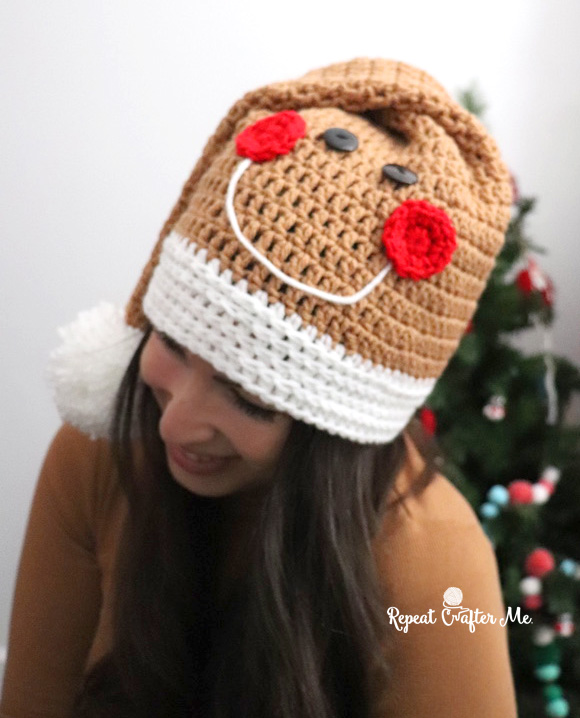
Get the Santa Style Crochet Hat Patterns HERE
How cute is the Narwhal MUG?! It’s sold at Target Stores but you can find some similar cute ones on Amazon!


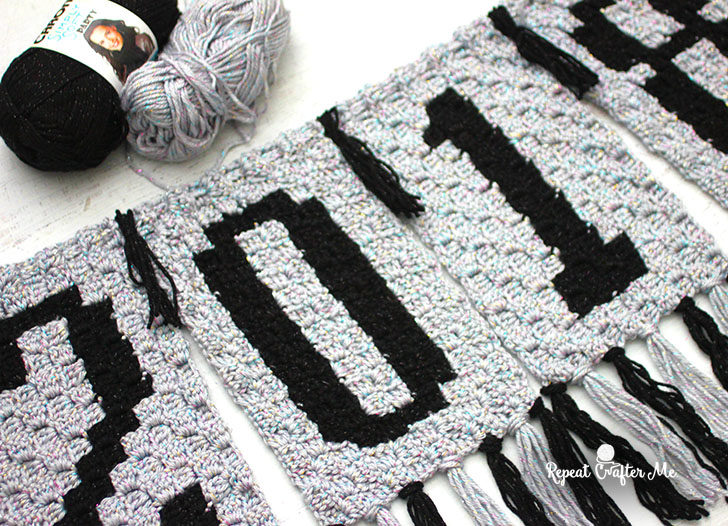
FOLLOW ME for more FREE Crochet!
Repeat Crafter Me Facebook
Repeat Crafter Me Instagram
Repeat Crafter Me Pinterest
Repeat Crafter Me YOUTUBE
New BOOK available for pre-order!